Laser Engraved DIY Cornhole Boards

Building your own set of cornhole boards is one of the most rewarding weekend woodworking projects you can take on. The build is straightforward, the materials are affordable, and the end result is a fully customized game set you can be proud of. In this post, I’ll walk you through the entire process — from cutting your plywood to finishing the boards — and I’ll also share how I took customization a step further by laser engraving mine using my Thunder Laser.
No laser? No problem. A laser is absolutely not required for this project. Paint, stain, vinyl decals, hand-lettering — there are so many ways to make these boards your own. The laser engraving is just one option I wanted to share for anyone who has access to a machine large enough to fit a cornhole board and wants to try something different.
Download the plans and Watch The YouTube Video
Get the printable plans for this project here
What You’ll Need
Materials:
- 1 sheet of ½” Baltic birch plywood (5′ x 5′)
- 1×4 pine boards (for the frames and legs)
- 1×2 pine boards (for the bag holder)
- 1¼” pocket screws
- 1¼” 18-gauge brad nails
- Wood glue
- ¼” carriage bolts, washers, and nylon locking nuts
- Water-based polyurethane (or your preferred finish)
- Sandpaper (220 grit and 320 grit)
Tools:
- Circular saw or track saw (I used the Kreg Adaptive Cutting System)
- Pocket hole jig (I use the Kreg Foreman and Kreg Jig 720PRO)
- Drill
- Bandsaw or jigsaw
- Paint sprayer or brush (for finish coats)
- Compass and multi-mark tool
Optional (for laser engraving):
- Laser cutter large enough to accommodate a full cornhole board (I used the Thunder Laser Nova 51-130w)
Step 1: Cut the Boards to Size

Start with your ½” Baltic birch plywood. These sheets come in 5′ x 5′, which is the perfect size for a set of cornhole boards. I used the Kreg Adaptive Cutting System with the optional parallel guides to break the sheet down — the parallel guides make it incredibly easy to get repeatable, accurate cuts.
Once your boards are cut to size, sand them down starting with 220 grit sandpaper, then finish with 320 grit. Smooth boards are the foundation for any finish you choose — whether that’s paint, stain, or engraving.
Step 2: Customize Your Boards (So Many Options!)
This is the fun part. Before you cut the hole or assemble the frame, decide how you want to finish and customize your boards. Here are a few ideas:
- Paint: Solid color, two-tone, or use painter’s tape for geometric designs
- Stain: Let the wood grain show through with a natural or dark stain
- Vinyl decals: Cut vinyl decals with a Cricut or Silhouette and apply them before the finish coat
- Spray paint stencils: A quick and easy way to add a logo, monogram, or design
- Freehand painting: Great for team logos or personalized artwork
- Laser engraving: If you have access to a large enough laser cutter, this opens up a whole new level of detail (more on this below)
The boards can be completely finished before frame assembly, which makes the finishing process much easier.
How I Did It: Laser Engraving
Since I have a Thunder Laser Nova 51-130w in my workshop, I decided to experiment with laser engraving directly onto the boards. This took a bit of trial and error, so I’m sharing what I learned in case anyone wants to try this with their own machine.

What didn’t work — the borax method: My first approach was the borax method, which creates a smooth surface engrave without actually cutting into the wood. It looked great on small test pieces, but on the full boards at this scale, my 130-watt laser required less than 30% power — and at that level, banding lines appeared and some areas didn’t engrave consistently at all. I had to scrap this approach.
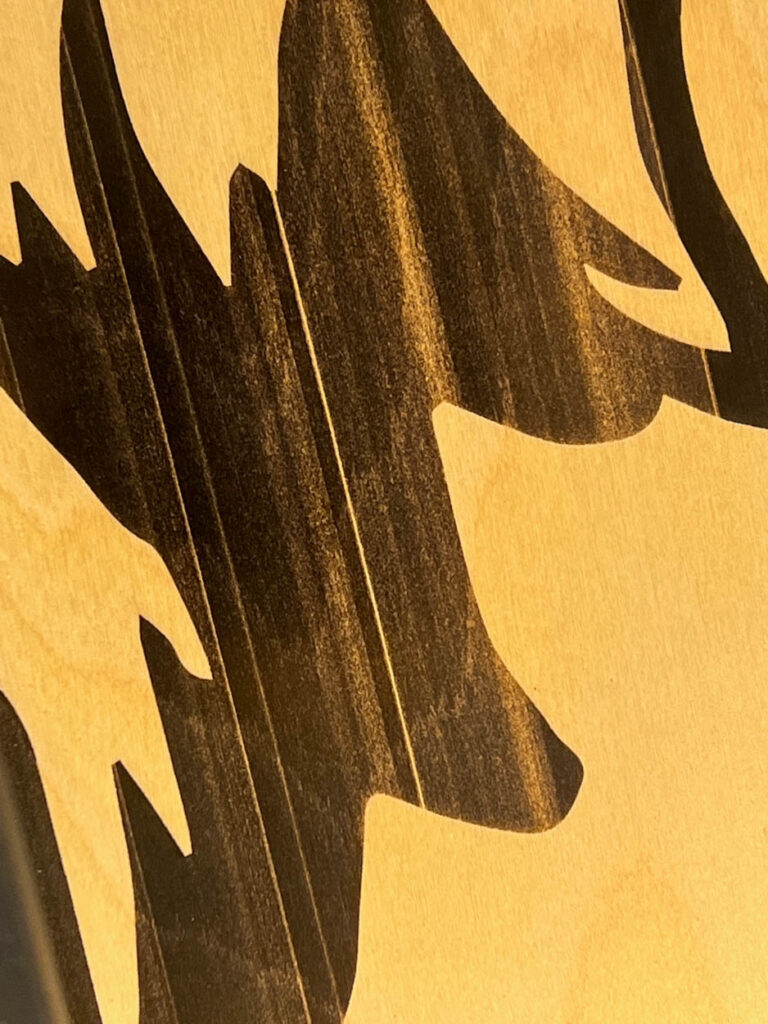
What worked: After more experimenting on scrap wood, I found the right combination of settings. The formula that gave me a dark, crisp engrave while keeping the surface shallow enough that bags could still slide across smoothly was:
- Focus height: 11mm above the wood
- Speed: 1000
- Power: 30%
The slightly defocused beam gave me that beautifully dark engrave without creating a texture that would interfere with gameplay.
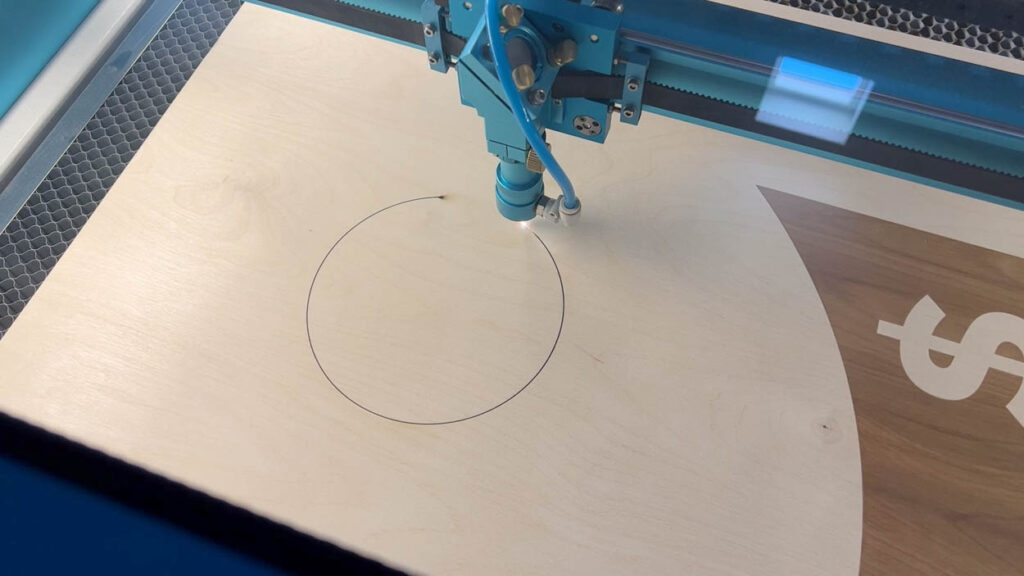
After engraving, I returned the material to normal focus (6mm) and used the laser to cut out the hole as well. The laser gives a perfect circle every time — no jigsaw splintering.
Note: This only works on a laser large enough to fit a full cornhole board. If your machine has a smaller bed, you could still engrave custom panels or sections before assembly and incorporate them into the design.
Step 3: Cut the Hole
If you’re not using a laser, a jigsaw works perfectly for cutting the 6″ cornhole opening. Mark your center point, use a compass or a circle jig to trace your circle, and cut just outside the line. Sand back to the line for a clean edge. You can also use a router with a circle jig for a very clean result.
Step 4: Build the Frames
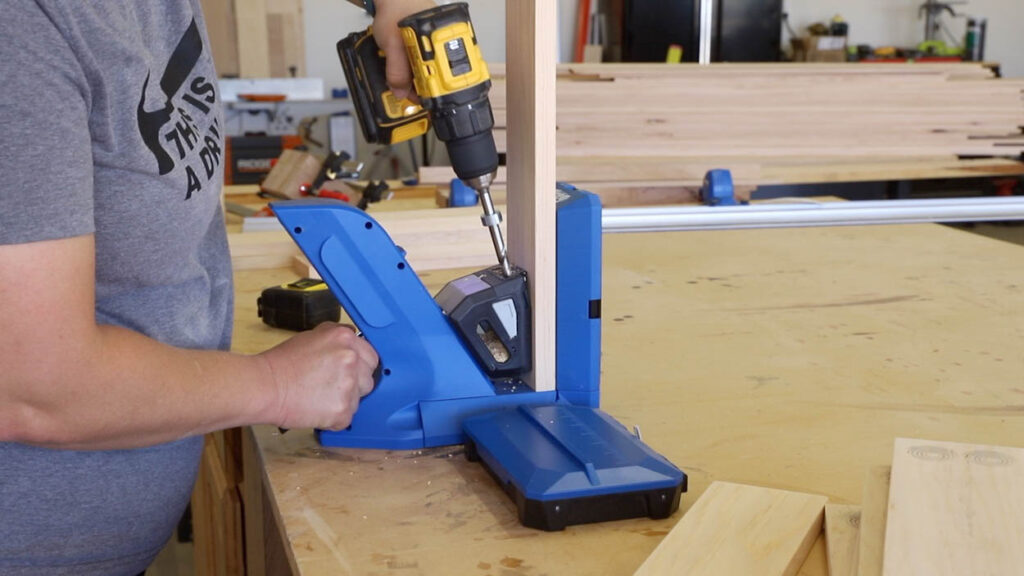
Cut all of your 1×4 pine pieces to size for the frames. Drill ¾” pocket holes into the shorter frame pieces and the center supports. I use my Kreg Foreman for repeated pocket holes like this, but the Kreg Jig 720PRO is a great option for a smaller setup and gets the job done just as well.
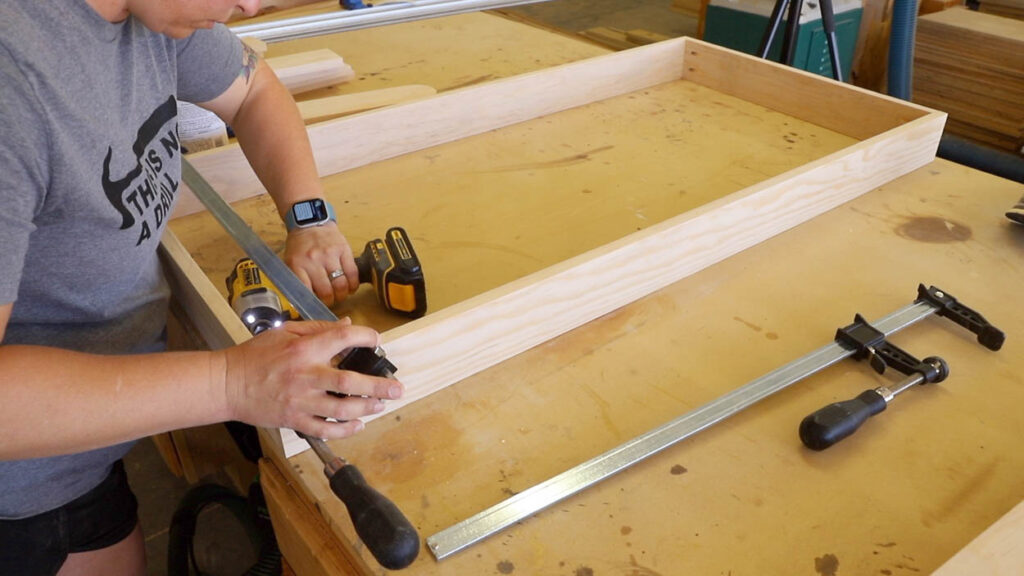
To assemble each frame:
- Add glue to the ends of the shorter pieces and clamp them to the longer sides
- Attach with 1¼” pocket screws
- Mark the halfway point (24″) on each side of the frame for the center support
- Line up the center support, clamp in place, and attach with 1¼” pocket screws
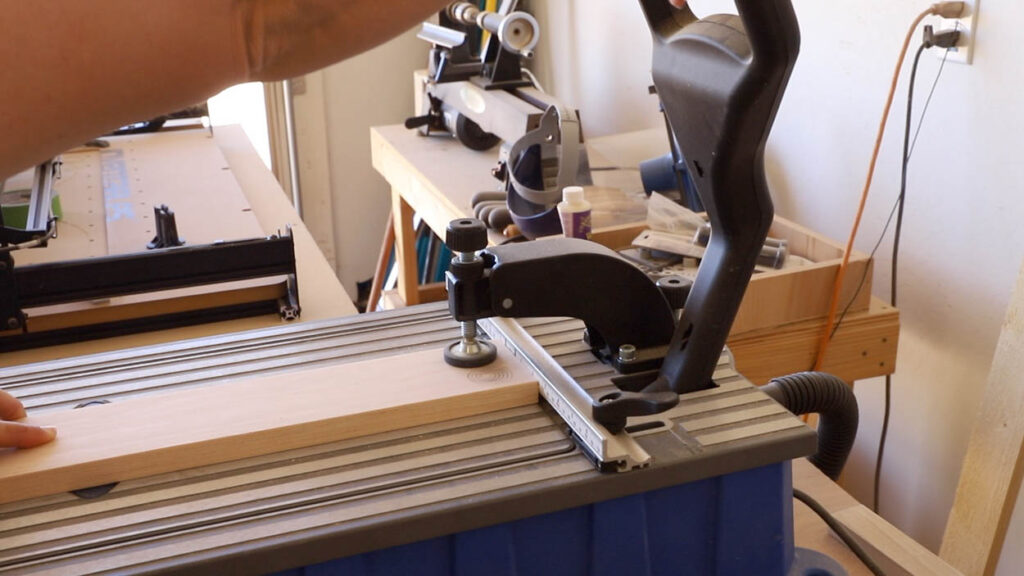
Once the frames are assembled, drill ¼” holes in the sides for the carriage bolts. The printable plans include the exact placement measurements.
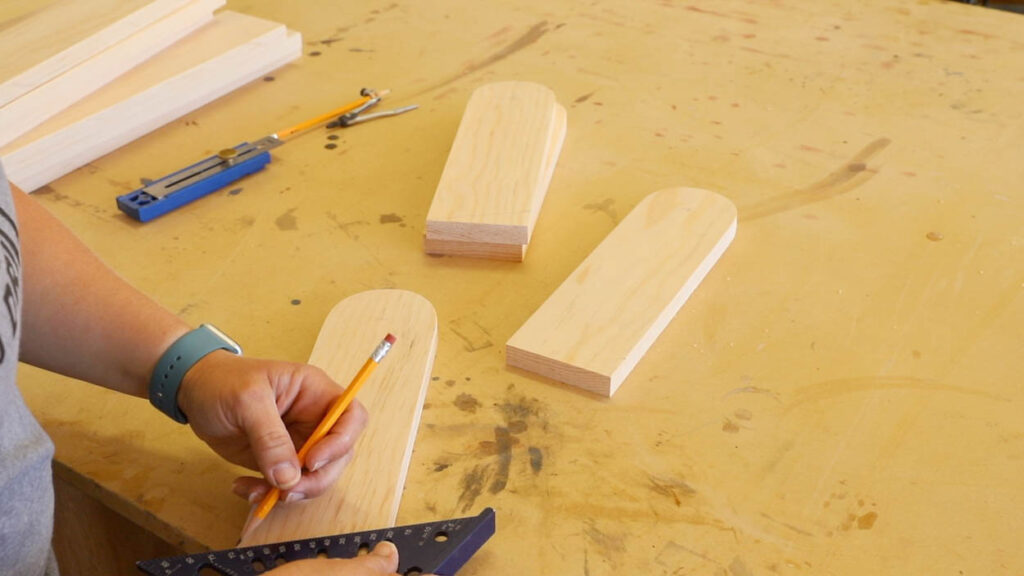
Step 5: Make the Legs
For the legs, you need to mark two things: the hole placement for the carriage bolts, and the radius at the top so the legs can pivot in and out smoothly.
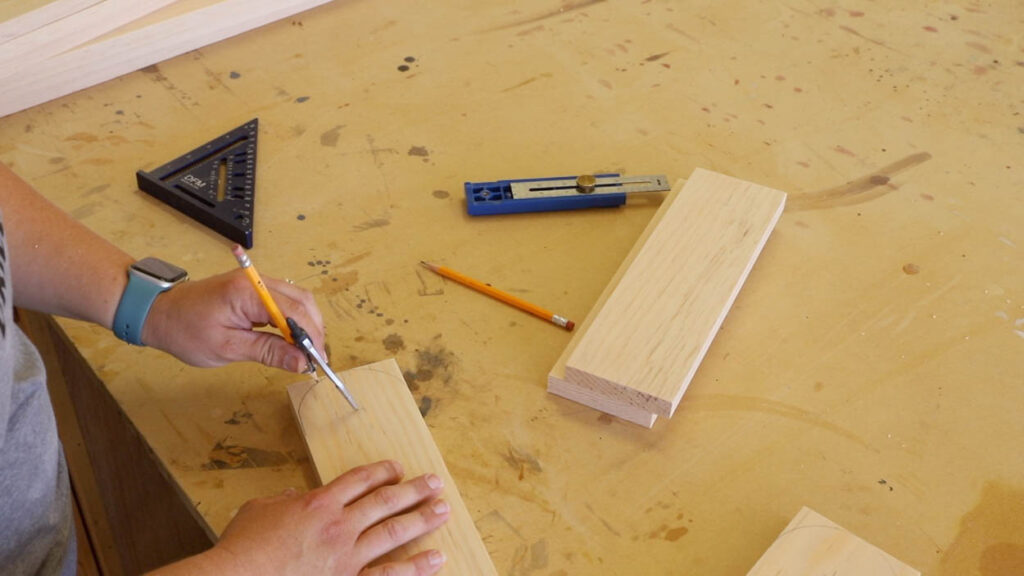
- Use a multi-mark tool set to 1¾” to mark the bolt hole position on each leg
- Use a compass to mark the radius at the top
- Cut the radius on a bandsaw or with a jigsaw, just outside the pencil line
- Sand back to just inside the line so the legs pivot smoothly when assembled
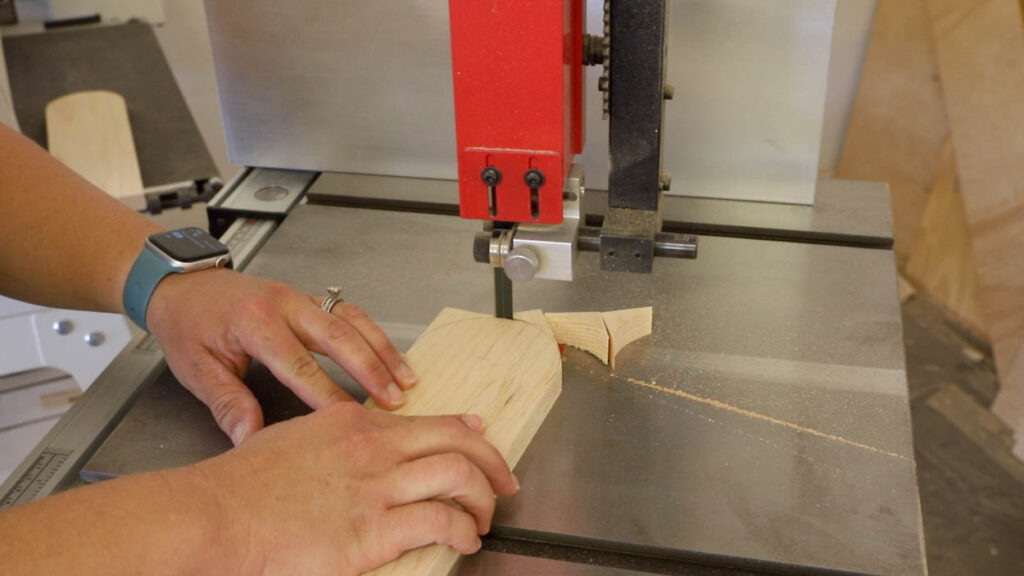
The legs fold out at an angle, so you’ll also need to mark and cut the bottom of each leg at an angle so it sits flat on the ground. Cut on the bandsaw (or jigsaw) and sand smooth.
To attach the leg supports, drill ¾” pocket holes into the supports and use a scrap piece of 1× material to offset them from the edges of the legs. Use a multi-mark tool for consistent placement, clamp in place, and attach with 1¼” pocket screws.
Step 6: Attach the Tops
Run a bead of wood glue along the top edges of the assembled frame and nail the plywood top in place with 1¼” 18-gauge brad nails.
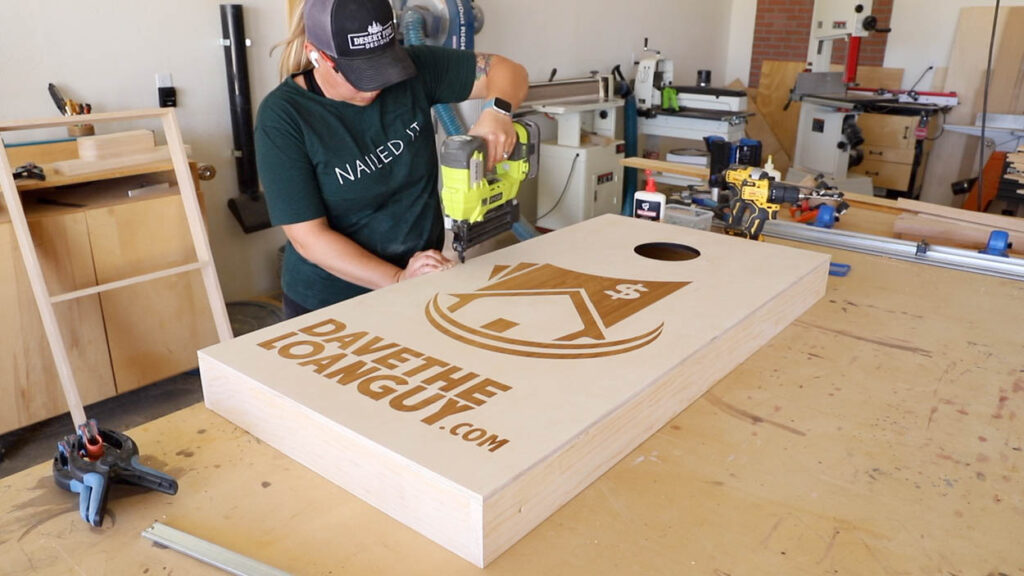
Then drill ¼” holes through the sides of the frame for the carriage bolts. Attach the legs with 2″ carriage bolts, washers, and nylon locking nuts. Tighten until snug, then back the bolt off slightly so the legs can pivot in and out with light tension.
Step 7: Finish the Boards
This is where you bring everything together. Whether you’re painting, staining, or applying a clear coat, the process is similar:
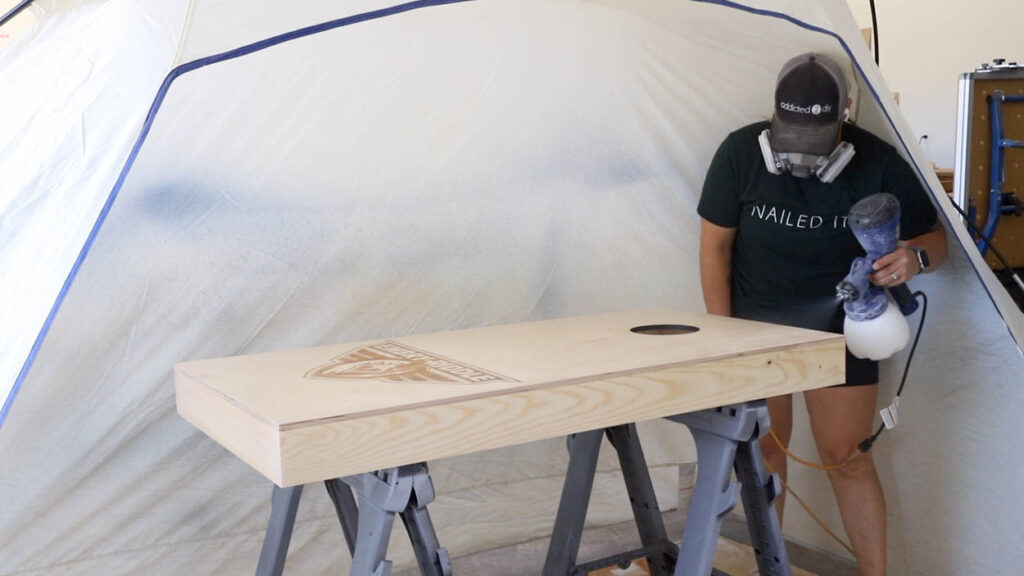
For a clear/natural finish: Spray or brush 8 coats of water-based polyurethane onto the boards. I use a paint sprayer for this. Here’s my process:
- Apply 3–4 coats, letting each coat dry completely between applications
- Sand with 220 grit and wipe clean
- Apply another 3–4 coats
- Sand again with 220 grit
- Apply the final coat and let cure fully before use
For painted boards: Apply your base coat(s) of paint first, let dry completely, then add any designs, decals, or custom details. Finish with 2–3 coats of polyurethane to protect the surface and keep bags sliding smoothly.
For stained boards: Apply your stain, let dry, and finish with polyurethane as described above.
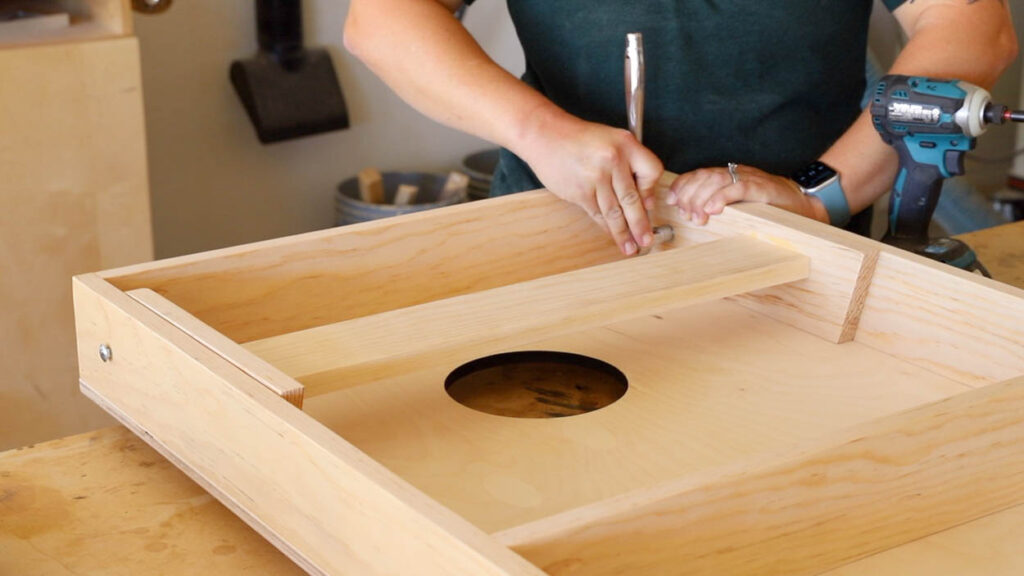
Step 8: Build the Bean Bag Holder
While the finish coats dry, build the bag holder. This is a great add-on that keeps everything organized and stores neatly inside the frame.
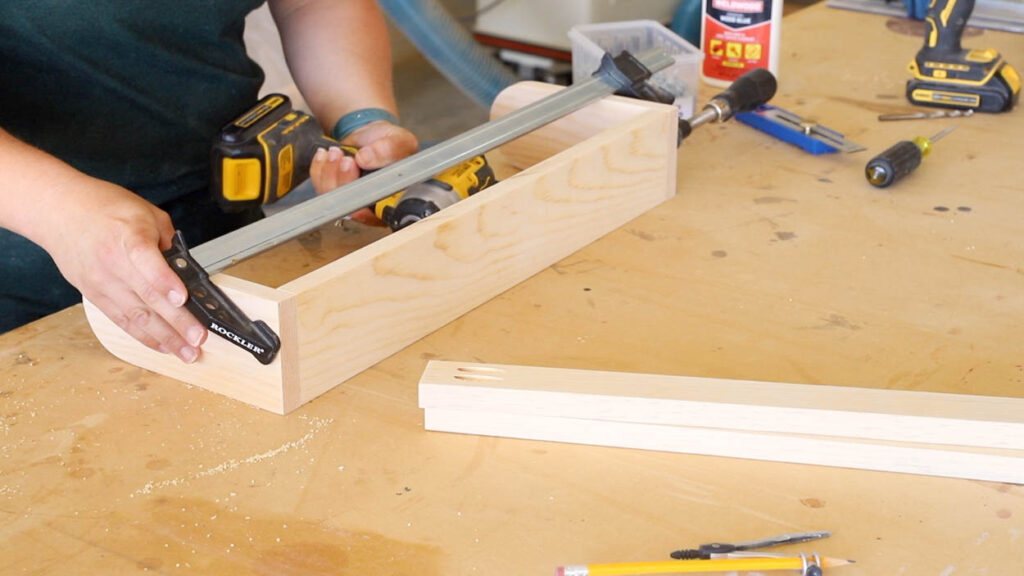
- Cut two 1×4 pieces at 8″ and add a radius so they can fold in and out like the legs
- Measure the inside of the frame and cut the 1×4 and 1×2 pieces to fit — just 1/16″ shorter so they aren’t too snug
- Attach the 1×4 to the sides with 1¼” pocket screws
- Evenly space the 1×2 pieces and attach with 1¼” pocket screws
- Attach the holder to the board with carriage bolts
- Add a handle to the top for easy opening
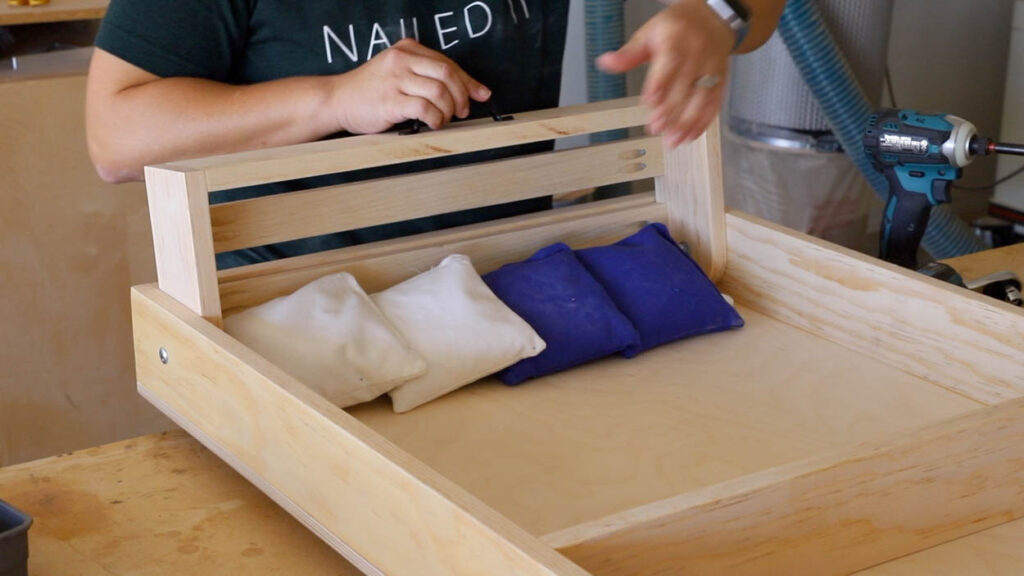
Bags load in two rows, and the holder folds down to keep everything in place during transport.
Download the Free Printable Plans
I’ve put together full printable plans with diagrams for the cornhole boards and bag holder. Download them below to get all the exact measurements you need.
[Download the Printable Plans]
Watch the Full Tutorial
Want to see the entire build from start to finish — including all of the laser engraving experiments? Watch the YouTube video below.
Frequently Asked Questions
Do I need a laser to build these cornhole boards? Not at all! The laser engraving is just one customization option. You can paint, stain, use vinyl decals, or apply stencils to get a completely custom look without any special equipment. The build itself only requires basic woodworking tools.
What size does a laser need to be to engrave cornhole boards? A standard cornhole board is 24″ x 48″, so you need a laser with a bed large enough to fit that footprint. Not all lasers can accommodate this — my Thunder Laser Nova 51 has a large enough work area, but many smaller hobbyist machines will not. If your laser is smaller, consider engraving decorative panels or sections beforehand and incorporating them into the design.
What kind of plywood is best for cornhole boards? ½” Baltic birch plywood is the standard for cornhole boards. It’s dense, sands beautifully, and holds up well with a proper finish. Avoid OSB or lower-grade plywood, which can have voids and an uneven surface.
How do I get the bags to slide smoothly on the boards? Multiple coats of polyurethane sanded smooth is key. At least 6–8 coats with sanding between layers gives you a surface the bags can glide across easily. If you’re laser engraving, keep the engrave shallow (as described above) so the texture doesn’t interfere with gameplay.
Can I use a jigsaw instead of a bandsaw for the legs? Absolutely. A jigsaw works great for the radius and angle cuts on the legs. Just cut slightly outside your line and sand back to it for a clean, smooth result.
What’s the best finish for outdoor cornhole boards? If the boards will be used outdoors regularly, consider an exterior-grade polyurethane or a spar urethane for better UV and moisture resistance. Store them out of direct weather when not in use to extend their life.
This project is sponsored in partnership with Kreg Tool Company and Thunder Laser USA. All opinions and results are my own.