How To Build A Hall Tree With A Chalk Board
This DIY hall tree with built-in chalkboard is the perfect entryway organizer — and you can build it for under $100! Get the free printable plans plus step-by-step instructions below.
Why You’ll Love This DIY Entryway Hall Tree
If your entryway feels chaotic the moment you walk through the door, you’re not alone. Bags on the floor, keys on the counter, shoes everywhere — it adds up fast. This rustic DIY hall tree solves all of that with a dedicated spot to hang bags and coats, a bench for sitting while you slip off shoes, a shelf for bins or baskets, and a built-in chalkboard for reminders, grocery lists, or fun notes for the kids.
Inspired by a Pottery Barn hall tree, this build comes in at a fraction of the retail price. Total materials cost: right around $100.If your entryway is larger, [check out the full-size version I also built].
[Download the free printable plans] — they include the full materials list and cut list so your build goes smoothly from the start.
Materials & Tools You’ll Need
Before you start, download the printable plans for the complete cut list and materials list. Here’s a general overview of what this build requires:
- 2×4 and 2×2 lumber
- 1×2 boards (for bench seat and shelf slats)
- Pocket hole jig (Kreg Jig recommended)
- 1½” and 2½” pocket screws
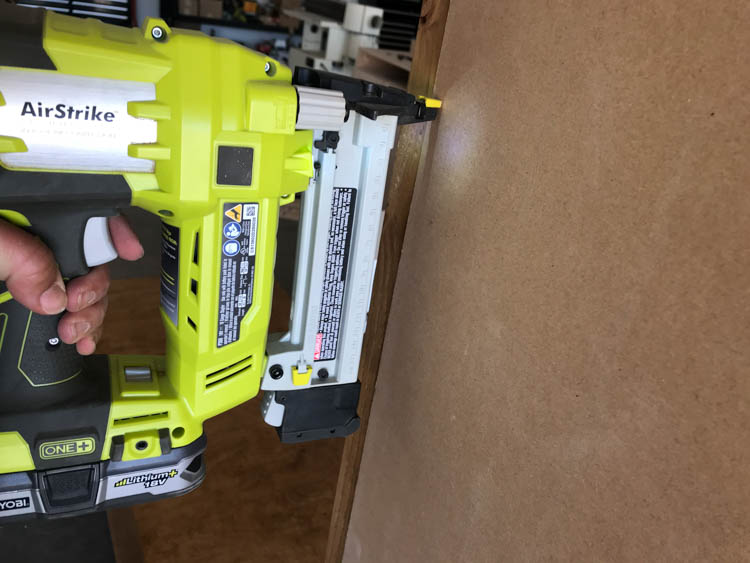
- 1¼” brad nails and brad nailer
- Wood glue
- Chalkboard panel
- 1″ narrow crown staples
- Wood filler
- Sandpaper (120 and 220 grit)
- Paint or stain of your choice
How to Build a Rustic Hall Tree with Chalkboard
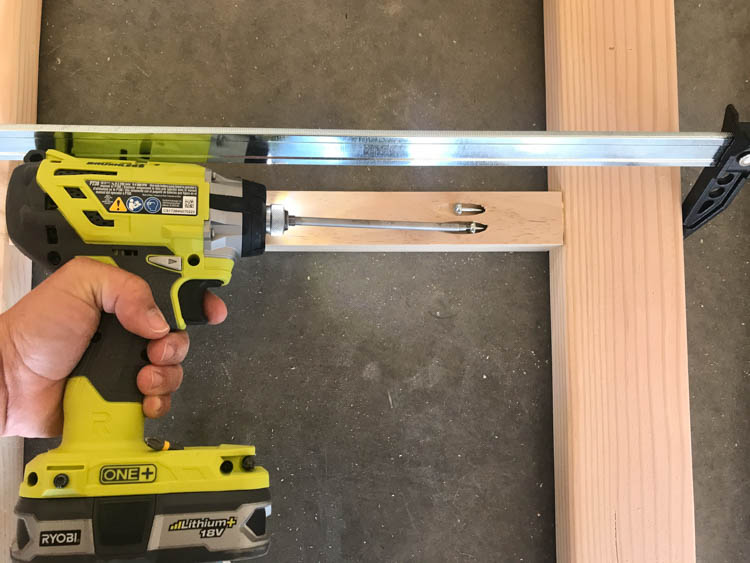
Step 1: Build the 2×4 Frame
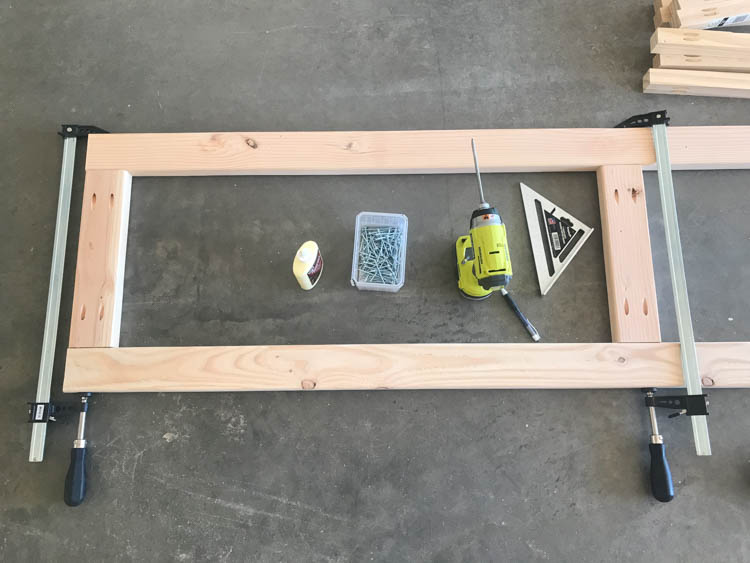
Drill 1½” pocket holes into the 15″ 2×4 pieces. Attach them together using wood glue and 2½” pocket screws to form the back frame.
Step 2: Attach the Bench Frame Pieces
Drill 1½” pocket holes into the 15″ 2×2 pieces, then attach them to the back frame using wood glue and 2½” pocket screws.
Step 3: Build the Bench
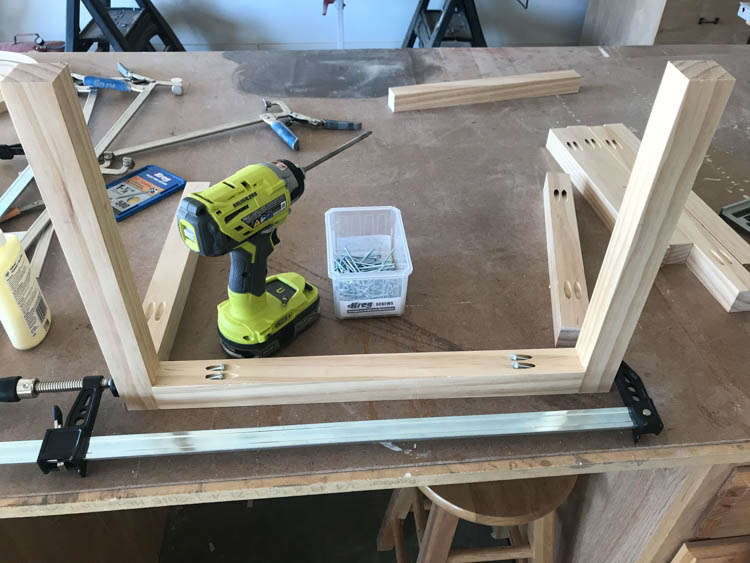
Drill 1½” pocket holes into both the 15″ and 19″ pieces that make up the bench frame. Attach with wood glue and pocket screws. Line up the bench frame to the back of the hall tree, square it up, then glue and secure with 2½” pocket screws.
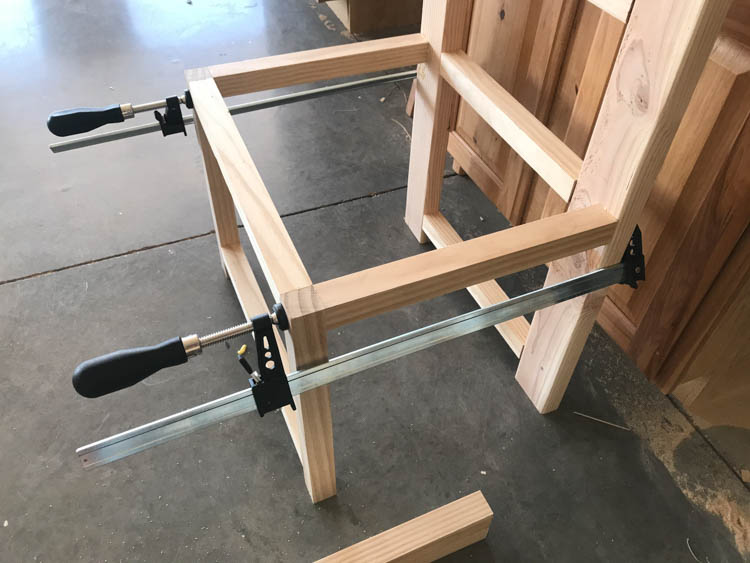
Step 4: Attach the Center Supports
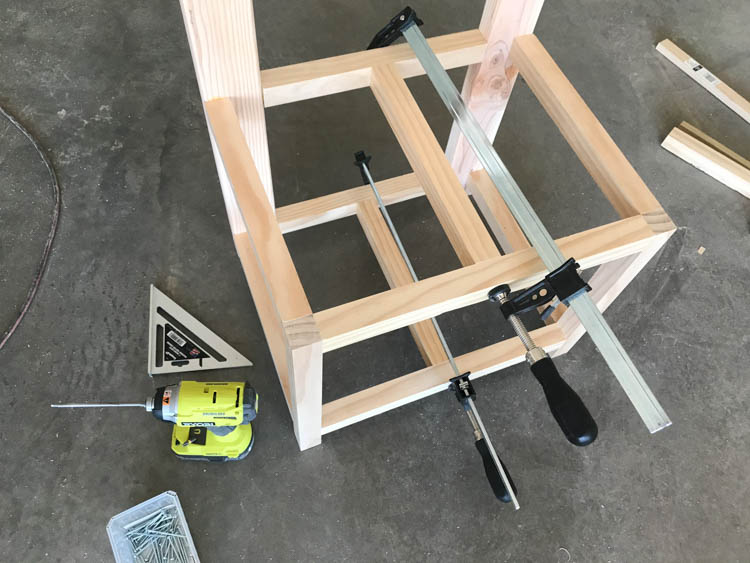
Drill 1½” pocket holes into each end of the center support stretchers. Attach them to the bench frame with wood glue and 2½” pocket screws for added stability.
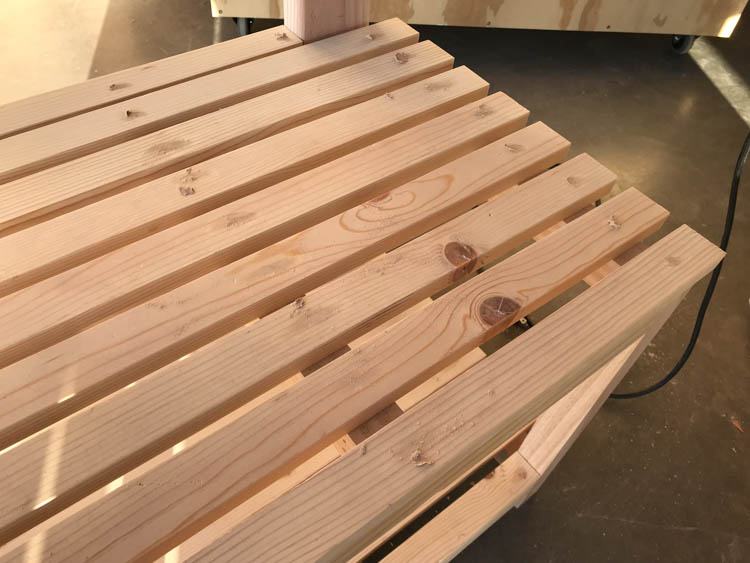
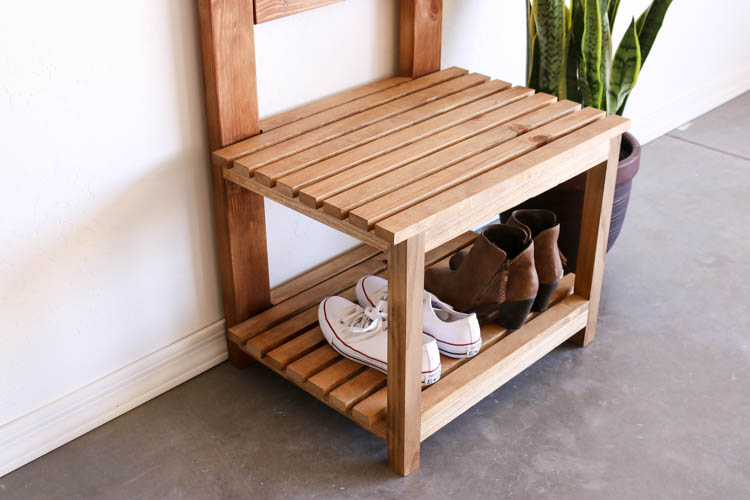
Step 5: Add the Bench Seat Slats
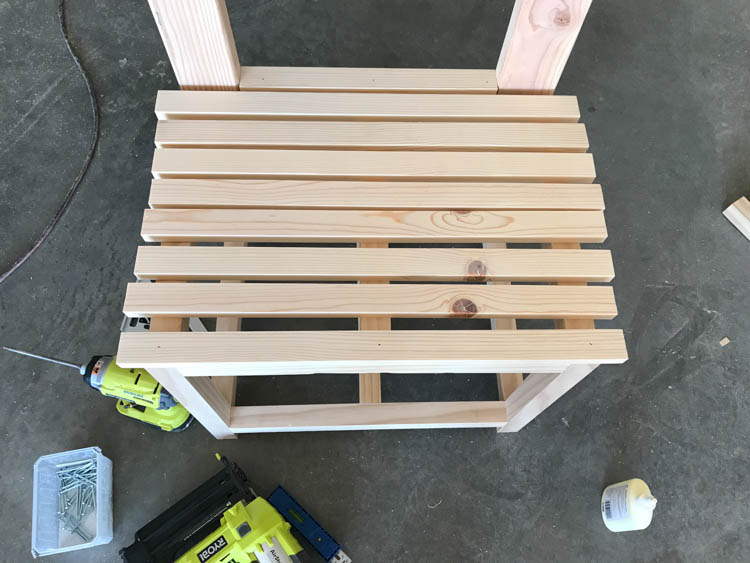
Attach the 1×2 pieces to the bench top, spacing them approximately ⅝” apart. Secure with wood glue and 1¼” brad nails.
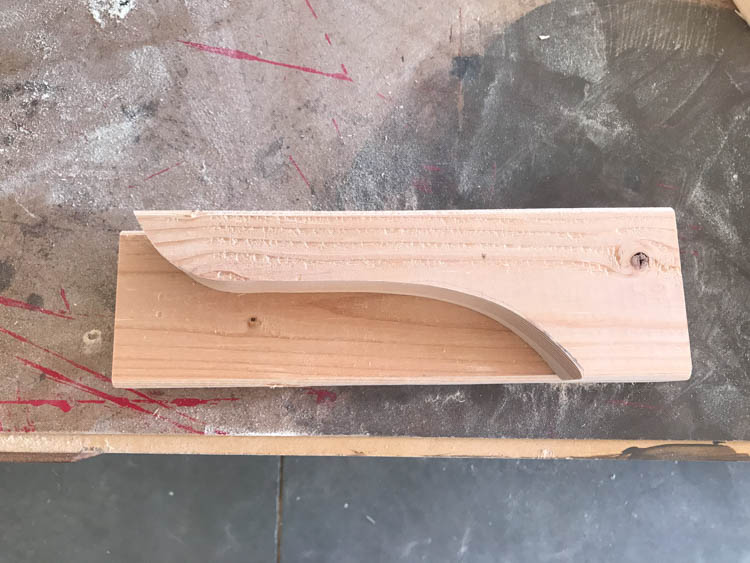
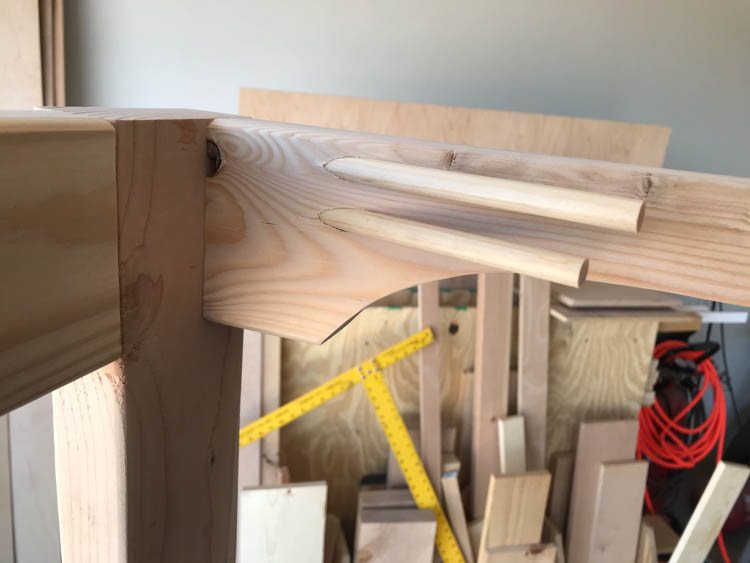
Step 6: Cut the Shelf Brackets
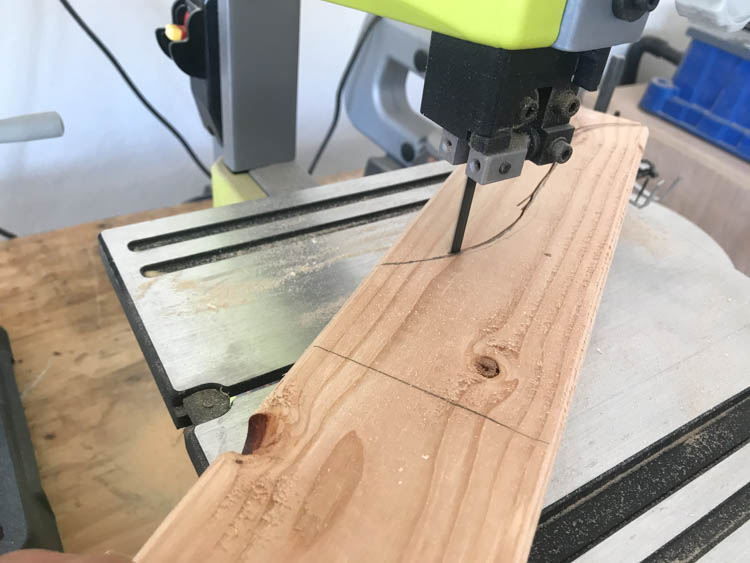
Use a pencil to draw the curved radius on each shelf bracket. Cut along the line with a jigsaw or bandsaw, then sand smooth. Use the first bracket as a template to trace and cut the second one so they match perfectly.
Step 7: Install the Shelf Brackets

Drill 1½” pocket holes into the inside faces of each bracket. Glue and attach them in place with 2½” pocket screws.
Step 8: Fill the Pocket Holes
Fill all exposed pocket holes with wood filler or ⅜” wooden dowels cut flush with a hand saw. Sand everything smooth once dry.

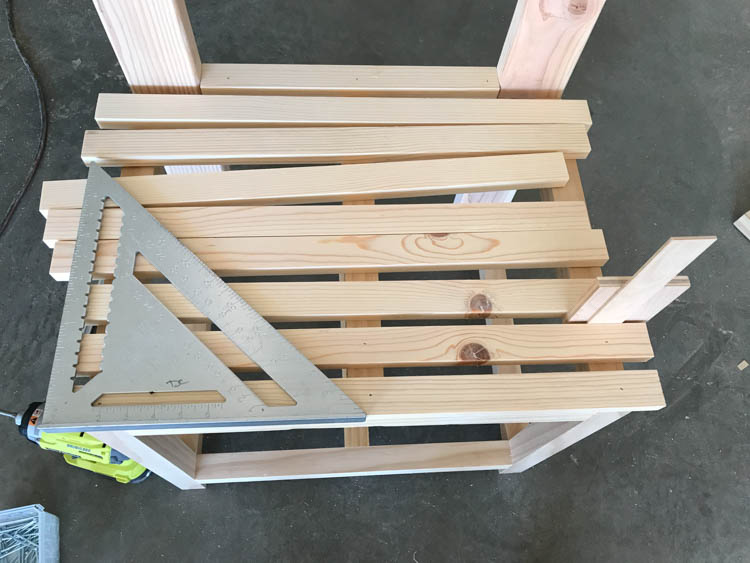
Step 9: Attach the Shelf Slats
Attach the 1×2 shelf pieces with wood glue and 1¼” brad nails, spacing them approximately ⅝” apart — matching the bench seat spacing for a cohesive look.
Step 10: Fill Nail Holes and Sand
Fill all remaining nail holes with wood filler. Once dry, sand the entire hall tree smooth — start with 120 grit and finish with 220 grit for a clean surface. Paint or stain as desired.
Step 11: Attach the Chalkboard
Center the chalkboard panel over the back of the hall tree and secure it using 1″ narrow crown staples for the strongest hold. Brad nails work too, but staples provide better long-term holding power for a panel this size.
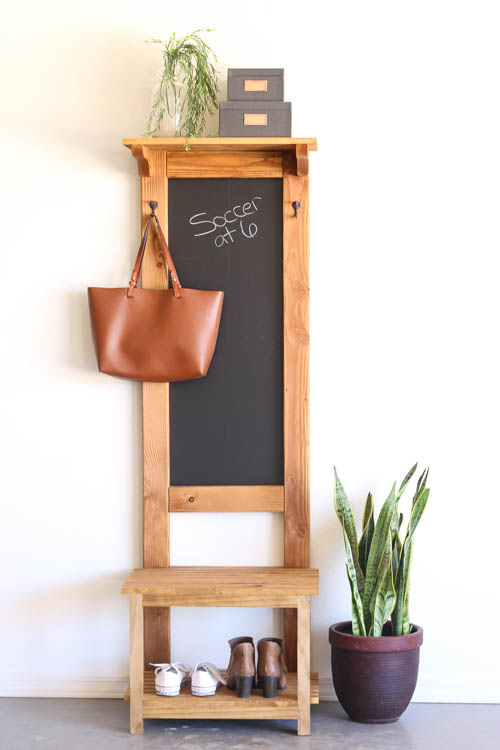
Finished! Here’s What You Built
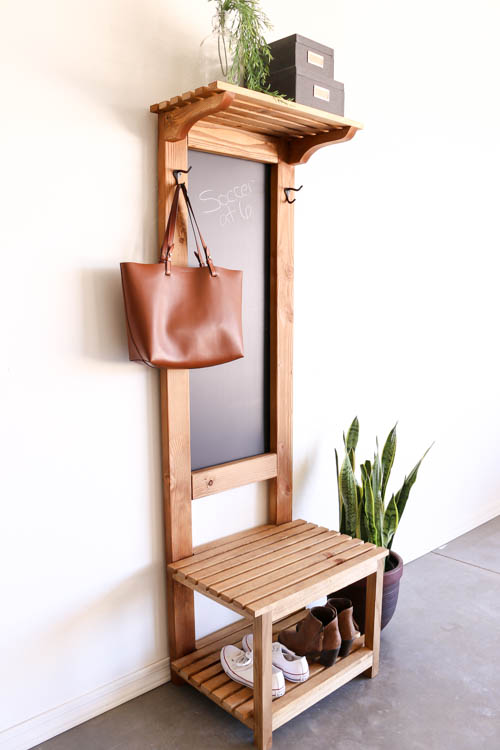
A rustic entryway hall tree with a bench, upper shelf, coat hooks (add your preferred hooks at this stage!), and a built-in chalkboard — all for under $100. Whether you’re leaving yourself reminders, letting the kids doodle, or just keeping your entryway clutter-free, this piece punches way above its price tag.
[Download the free printable plans] for the complete materials list and cut list.
Loving this project? Save it to Pinterest or share it with a friend who could use an entryway upgrade!
Frequently Asked Questions
How much does it cost to build a DIY hall tree? This hall tree can be built for somewhere around $100 in lumber and hardware, making it a budget-friendly alternative to retail entryway furniture.
What tools do I need to build a hall tree? The main tools are a pocket hole jig, drill, brad nailer, jigsaw or bandsaw, and basic hand tools. A miter saw is helpful for clean cuts but not required.
Can I build this hall tree without a pocket hole jig? A pocket hole jig (like a Kreg Jig) makes this build much easier and much stronger. Kreg makes a wide variety of pocket hole jigs in different sizes and price ranges and it will be super valuable for so many projects.
How do I make the chalkboard surface? You can purchase a pre-made chalkboard panel from most home improvement stores, or coat a piece of plywood or MDF with chalkboard paint for a custom size.