Building A Wobble Free Outdoor Console Table
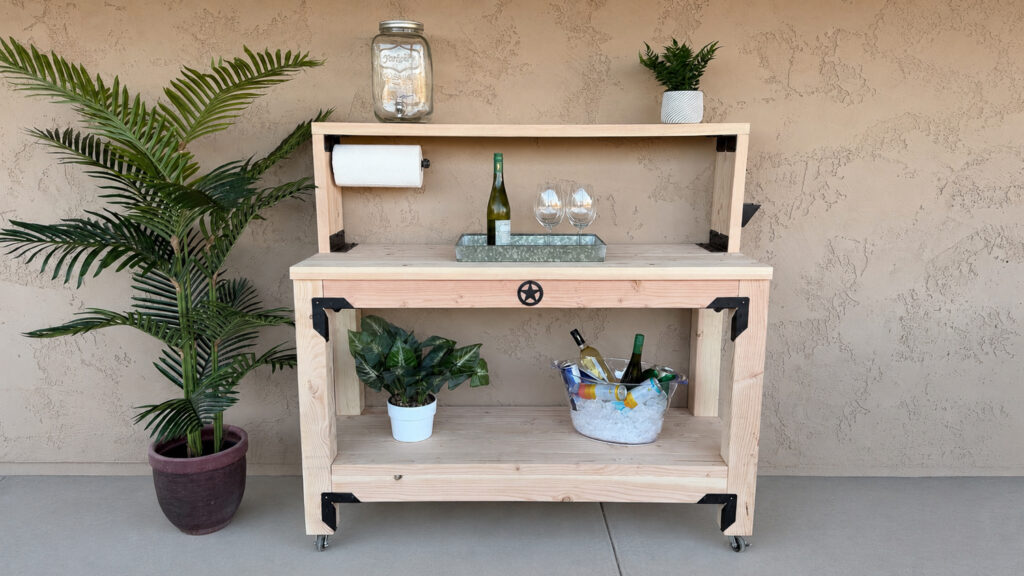
If you live somewhere like Arizona, you already know: every season is entertaining season. Our old console table — one I built over 10 years ago — had finally met its match in our brutal desert climate. It was wobbly, worn out, and honestly wasn’t giving us enough function for how much we host on the patio.
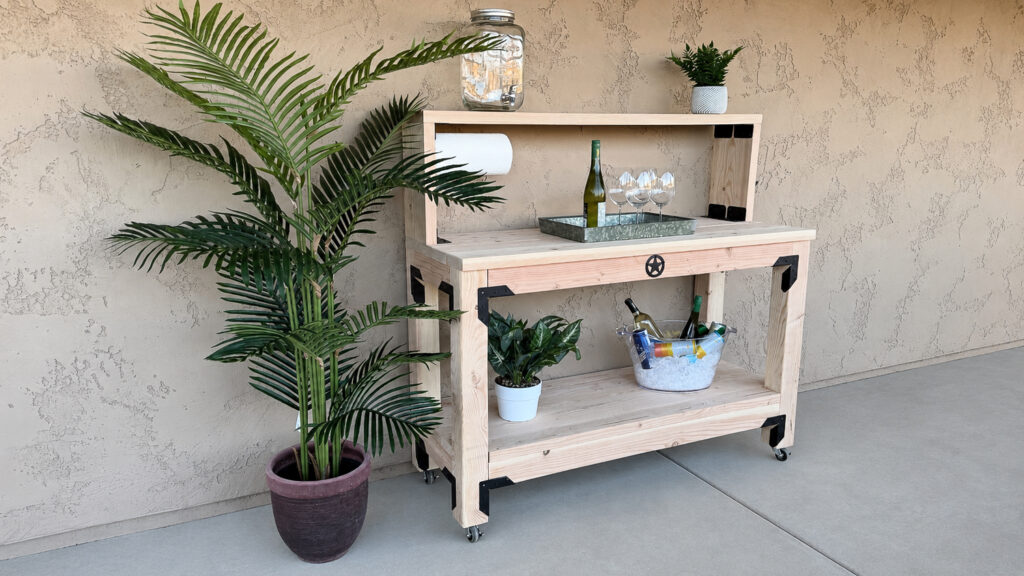
So I designed a brand-new mobile outdoor console table that’s sturdy enough to handle the heat, but pretty enough to double as a statement piece on the patio. It’s got a lower shelf, an upper shelf for beverage dispensers and snacks, a built-in bottle opener, a paper towel holder, and locking casters so I can roll it wherever the party goes.
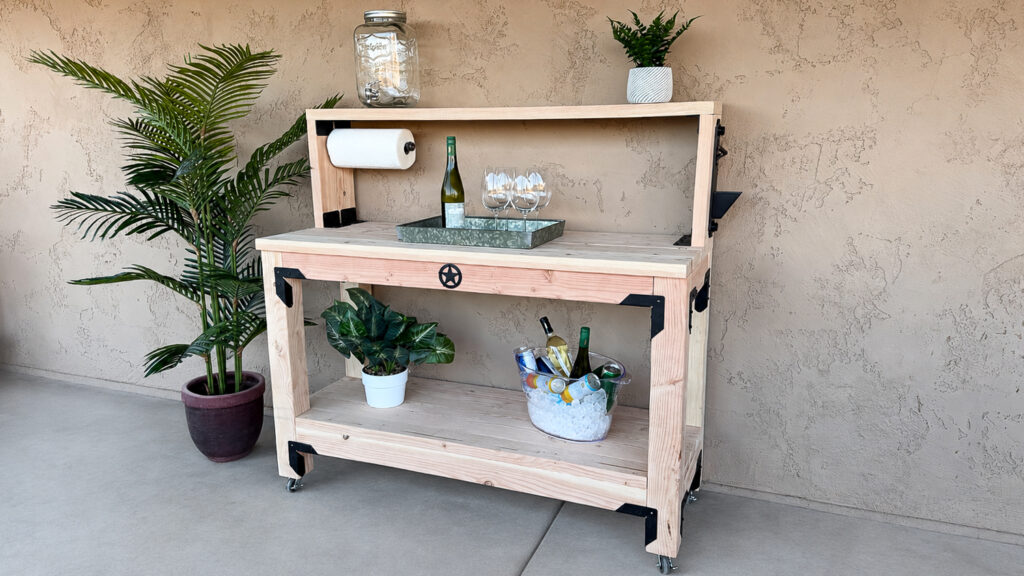
Here’s exactly how I built it, step by step.
Why I Redesigned My Old Console Table
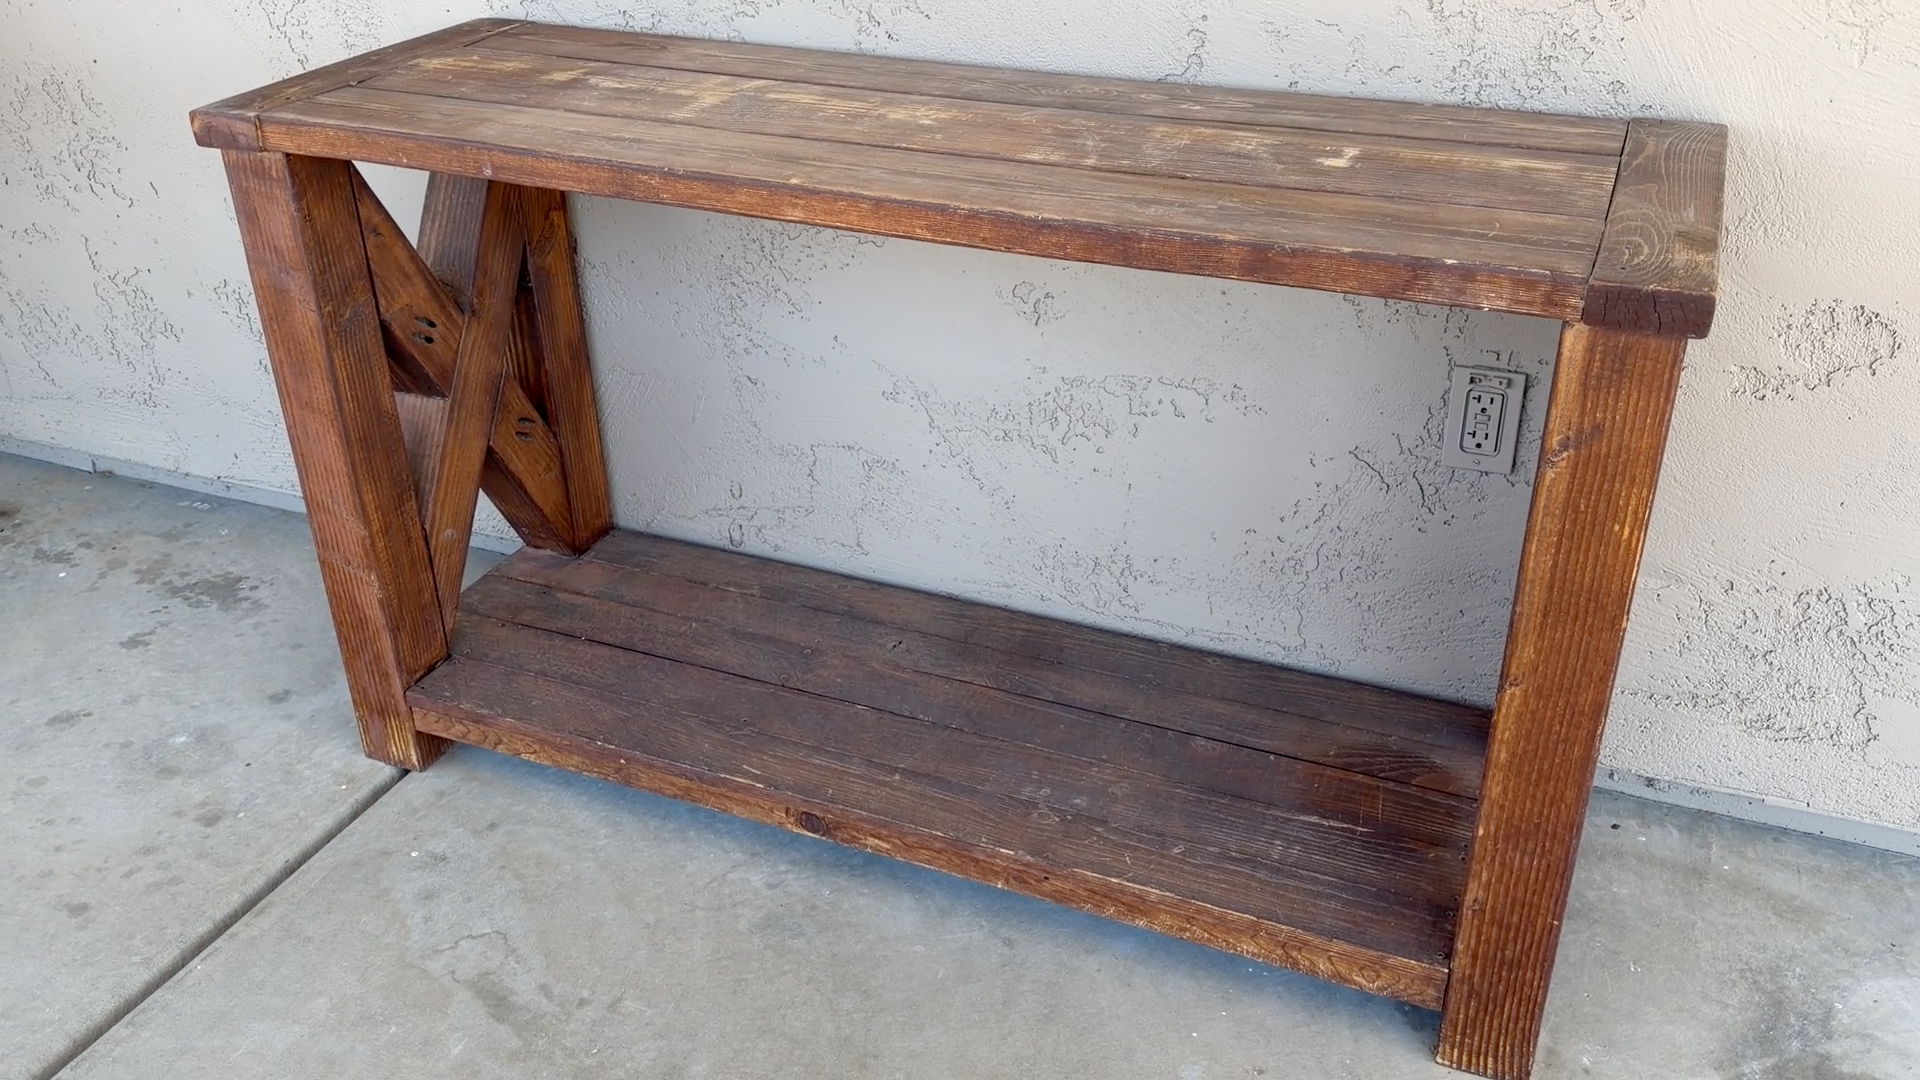
Our original table served us well for a decade, but our rough, Arizona climate had taken its toll — it had gotten loose and wobbly, and we wanted more usable space. This new design solves both problems:
- An upper shelf for beverage dispensers and snacks, freeing up the main counter for food prep and drinks
- A side-mounted bottle opener for easy access
- A paper towel holder tucked under the shelf, up and out of the way
- Locking casters so the table can be rolled for cleaning or moved closer to the pool when the party shifts
Watch the YouTube Video
Materials & Tools
Lumber:
- 4×4 lumber (table legs)
- 2×4 lumber (aprons, cross supports, shelf verticals)
- 2×6 boards (tabletop and lower shelf)
- 2×12 board, trimmed to 8 1/2″ wide (upper shelf) — a 2×10 would actually work just as well here
Hardware & Supplies:
- Simpson Strong-Tie Outdoor Accents Essentials connectors (16 total, for the upper and lower frames)
- Simpson Strong-Tie Outdoor Accents angle connectors (for the upper shelf supports)
- Simpson Strong-Tie Outdoor Accents bottle opener
- Simpson Strong-Tie Outdoor Accents star (decorative accent)
- 2-inch locking casters (4)
- 1 1/8″ wood screws
- 2 1/2″ pocket hole screws
- 1 1/2″ pan-head screws
- Threaded iron pipe (for the paper towel holder — I recycled mine from an old freestanding holder)
- Outdoor varnish
Tools:
- Miter saw
- Table saw
- Pocket hole jig
- Drill/driver
- Clamps
- Sander (worked up to 220 grit)
You Can Download the Printable Plans Here
Step 1: Cut and Sand All Your Pieces
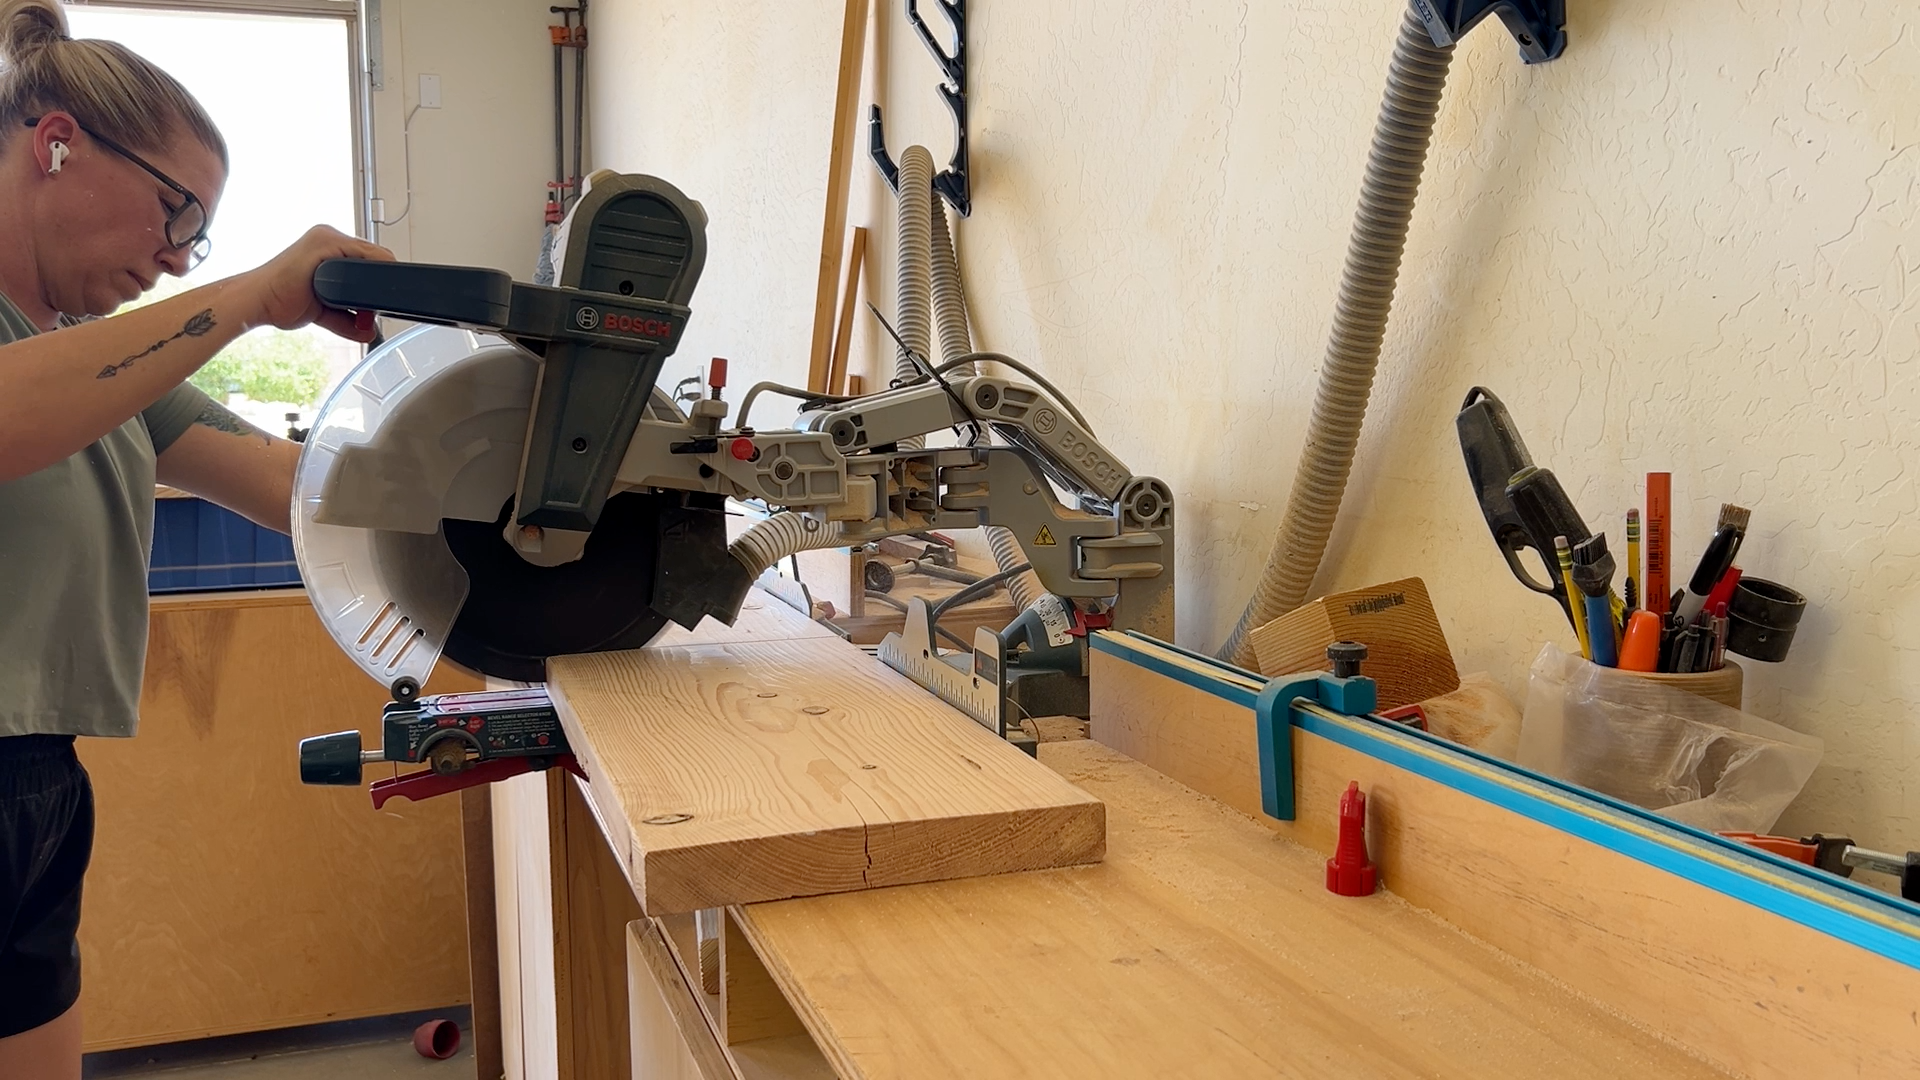
Start by cutting all of your 4×4 and 2x lumber to size on the miter saw. Once everything is cut, sand each piece smooth, working your way up through the grits to 220 for a nice finished feel.
Step 2: Attach the Upper Frame Connectors
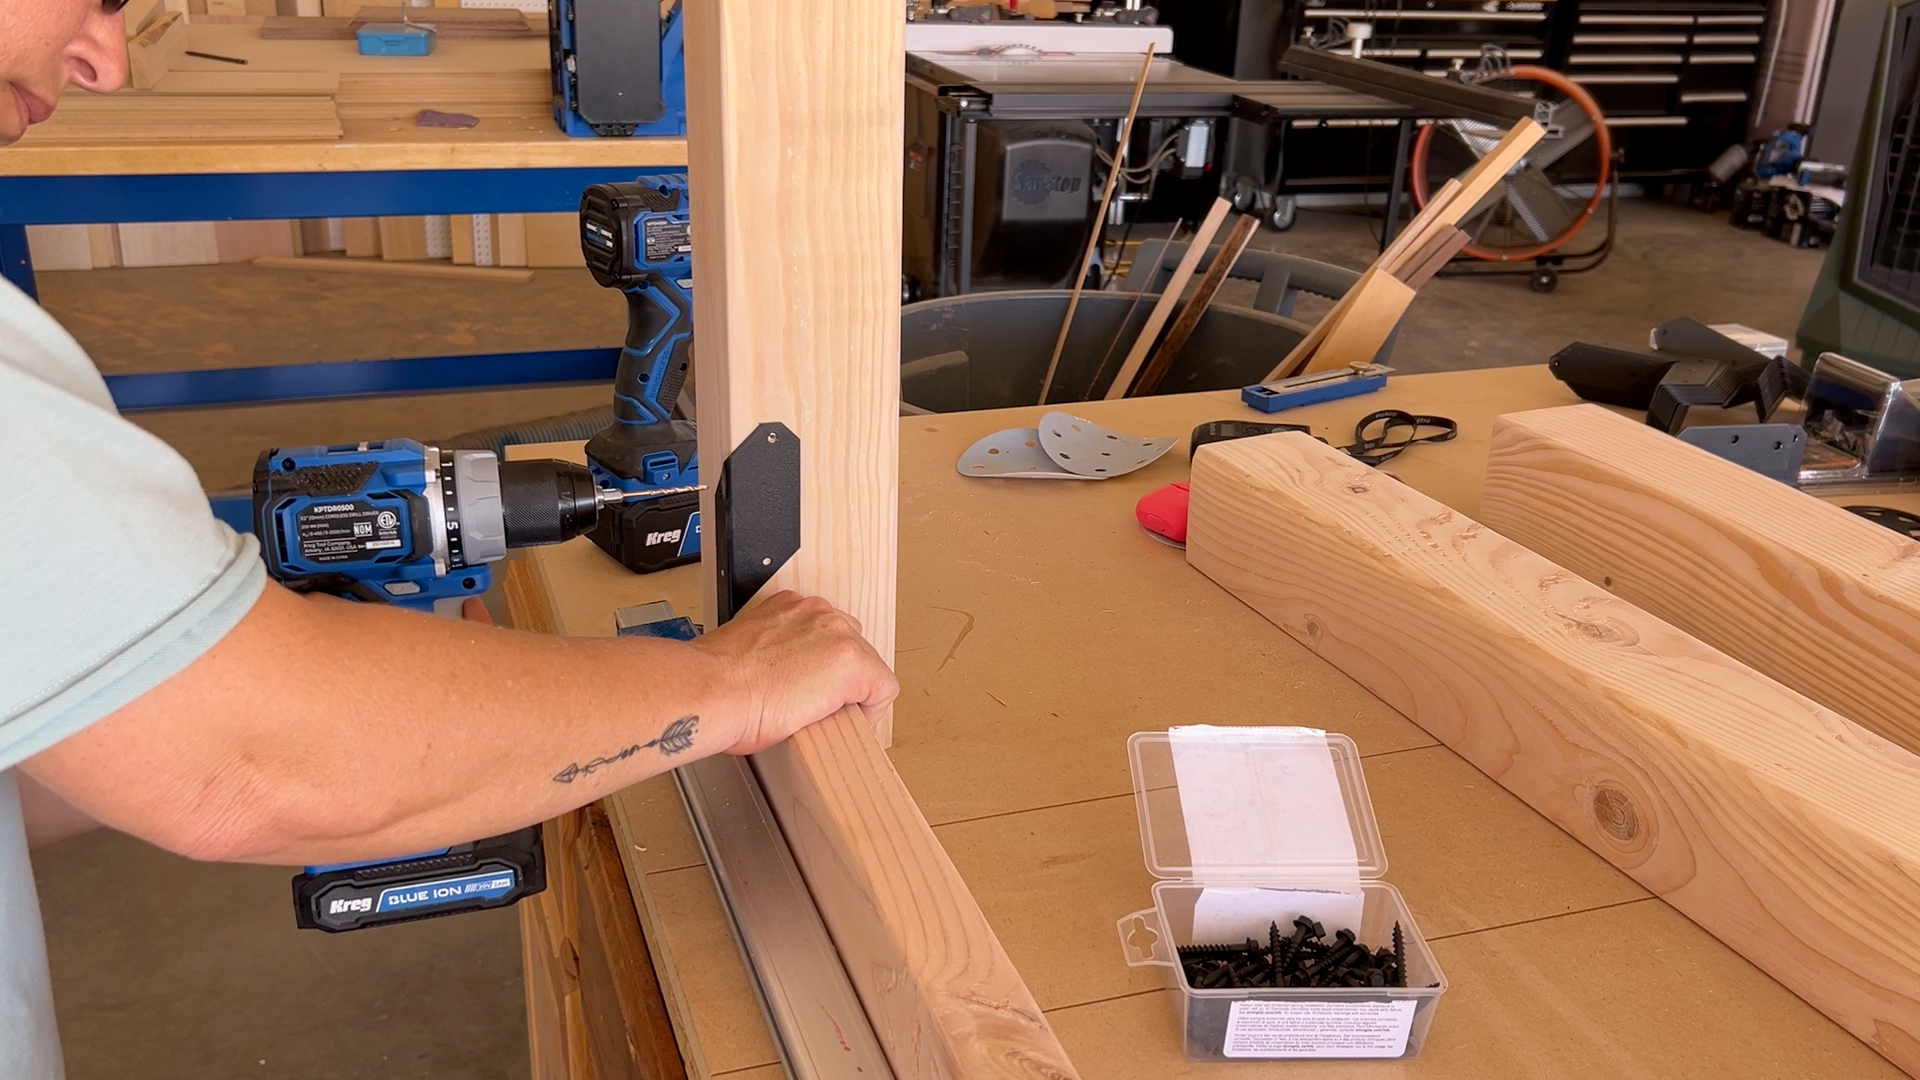
Position the Simpson Strong-Tie Rigid Tie connectors against the table legs and front apron, then clamp everything together to hold it steady. Drill 1/8″ pilot holes and drive in your screws.
One of my favorite things about these angled connectors is that they automatically hold the wood at a perfect 90-degree angle — no constant re-checking with a square needed. Work your way around the entire upper portion of the frame, attaching connectors to each leg and apron.
Step 3: Add the Lower Frame Connectors and Aprons
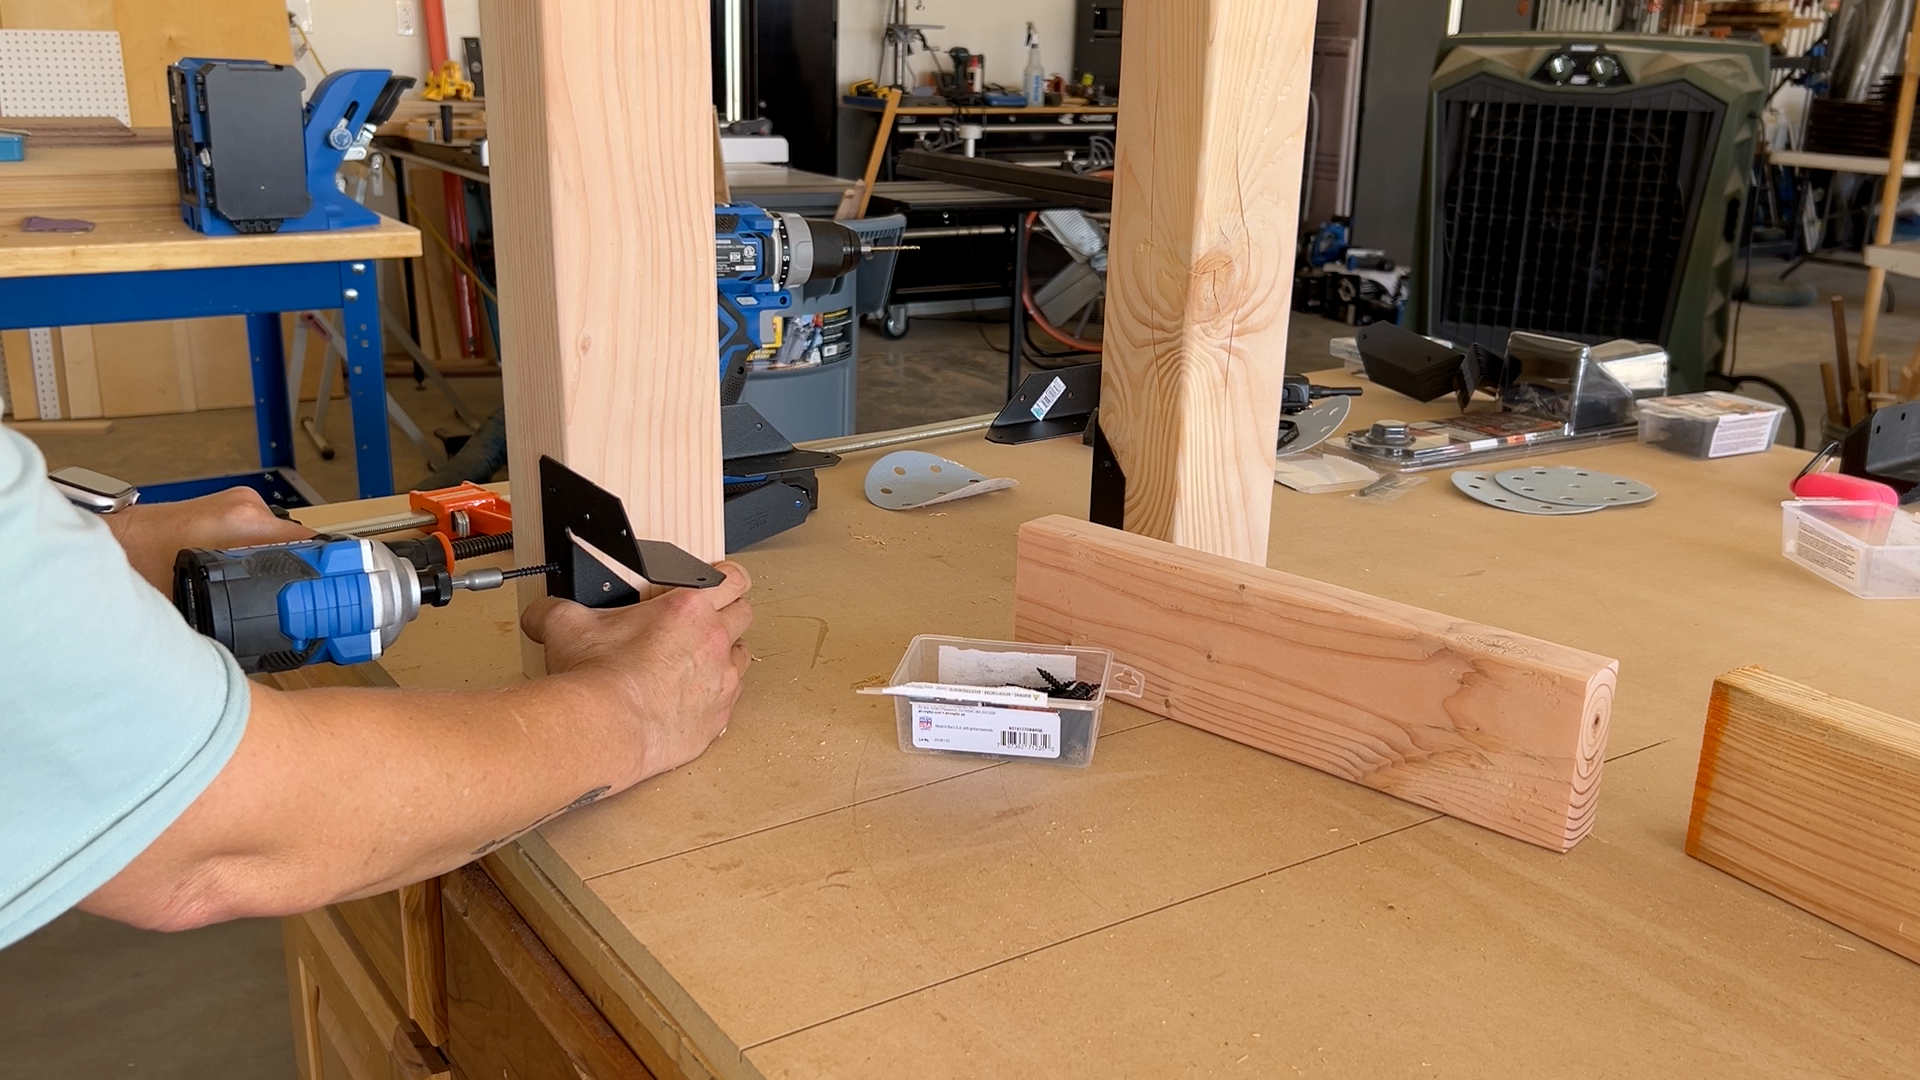
Flip the table over and install the connectors for the bottom shelf, keeping them flush with the bottoms of the legs. Drill pilot holes and add screws.
Pro tip: Some screw holes won’t be accessible once the table is standing upright, so only install the screws you can reach right now — you’ll finish the rest in a later step.
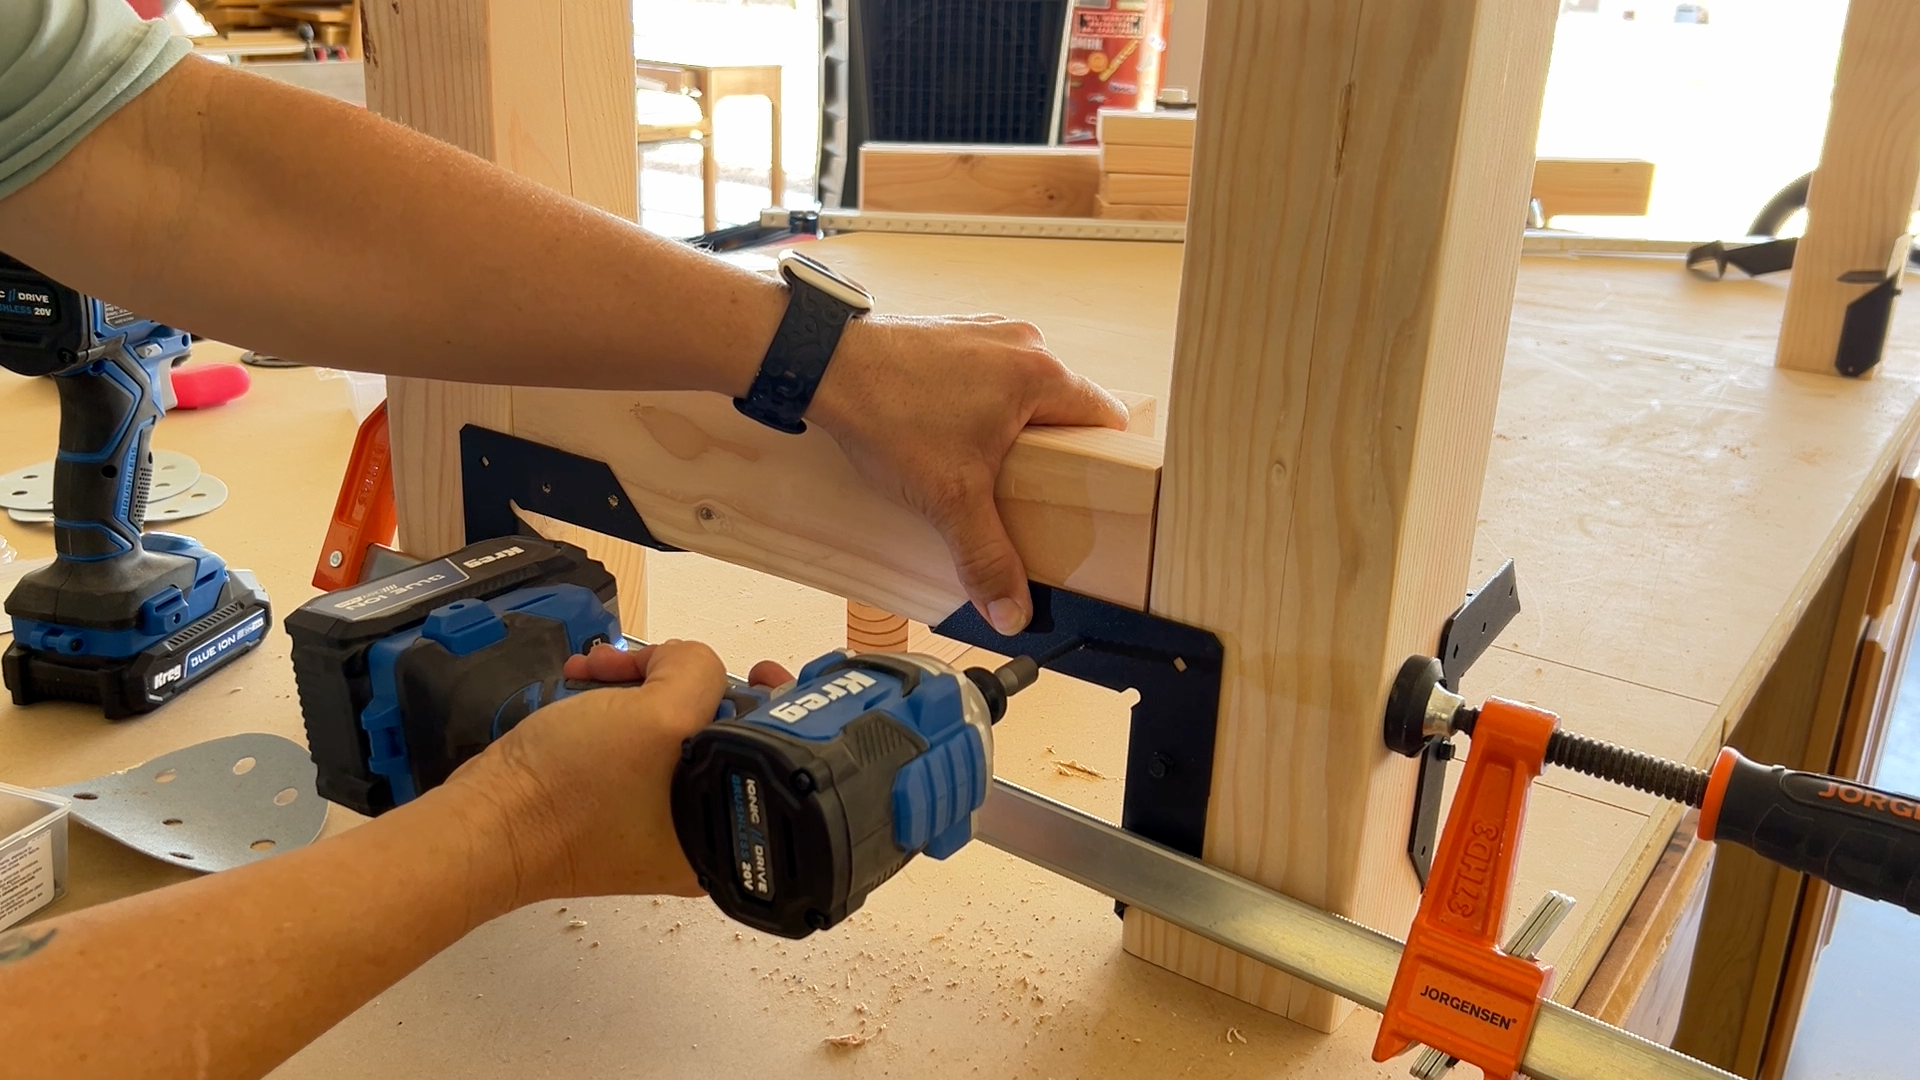
Next, attach the 2×4 aprons for the bottom shelf, again only screwing in what’s accessible.
Step 4: Secure the Remaining Connector Screws
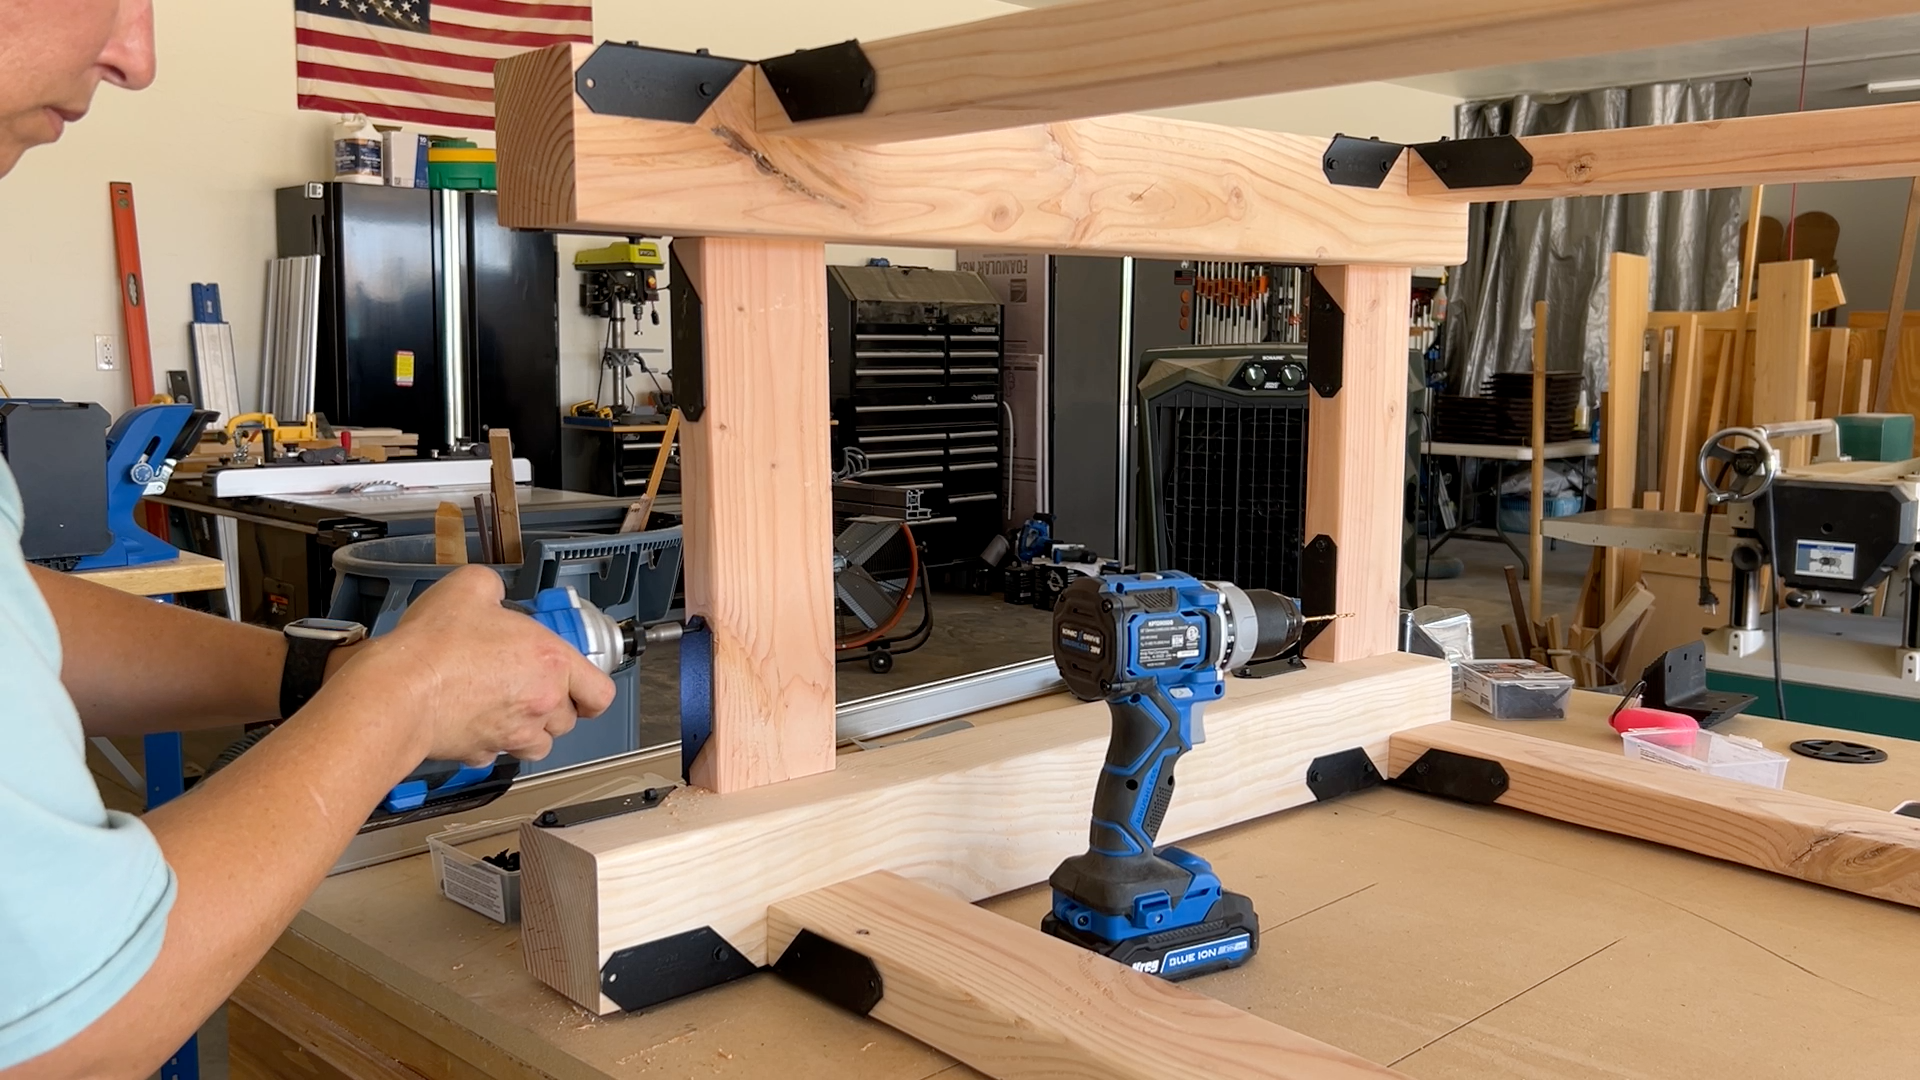
Lay the table on its side and install the remaining screws on the undersides of the connectors. This fully secures the aprons and stabilizes the legs.
Step 5: Cut and Attach the Tabletop and Shelf Boards
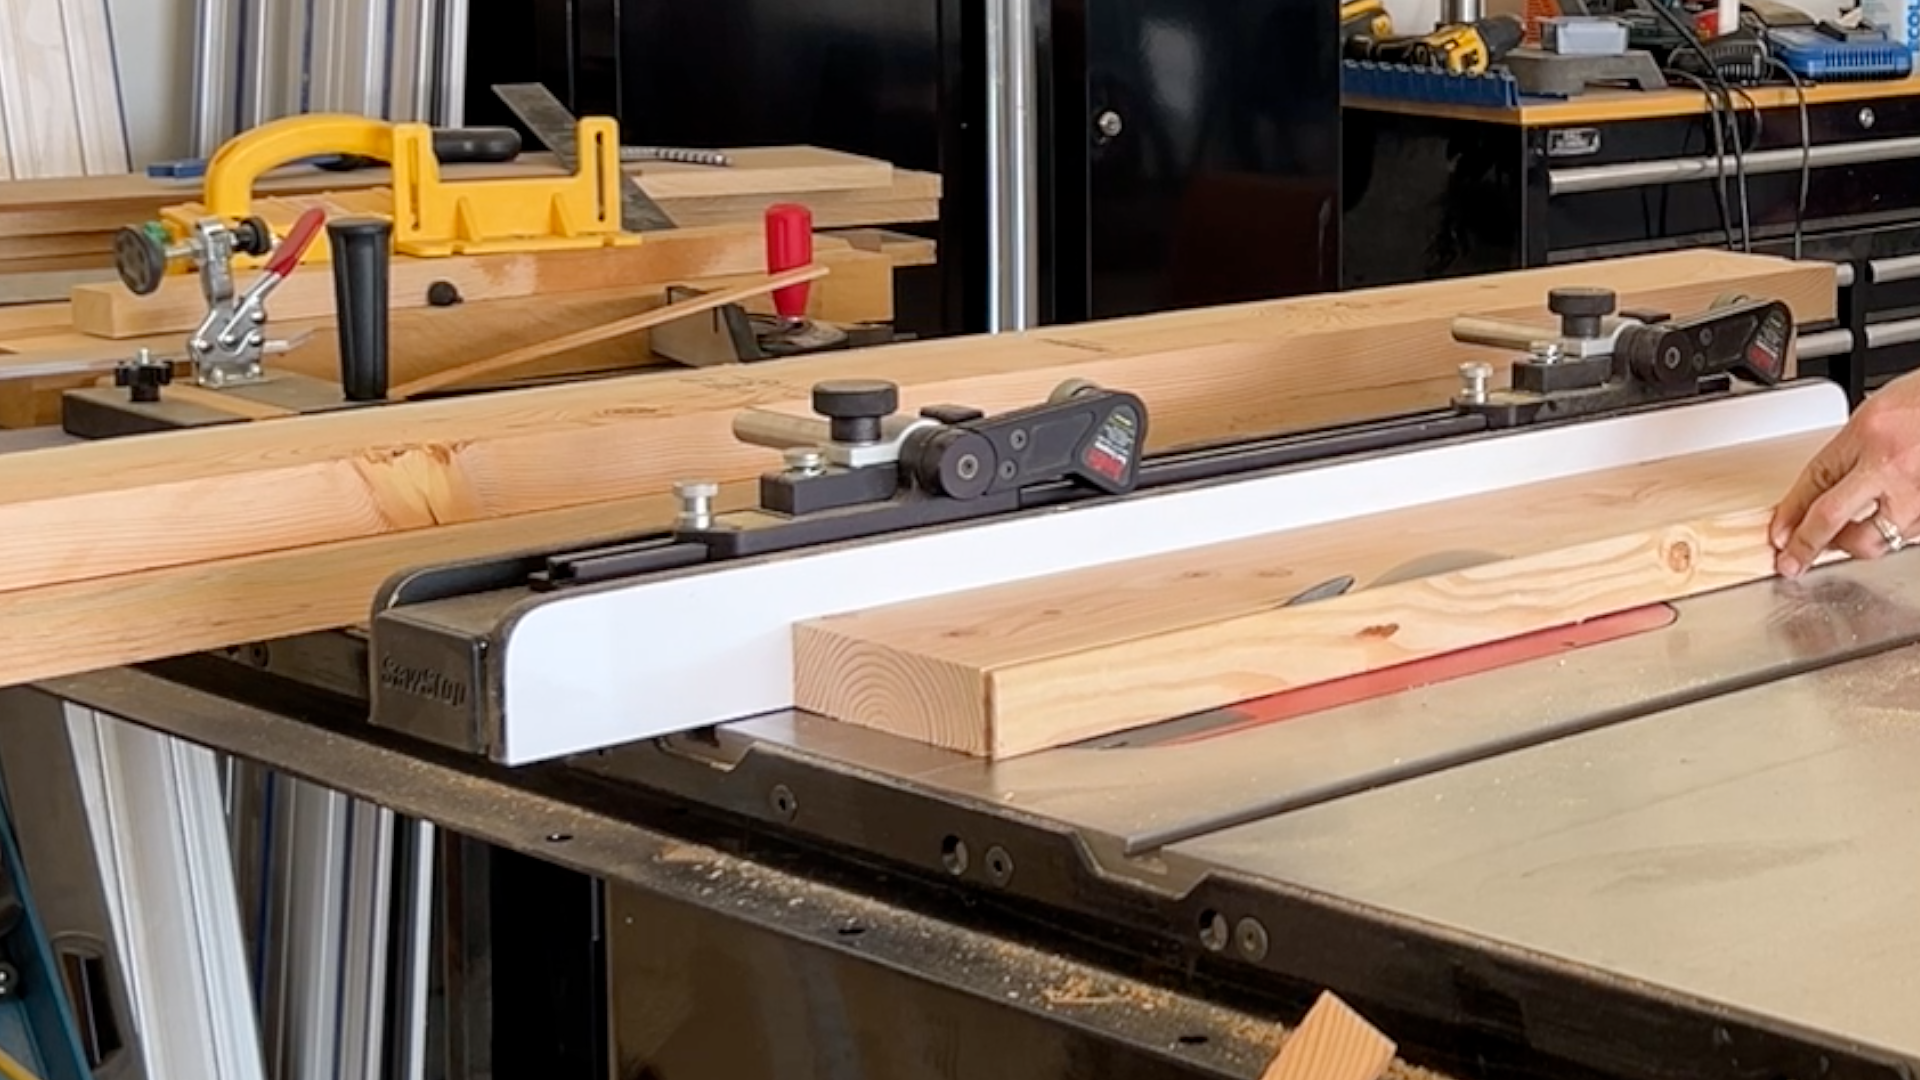
Trim your 2×6 boards down on the table saw to your desired width. This removes the rounded edges from standard 2x material, giving you clean, square edges for a more modern look.
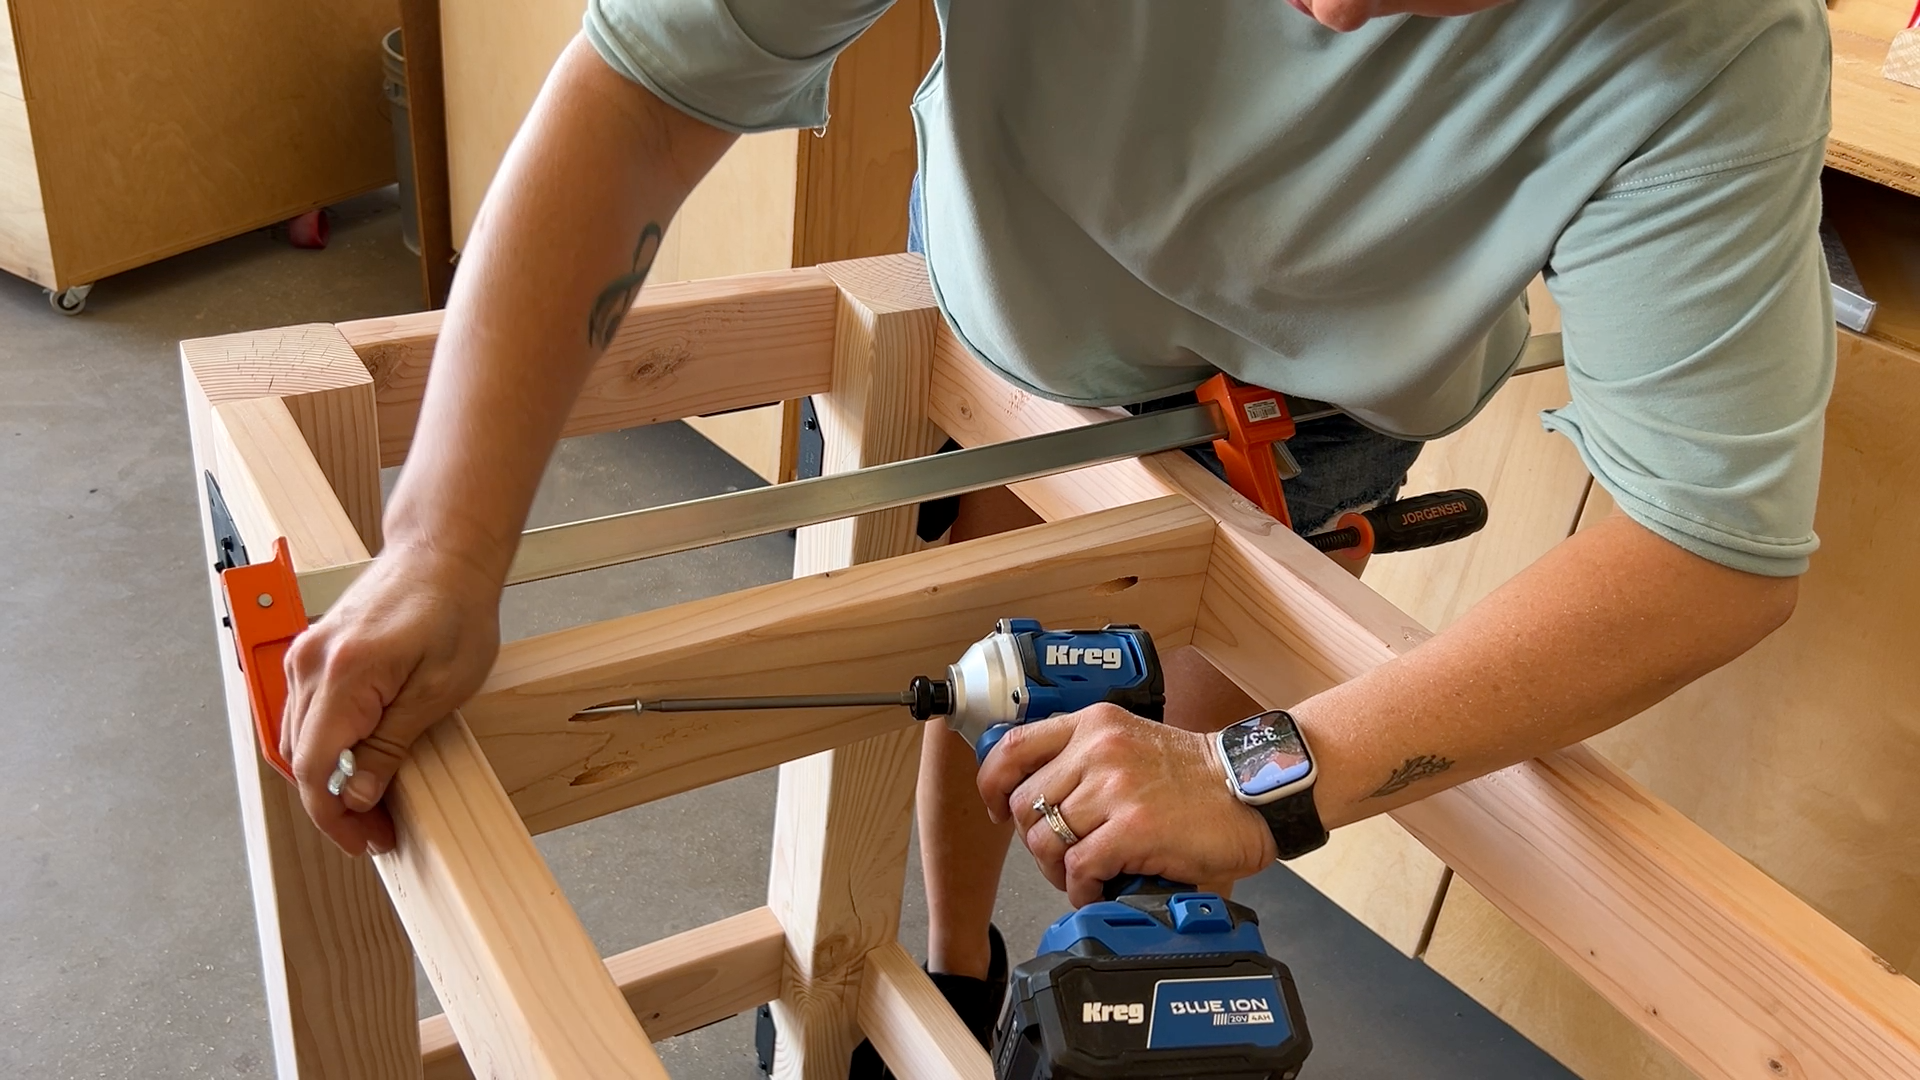
Cut 2×4 cross supports for both the tabletop and lower shelf. Drill pocket holes into each end, measure your table frame to determine placement, and attach the supports using 2 1/2″ pocket screws.
Step 6: Install the Locking Casters
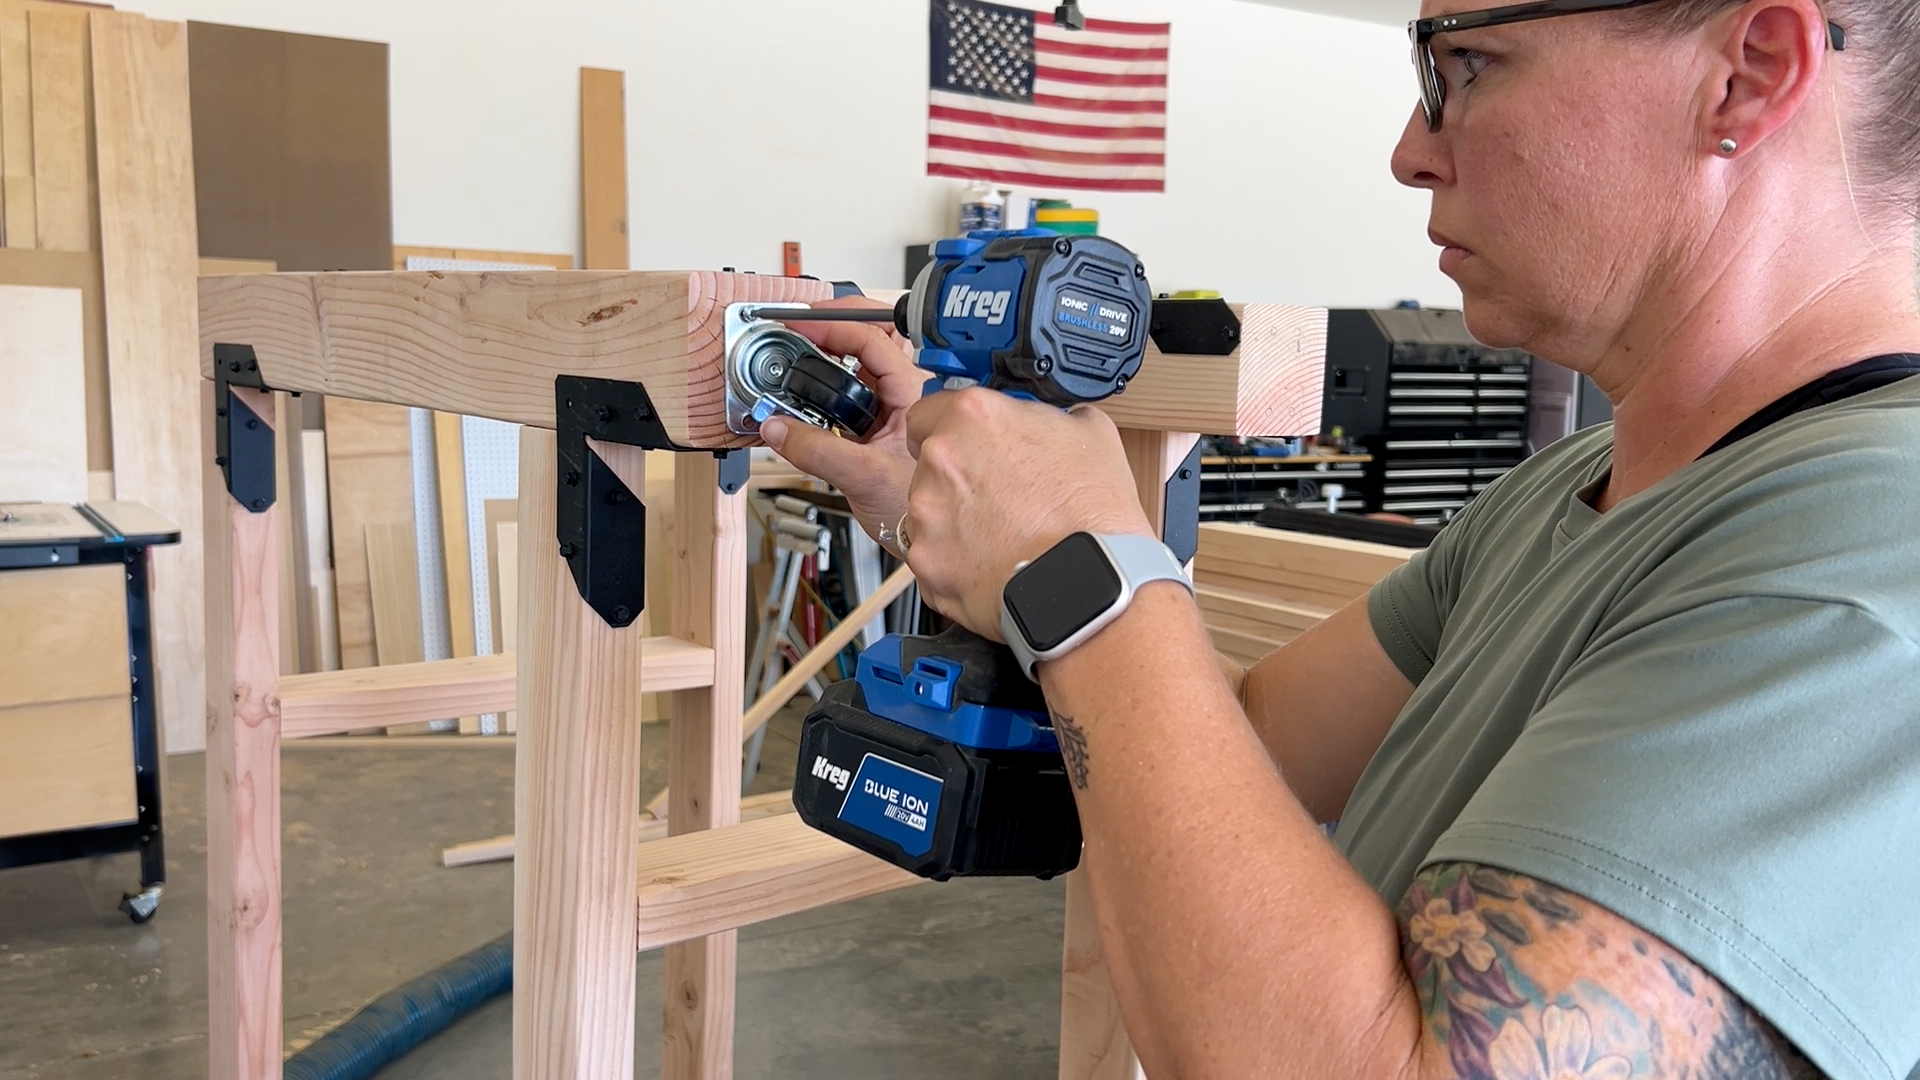
Before the table gets too heavy from the top and shelf, flip it onto its side and install the 2″ locking casters. Drill pilot holes first — this step matters, since skipping it can split the wood when you drive in the screws.
Step 7: Attach the Bottom Shelf and Tabletop Boards
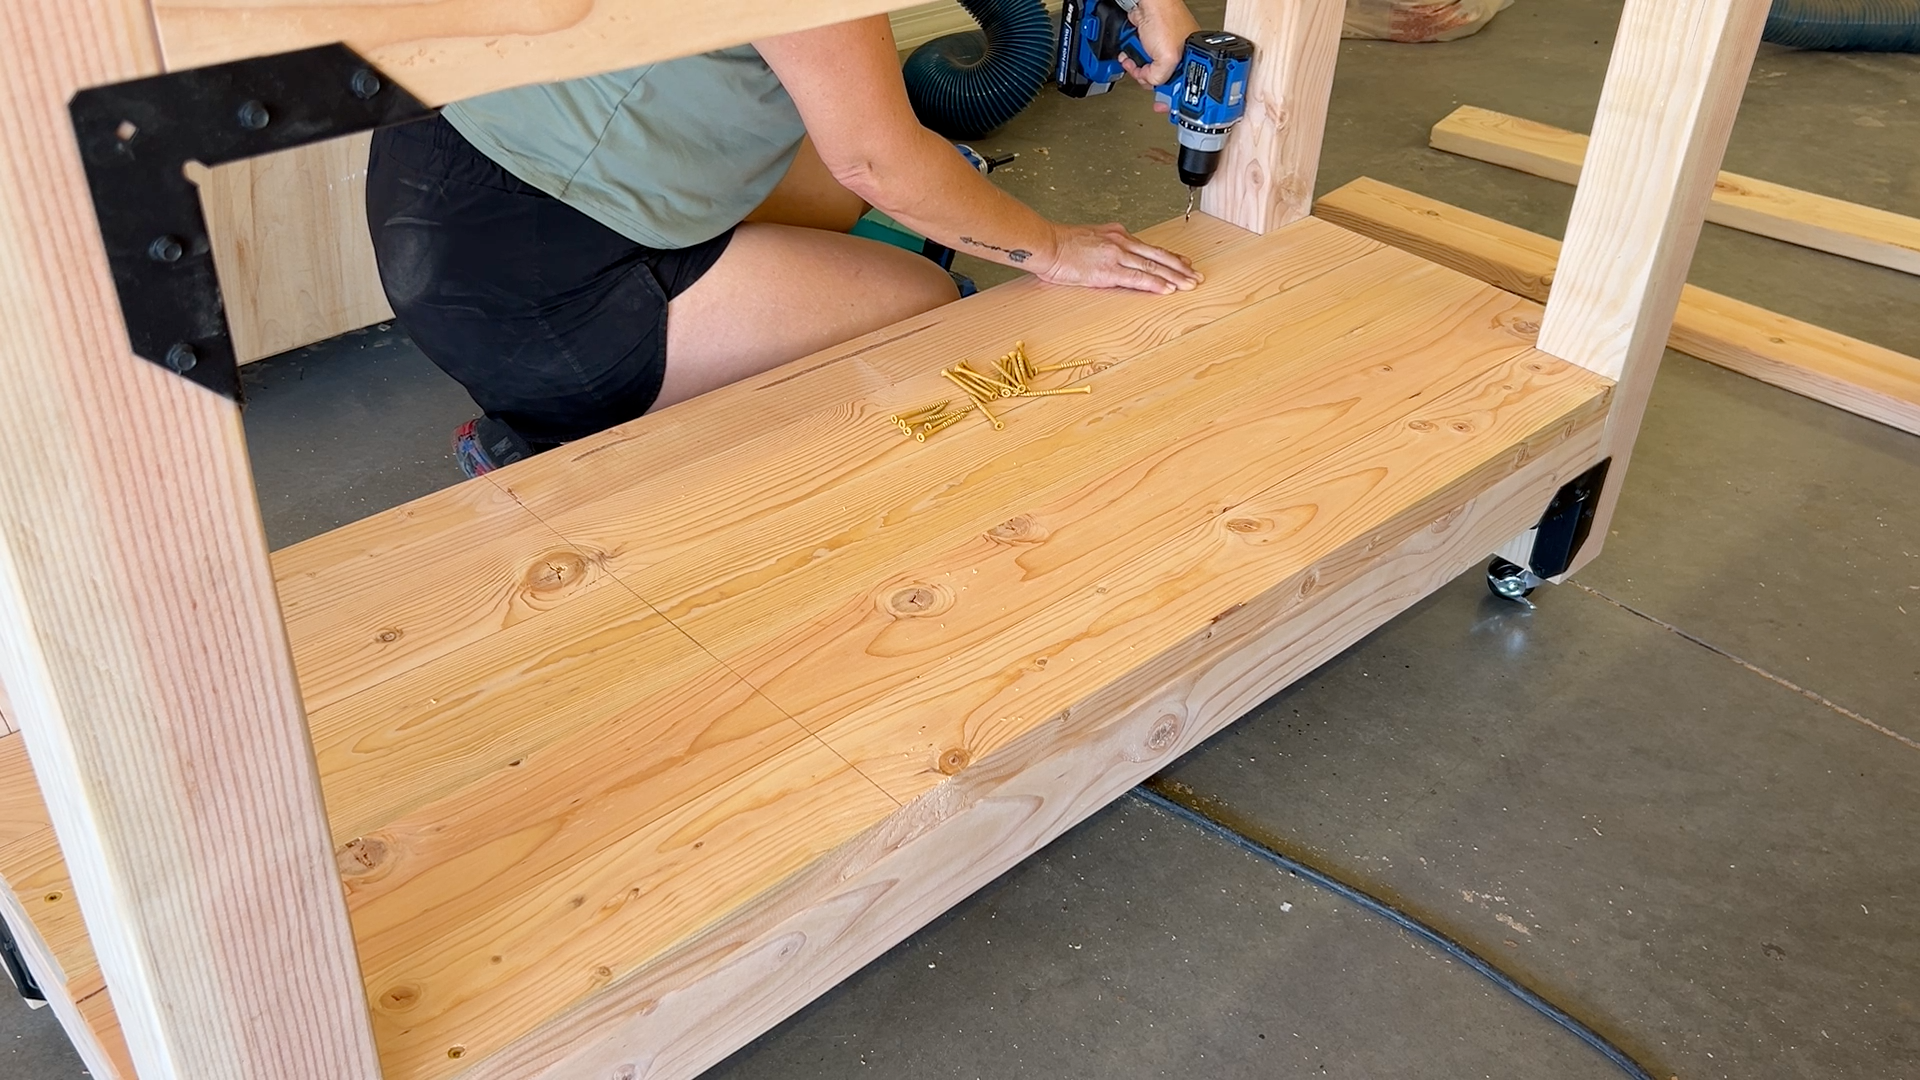
Flip the table back onto its feet and attach the bottom shelf boards, lining everything up and driving a few starter screws to hold the first board in place. Measure and mark your cross support locations, then drill pilot holes and drive in 2 1/2″ screws to secure everything.
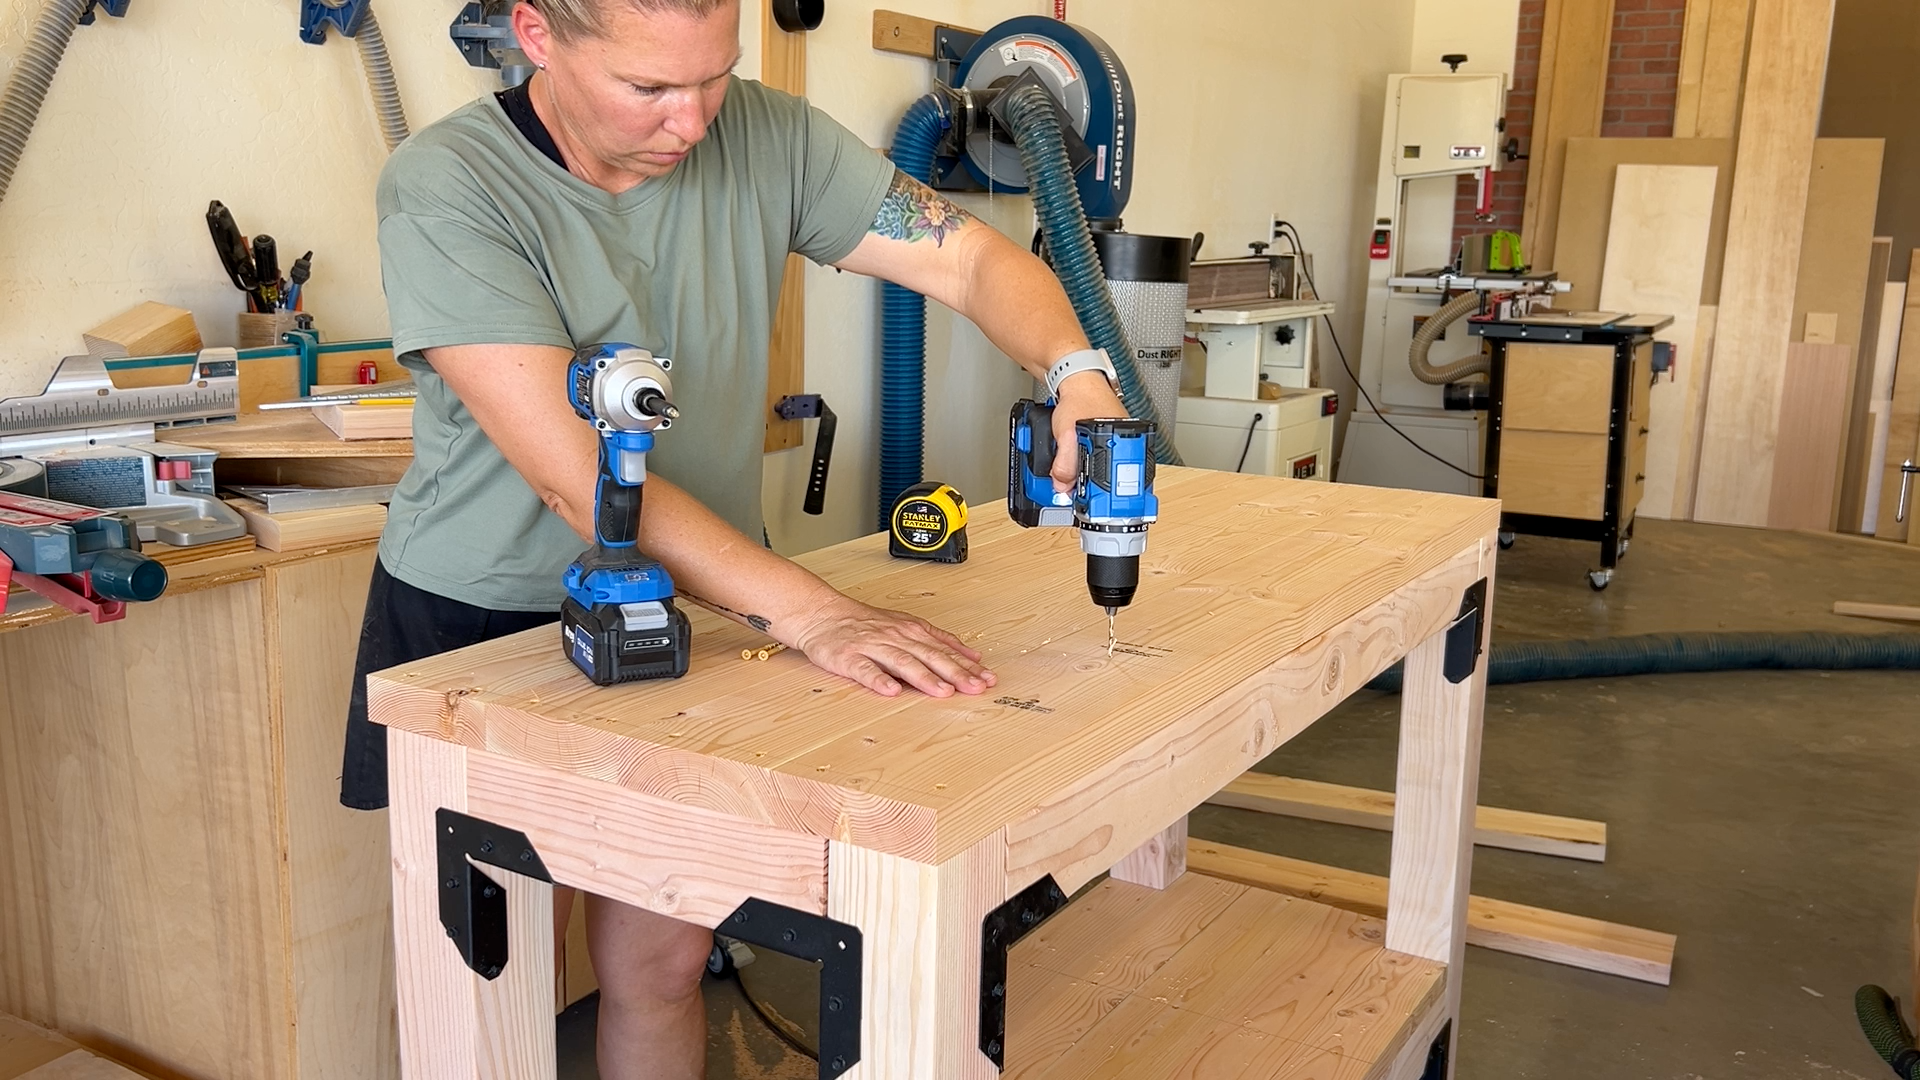
Repeat the process for the tabletop. It’s totally optional, but you can leave a 1″ overhang along the front instead of a flush edge — if doing this, make the table top boards just slightly wider than 5″. I originally planned to make it all flush but at the last minute saw that I liked the idea of the 1″ overhang in the front.
Step 8: Build and Attach the Upper Shelf
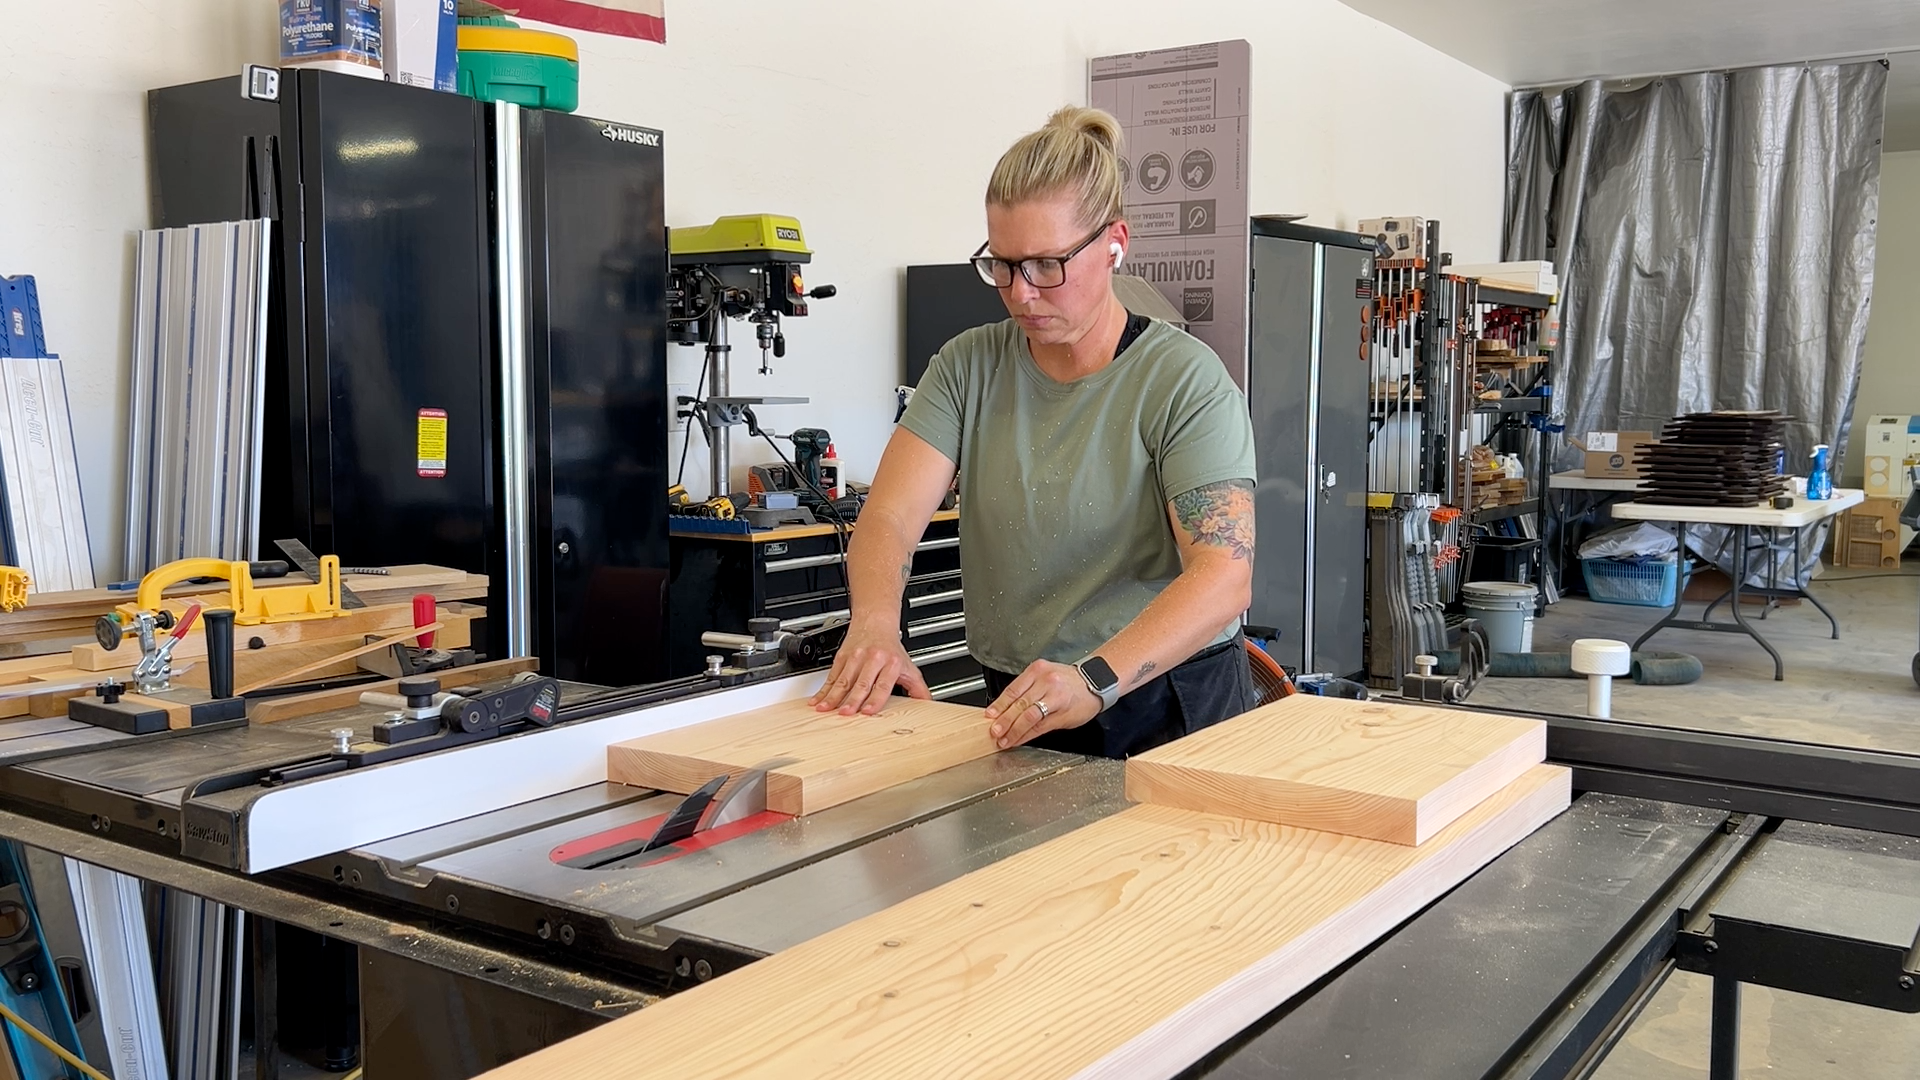
Cut your 2×12 down to length, then trim it on the table saw to a width of 8 1/2 inches for the shelf.
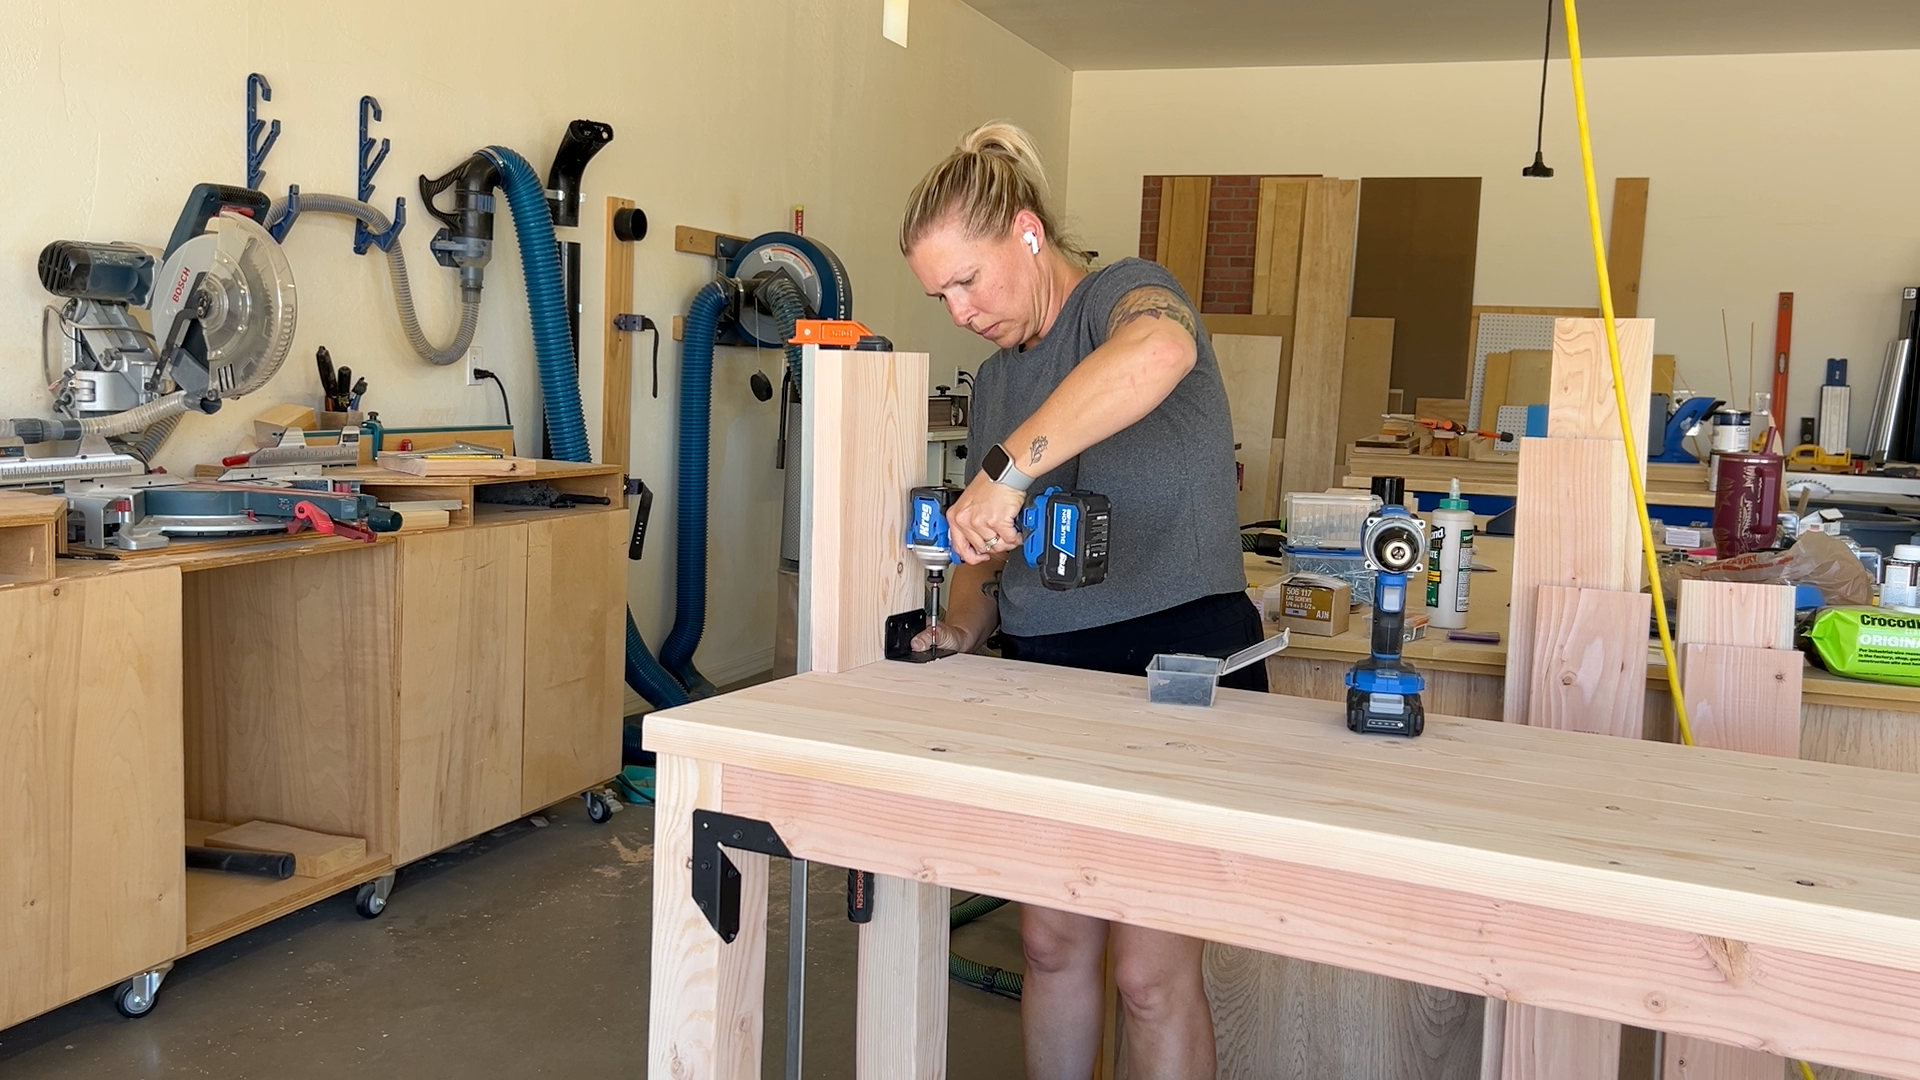
Clamp the vertical supports to the tabletop and attach them using Simpson Strong-Tie angle connectors and 1 1/2″ pan-head screws. Once both supports are attached, set the shelf on top, clamp it in place, and add angle connectors to the upper corners.
Step 9: Add the Bottle Opener, Star Accent, and Paper Towel Holder
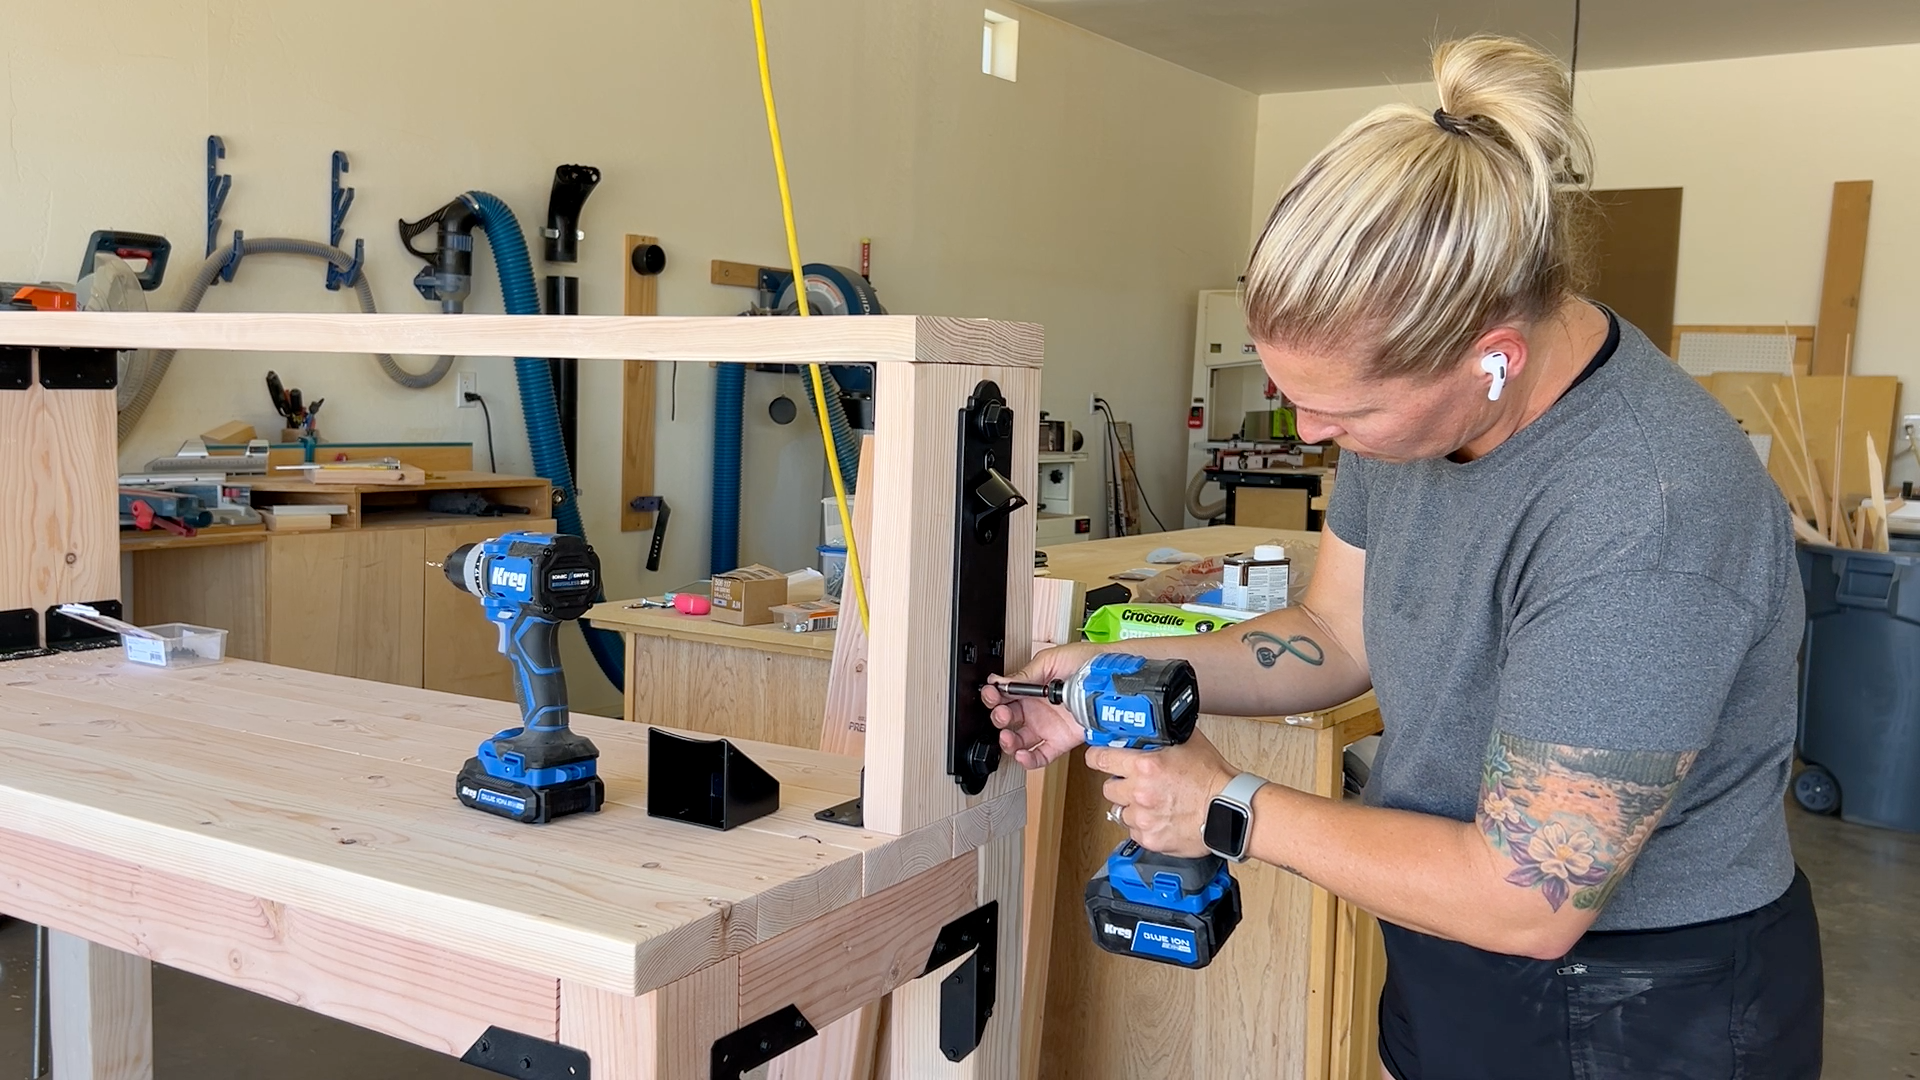
Attach the Outdoor Accents bottle opener to the side of one of the shelf supports.
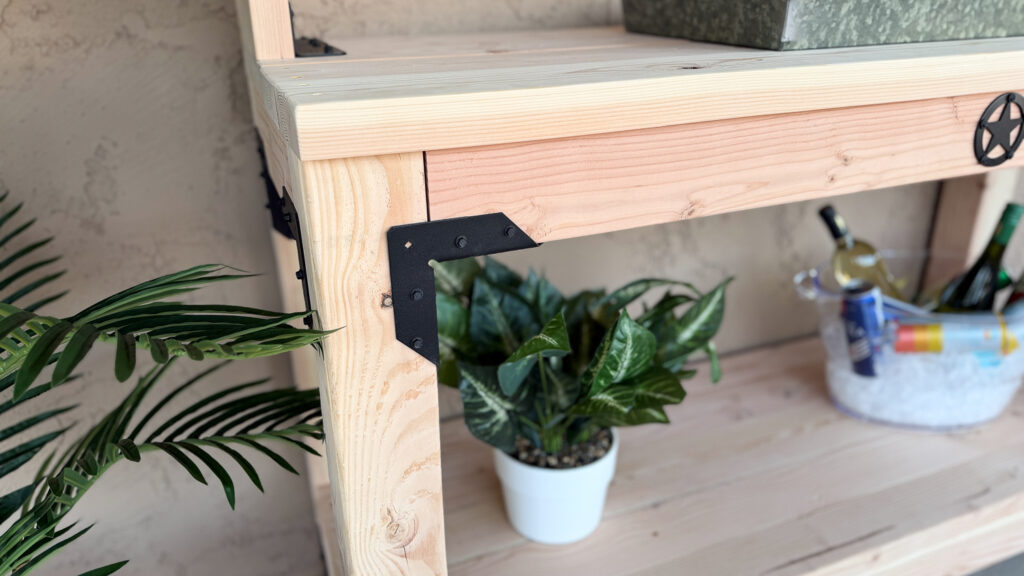
Add the Outdoor Accents star to the front of the table as a decorative touch — for me, it’s a little nod to Texas, where my husband is from (and where he proposed to me).
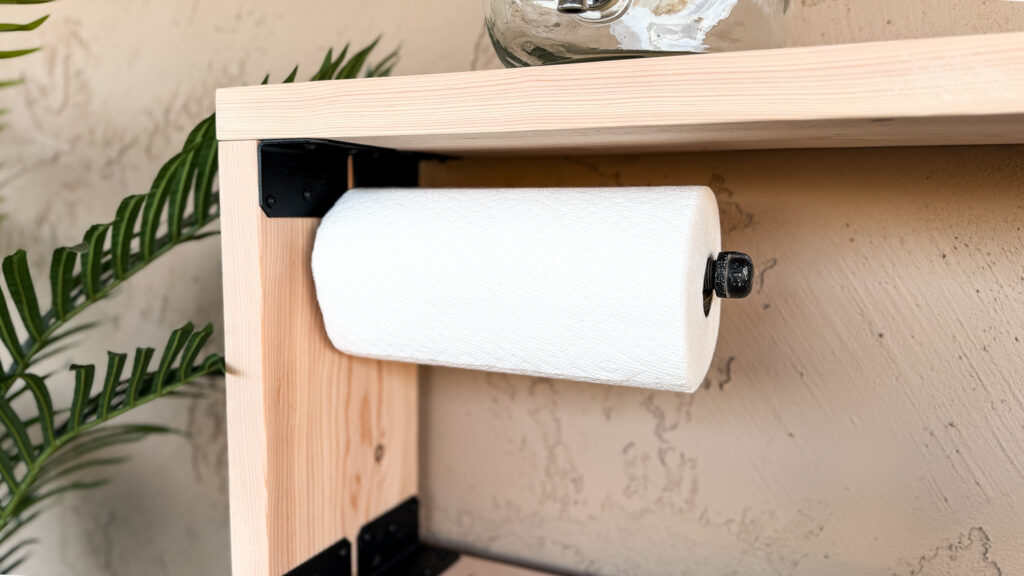
Mount the paper towel holder on the underside of the upper shelf. I recycled an homemade paper towel holder I had put together 10 years ago, but if I didn’t have that I would order this one.
Step 10: Finish the Table
I originally planned to stain the table, but wasn’t happy with how any of the colors looked on scrap wood, so I opted to seal it with an outdoor varnish instead.
Heads up: Extreme heat makes it very difficult to brush on varnish evenly, so if you’re building in the middle of summer, wait for a cool-down before applying your finish.
The Finished Table
The finished console table turned out exactly how I envisioned it — sturdy, functional, and a true statement piece for the patio. The Simpson Strong-Tie connectors add both stability and a beautiful decorative element, and the black powder-coated finish looks great against the natural wood. On top of that, they make the whole assembly process so much easier.
Don’t forget to download the printable plans for this project
Frequently Asked Questions
What size lumber do I need for this console table? You’ll need 4×4 lumber for the legs, 2×4 lumber for the aprons and cross supports, 2×6 boards for the tabletop and lower shelf, and a 2×12 (or 2×10) for the upper shelf.
How many connectors do I need? You’ll need a total of 16 Simpson Strong-Tie Outdoor Accents Essentials connectors for the upper and lower frames, plus 8 angle connectors for the upper shelf supports.
Why use locking casters on an outdoor console table? Locking casters make it easy to move the table for cleaning the patio or relocating it during a party, while still keeping it stable and in place when needed.
What’s the best finish for outdoor furniture in a hot climate? An outdoor varnish holds up well, but avoid applying it during extreme heat — it’s very difficult to brush on evenly above 110°F. Wait for a cooler stretch of weather for the best results.