How to Build a Printer Cabinet for Your Home Office
If your printer is eating up precious desk space, it might be time to give it a home of its own. This step-by-step tutorial shows you exactly how to build a modern farmhouse printer cabinet — complete with a top drawer for supplies and a lower cabinet for extra storage. It’s functional, beautiful, and fits seamlessly into a home office.
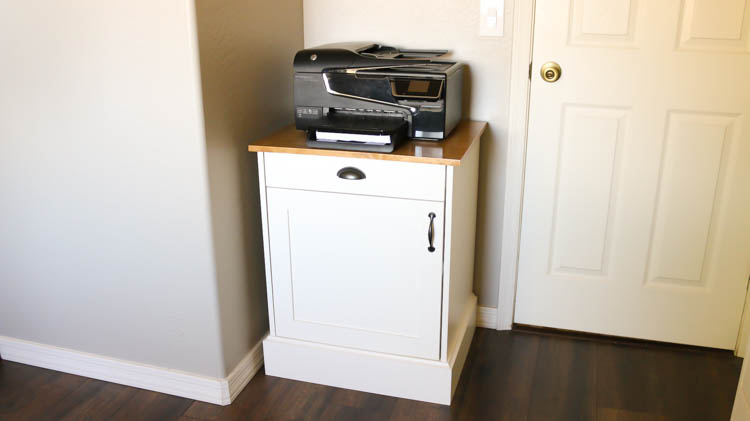
I originally built this cabinet to match the Murphy bed in our home office, and it’s one of my favorite builds to date. Read on for the full step-by-step, free printable plans, and a YouTube video walkthrough.
Disclosure: I partnered with DAP Products for this project and was provided products and/or compensation. All opinions and project ideas are 100% my own.
Why I Built This Printer Cabinet
I built a Murphy bed for our fourth bedroom so it could pull double duty as a guest room and home office. The setup includes a long shared desk — but our printer had always sat at one end, taking up a surprising amount of space and making the desk feel cluttered.
Building a dedicated printer cabinet solved the problem immediately. The printer moved off the desk, we gained storage, and the room finally felt organized. Best of all, it matches the Murphy bed perfectly.
Watch the Build Video
Prefer to learn by watching? Check out the full build video on YouTube before diving into the written steps.
Free Printable Plans
Before you start, grab the free printable plans. They include:
- Full materials list
- Cut list
- Step-by-step drawings
Materials & Tools You’ll Need
Materials:
- Plywood (3/4″ and 1/4″)
- 1×6 select pine board (for moulding)
- 1/2″ Baltic birch plywood (for drawer box)
- DAP Carpenter’s Wood Glue
- DAP Plastic Wood X Wood Filler
- Edge banding
- Pocket screws (1 1/4″ and 1″)
- Brad nails (3/4″ and 1 1/4″)
- Drawer slides (side mount)
- Frameless inset hinges or euro-style hinges
- Cabinet pulls
- Magnetic door stop
- Swiss Coffee paint
- Special walnut stain + satin polyurethane
Tools:
- Miter saw
- Pocket hole jig
- Router with cove bit
- Brad nailer
- Paint sprayer
- Sandpaper (220 grit)
- Drill
How to Build a Printer Cabinet: Step-by-Step
Step 1: Cut all of the plywood pieces
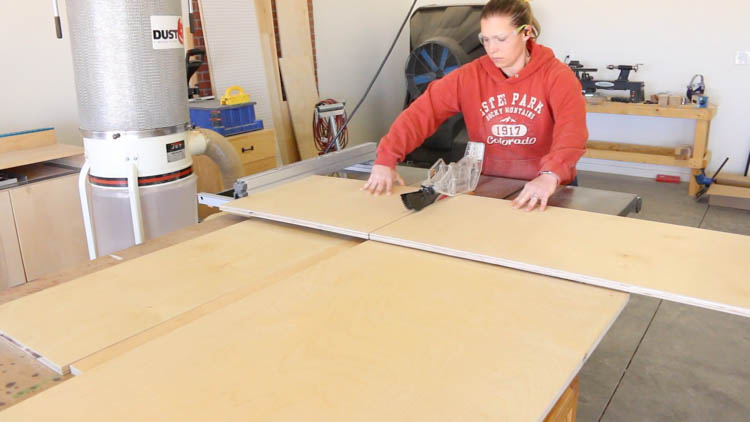
Following the cut list in the printable plans, cut all of the plywood pieces down to size using a table saw, track saw, or circular saw and guide.
Step 2: Apply Edge Banding
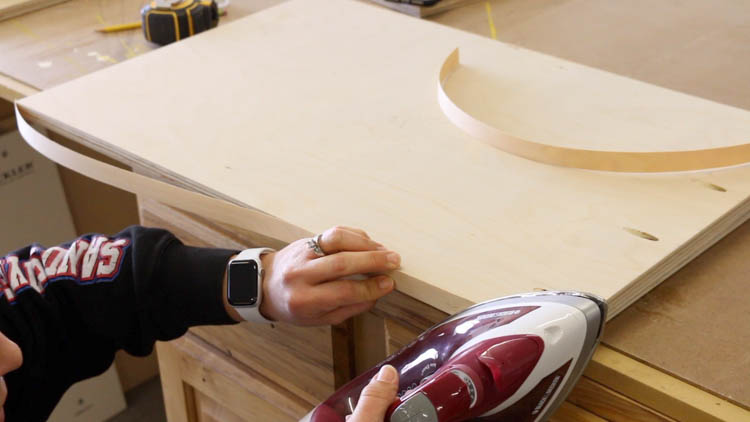
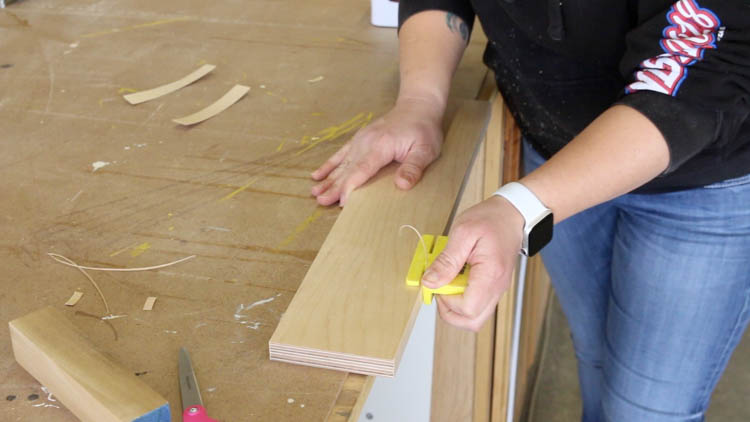
Apply iron-on edge banding to the front edges of the cabinet sides, cabinet top, and drawer front. Trim the excess banding and sand smooth for a clean, finished look.
Step 3: Build the Cabinet Carcass
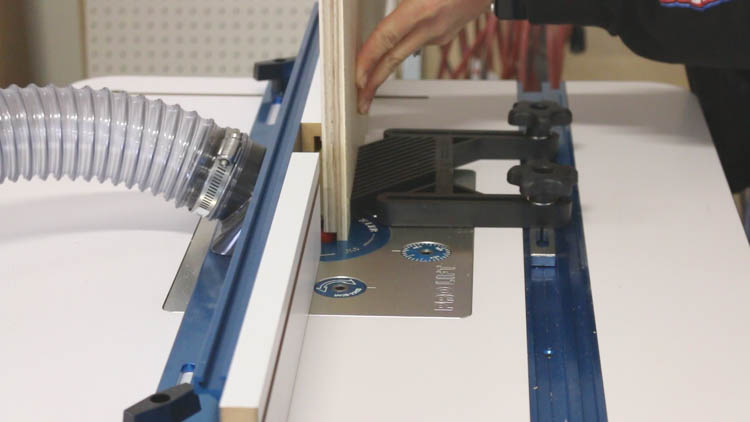
Assemble the main box of the cabinet. Add a 1/4″ rabbet to the back edges of the plywood to accept a 1/4″ plywood backer. (Alternatively, you can attach a 1/8″ hardboard backer instead — skip the rabbet if you go that route.)
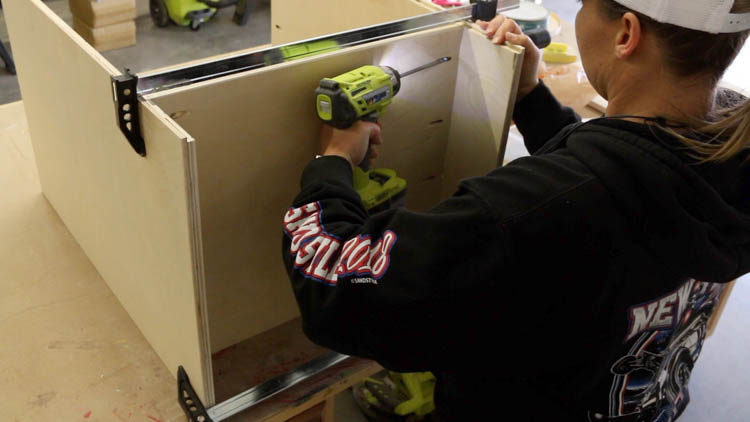
Drill 3/4″ pocket holes into the cabinet bottom and along the top edges of the sides. Attach the bottom using 1 1/4″ pocket screws and wood glue.
Step 4: Attach the Plywood Back
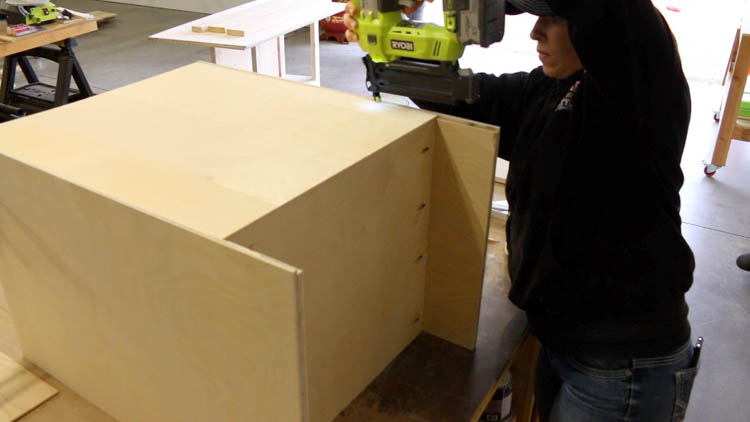
Run a bead of DAP Carpenter’s Wood Glue along both rabbeted grooves, then nail the 1/4″ plywood backer into place using 3/4″ brad nails.
Step 5: Cut the Base Moulding
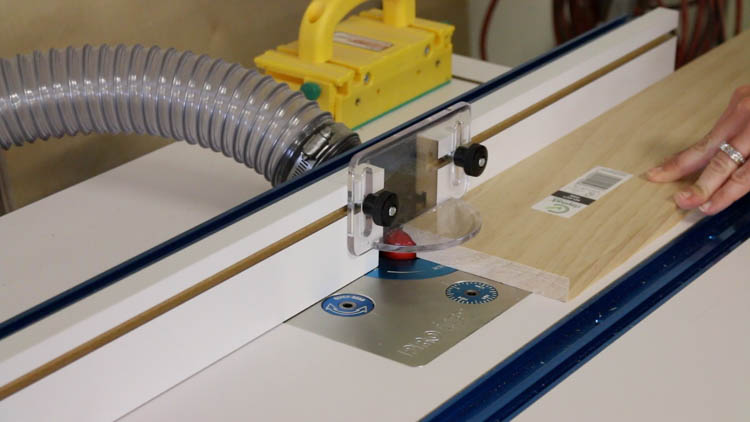
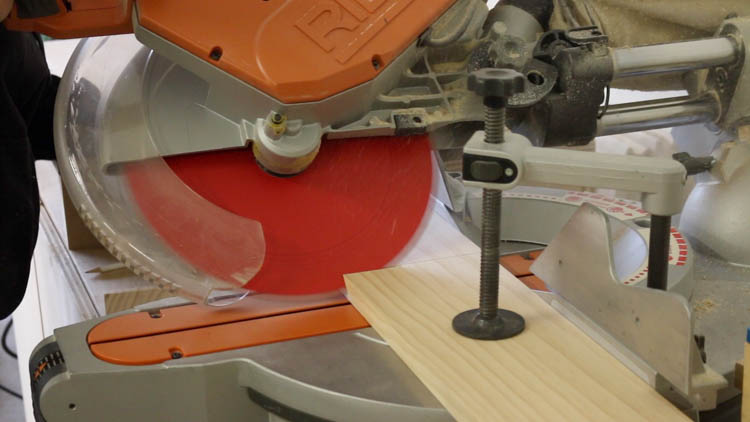
Use a cove bit to create custom moulding from a 1×6 select pine board, or skip the router step and use the board as-is for a simpler profile. Cut each moulding piece at a 45° miter on the miter saw, measuring and fitting each piece individually before moving on to the next.
Step 6: Attach the Moulding
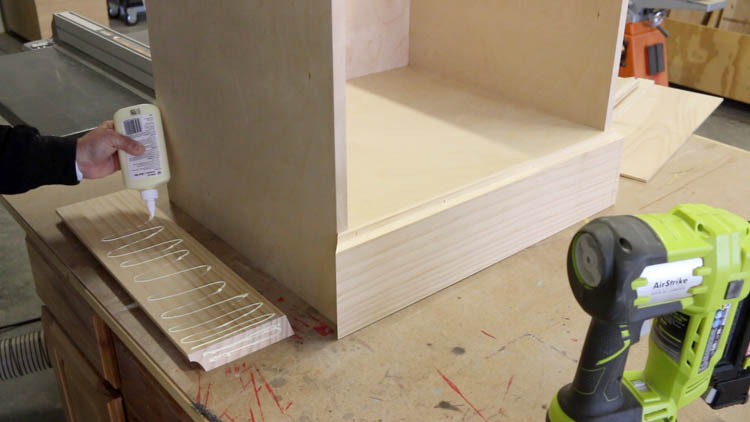
Glue the moulding pieces to the cabinet base and secure them with 1 1/4″ brad nails.
Step 7: Fill Nail Holes and Sand
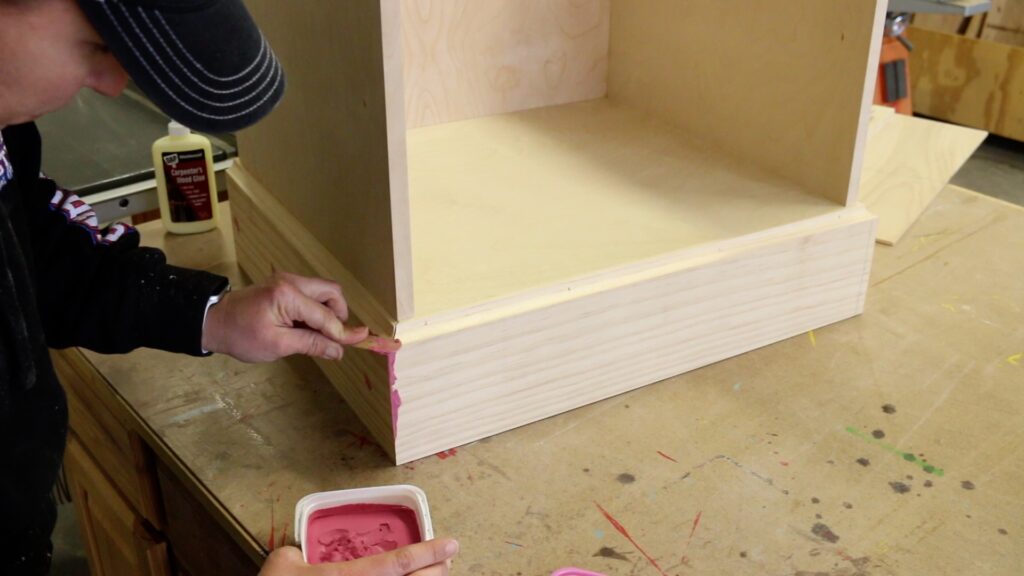
Fill all nail holes and any gaps in the miter joints with DAP Plastic Wood X Wood Filler. This filler goes on pink and dries to a natural color, so you always know exactly when it’s ready to sand. Once dry, sand all filled areas with 220-grit sandpaper, taking extra care to blend the corners to match the moulding profile. It’s also paintable and stainable, which makes it ideal for a project like this.
Step 8: Build the Door and Drawer
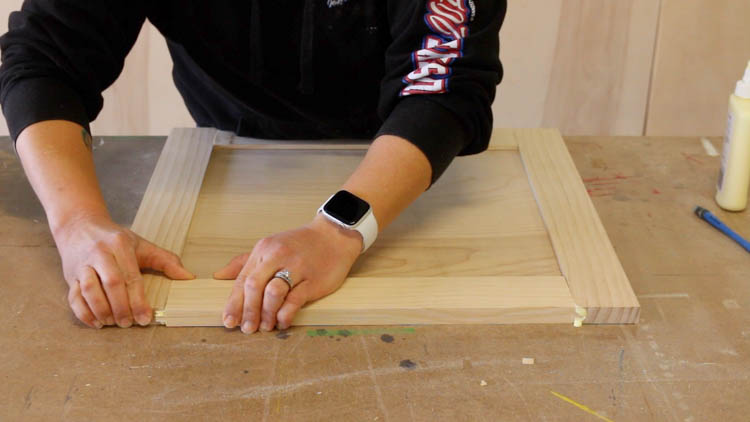
Cabinet door: Use tongue-and-groove joinery for the door panels, then glue and clamp. You can also use pocket joinery, but you’ll still need to rout a 1/4″ groove for the plywood face panel. See the printable plans for full details.
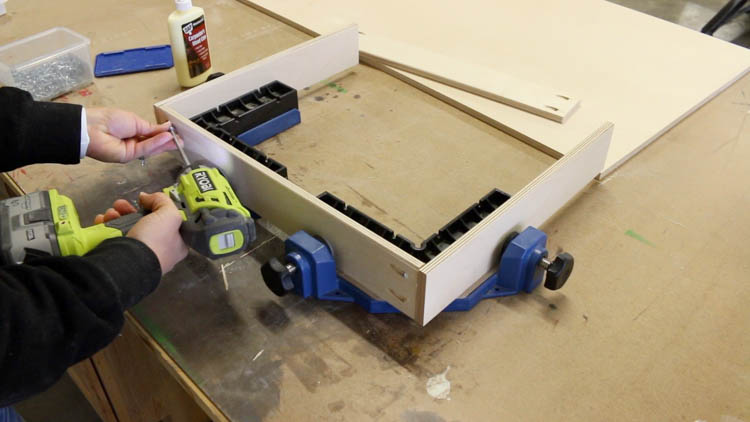
Drawer box: Build the drawer from 1/2″ Baltic birch plywood using pocket joinery. Place the pocket holes on the sides of the drawer box so the drawer front sits flush against the front.
Step 9: Paint and Finish
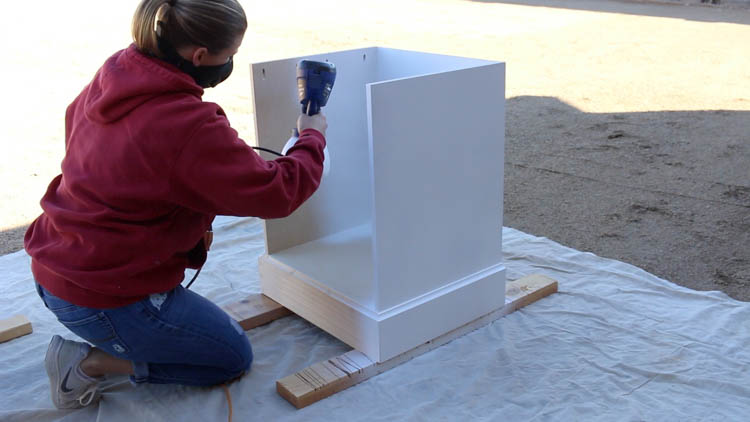
Paint the cabinet base, door, and drawer front in Swiss Coffee using a paint sprayer. Apply three light coats for a smooth, even finish.
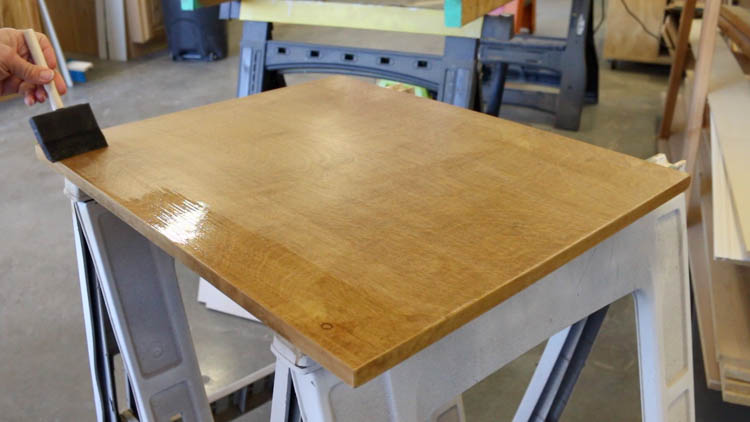
For the cabinet top, apply special walnut stain followed by three coats of satin polyurethane for a durable, beautiful surface that contrasts beautifully with the painted base.
Step 10: Attach the Top and Install the Drawer
Attach the cabinet top using 1 1/4″ pocket screws. This step is easiest with a helper to apply downward pressure while you drive the screws.
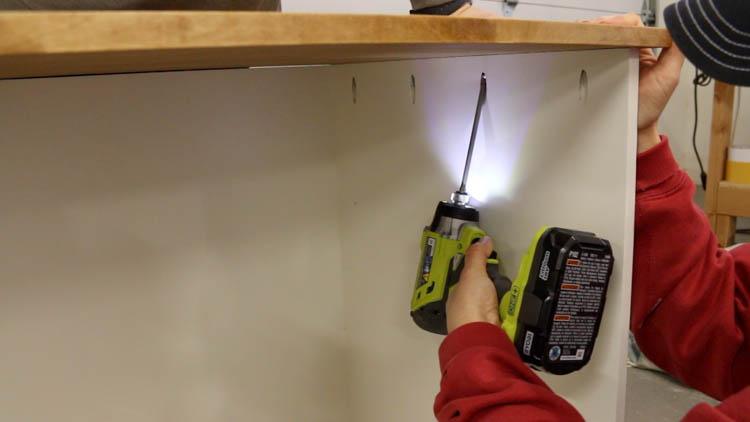
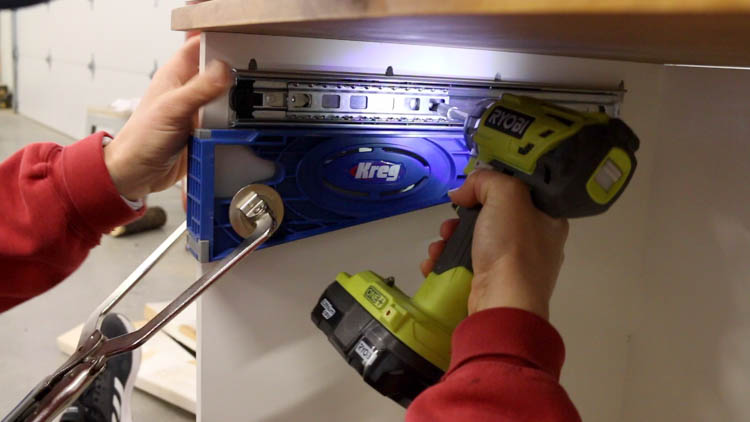
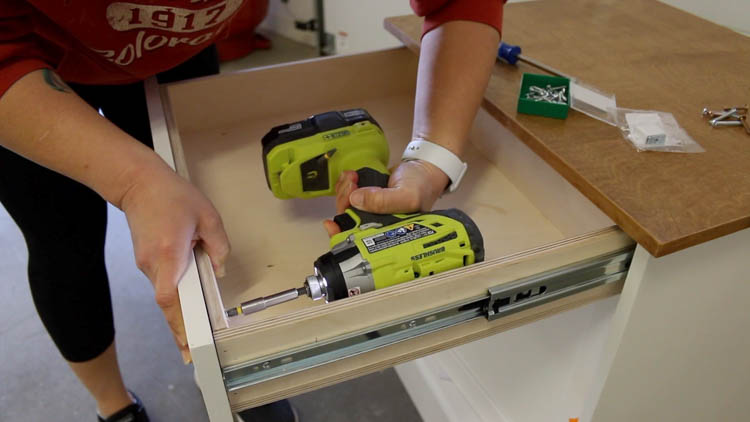
Install the drawer slides next. The drawer box height is 3 1/2″. Measuring 3 3/4″ down from the top interior corner of the cabinet gives you a reference point for the bottom of the drawer, which determines where your slides go. Center the side-mount slides on the sides of the drawer box.
Step 11: Install the Drawer Front
Pre-drill hardware holes through the drawer front only. Fit the drawer front against the drawer box and use stacked playing cards to set an even 1/8″ gap around all sides. Drive 1 1/4″ screws through the pre-drilled holes to temporarily hold it in place.
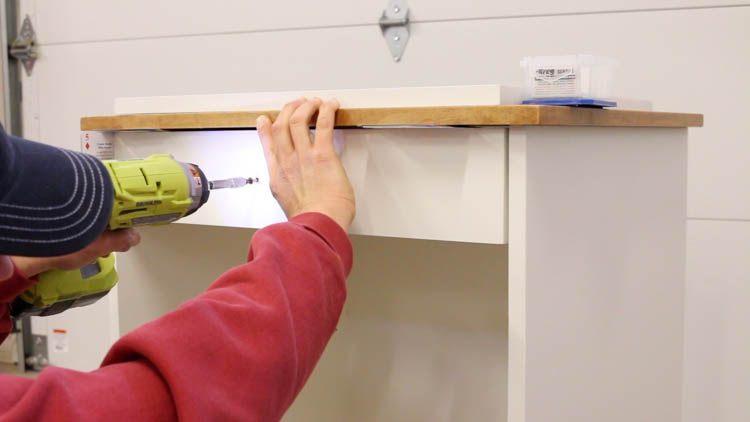
Pull the drawer out and permanently attach the drawer front from the inside using 1″ screws driven into the upper and lower interior corners. Remove the temporary screws, finish drilling the hardware holes all the way through, then install the drawer pull.
Step 12: Hang the Cabinet Door
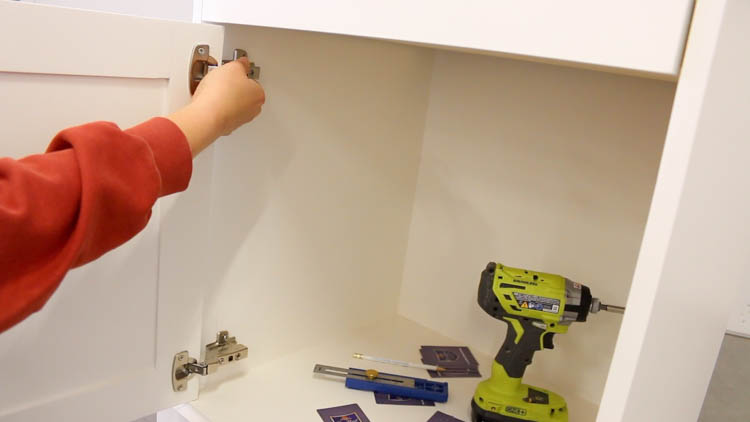
Install the door using frameless inset hinges (which require mortise holes but allow for fine adjustment) or euro-style hinges (easier to install, slightly less adjustability). Either way, aim for an even 1/8″ gap around the door once it’s hung.
Step 13: Add Hardware and Door Stop
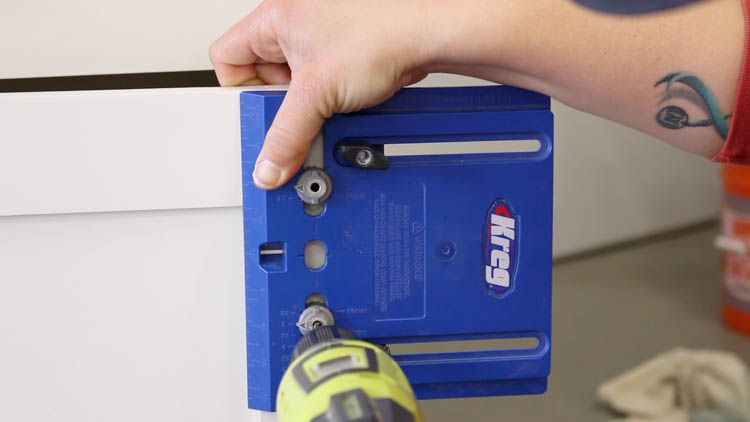
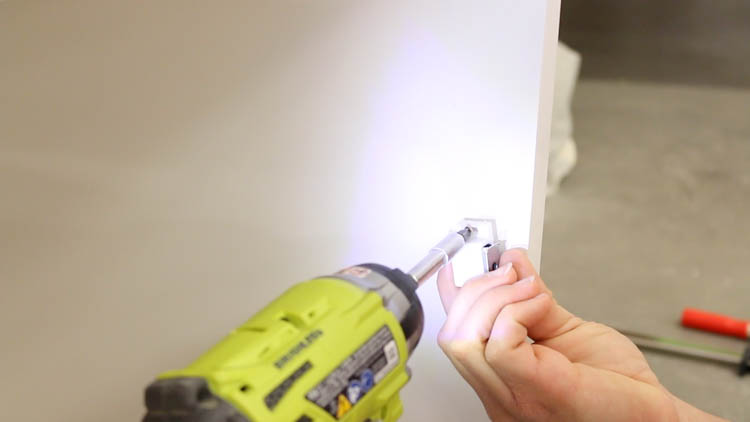
Drill holes and install the cabinet pull. Finish by adding a magnetic door stop inside the cabinet so the door closes flush every time.
The Finished Cabinet
This cabinet fits perfectly in the corner of our home office and completely transformed the space. The top drawer holds extra paper, printer cartridges, and other supplies. The lower cabinet is roomy enough for a shelving system if needed — I use mine to store camera equipment.
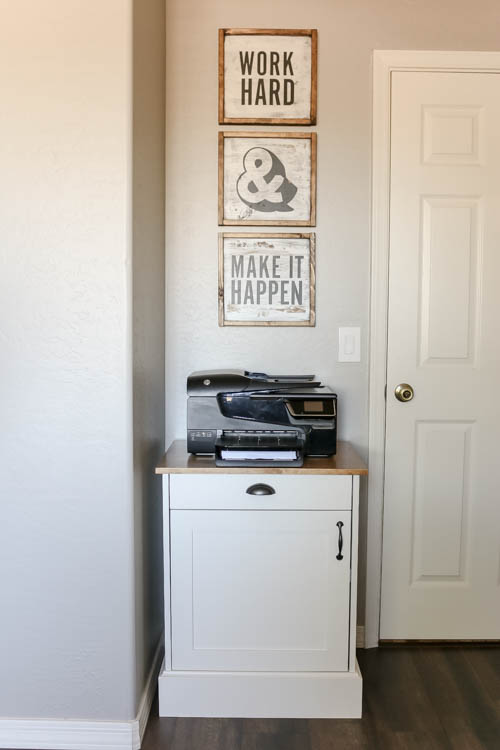
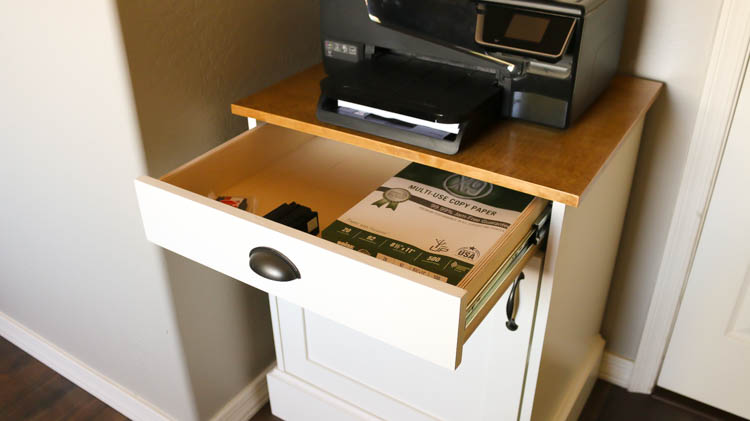
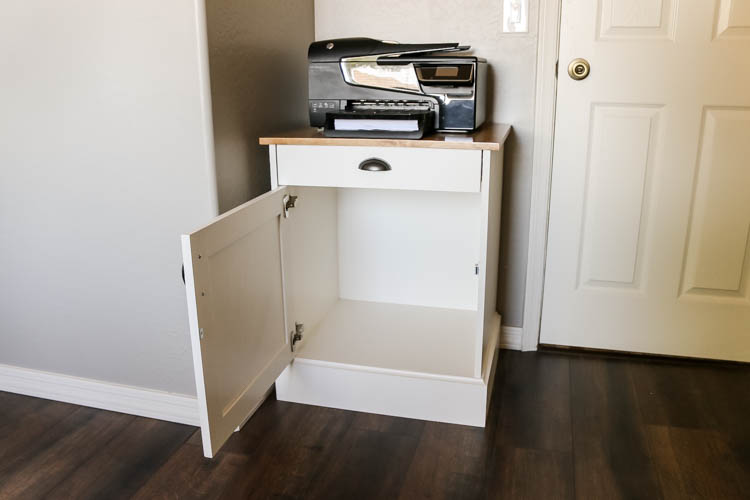
If you build one, I’d love to see it! Tag me on social or drop a photo in the comments below.
Frequently Asked Questions
What size is this printer cabinet? The exact dimensions are included in the free printable plans, which are sized to accommodate most standard home printers.
Can I build this without a router? Yes! The cove moulding on the base is optional. You can use a plain 1×6 board for a simpler look, or purchase pre-made moulding from a home improvement store.
What kind of hinges work best for inset cabinet doors? Frameless inset hinges give you the most adjustment flexibility and a clean look. Euro-style hinges are easier to install if you’re newer to cabinetry — both options work well for this project.
Is this a beginner-friendly build? This project is intermediate level. Comfort with a miter saw, pocket hole jig, and basic finishing techniques will help you get great results.