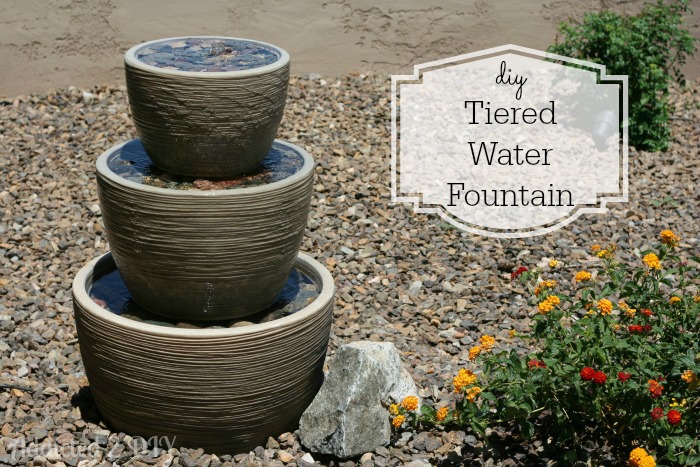
DIY Tiered Water Fountain
A Budget-Friendly Outdoor Project
Looking for an easy way to upgrade your outdoor space? This DIY tiered water fountain is a simple, budget-friendly project that creates a beautiful focal point in your yard or courtyard.
Originally created in 2014, this project has been updated with clearer, step-by-step instructions to help you build your own outdoor fountain with ease.
Why You’ll Love This DIY Fountain
- Affordable alternative to store-bought fountains
- Easy to customize for any space
- Adds relaxing water sound to your yard
- Uses simple materials (and even rocks from your yard!)
Materials Needed
- 3 different sized planters (PVC or resin planters from your local home improvement store work great)
- Submersible water pump
- 1/2″ rubber tubing
- Drill + drill bit (large enough for tubing and pump cord)
- Two-part epoxy putty (recommended for sealing holes)
- Pavers or bricks (for stacking support)
- Decorative rocks
How to Build a DIY Tiered Water Fountain
Step 1: Choose and Size Your Pots
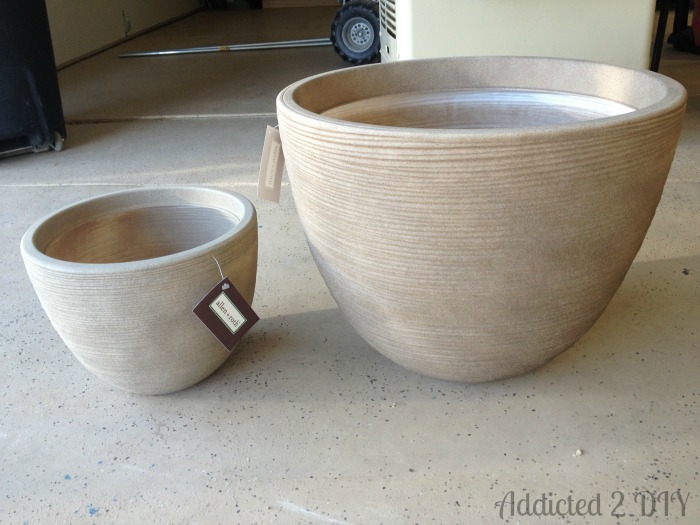
Start by selecting three planters in graduated sizes. If you have a larger space (like a courtyard), using three pots instead of two creates better visual impact and scale.
Step 2: Drill Holes for Pump and Tubing
- Drill a hole in the bottom pot large enough for the pump plug to pass through
- Drill holes near the base of the upper pots for the tubing
👉 Tip: Drill slowly to avoid cracking your pots.
Step 3: Install the Pump and Tubing
- Place the water pump inside the bottom pot
- Feed the 1/2″ tubing through each pot
- Leave extra tubing until everything is positioned, then trim as needed

Step 4: Seal the Holes
Use two-part epoxy putty to seal around the holes.
Note: Silicone may not cure properly in extreme heat (learned the hard way in Arizona summer!), but epoxy putty creates a strong, leak-free seal.
Step 5: Stack the Pots
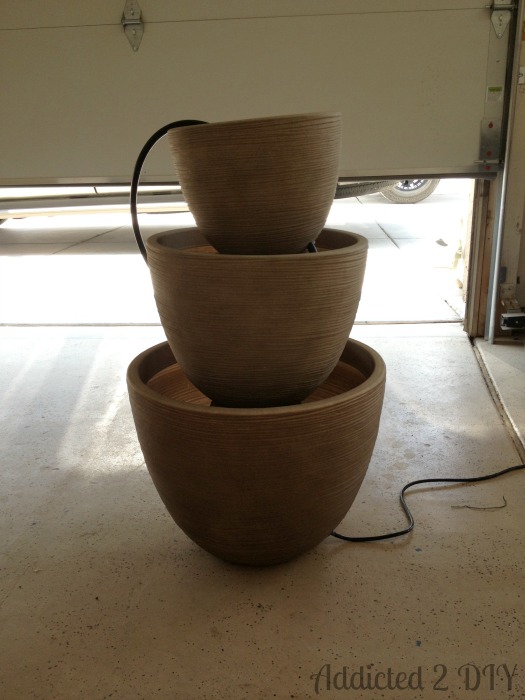
Use pavers or bricks inside the pots to create height and support.
- Largest pot = base
- Medium pot = middle tier
- Smallest pot = top tier
Make sure everything is centered and stable.
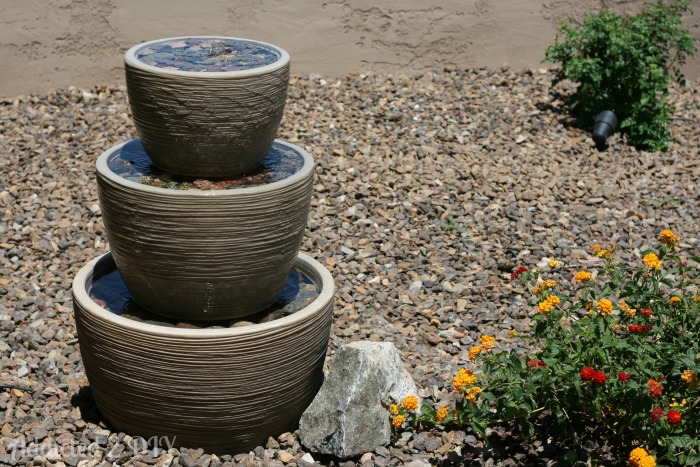
Step 6: Position Your Fountain
Place your fountain in its final location before adding rocks and water.
Once filled, it will be heavy and difficult to move.
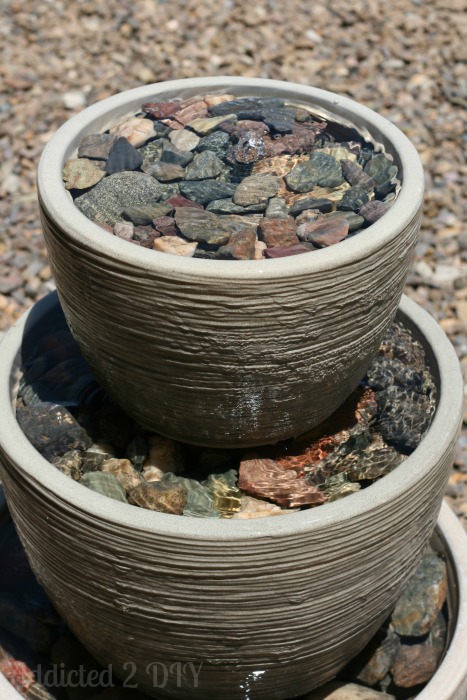
Step 7: Add Rocks
Fill each pot with decorative rocks.
We used rocks from around our yard (one of the perks of desert landscaping!), but you can also use river rock or decorative stone.
Step 8: Fill with Water and Test
- Fill all three pots with water
- Plug in the pump
- Adjust flow and positioning as needed
- Level the pots with plastic shims or rocks to allow water to flow evenly from each tier
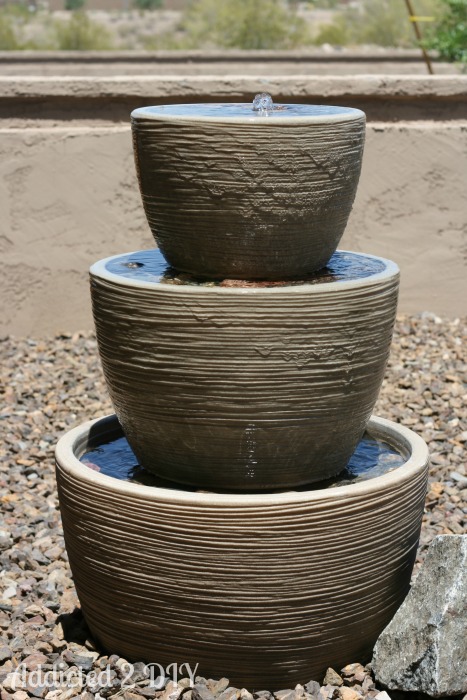
Final Result
Once everything is set, you’ll have a beautiful tiered water fountain that adds movement, sound, and visual interest to your outdoor space.
The gentle bubbling water creates a relaxing atmosphere, and it even attracts birds—something our kids loved watching!
Tips for Success
- Use epoxy instead of silicone in hot climates
- Test water flow before adding all rocks
- Make sure your pump is fully submerged
- Choose pot sizes that match your space
More Outdoor DIY Projects
If you’re updating your yard, this project pairs perfectly with landscaping upgrades and simple outdoor refreshes.