How to Build A Simple Makeup Table
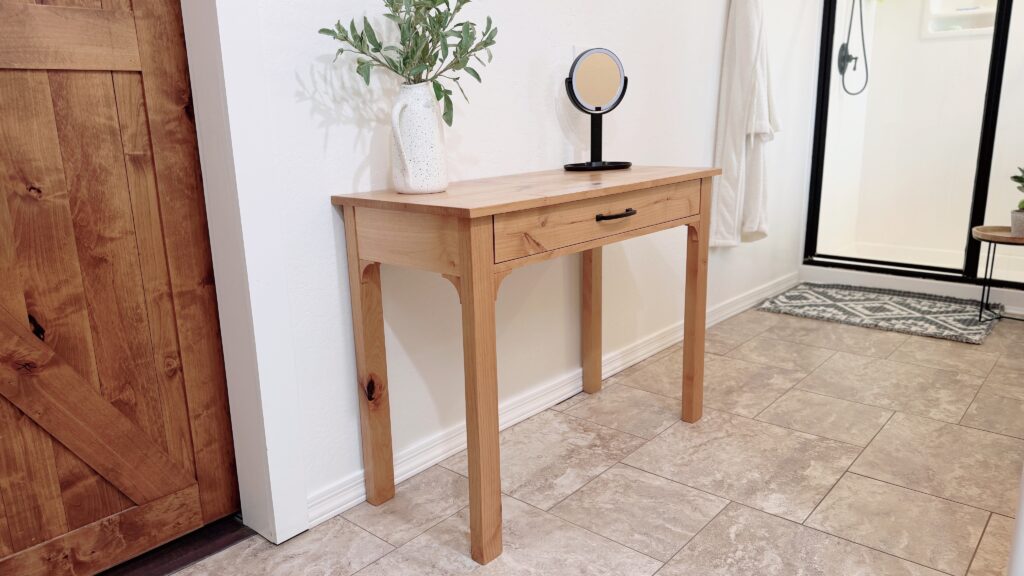
If you’ve ever dug your makeup mirror out from under the bathroom cabinet and fought the other random stuff under there while doing so, you already know why I built this. I wanted a dedicated makeup table for my bathroom, and I designed it with one big drawer for storage and just enough character to make it feel special.
It’s also a genuinely versatile piece — while I built mine for a bathroom, this design works just as well as a hallway table or entryway console, so keep that in mind if a makeup table isn’t what you need right now. I also challenged myself to build it entirely from scrap wood, and it worked — the only thing I bought for this whole project was the drawer handle.
This is a beginner-friendly build using standard pocket-hole joinery, and I’ll walk you through every step below.
Get The Free Plans
You can find the free plans for this project on the Kreg Tool website as well as a great resource for tools that you can use to build this project.
Watch the YouTube Video
I’ve put together a full video on the entire build process. You can reference the video, this tutorial and the plans in order to build this project.
Why I Built This Table
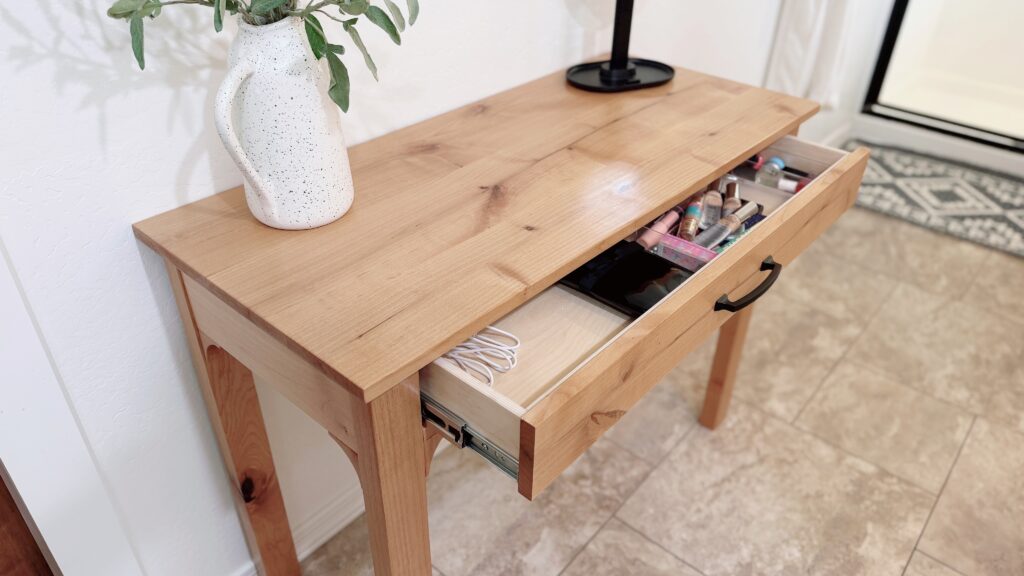
I wanted a dedicated spot to do my makeup instead of working off the bathroom counter, which always seems to have limited space. Building it myself meant I could design it to fit my space and my style exactly — a single large drawer with organizers inside to keep everything stored neatly out of sight, dressed up with a little extra detail. If you’re working with a hallway, entryway, or another spot in the house, this same build works just as well there too.
Makeup Table Materials & Tools
Wood:
- Alder scraps (or standard pine, if you don’t have scraps on hand — this build is designed to be beginner- and budget-friendly with pine)
- 1/2″ Baltic birch plywood (drawer box)
- 1/4″ Baltic birch plywood (drawer bottom)
- 1×2 scrap (front stretcher and drawer cleats)
Hardware & Supplies:
- Pocket hole screws (1″ and 1 1/4″)
- Wood glue
- 1 1/4″ brad nails
- 1 1/4″ pin nails
- 14″ side-mount drawer slides
- Drawer handle
- Wipe-on polyurethane (3 coats)
Tools*:
- Jointer, table saw, and planer (for milling)
- Miter saw
- Kreg pocket hole jig
- Kreg track saw (or circular saw + straight edge)
- Compass
- Jigsaw
- Clamps
*I’ve included affiliate links to some of the products I used. If you purchase one of these items, I may receive a small commission at no extra cost to you.
How to Build a Makeup Table
1. Mill and Cut Your Wood
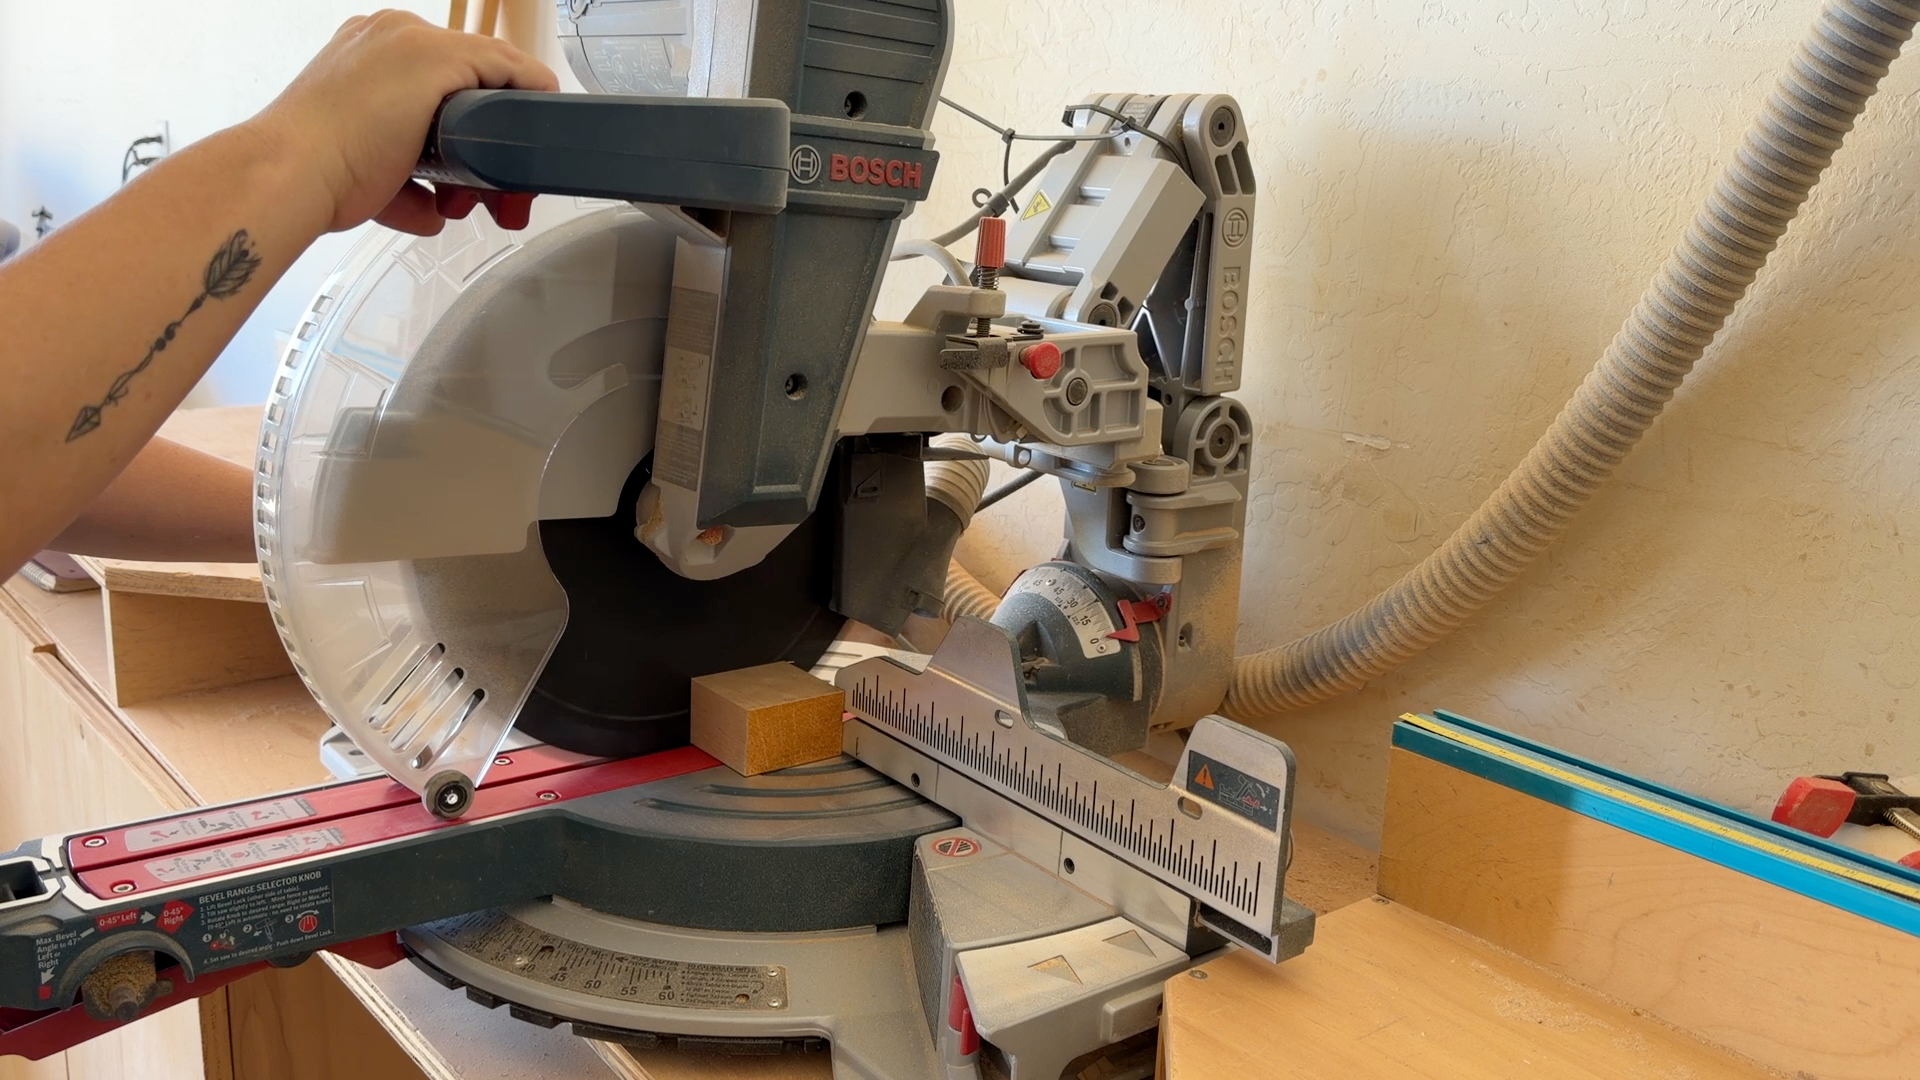
Start by milling your scrap wood down flat and square using a jointer, table saw, and planer. Once milled, cut all pieces to their final length on the miter saw. If you’re using standard pine instead of scrap alder, this step is just as simple — this project is designed to be pine- and beginner-friendly either way.
2. Build the Table Legs and Aprons
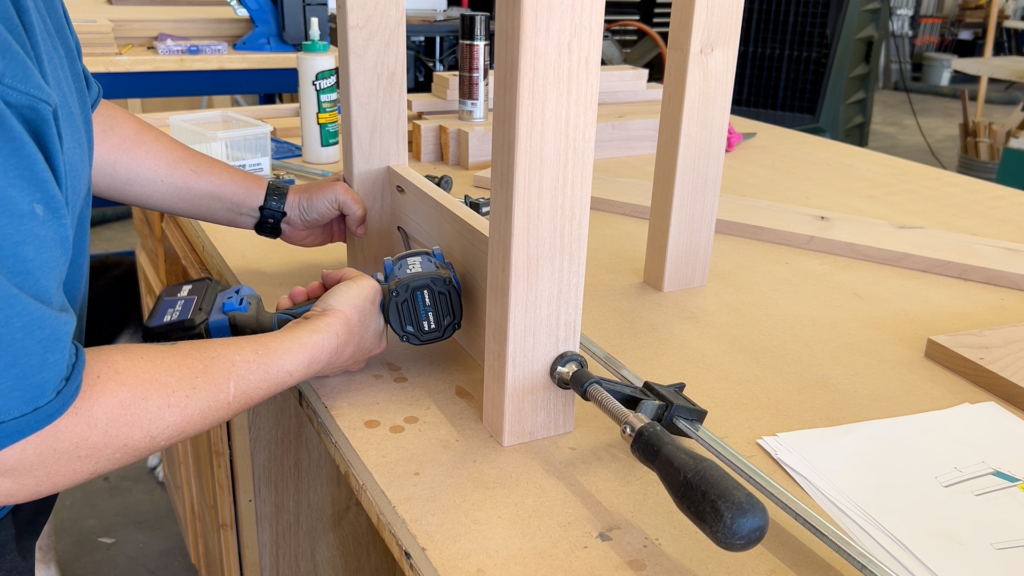
Round over the edges of the legs slightly for a softer look. For the side aprons, inset them 1/8″ from the outer edge of the legs, drill 3/4″ pocket holes into each edge, then glue and attach them to the legs with 1 1/4″ pocket screws.
Pro tip: Drill pocket holes into the top edge of the aprons at this stage too. It will make attaching the tabletop later dramatically easier — skipping this step is the one thing I’d change about this build.
Once the side aprons are attached, glue and screw the back apron into place the same way.
3. Add the Front Stretcher
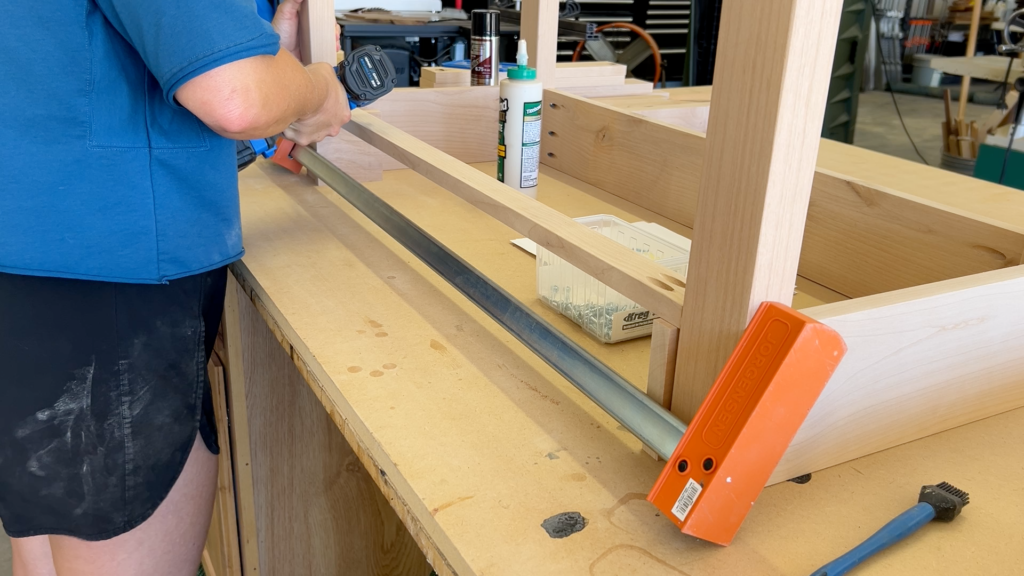
Cut a 1×2 to size for the front stretcher, which sits below the drawer opening. Drill 3/4″ pocket holes into the underside of it, then use scrap wood blocks to set it at the correct height. Glue, clamp, and secure it with 1 1/4″ pocket screws.
4. Build the Tabletop
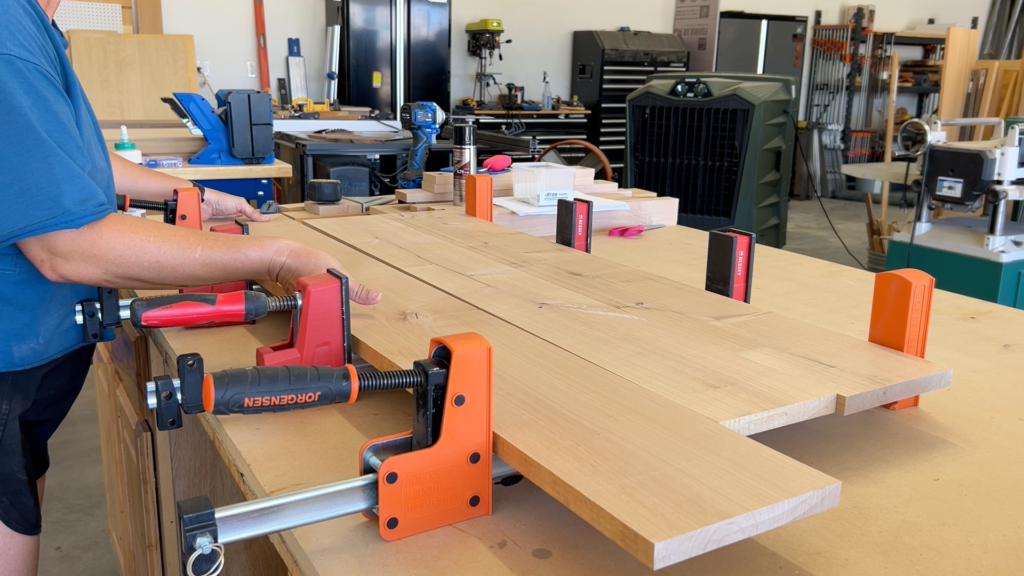
Glue up a solid wood panel for the tabletop. If you’d rather skip a glue-up, a premade pine project panel works just as well — trim it to size with a table saw, or a circular saw and straight edge like a Kreg Accu-Cut.
Once the glue is fully cured, trim the panel to width on the table saw and square up both ends with a track saw.
5. Build the Drawer Box
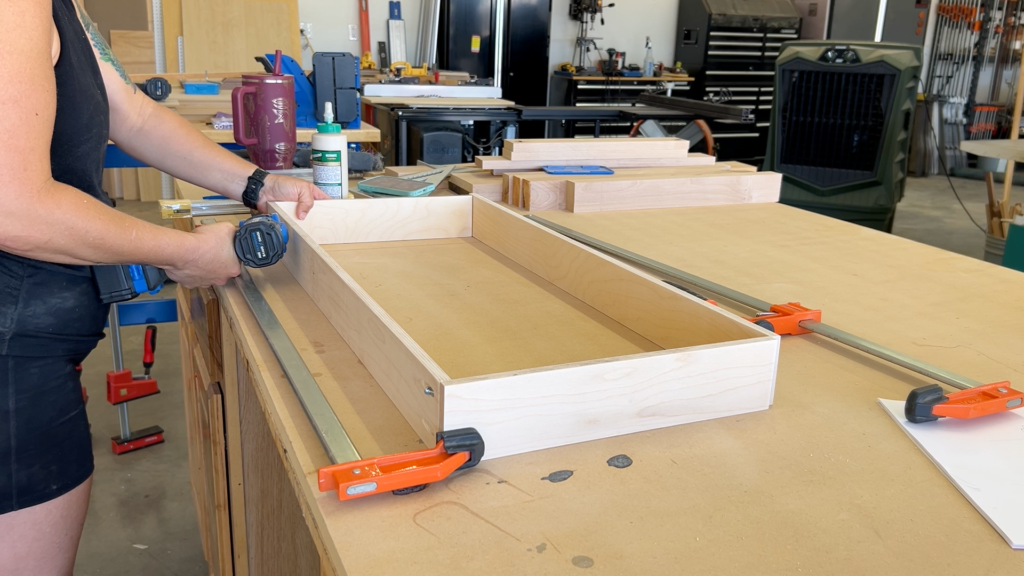
Rip 1/2″ Baltic birch plywood to width and cut it to length for the drawer box sides, front, and back. Drill pocket holes into the front and back pieces, then glue, clamp, and assemble the box with 1″ pocket screws.
Cut a 1/4″ Baltic birch bottom to size, then glue and pin it in place with 1 1/4″ pin nails.
6. Install the Drawer Slides
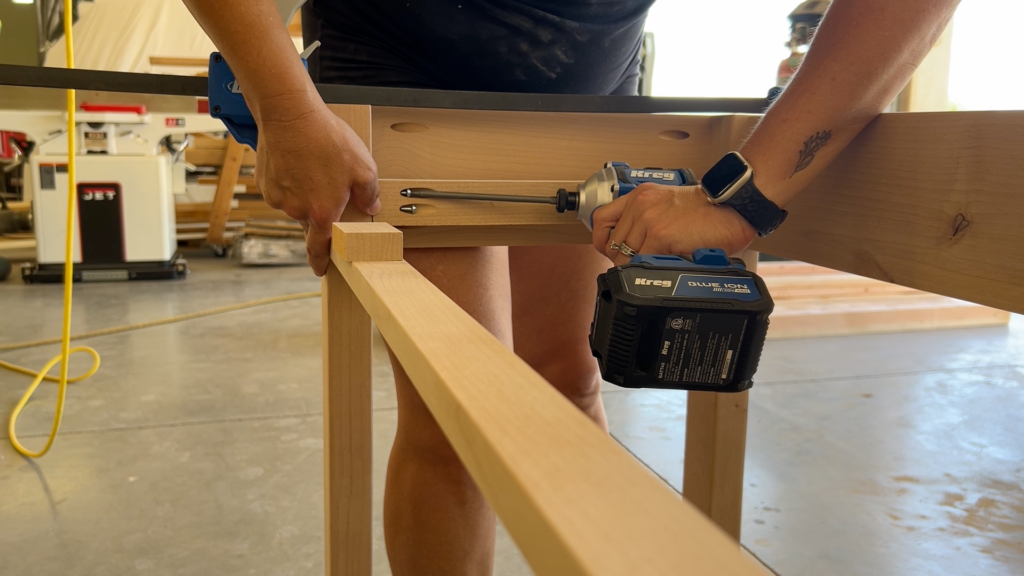
Attach 1×2 cleats to each side of the table interior — these create a flush surface along the inside of the legs for mounting the drawer slides.
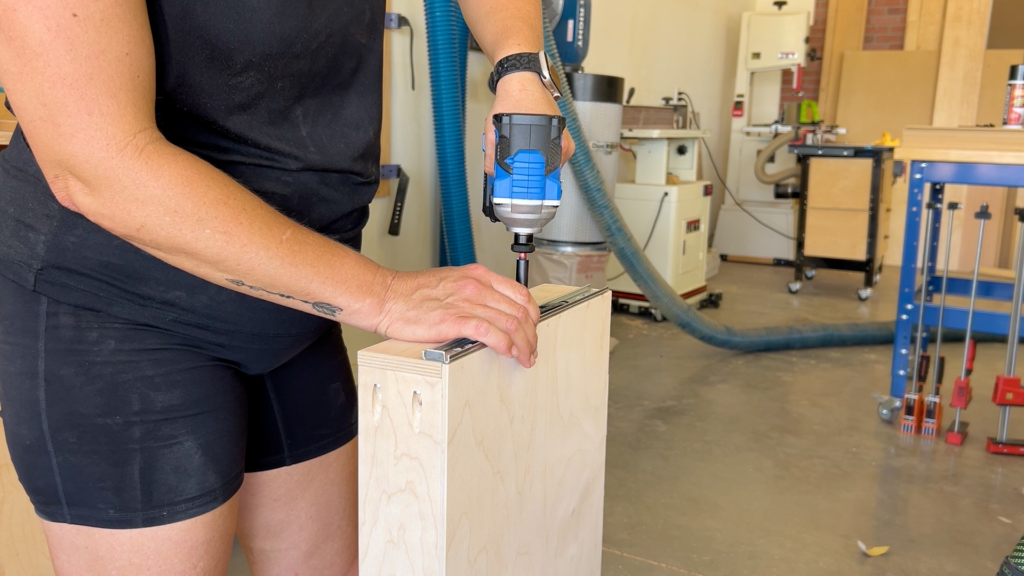
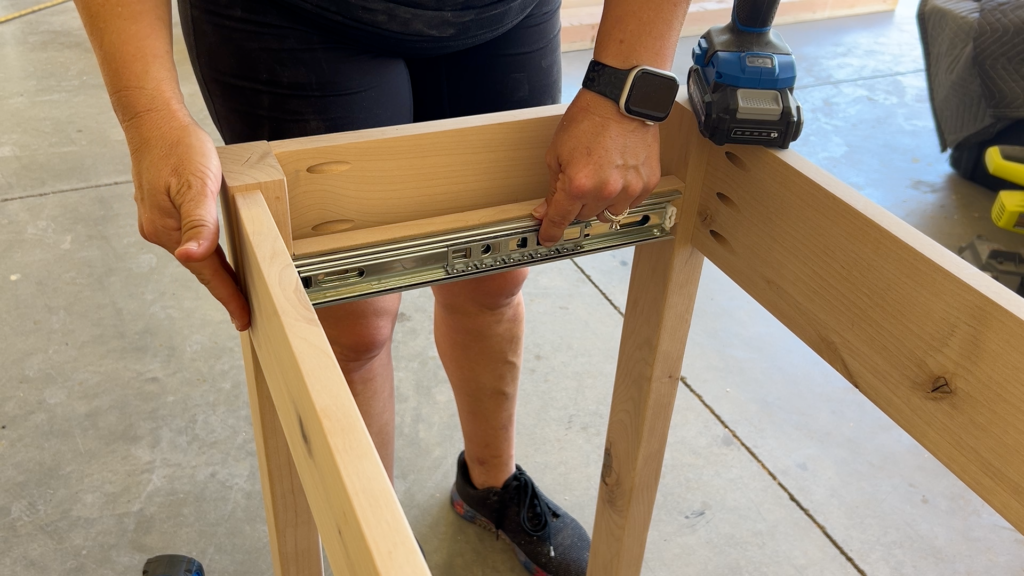
Mount the inner slide flush with the bottom of the drawer box, and the outer slide flush with the bottom of the cleats. Set the drawer front in place first to use as a positioning guide, then install both slides and set the drawer box in.
7. Attach the Drawer Front
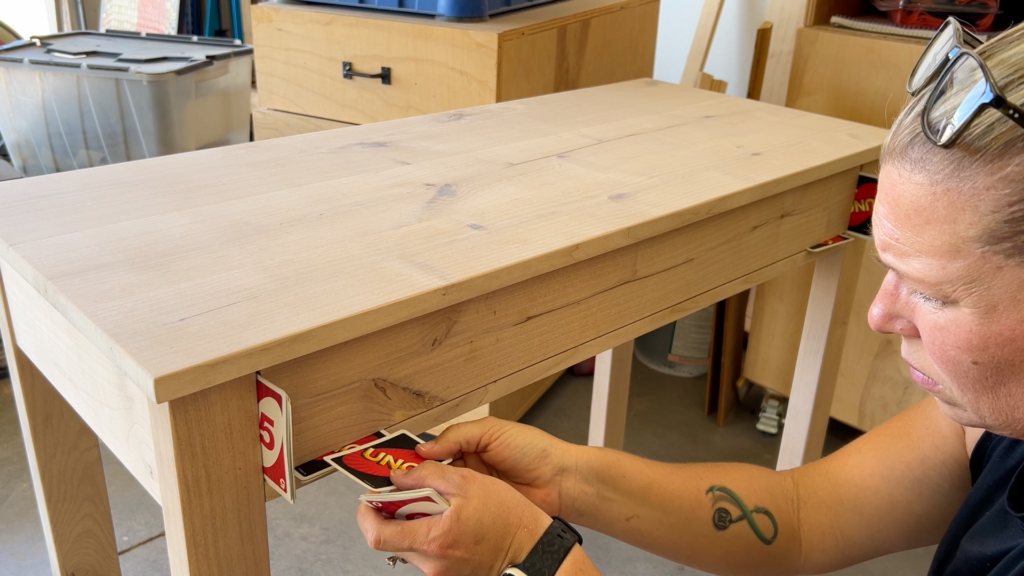
Dry-fit the tabletop in place and use playing cards as spacers to set an even reveal around the drawer front. Once you’re happy with the gap, clamp the drawer front in place and secure it from inside the drawer at each corner with 1″ screws.
8. Add Decorative Cove Brackets (Optional)
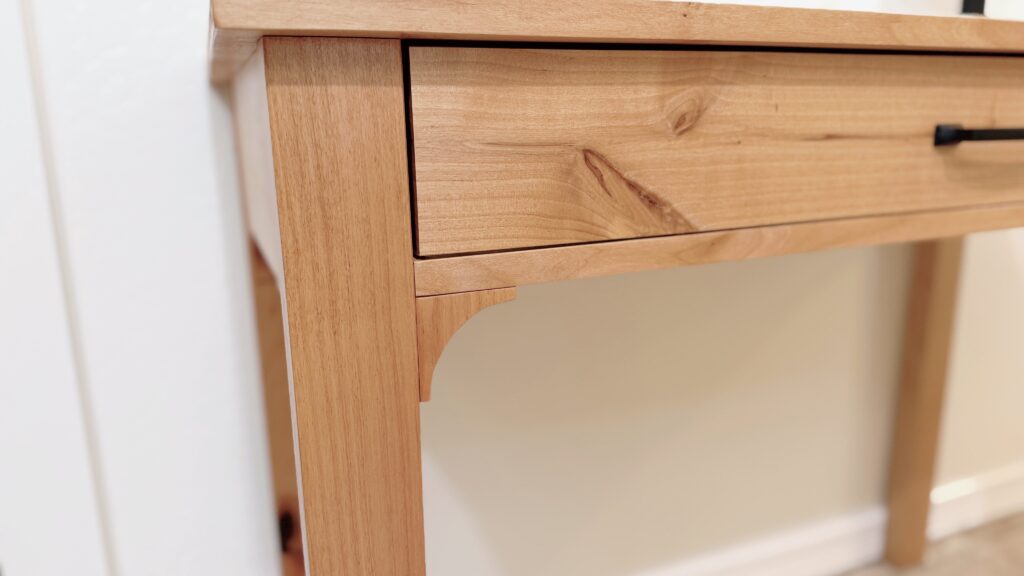
These brackets are purely decorative and don’t add structural support, but they give the table a lot more character.
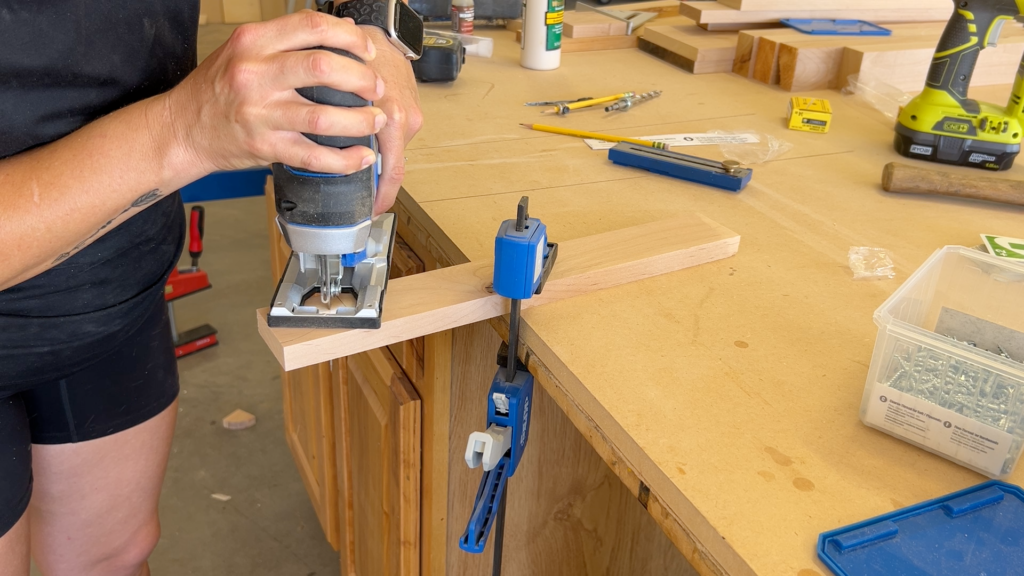
Cut scrap pieces to 2 1/2″ wide. Mark 2 1/4″ in from the end and 2 1/4″ in from one long edge, then use a compass to trace an arc between the two points. Mark a cutoff line 2 1/2″ in from the edge.
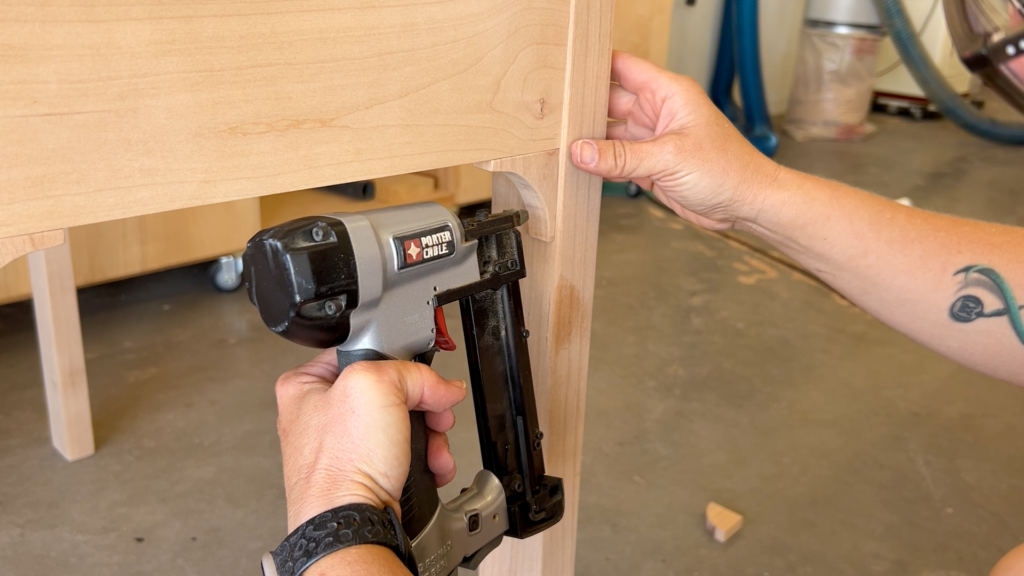
Clamp each piece to your workbench and cut the arc with a jigsaw, then cut it free on the miter saw. Repeat until you have 8 brackets total. Sand smooth, then attach with wood glue and 1 1/4″ brad nails.
9. Attach the Tabletop
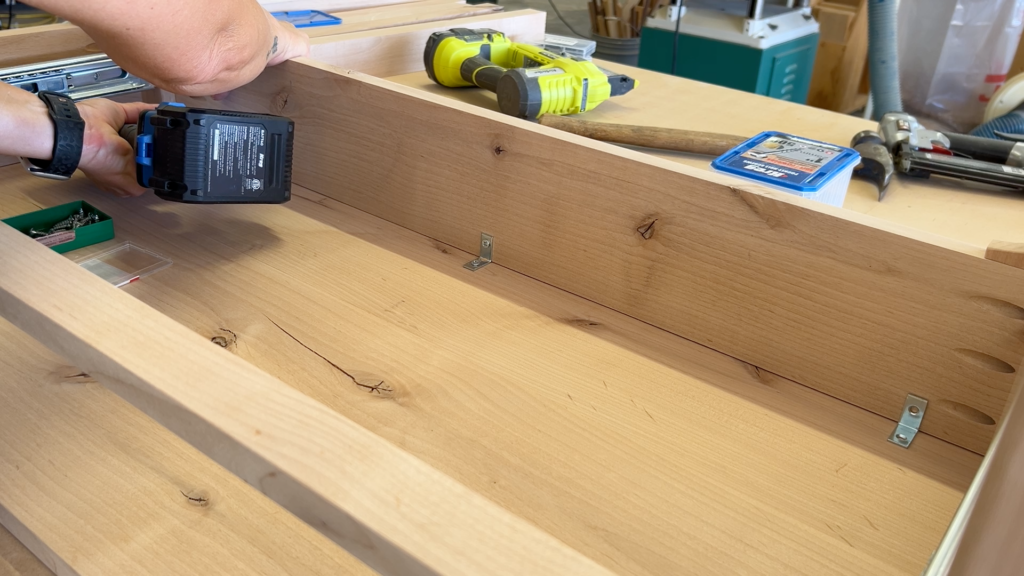
Secure the tabletop to the base. Pocket holes into the top edge of the aprons (see the tip in Step 2!) make this step far easier than the angled braces I ended up using, especially along the sides where the drawer slide cleats limit access.
10. Finish the Table
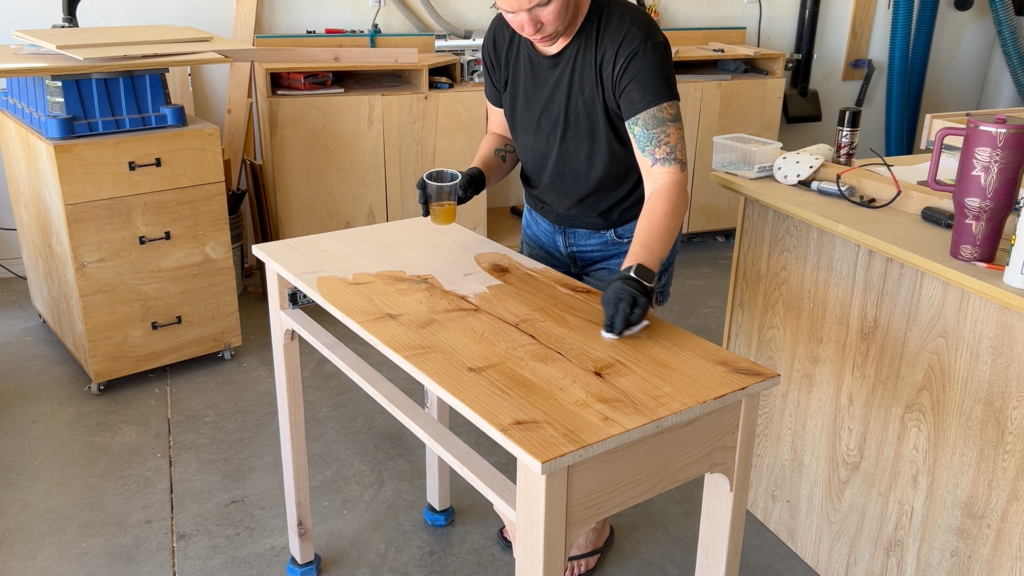
Skip the stain and apply 3 coats of wipe-on polyurethane for a natural finish. This is the same finish I used on my dining table, and it holds up beautifully.
The Finished Makeup Table
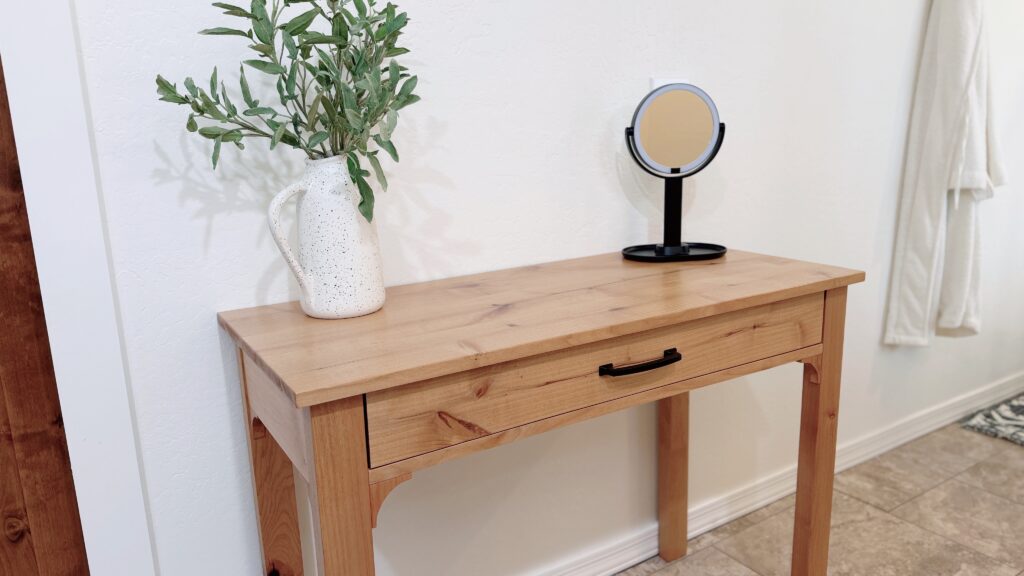
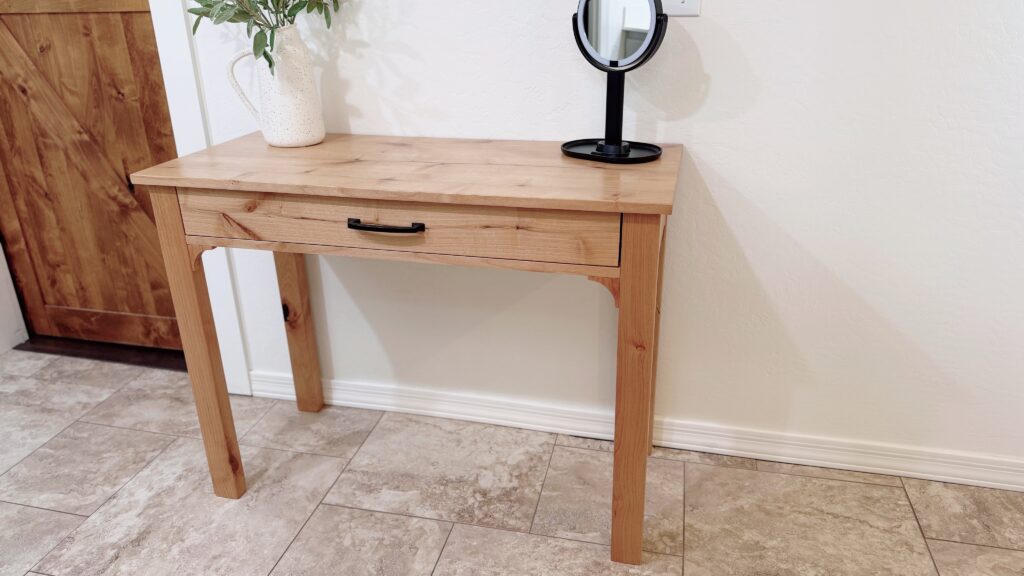
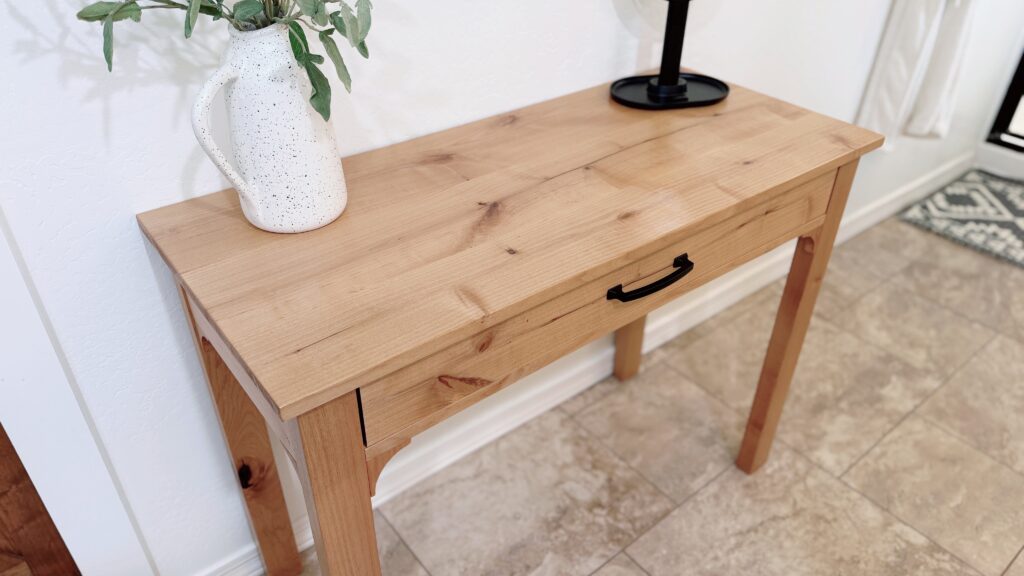
Once the finish was fully dry, I brought the table up to the house and set it in the bathroom, and it’s exactly what that space needed. It’s a small addition, but having a dedicated spot to finish getting ready has made a bigger difference than I expected. If you build yours for a hallway or entryway instead, it’ll do the same job — a little extra storage and a place to set things down on your way in or out the door.
Frequently Asked Questions
Can I build this makeup table without scrap wood? Yes. This project is designed around standard pine, so you can build it entirely from new lumber if you don’t have scraps on hand.
What wood is best for a DIY makeup table drawer? Baltic birch plywood is ideal for drawer boxes — it’s strong, stable, and takes paint or finish well. This build uses 1/2″ Baltic birch for the drawer sides and 1/4″ for the bottom.
Do I need pocket holes for this build? Pocket holes make this build significantly easier, especially for attaching the tabletop. I’d recommend drilling pocket holes into the top edge of the aprons before assembly, rather than relying on angled braces later.
How do I customize the size of this makeup table? Because this is a scrap-based, custom-fit build, you can easily adjust the width and depth of the tabletop, aprons, and drawer box to match your own space — just keep the drawer slide length in mind when adjusting depth.
Can this makeup table be used as a hallway or entryway table instead? Yes — the design works well as a hallway table or entryway console as-is. The single large drawer is just as useful for catching keys and mail as it is for makeup storage.
What’s Next
I’m building a matching bench next, also using wood I already had on hand — keep an eye out for that plan and video soon.