How to Build a Two-Tone Cabinet (Free Plans + Video Tutorial)
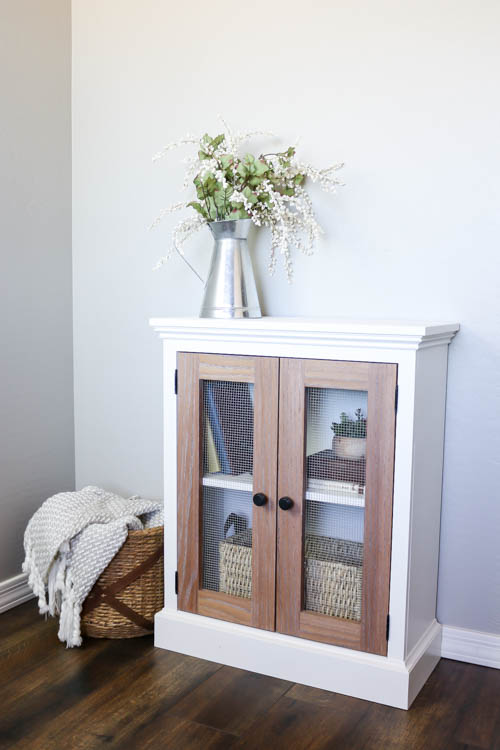
Hey there! I’m so excited to share this two-tone cabinet build with you. It’s got everything I love in a piece — clean lines, a classic Swiss Coffee painted body, and doors with a gorgeous weathered oak finish that adds just the right amount of texture and contrast. If you’ve been wanting to add a statement storage piece to your home with a mix of paint and stain, this build is for you.
Make sure to download the free printable plans for this project.
Watch the YouTube Video
Materials & Tools
Materials:
- 3/4″ plywood (cabinet sides, bottom, top)
- 1×2 boards (front edge banding on cabinet sides)
- 1×4 molding (bottom molding)
- Cove molding
- 1×3 red oak (cabinet doors)
- 1/8″ hardboard backing (cabinet back)
- 1/4″ wire mesh (door fronts)
- Veneer edge banding (cabinet top)
- Wood glue
- Wood filler
- 220 grit sandpaper
- Swiss Coffee paint
- Minwax Special Walnut Stain
- White wax
- Cabinet knobs
- Inset hinges
Tools:
- Circular saw
- Table saw
- Kreg Accu-Cut
- Jigsaw (this is the new one I have and it’s the best!)
- Pocket hole jig
- Shelf pin jig
- Cabinet hardware jig
- Paint sprayer
- Narrow crown stapler
- Brad nailer
- Clamps
*I’ve included affiliate links to some of these tools. If you purchase a tool from these links I may receive a small commission at no extra cost to you.
Step-by-Step Build Instructions
Cutting the Plywood
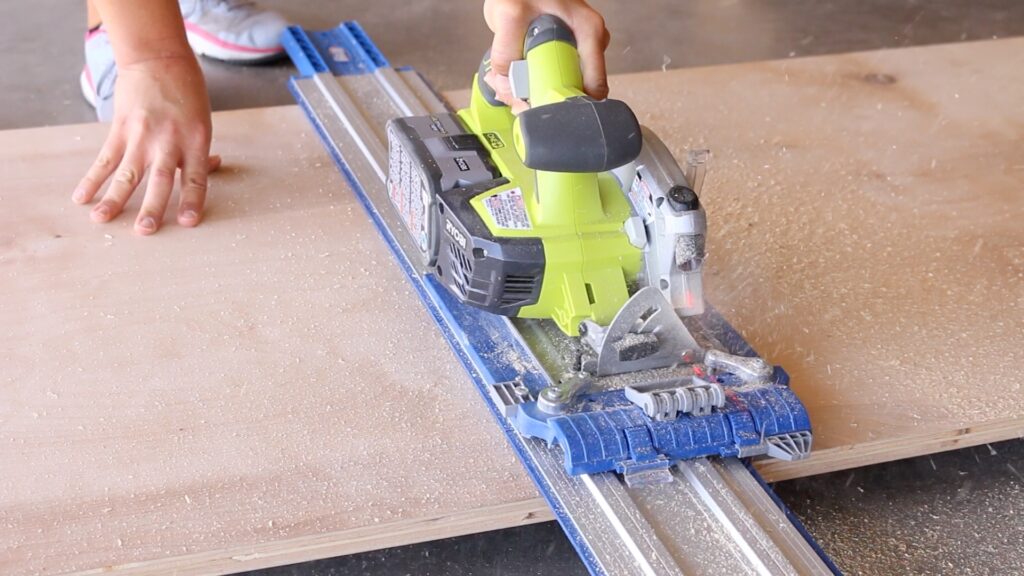
I started by cutting 3/4″ plywood down into manageable pieces using my circular saw and Accu-Cut, then ripped everything to final size on the table saw.
Notching the Cabinet Bottom
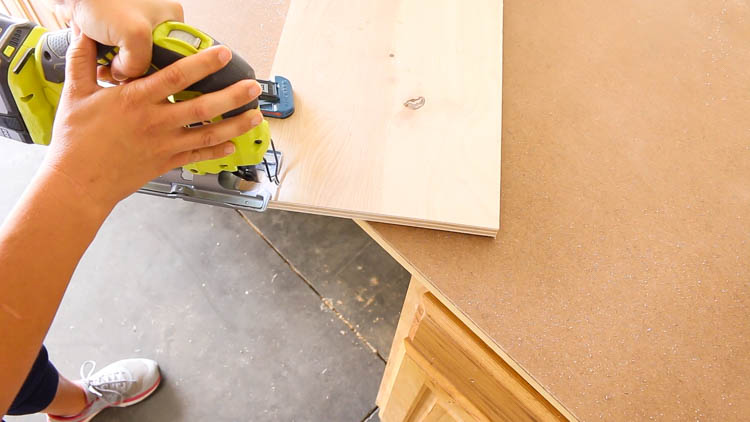
The cabinet bottom needs 3/4″ notches on the front two corners so it fits around the face frame. I marked them with a pencil, then cut them out with a jigsaw.
Pocket Holes & Cabinet Box Assembly
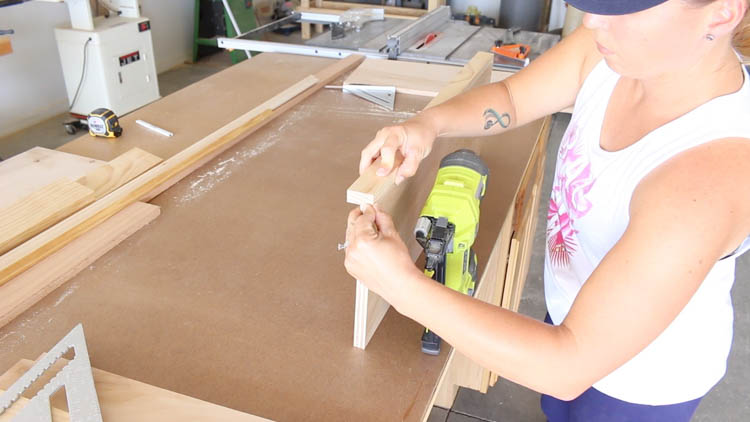
I pre-drilled all the pocket holes for the cabinet pieces before beginning assembly. For the cabinet sides, I glued and nailed 1×2 boards to the front edges, flush with the outside face of each side.
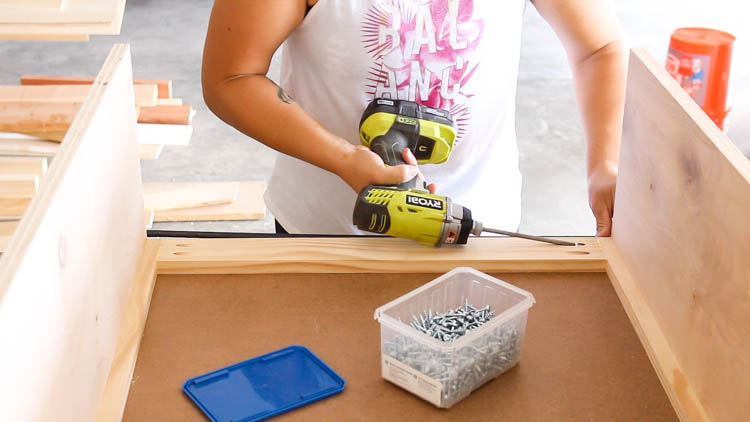
To assemble the box, I lined up the top face frame piece flush with the top edges of the cabinet, glued and clamped it, then secured it with 1¼” pocket screws.
Bottom Molding & Cove Molding
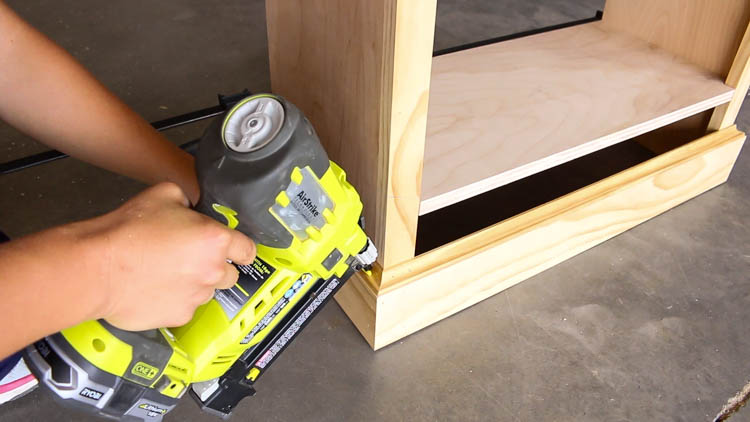
I dry-fit the cabinet bottom and clamped it into place to set the proper width for the box. Then I cut 1×4 molding to size and glued and nailed it around all sides with 1¼” brad nails.
Next came the cove molding — cut to size and glued and nailed with 3/4″ brad nails. Once the molding was in place, I set the cabinet bottom flush with the top edge of the cove molding, clamped it, and secured it from underneath with 1¼” pocket screws. Then I finished nailing the cove molding into place at the front.
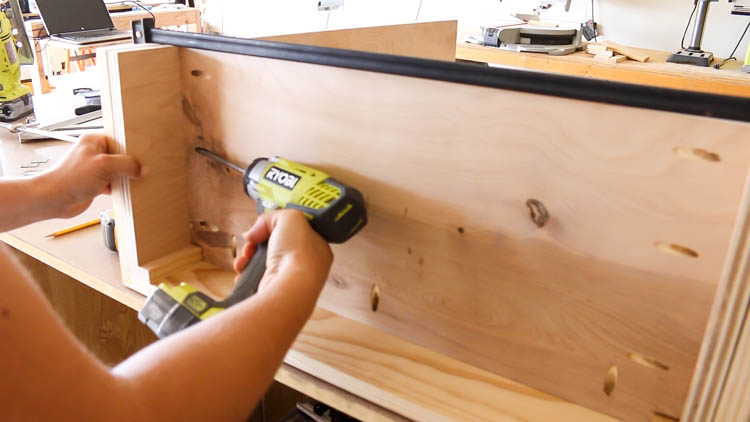
Once the molding was in place, I lined the top of the cabinet bottom flush with the top of the molding and then clamped it in place. I attached it from the underside with 1 1/4″ pocket screws.
Cabinet Top
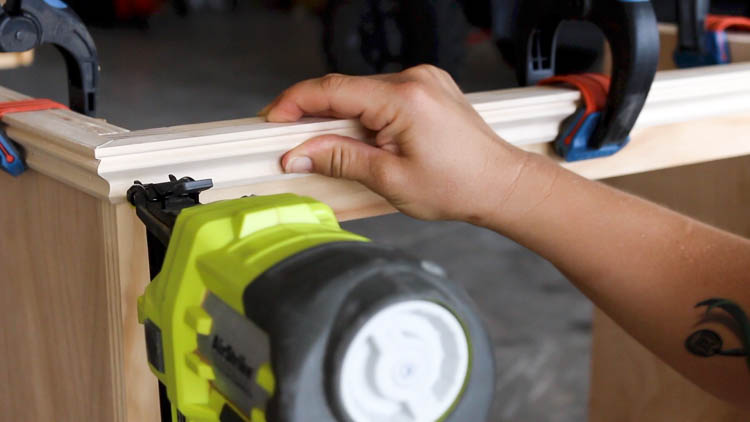
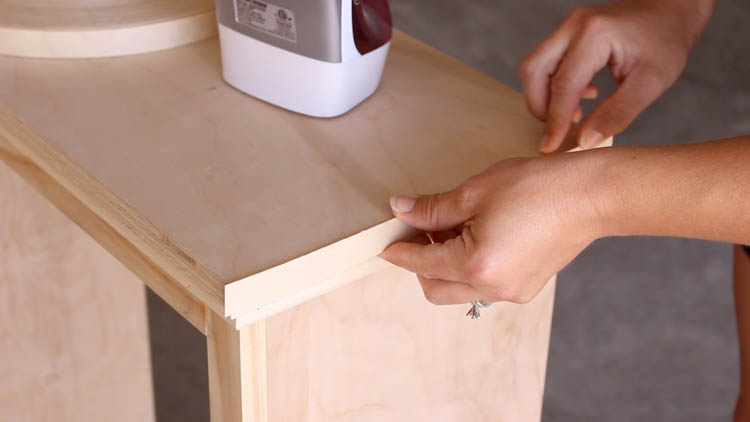
For the top, I cut molding to size and secured it with glue and 1¼” brad nails. The top itself is 3/4″ plywood, finished off with ironed-on veneer edge banding, smoothed with a scrap block, then trimmed.
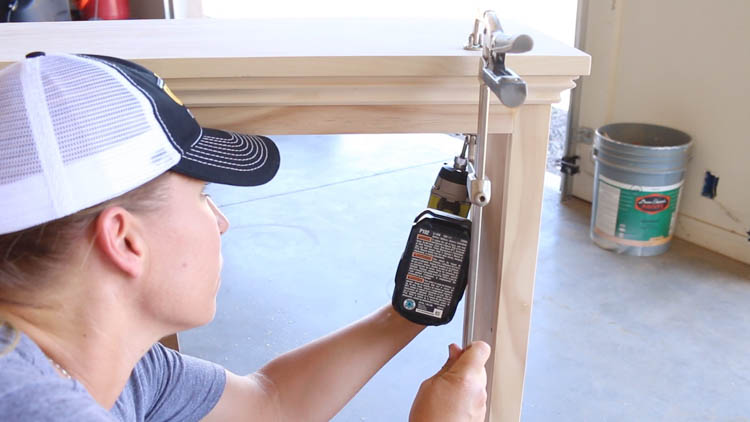
I pre-drilled 3/4″ pocket holes into the top ends of the cabinet sides, centered the top over the box, and attached it with 1¼” pocket screws.
Adjustable Shelf
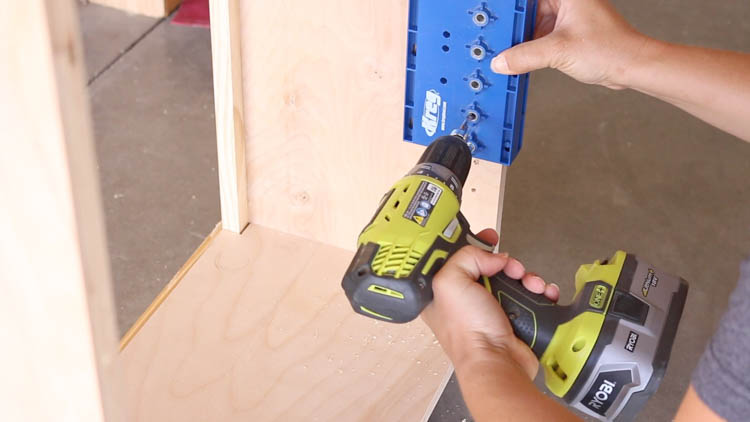
I used a shelf pin jig to drill holes into the inside faces of the cabinet sides for an adjustable shelf.
Building the Doors
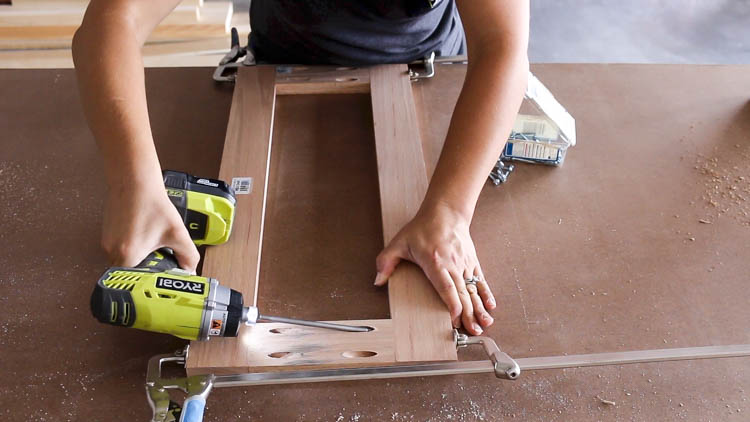
For the doors, I used 1×3 red oak and drilled 3/4″ pocket holes into the 6″ rails. I assembled the doors with wood glue and 1¼” fine-thread pocket screws.
Cabinet Back
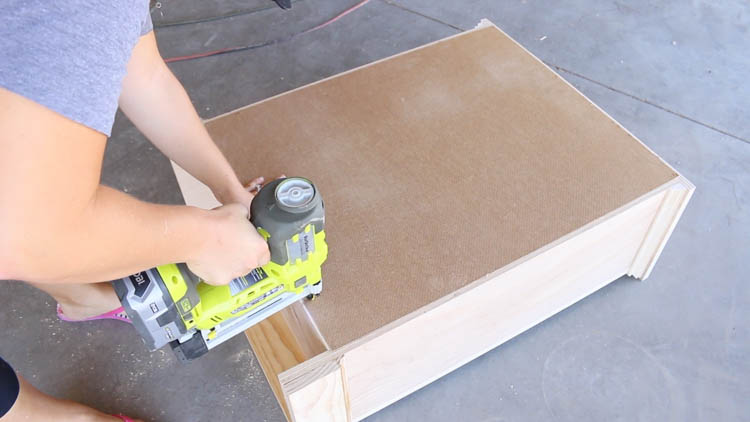
For the back, I used 1/8″ hardboard backing, attached with 3/4″ narrow crown staples.
Finishing: The Two-Tone Look
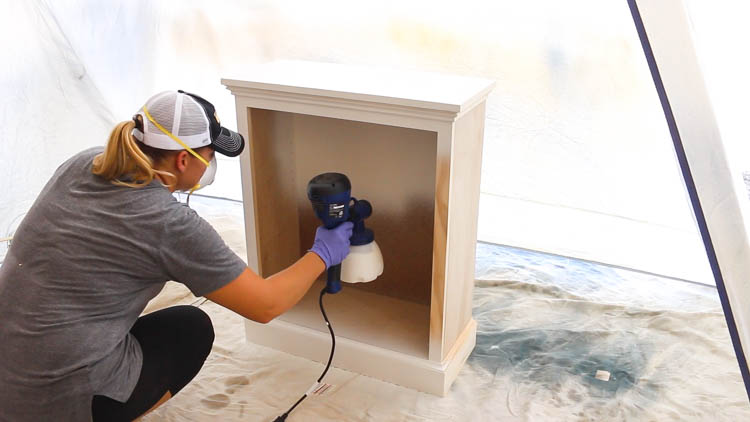
This is where the cabinet really comes together. I filled all the nail holes with wood filler and sanded everything down with 220 grit sandpaper. I strained my paint, then sprayed the entire cabinet body in Swiss Coffee to match the trim color in my house.
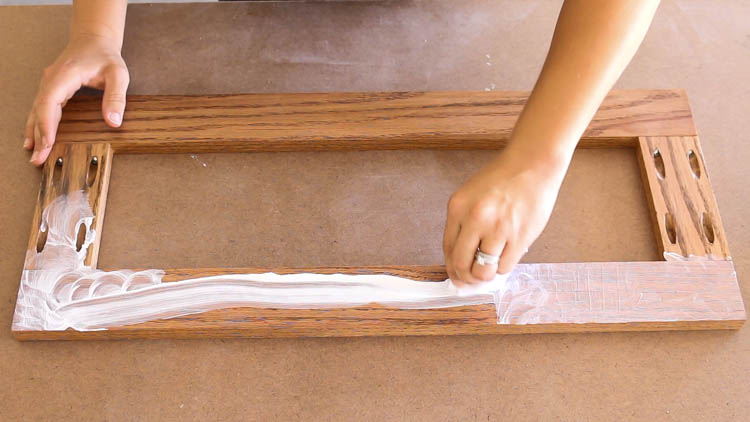
For the doors, I wanted a weathered oak look — so instead of paint, I stained them with Minwax Special Walnut Stain, then applied a white wax over the fronts and backs. Once buffed, the wax settled into the deep grooves of the oak grain, giving the doors that soft, weathered texture against the smooth painted body.
Hardware & Door Fronts
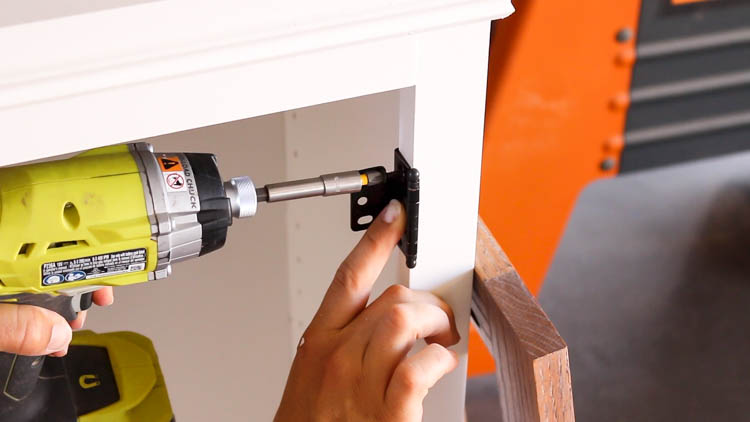
Once the paint was dry, I attached the doors using inset hinges with 1/8″ spacing all around, then centered the knobs and installed them with my cabinet hardware jig.
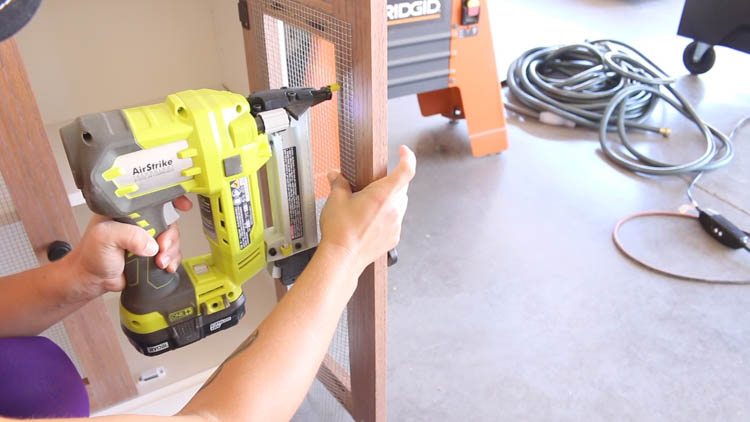
For the door faces, I used 1/4″ wire mesh, cut to size and attached with 5/8″ narrow crown staples — stapled just deep enough to hold securely without punching through the mesh.
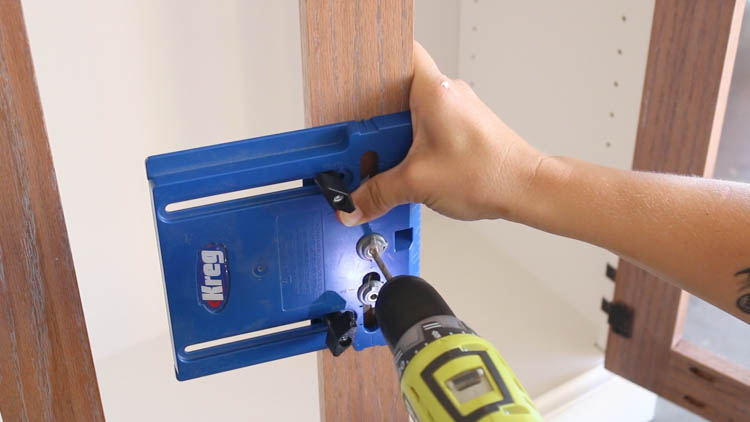
The final detail was installing the cabinet knobs.
Final Result
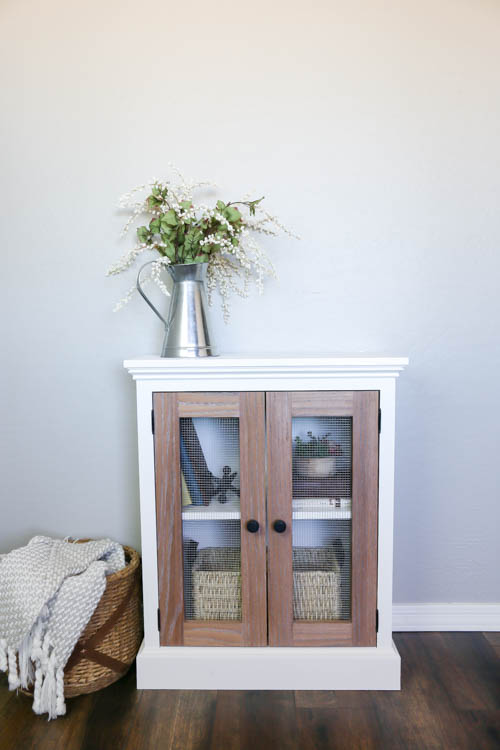
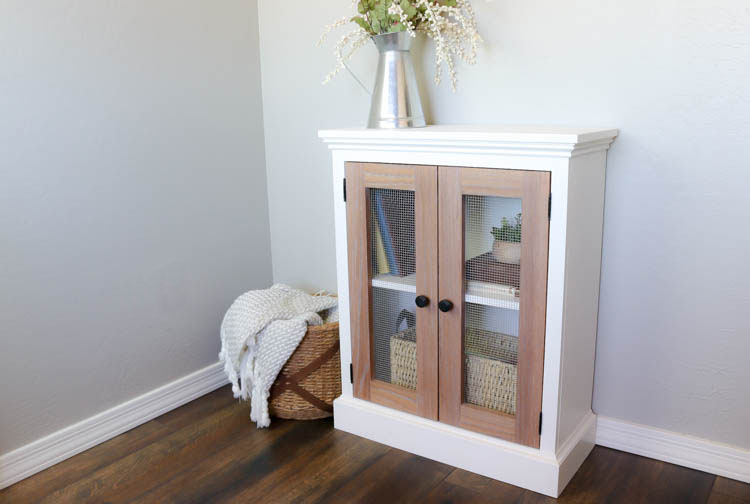
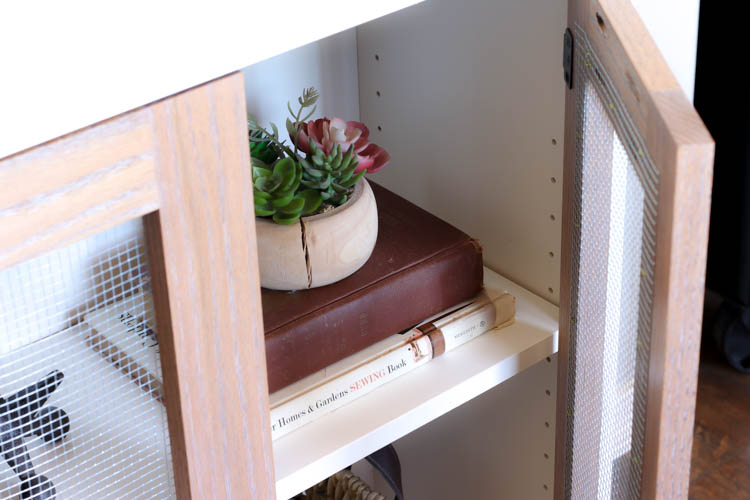
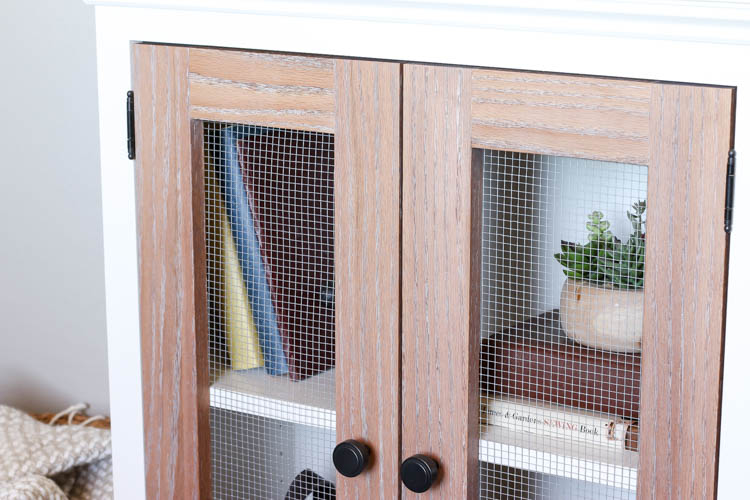
The end result is a beautiful farmhouse cabinet with clean lines and a gorgeous weathered finish on the doors that plays perfectly against the painted body.
FAQ
What color paint was used on this cabinet? The cabinet body is painted in Swiss Coffee to match the interior trim in our house.
How did you get the weathered look on the doors? The doors are stained with Minwax Special Walnut Stain, then finished with a white wax rubbed into the grain and buffed — the wax settles into the deep grooves of the red oak for a weathered effect.
What wood was used for the doors vs. the cabinet body? The cabinet body is built from 3/4″ plywood; the doors are built from 1×3 red oak for a more pronounced grain texture that takes the stain and wax well.
Can the shelf inside be adjusted? Yes — shelf pin holes were drilled into the inside faces of the cabinet sides using a shelf pin jig, so the shelf height is adjustable.
Get the Plans
Ready to build your own two-tone farmhouse cabinet? Grab the full printable plans on Gumroad