PB Teen-Inspired Nightstand
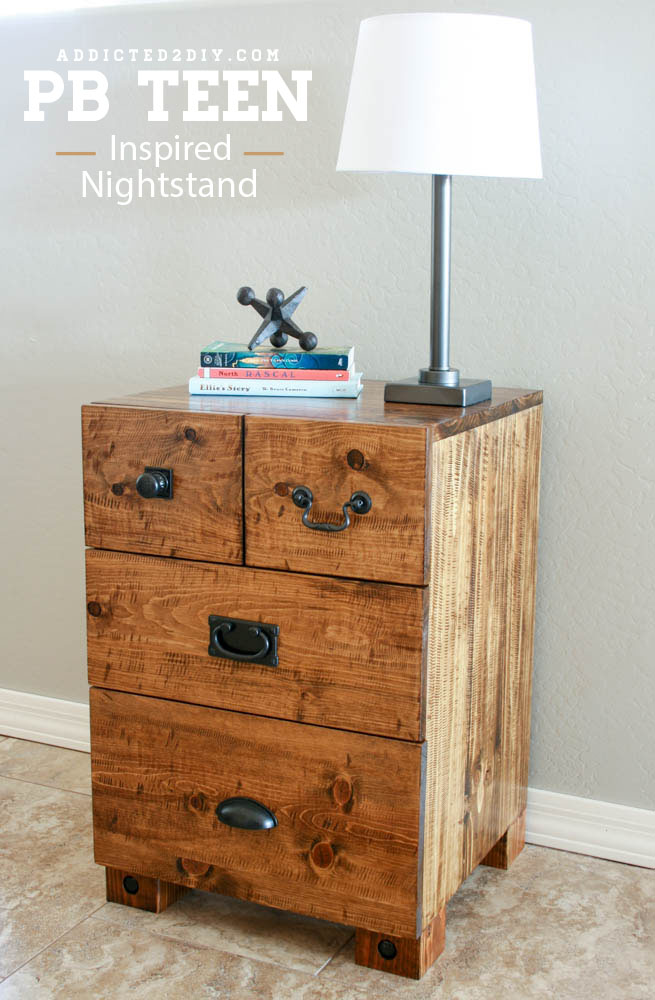
If you’ve ever priced out the PB Teen Emerson Bedside Table, you already know the sting — $399 for a nightstand. I built this knockoff for my oldest son for less than $100 and honestly? I think it turned out better. Most of the wood came from Home Depot, and I’m including free printable building plans at the bottom of this post so you can build your own.
I’ll also walk you through my technique for faking those gorgeous saw-mark details that give this piece its rustic character. Let’s get into it.
What You’ll Need
Materials:
- 1×8 boards (sides)
- 1×10 board (drawer faces)
- 1×2 trim pieces
- 3/4″ plywood (base and drawer bottoms — or use 1/4″ ply for drawer bottoms)
- 4×4 lumber (legs)
- 16″ drawer glides (3 sets)
- Lag bolts (decorative)
- Wood glue
- 1-1/4″ pocket screws
- 5/8″ brad nails
- 1-1/4″ brad nails
- 2″ construction screws
- Minwax Provincial stain + polyurethane
- Cabinet knobs and pulls
Tools:
- Miter saw
- Kreg Jig (pocket hole jig)
- Kreg right angle clamps
- Drill
- 1″ paddle bit
- 27/64″ drill bit
- Grinder with grinding disc
- Belt sander
- Brad nailer
Step 1: Cut and Square Your Wood
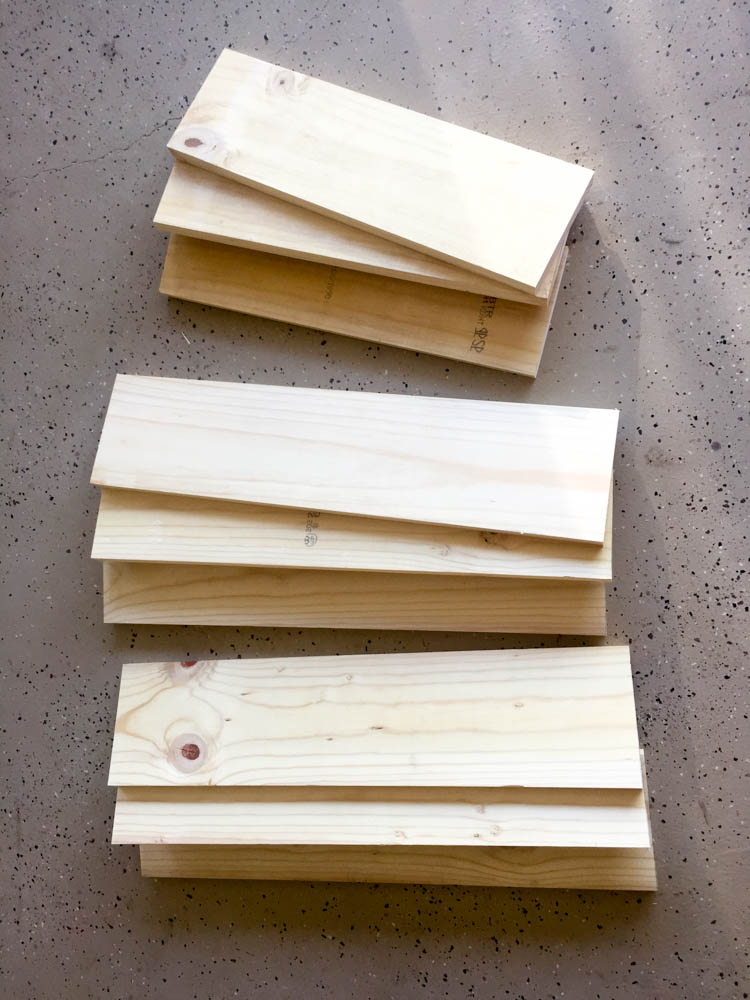
Cut all your pieces to size on the miter saw. Here’s a tip I learned the hard way: measure your actual boards, not what the label says.
My 1×8 boards were supposed to be 7-1/4″ wide but came in at 7-1/16″. My 1×10 was closer to 9″ instead of the expected 9-1/4″. Those fractions added up fast — by the time I went to install the drawer fronts, I was nearly 1/2″ short of flush at the bottom.
My fix: I ripped the 1×10 drawer face down to 8-1/8″, then drilled 3/4″ pocket holes and attached a 1×2 strip to the bottom to make up the difference. It worked perfectly and you’d never know. Woodworking is all about being flexible.
Pro tip: Use a pencil arrow to mark which face of each board gets pocket holes before you drill. I’ve been doing this for years — it’s the fastest way to avoid drilling into the wrong side.
Step 2: Drill Pocket Holes and Assemble the Case
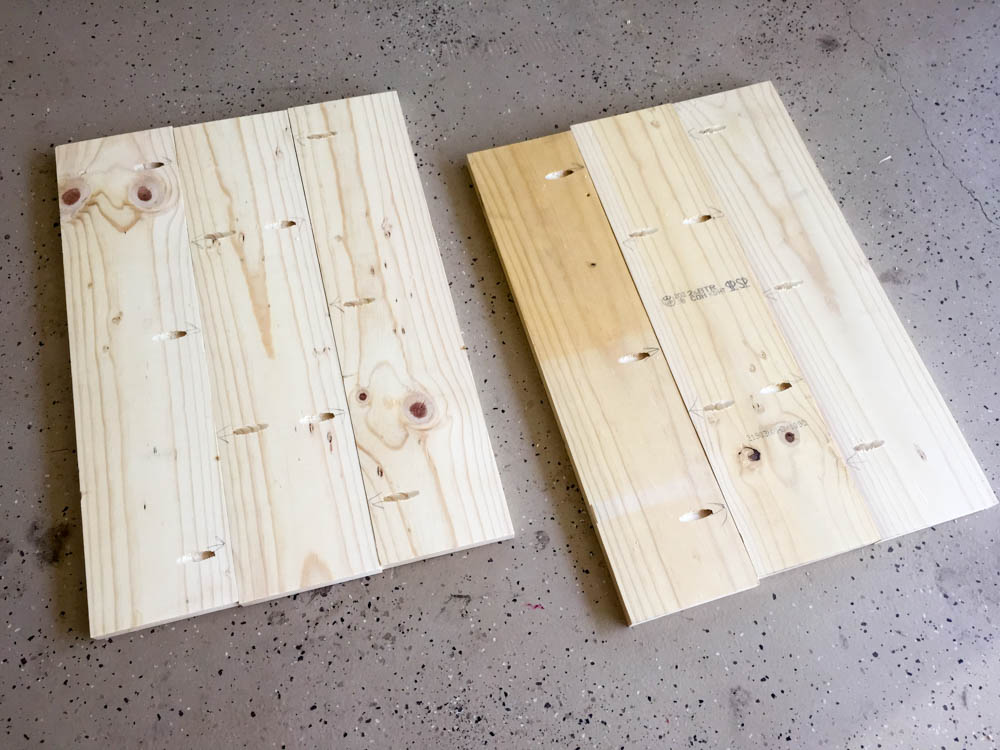
Pre-drill all pocket holes before assembly. Set your Kreg Jig for your material thickness and drill pocket holes in the sides, top, and any trim pieces.
Assemble in this order:
Join the sides using wood glue and 1-1/4″ pocket screws
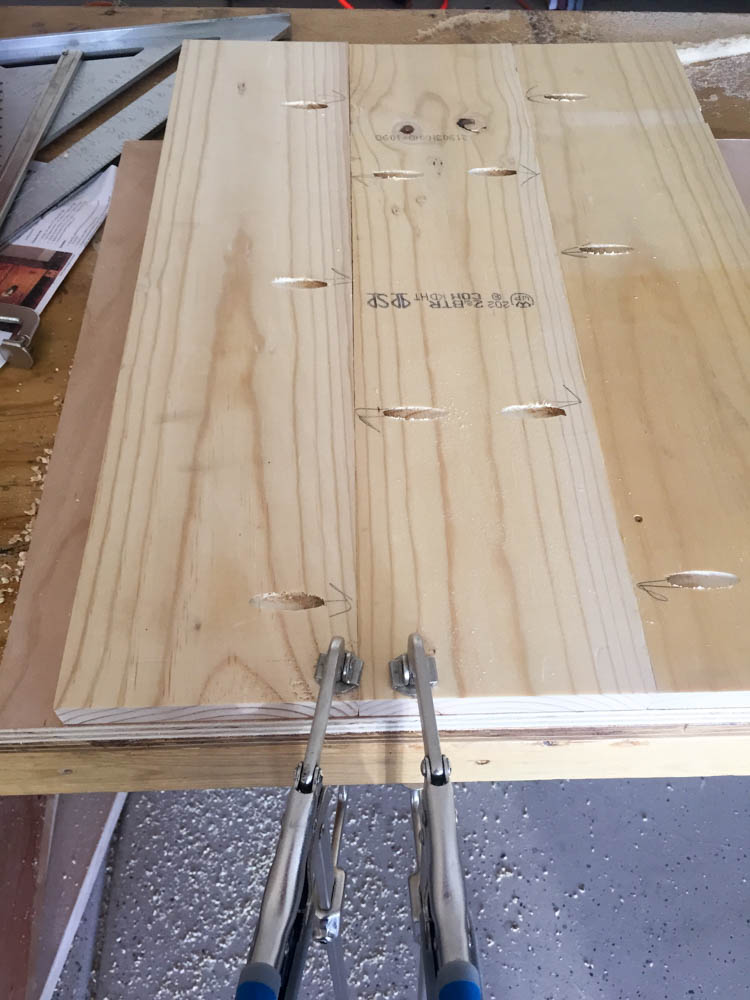
Attach the top — Kreg right angle clamps make this step much cleaner
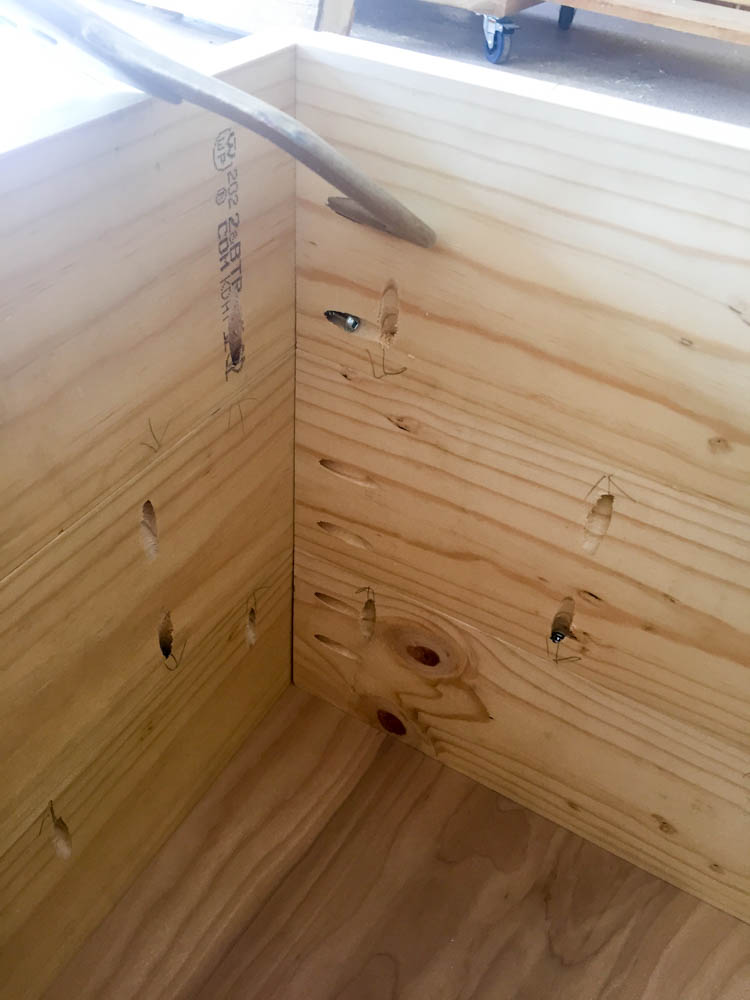
Cut and attach the 3/4″ plywood base using 1-1/4″ pocket screws
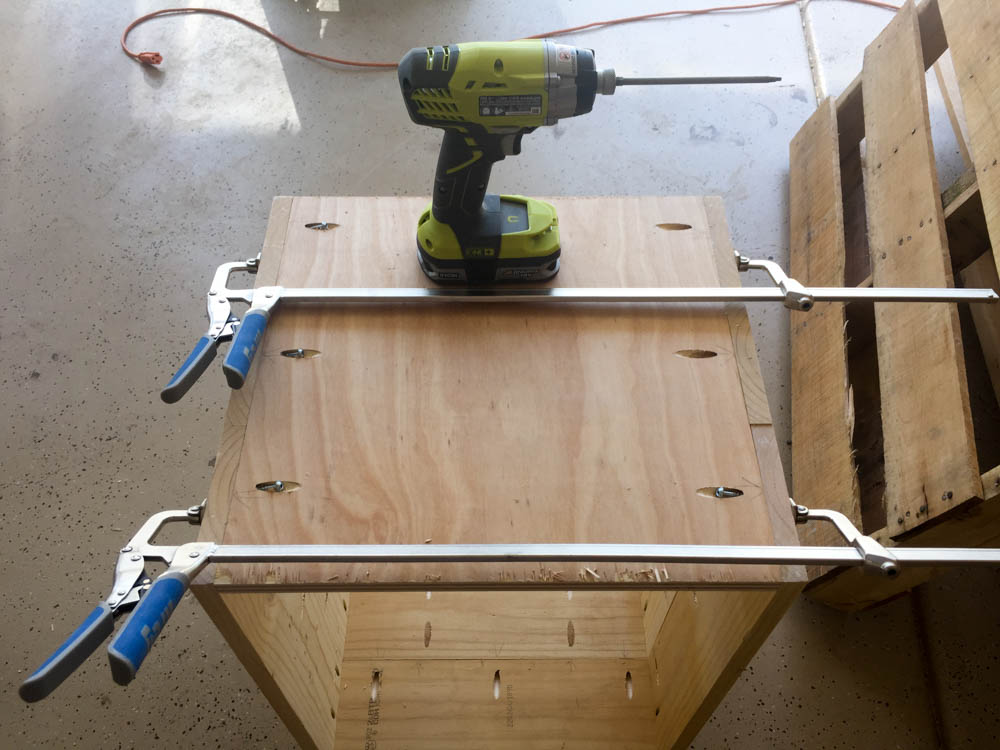
Add the 1×2 trim pieces with pocket screws and glue
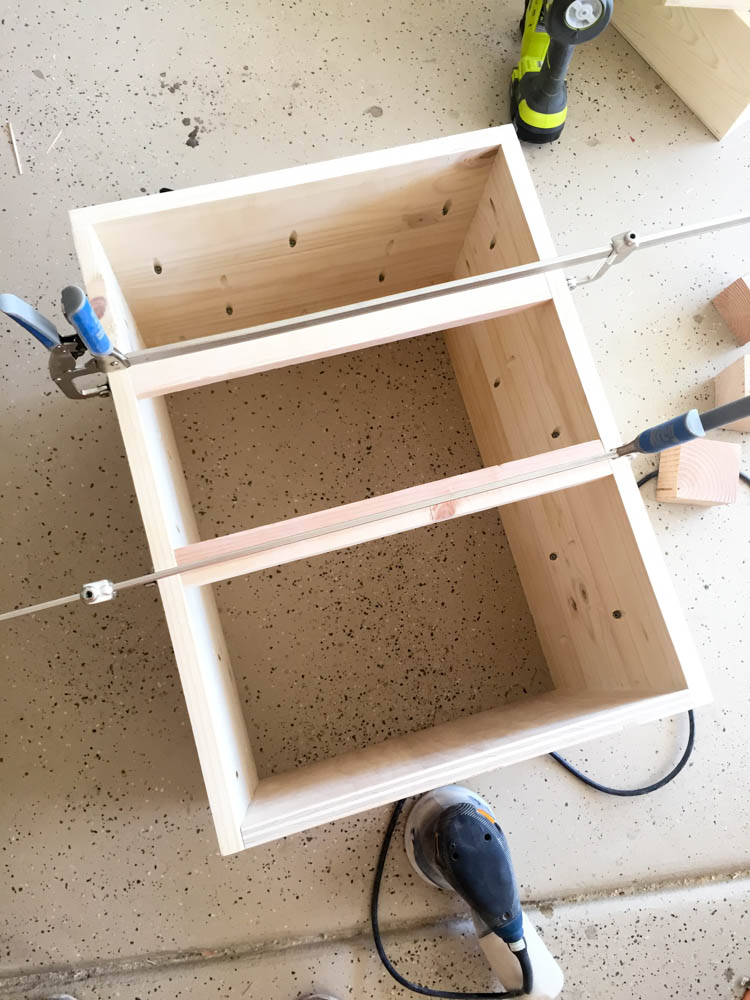
Take your time with squareness here. A case that’s even slightly out of square will cause headaches when you install the drawer glides.
Step 3: Build the Three Drawer Boxes
This nightstand has three drawers at three different depths, so each box is a different size. Cut your drawer box pieces to match the plans, then:
Assemble the box sides with pocket screws and wood glue
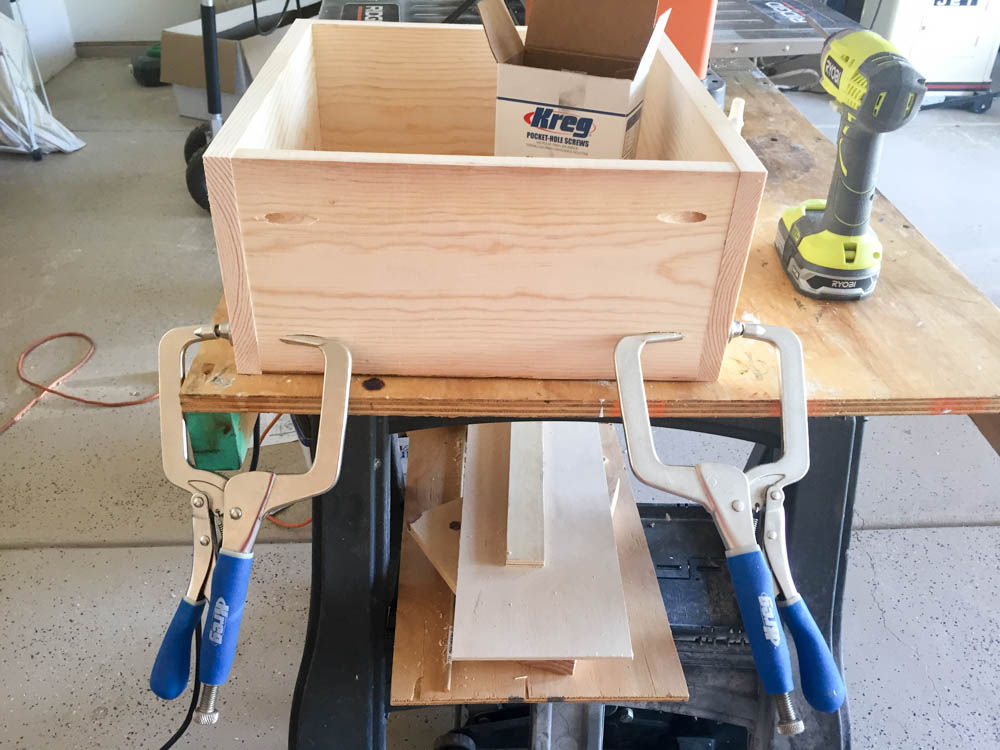
Cut 1/4″ plywood for the drawer bottoms
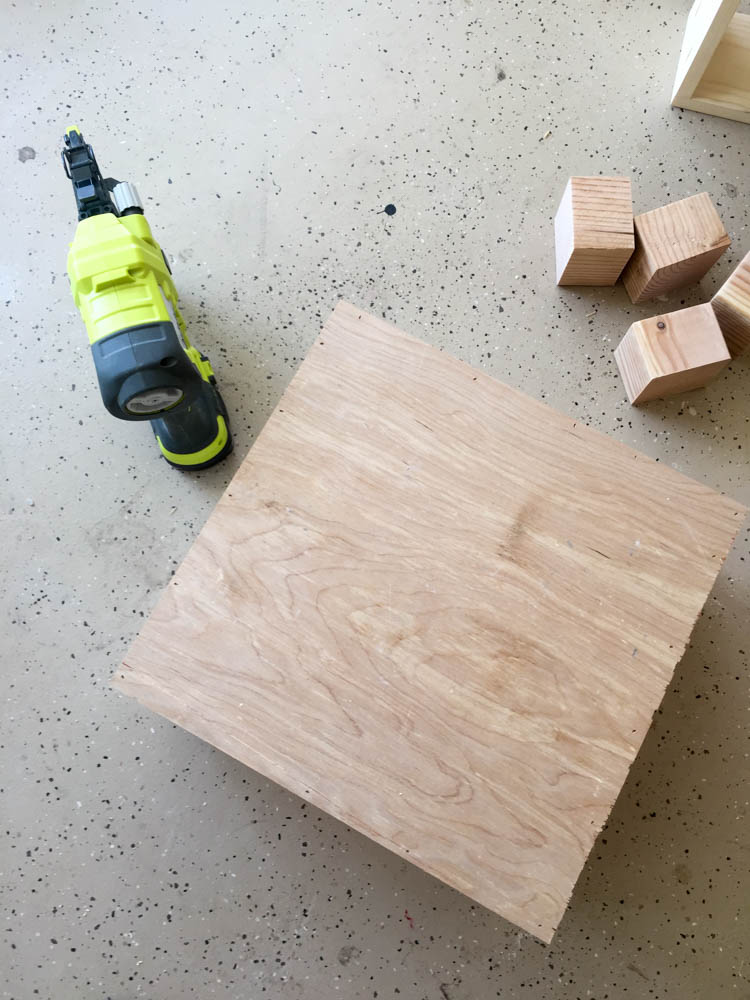
Attach the bottoms with wood glue and 5/8″ brad nails
Step 4: Install Drawer Glides and Attach Drawer Faces
Install the 16″ drawer glides according to the manufacturer’s instructions, then slide the drawer boxes into place. The drawers should sit approximately flush with the front of the case — you’ll be face-mounting the drawer fronts, so getting this right matters.
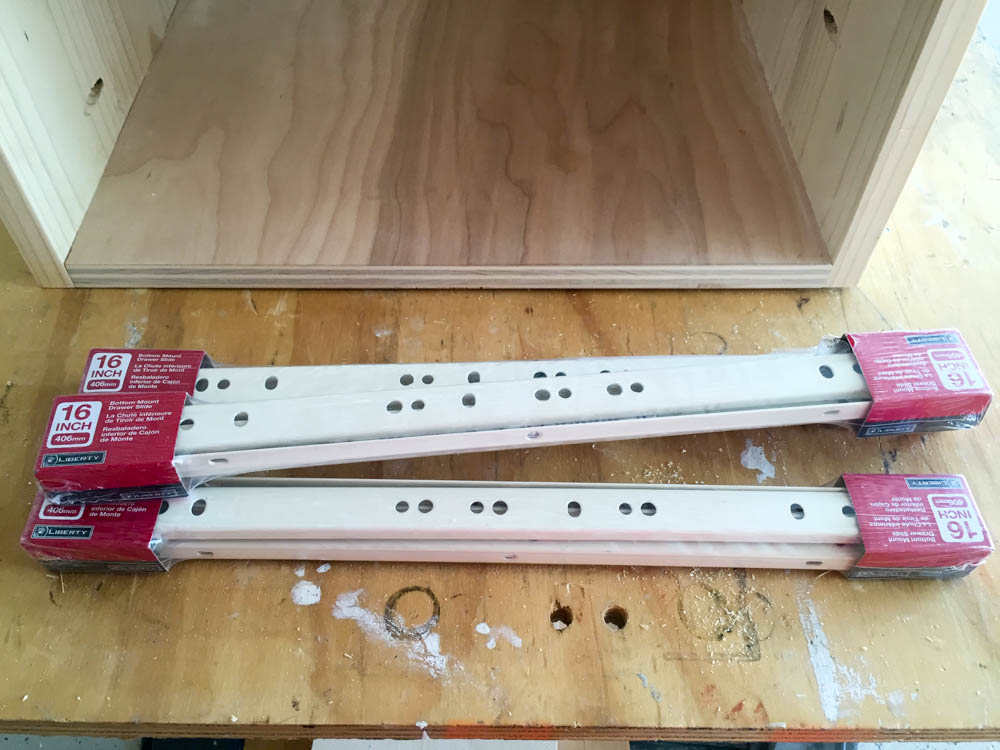
Attaching the drawer faces:
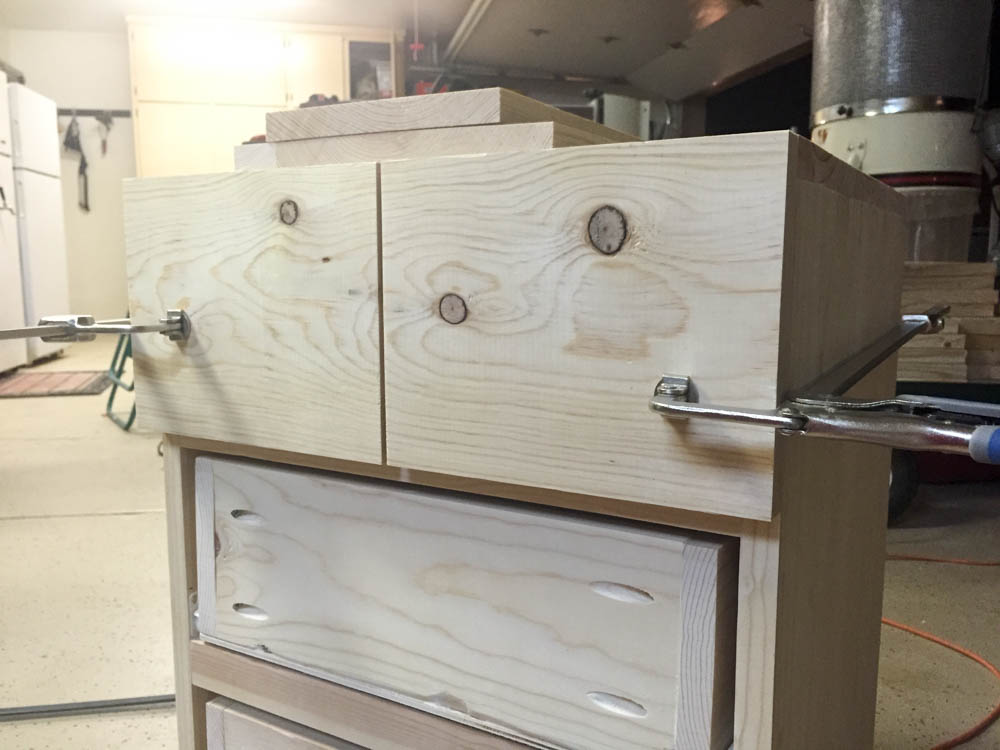
- The top drawer has the appearance of two drawers but is actually one large drawer with a false double-front
- Apply wood glue to the back of each face and clamp in position
- Nail one 1-1/4″ brad nail through the front of each piece to tack it in place
- Unclamp and finish nailing from inside the drawer box for a clean exterior
Step 5: Cut and Attach the 4×4 Legs
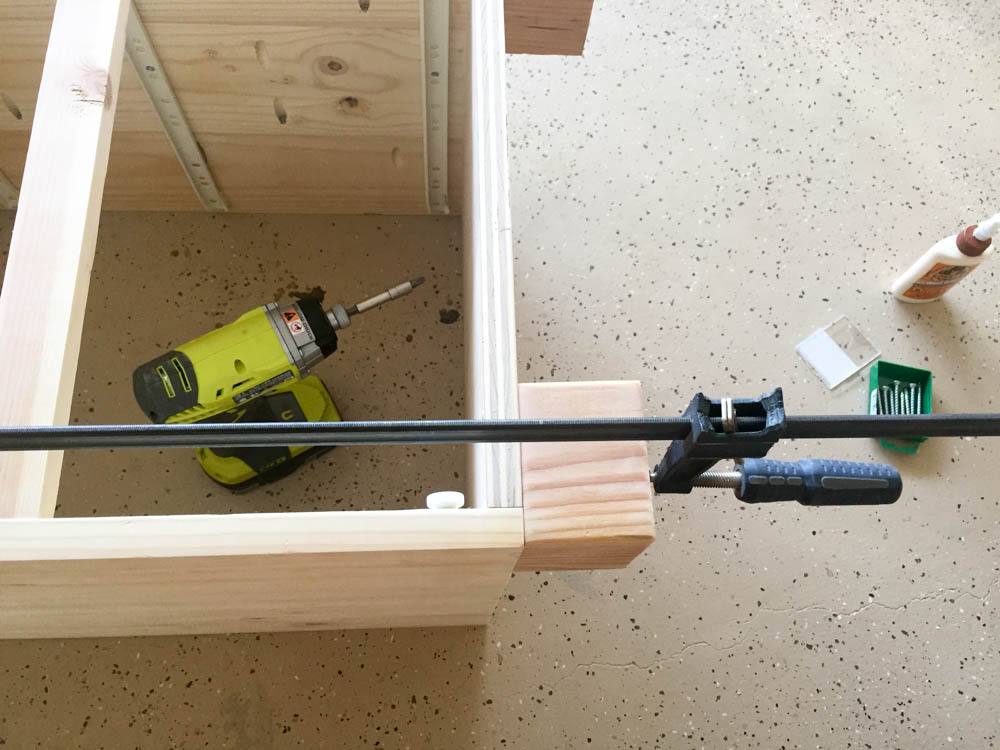
Cut your 4×4 legs to length and attach them using 2″ construction screws. Drive the screws near the corners of each leg — you’ll be drilling a decorative hole right in the center of each one in the next step.
Adding the decorative lag bolts:
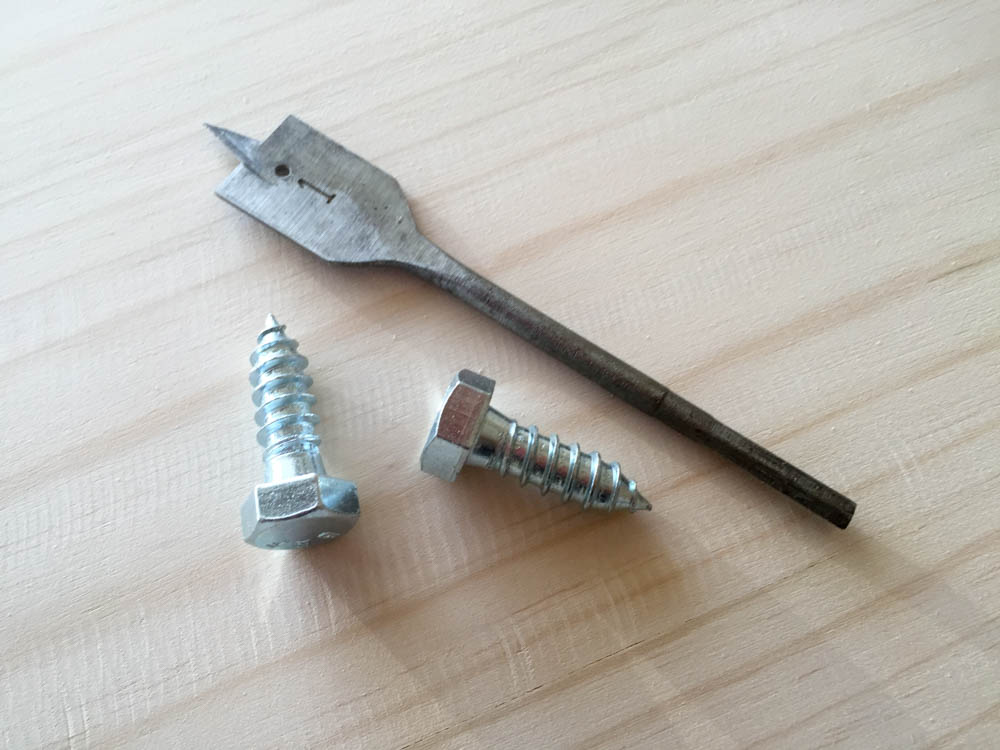
- Use a 1″ paddle bit to drill about 1/2″ deep into the center of each leg
- Switch to a 27/64″ bit to drill a pilot hole through the center of that recess
- Thread in a lag bolt — it should sit just inside the 1″ countersink hole
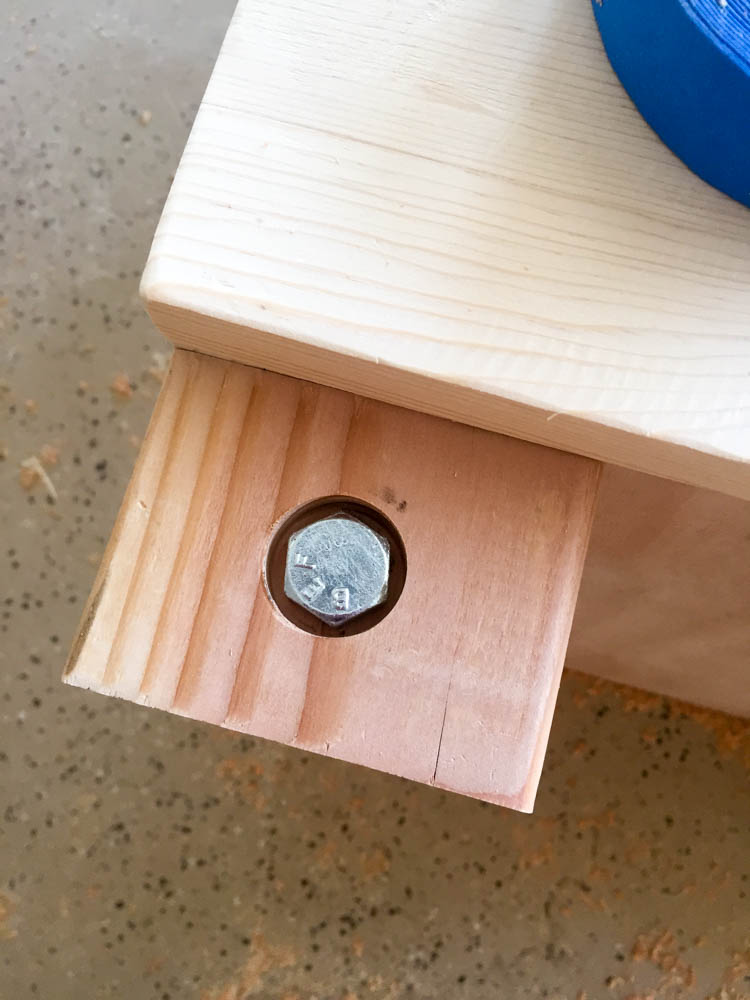
These lag bolts are purely decorative and one of the design details that make this look like the real thing.
Step 6: How to Add Saw Marks
The PB Teen version has this gorgeous rough-sawn texture — like the wood was cut at a sawmill and left with natural blade marks. Getting that look without access to a sawmill took me a while to figure out. Here’s what works:
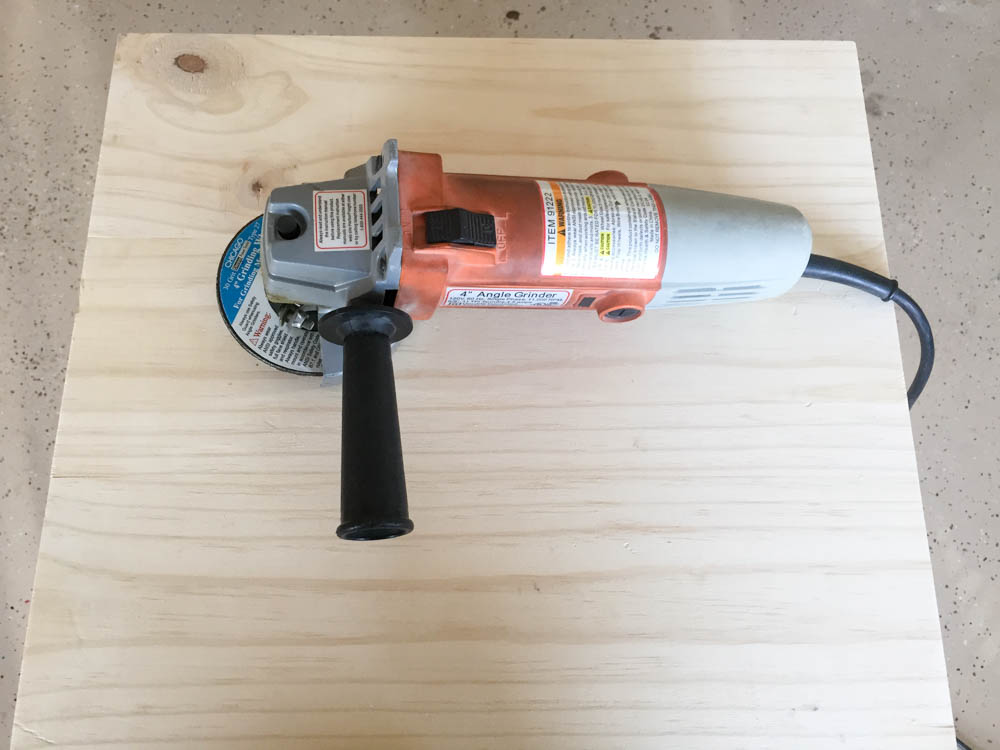
What you need: An angle grinder with a grinding disc
How to do it:
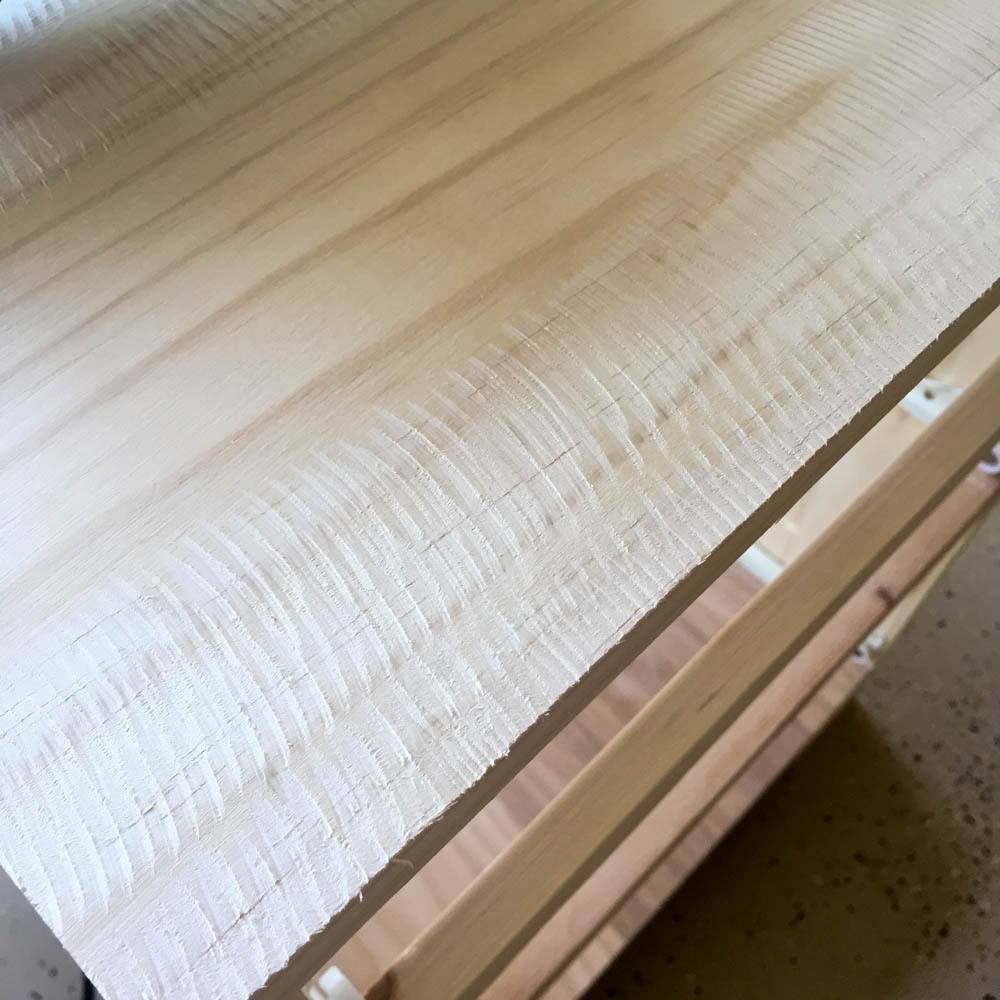
- Sand the entire piece first (you want a smooth starting surface)
- Practice on scrap wood first — seriously, don’t skip this
- Lightly run the grinder along the grain across all surfaces
- Use a very light touch — you’re grazing the surface, not grinding it down
- A few small nicks and inconsistencies are fine; it’s supposed to look distressed
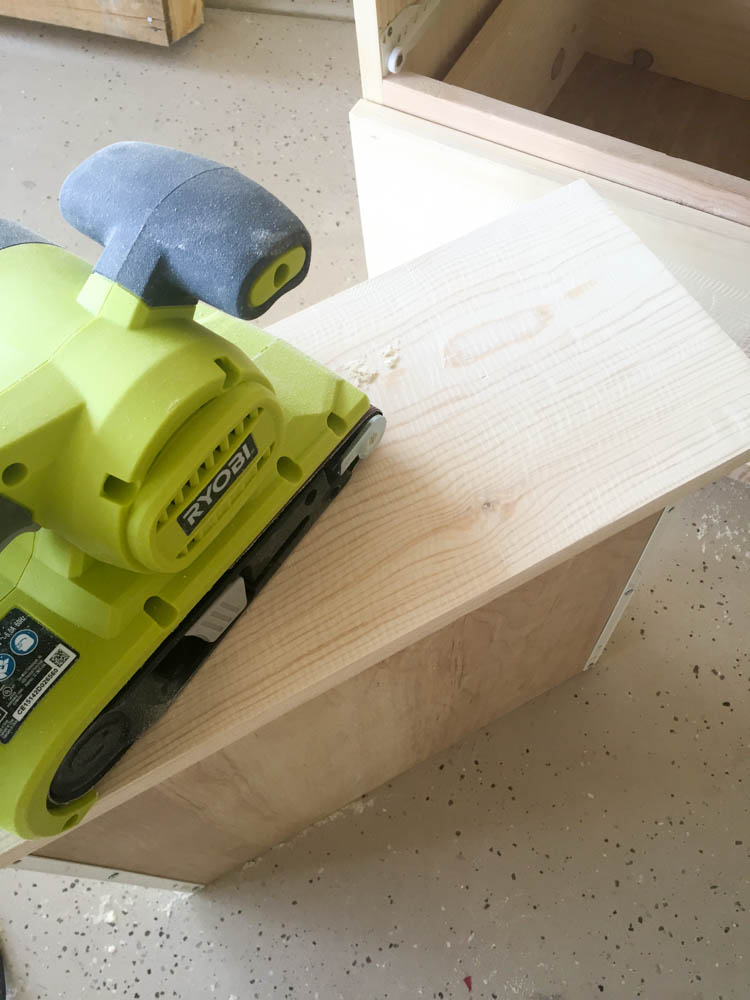
Once you’ve added the marks, run your belt sander with 80-grit sandpaper over everything. This softens and randomizes the marks so they look natural rather than deliberate. Follow up with 120-grit, then 220-grit to smooth everything out.
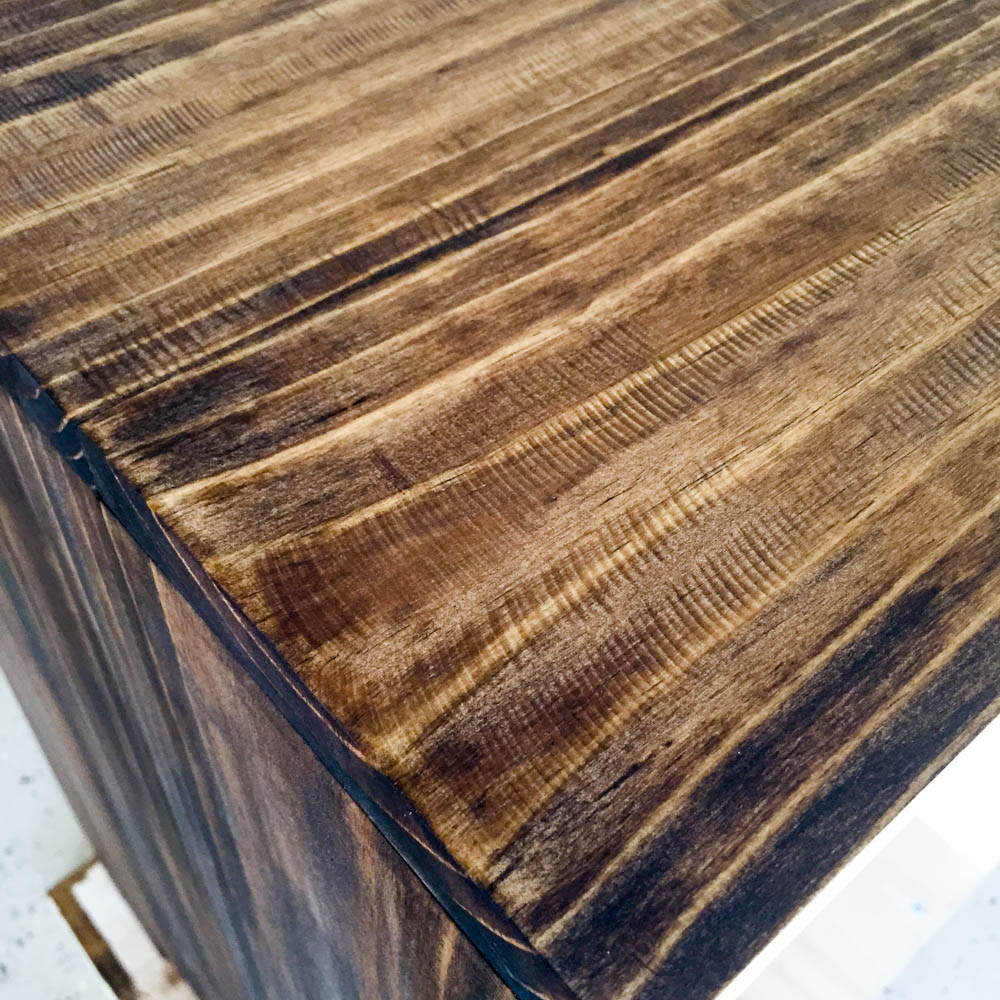
The real magic happens when you add stain. Minwax Provincial gets into all those grooves and makes the texture pop. It looks completely different — and way more convincing — after staining.
Step 7: Stain, Finish, and Add Hardware
Apply Minwax Provincial stain according to the label directions, then seal with polyurethane.
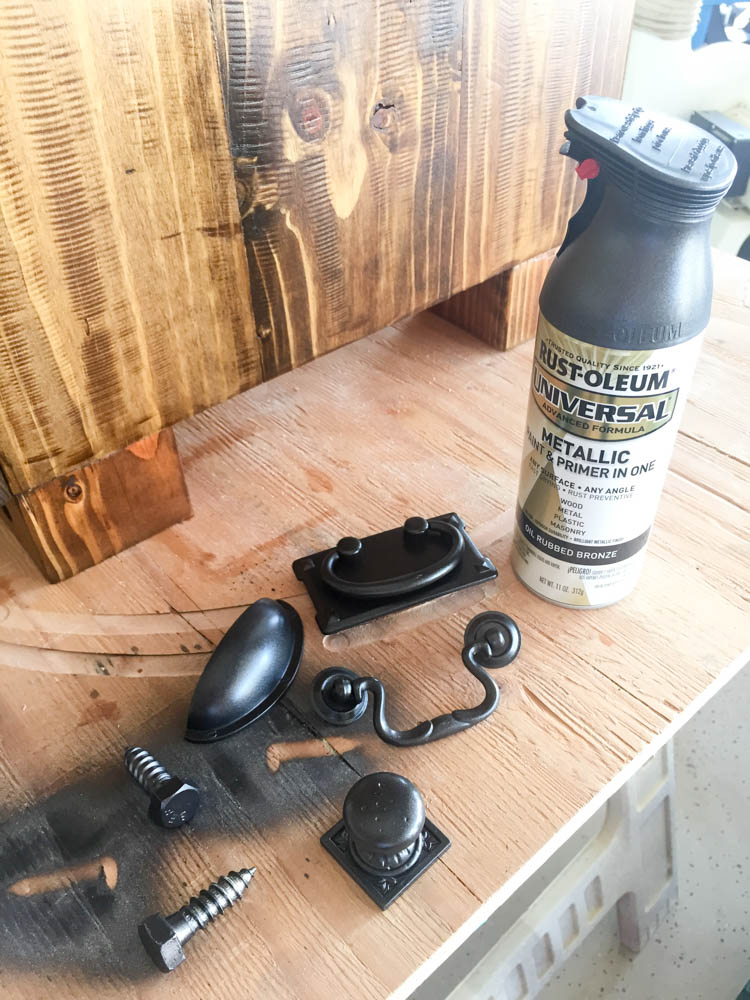
For hardware: I ordered knobs and pulls from Build.com but couldn’t find everything in a matching finish. My fix was a coat of Rustoleum metallic spray paint — it unified all the hardware instantly and cost almost nothing.
The original PB Teen version has numbers on the drawers. My son vetoed that idea, and honestly, I think the plain version looks just as good (maybe better).
Finished Project
Total cost: Under $100 vs. $399 retail. Build time is a weekend for most intermediate builders.
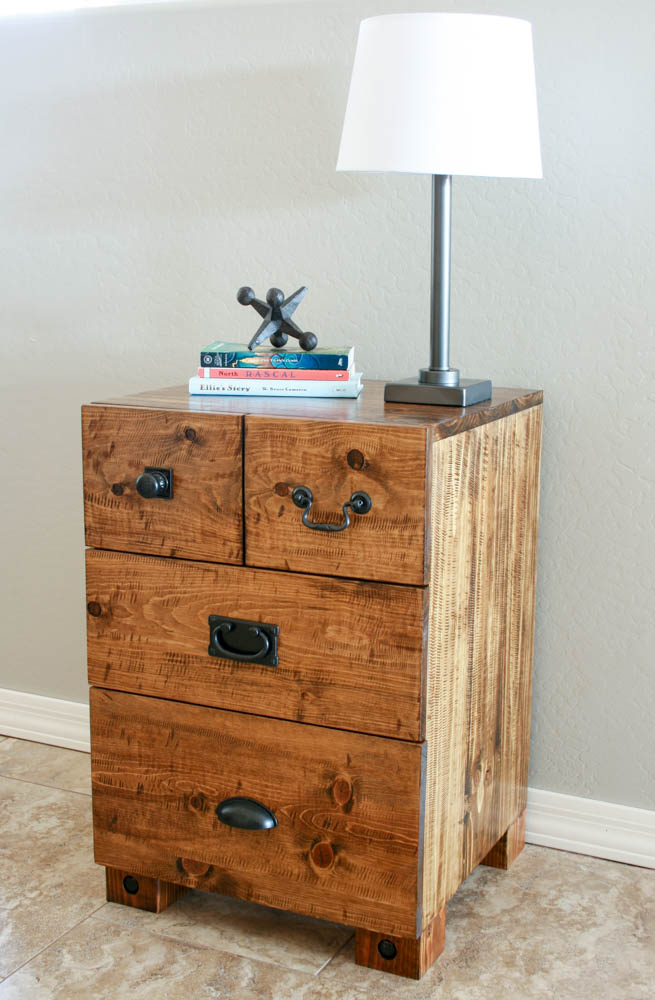
Distressing is one of those techniques where there’s a fine line between looking natural and looking like you tried too hard. The grinder-and-belt-sander combo does the heavy lifting for you — just trust the process and don’t overthink it.
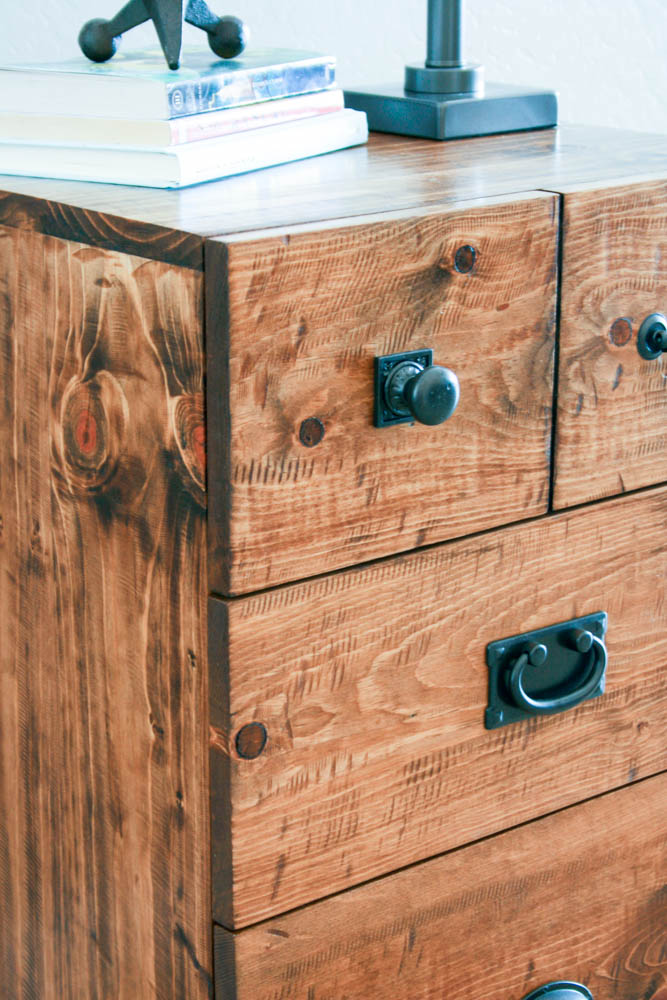
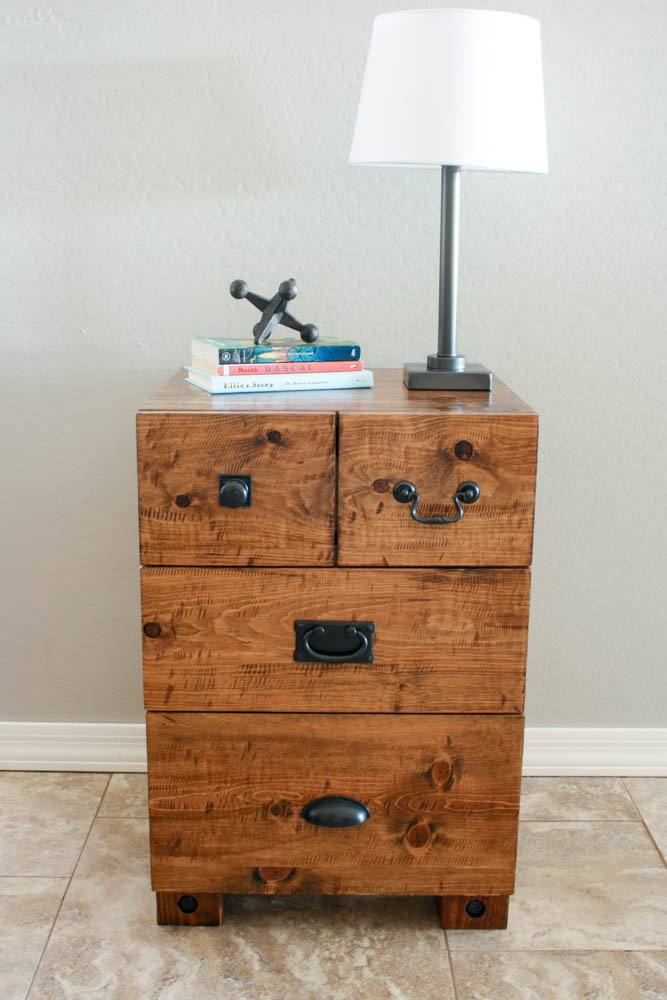
My son loves it, and I’m building the entire matching bedroom set to go with it. Stay tuned for that.
Free Printable Building Plans
Download the free plans below and build your own. If you make one, tag me on social media with #addicted2diy — seeing reader builds is genuinely one of the best parts of running this blog.
Frequently Asked Questions
How much does it cost to build this DIY nightstand?
This build cost approximately $60 in materials, mostly purchased at Home Depot. The original PB Teen Emerson Bedside Table retails for $399.
What skill level is required for this project?
This is an intermediate-level build. You’ll need to be comfortable with a miter saw, pocket hole jig, and basic assembly techniques. The saw-mark distressing technique requires some practice on scrap wood first.
What stain color is used on this nightstand?
Minwax Provincial stain, followed by polyurethane for protection.
Can I build this without a grinder?
You can achieve a similar distressed texture using a wire brush, chains dragged across the wood, or even a butter knife for detail work. The grinder gives the most consistent results, but it’s not the only option.
What size drawer glides do I need?
16″ drawer glides work for this build. Check the free plans for exact drawer depth dimensions before purchasing.
How do I get the drawer fronts to line up evenly?
Measure your actual board widths before building, not the nominal dimensions on the label. If you come up short (like I did), ripping a 1×2 strip and attaching it to the bottom of a drawer face is an easy fix.
Want more DIY furniture builds? Browse the [project gallery] or [sign up for the newsletter] to get new tutorials delivered to your inbox.