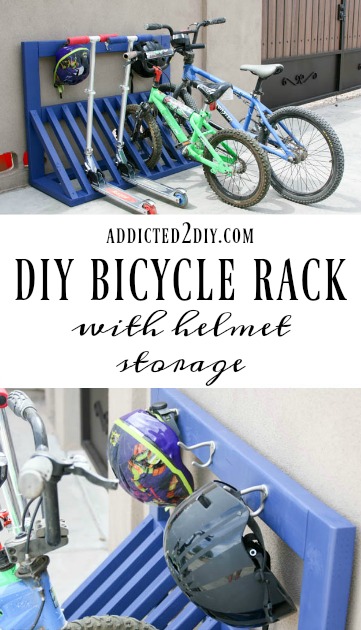
DIY Bike Rack for the Garage – With Helmet Storage
If your garage looks anything like mine did – a graveyard of tangled bikes, lost helmets, and scooters blocking every inch of floor space – this project is for you.
I built this DIY bike rack out of pure necessity. With two kids, it somehow felt like we owned ten bikes. Pedals were always caught in spokes, helmets disappeared constantly, and navigating the garage had become an obstacle course. I finally said enough and designed a rack that could handle all of it: bikes, scooters, and helmets in one organized, sturdy build.
Below you’ll find the full step-by-step tutorial, plus a link to purchase the printable plans.
What You’ll Need
Materials:
- 2×4 lumber (cut list in printable plans)
- 2×2 lumber
- 1½” pocket screws
- 2½” pocket screws
- 2″ wood screws
- Wood glue
- Coat hooks (for helmet storage)
- Latex paint + primer
Tools:
- Kreg Jig (or pocket hole jig)
- Drill
- Clamps
- Paint sprayer (I used the HomeRight Finish Max HVLP)
- Paint strainer
Step-by-Step Instructions
Step 1: Assemble the Base
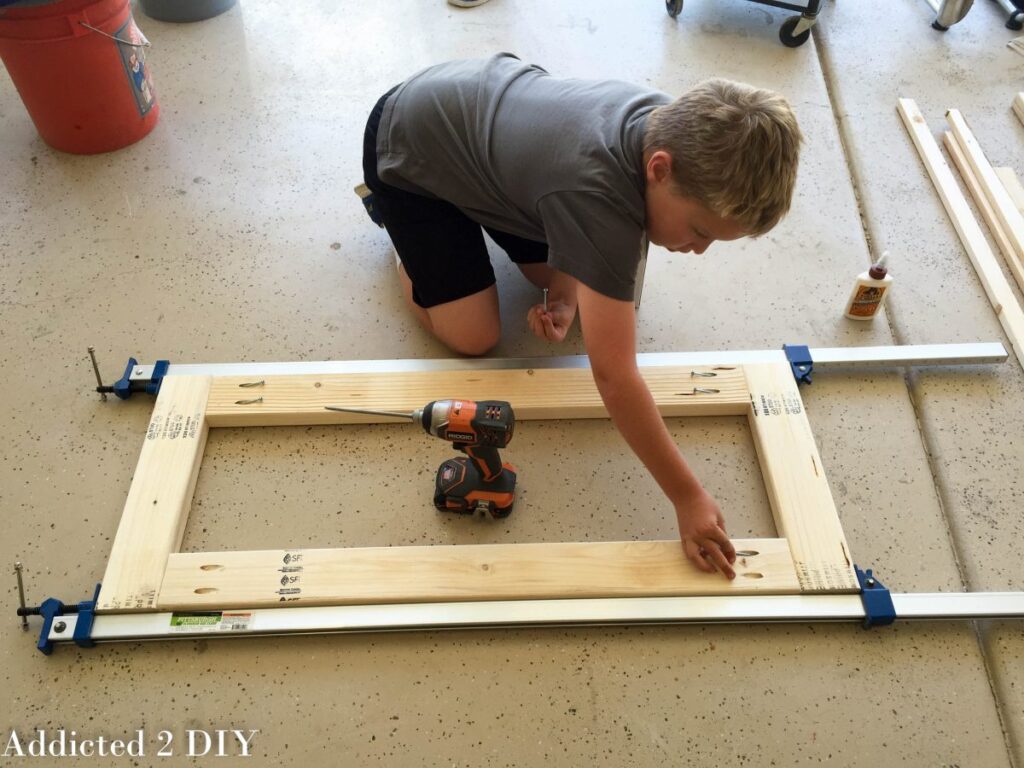
Drill 1½” pocket holes into both ends of your 36″ base pieces. Apply wood glue, then clamp and attach them to the 17″ side pieces using 2½” pocket screws.
Step 2: Attach the Back
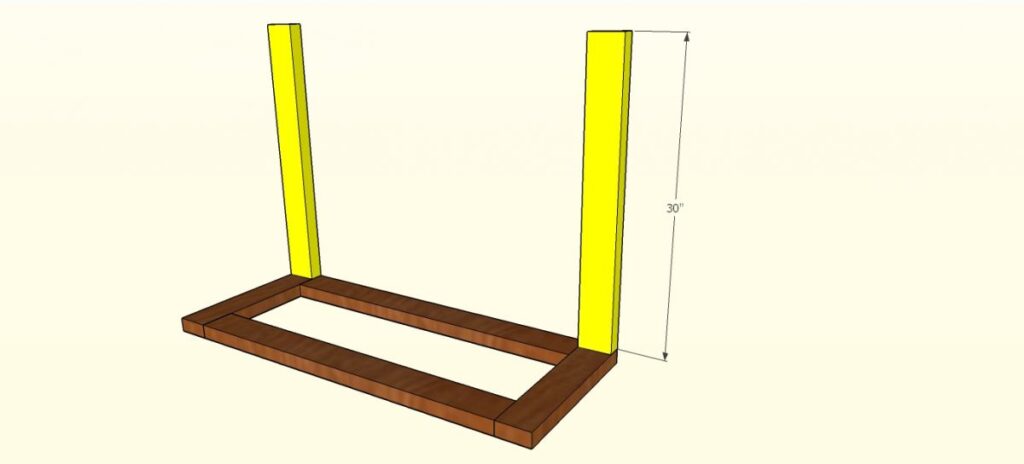
Drill 1½” pocket holes into your 30″ back pieces. Align them flush with the back edge of the base and secure with wood glue and 2½” pocket screws.
Step 3: Add the Cross Supports
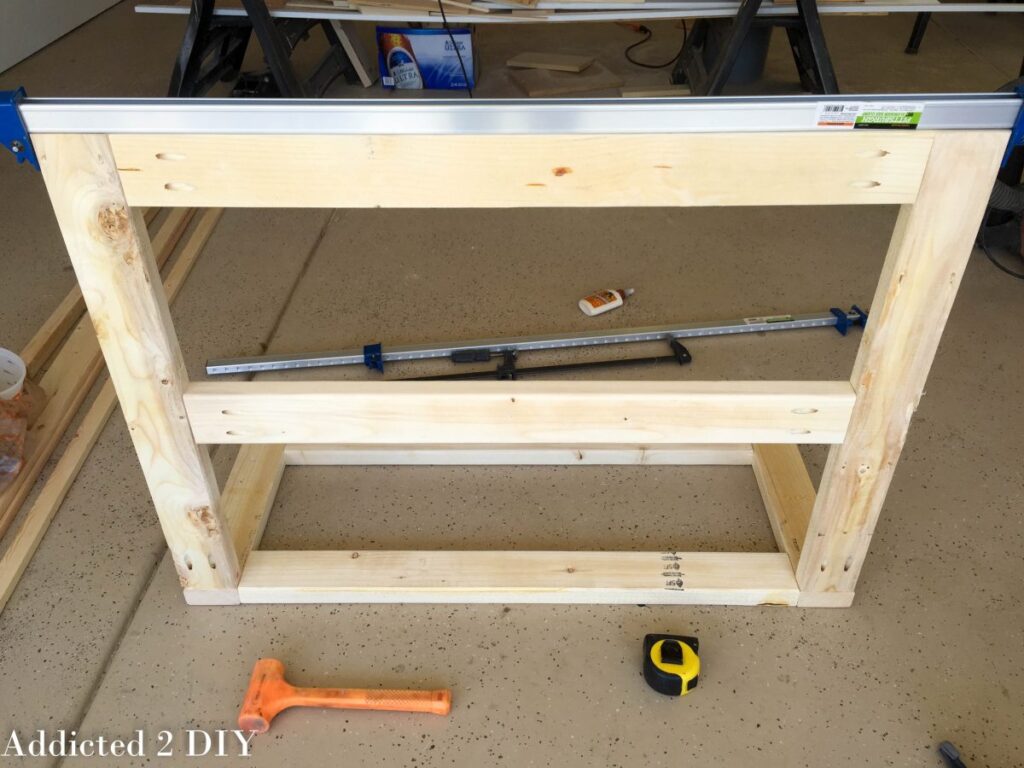
Drill 1½” pocket holes into each end of the 36″ cross pieces. Attach the top piece flush with the top of the back uprights. Position the middle brace 10⅞” down from the top piece, then secure all cross pieces with wood glue and 2½” pocket screws.
Step 4: Attach the 2×2 Uprights

Measure ½” in from each end of the base and position a 2×2 at each end. Drill a pilot hole through the top and bottom of each 2×2, then drive 2″ wood screws to attach them to both the base and the back – checking for square as you go. Starting from one side, measure 2½” and attach the remaining 2×2 pieces at equal spacing.
Finishing Step:
You can decide to paint, stain, or leave this project natural wood. I chose to paint it with latex paint.
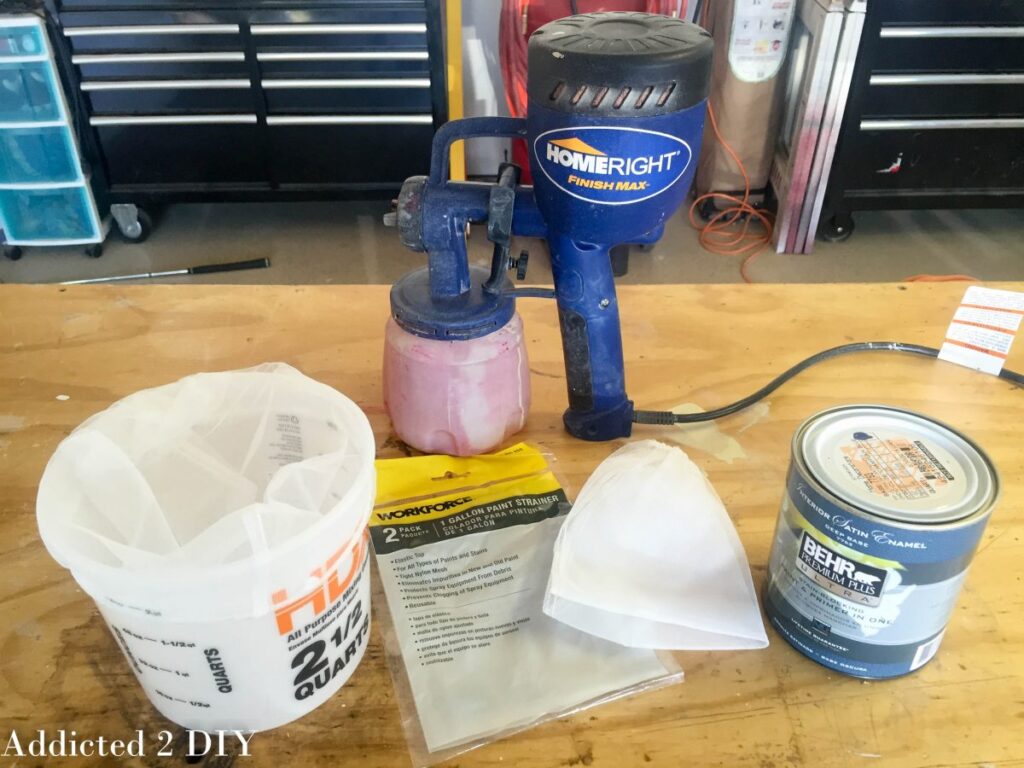
Step 5: Strain Your Paint
Before you pick up the sprayer, strain your paint – even a brand new can. Dried bits and clumps will clog your sprayer mid-project, and nobody wants to stop to clean a gun when they’re in the zone.
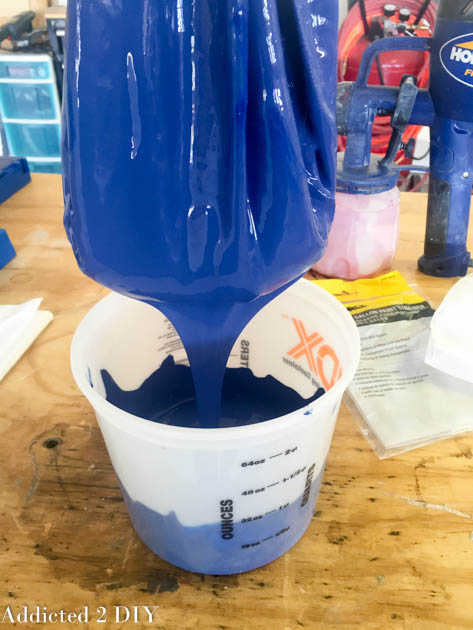
Step 6: Dilute the Paint
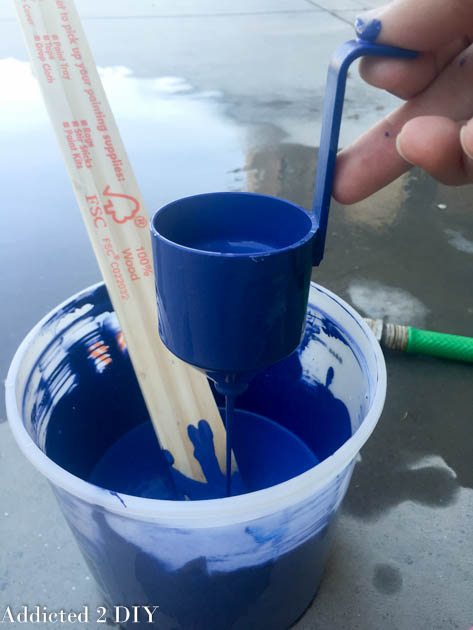
I used water-based latex paint, which dilutes with water. If you’re using oil-based paint, follow the dilution instructions on the can. The HomeRight Finish Max HVLP sprayer comes with clear guidelines on how much to dilute for the best results.
Step 7: Apply 2–3 Coats of Paint
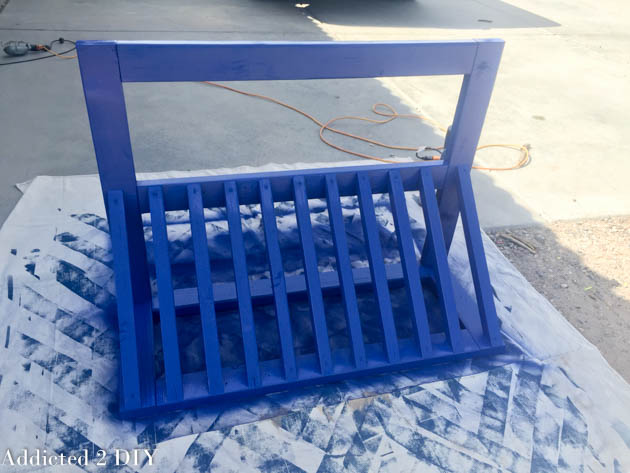
This rack is going to take a beating from kids, so give it the protection it needs. The raw wood will soak up the first coat, so plan on at least two – three if you want maximum durability. Let each coat dry fully before applying the next.
Step 8: Attach the Helmet Hooks
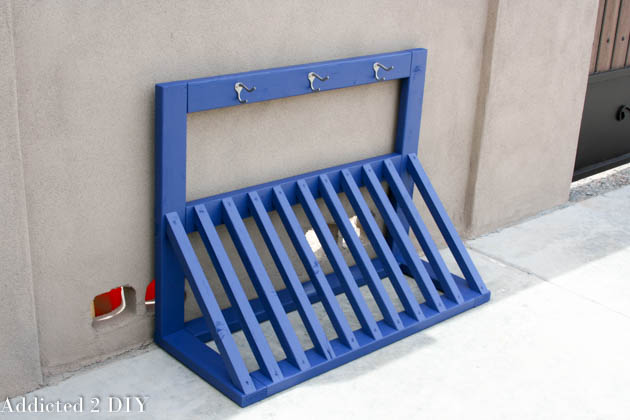
Screw coat hooks into the front face of the rack to create dedicated helmet storage. My kids actually use theirs now, which feels like a small miracle.
The Finished Bike Rack
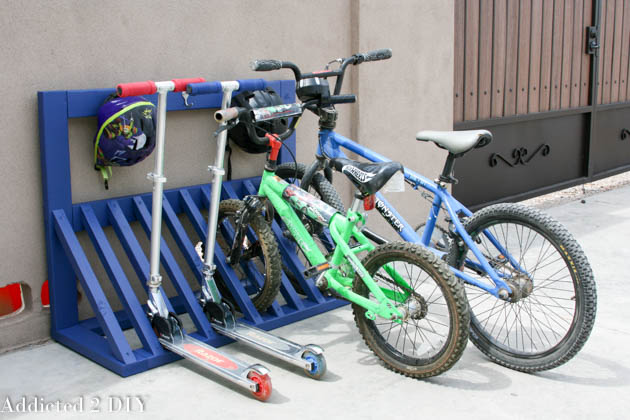
Once everything was assembled and painted, this thing transformed our garage. The kids have a spot for their bikes, their scooters slide right in, and helmets actually get hung up instead of lost. It’s one of those projects that earns its keep every single day.
Frequently Asked Questions
How much does it cost to build a DIY bike rack?
Material costs vary by region, but most builders complete this project for $40–$70 in lumber, hardware, and paint – far less than a comparable store-bought rack.
What kind of wood is best for a garage bike rack?
Standard 2×4 and 2×2 construction lumber works great. It’s affordable, widely available, and strong enough for the load.
Can this rack hold adult bikes?
Yes – the design is sturdy enough for adult bikes. For heavier e-bikes or cargo bikes, consider adding an additional cross brace and using 3″ screws at key joints.
How do I keep the bike rack from tipping?
If your garage has finished walls, you can optionally screw the back directly into wall studs for added stability. For a freestanding version, the wide base keeps it stable under normal use.
Can I adjust the spacing for different bike sizes?
Absolutely. The 2×2 spacing is easy to customize before assembly – just adjust your measurements based on the width of your handlebars or tires.
Ready to build? You can purchase the printable plans and get started this weekend.
If you build one, I’d love to see it! Tag me on social media or send a photo – I feature reader builds regularly.
Disclosure: This post contains affiliate links. If you purchase a product through one of my links, I may earn a small commission at no extra cost to you. I was previously a HomeRight brand ambassador and received compensation and/or product in connection with this project. All opinions are my own.