How To Build A Bench With Hidden Storage
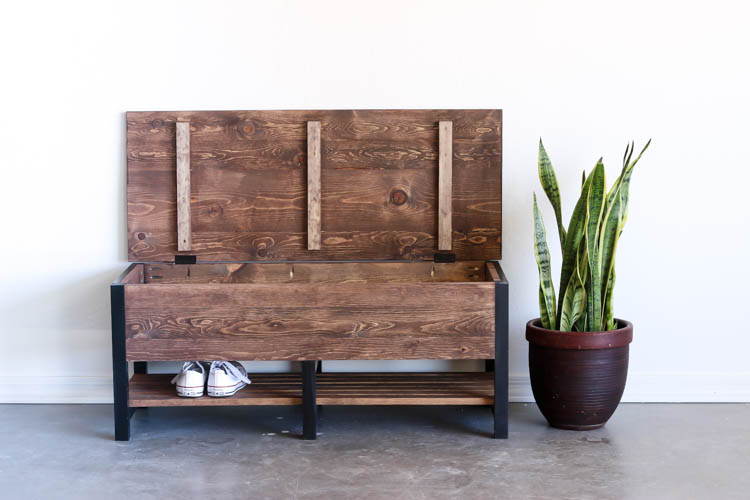
Learn how to build a beautiful DIY bench with hidden storage for a little over $100 using these step-by-step instructions and printable plans. This bench is perfect for an entryway, mudroom, bedroom, or living room and gives you both seating and extra storage in one functional project.
DIY Storage Bench
If you love furniture that looks great and works hard for your home, this DIY storage bench is the perfect project.
One of my favorite things about this bench is how functional it is. It works perfectly as a place to sit while putting on shoes, but it also provides plenty of hidden storage for blankets, games, books, shoes, and more.
Even better? You can build this storage bench for just a little over $100 in materials, making it a budget-friendly furniture project with a high-end look.
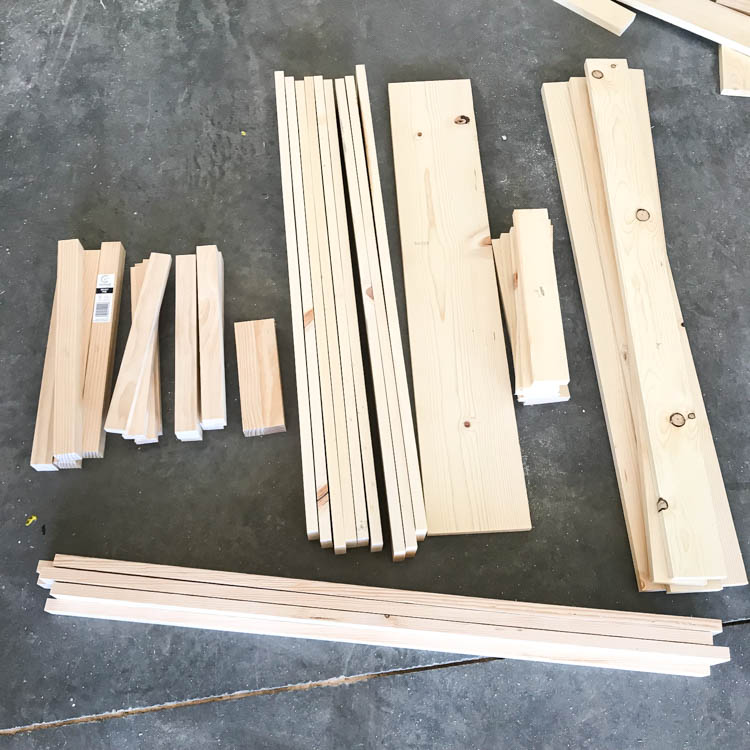
Be sure to download the printable plans, then follow along with the full step-by-step tutorial below.
How to Build a DIY Storage Bench
Project Overview
- Skill Level: Intermediate
- Build Time: 2 days
- Estimated Cost: A little over $100
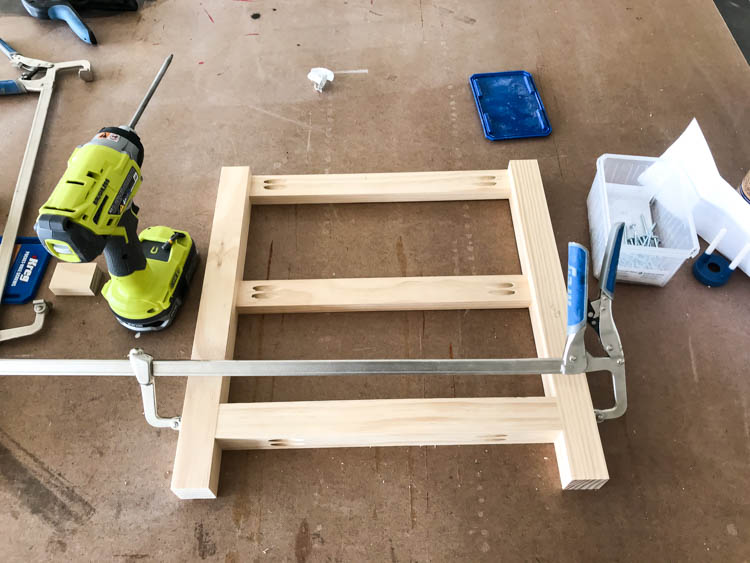
Step 1: Build the Bench Legs
Start by building the outside leg assemblies for each end of the bench.
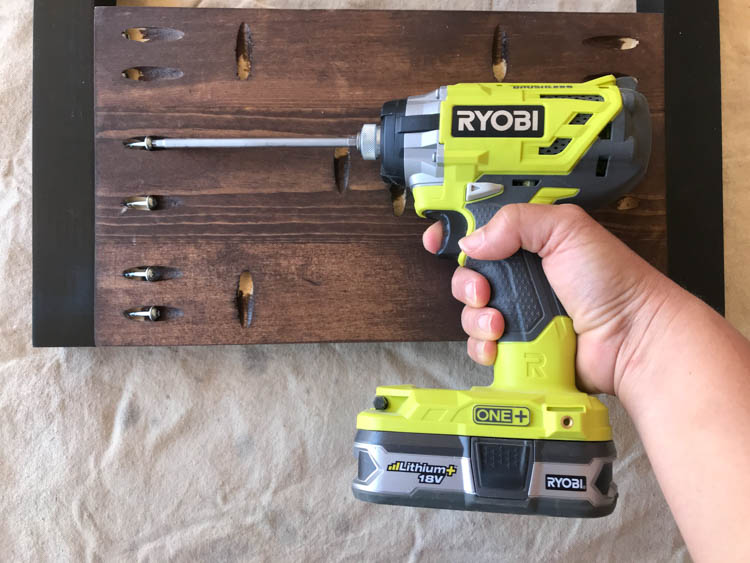
Drill 3/4” pocket holes into the 1×2 boards and 1 1/2” pocket holes into the 14 1/4” 2×2 boards. Apply wood glue to all joints, then assemble using:
- 1 1/4” pocket screws for the 1×2 boards
- 2 1/2” pocket screws for the 2×2 boards
This creates the main support structure for the bench.
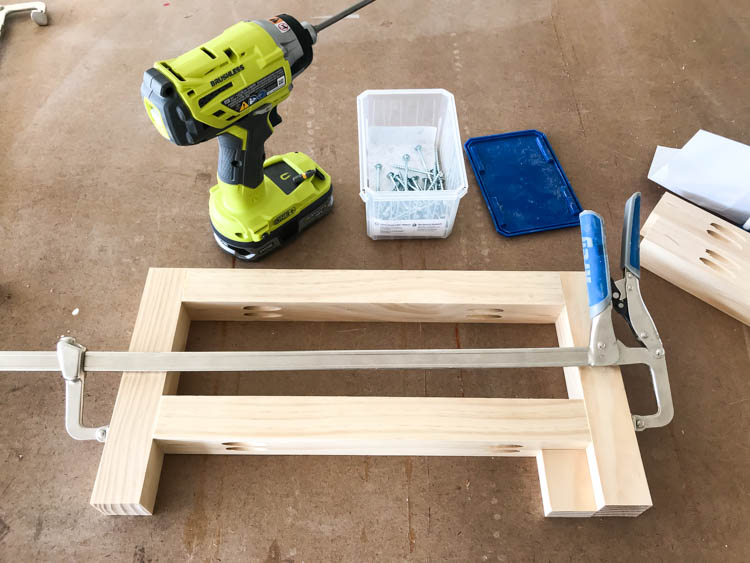
Step 2: Build the Center Legs
Next, assemble the center leg supports.
Drill 1 1/2” pocket holes into the ends of the 14 1/4” 2×2 boards. Apply glue to the joints, clamp the pieces in place, and secure them with 2 1/2” pocket screws.
Once assembled, sand all of the leg pieces smooth and paint or stain them in your desired finish.
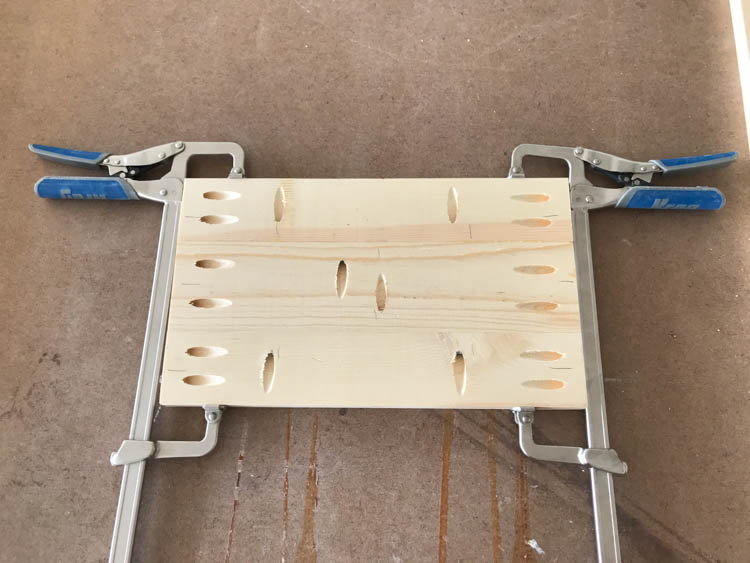
Step 3: Build the Side and End Panels
Build the side and end panels for the storage bench.
Drill:
- 3/4” pocket holes into one edge of each 1×3 board
- Pocket holes into both edges of the 1×4 boards
- Pocket holes into the ends of all panel boards
Assemble the panels using wood glue and 1 1/4” pocket screws.
Take your time clamping the panels tightly during assembly to keep everything flat and square.
Step 4: Build the Bottom Panel
Create the bottom panel for the inside of the storage compartment.
Drill 3/4” pocket holes into the edges and ends of all boards used for the panel. Glue the boards together, clamp them tightly, and secure them with pocket screws.
This panel adds both storage support and structural strength to the bench.
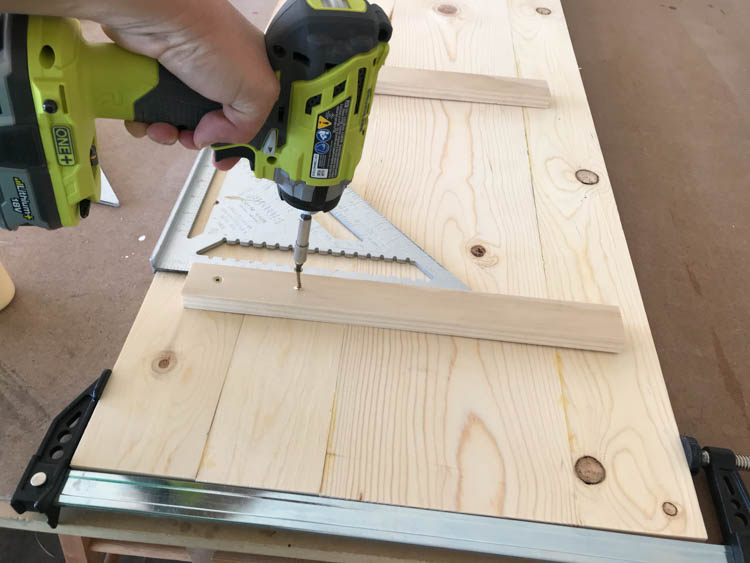
Step 5: Assemble the Bench Lid
Glue together the boards that make up the bench lid and clamp until dry.
Once assembled, attach the decorative 1×2 boards to the top using wood glue and 1 1/4” wood screws. Leave approximately:
- 1 3/8” spacing at each end
- 13” spacing between the 1×2 boards
At this point, stain and finish:
- The lid
- All wood panels
- The bottom shelf slats
Finishing before final assembly makes the process much easier.
Step 6: Attach the End Panels
Attach the end panels to the leg assemblies using the predrilled pocket holes and 1 1/4” pocket screws.
Check for square as you assemble the frame to keep the bench aligned properly.
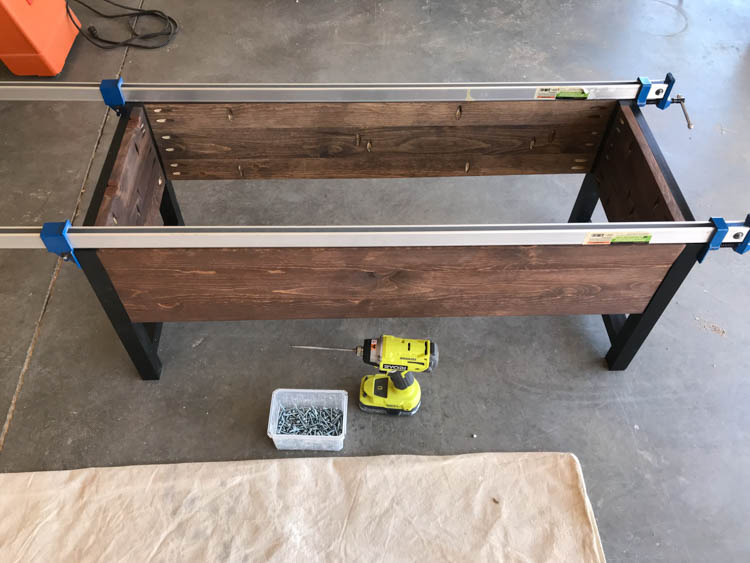
Step 7: Attach the Front and Back Panels
Clamp the front and back panels into position, then secure them with 1 1/4” pocket screws.
Once assembled, the bench frame will start taking shape.
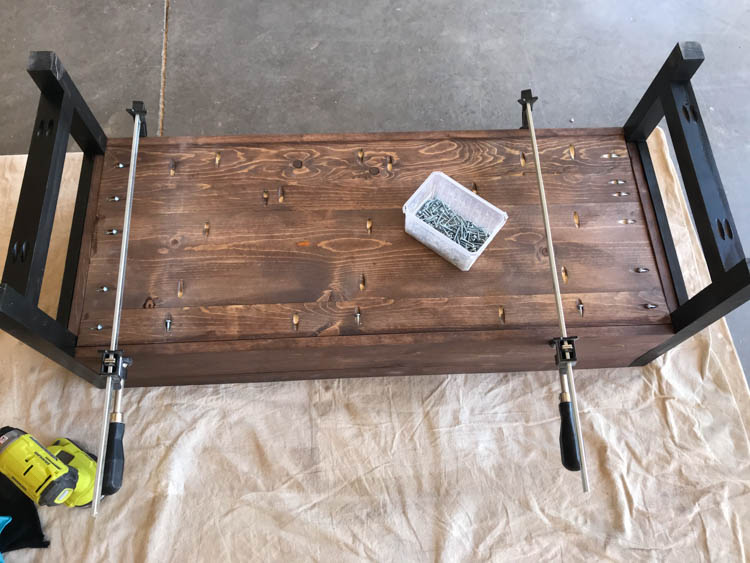
Step 8: Install the Bottom Panel
Flip the bench upside down and position the bottom panel so it sits inset and flush with the bottom edge of the side panels.
Clamp the panel securely, then attach it on all four sides using 1 1/4” pocket screws.
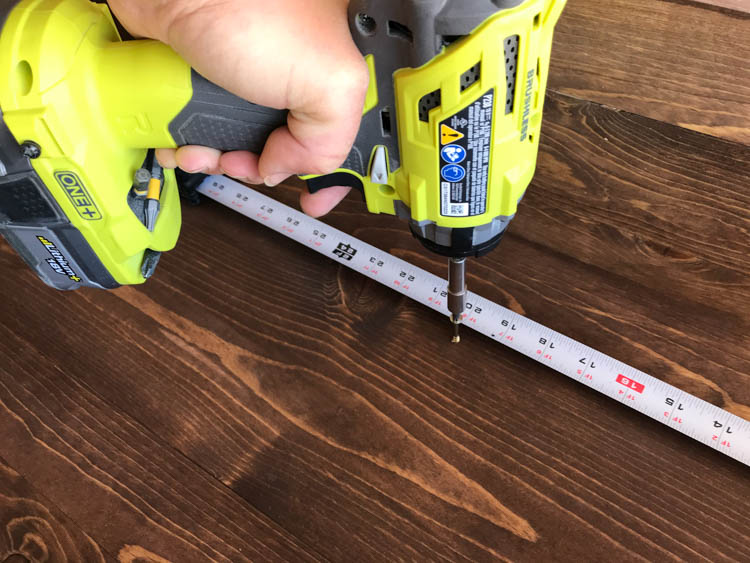
Step 9: Attach the Center Legs
Measure and mark the center leg locations according to the printable plans.
Glue and clamp the legs into place. Then flip the bench upright and drive 2” screws through the bottom panel into the center legs for additional support.
These supports help strengthen both the storage compartment and the lower shelf.
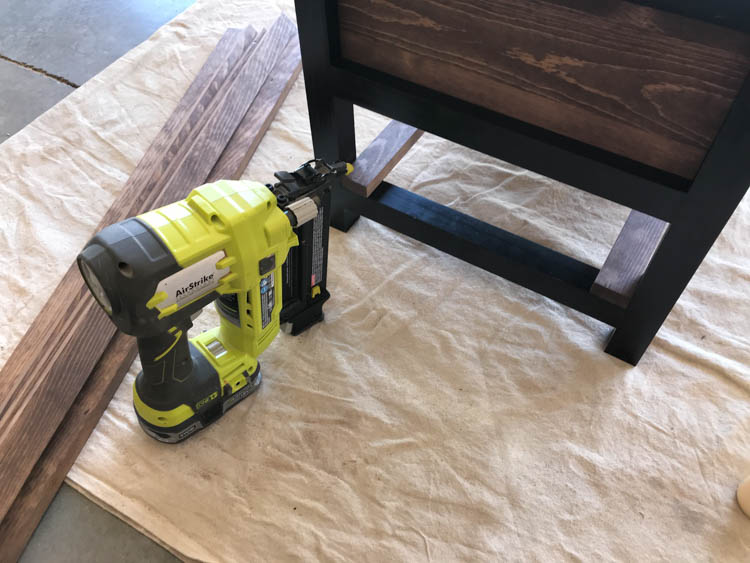
Step 10: Install the Bottom Shelf Slats
Begin attaching the bottom 1×2 shelf slats by installing the front and back boards flush against the legs.
Apply a small amount of wood glue at each contact point and secure the boards using 1 1/4” brad nails.
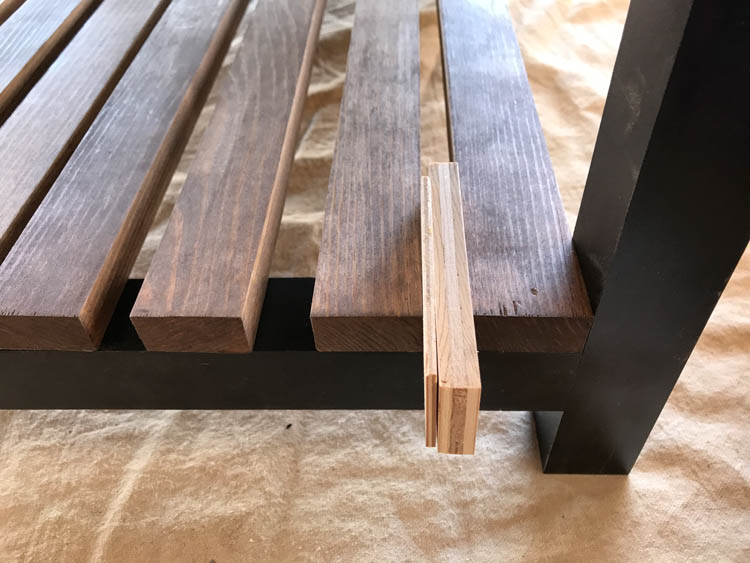
Step 11: Attach the Remaining Shelf Slats
Evenly space the remaining slats between the front and back boards, leaving approximately 5/8” spacing between each board.
Glue and nail each slat into place.
After all slats are installed, flip the bench over and drive 2” screws through the underside into the center support to secure the slats in the middle.
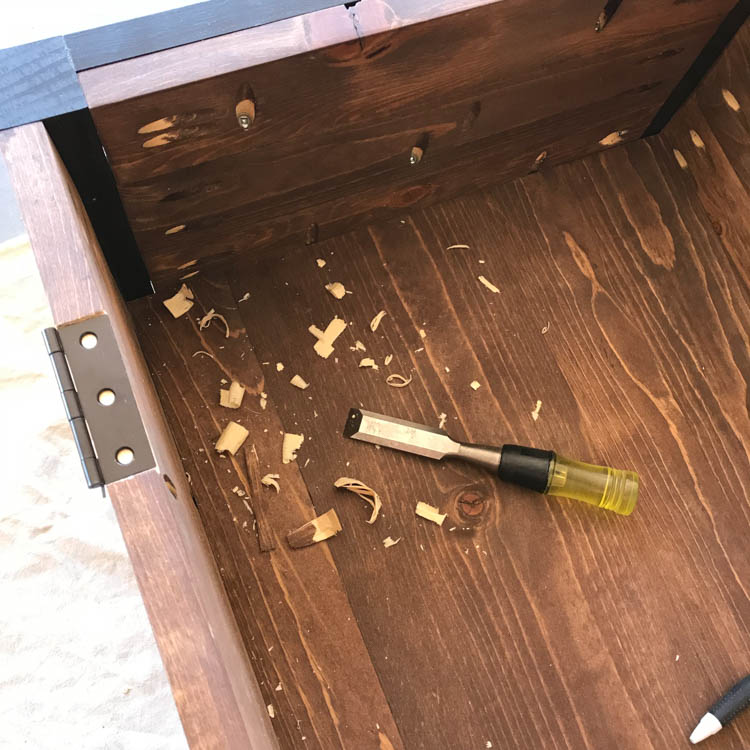
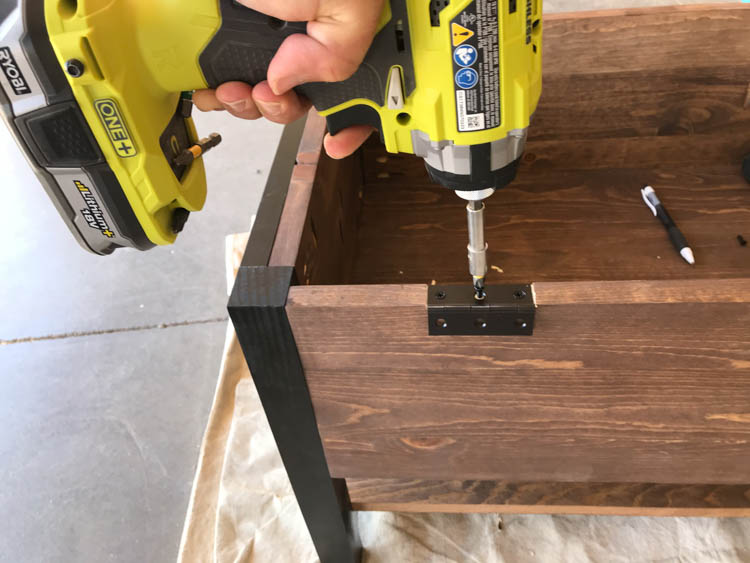
Step 12: Attach the Lid
Install the lid using 2 1/2” hinges.
The hinges can either:
- Be mounted directly to the rear panel, or
- Be mortised into the wood with a chisel for a more flush fit
Measure and mark the hinge placement approximately 6” in from each end of the bench before installation.
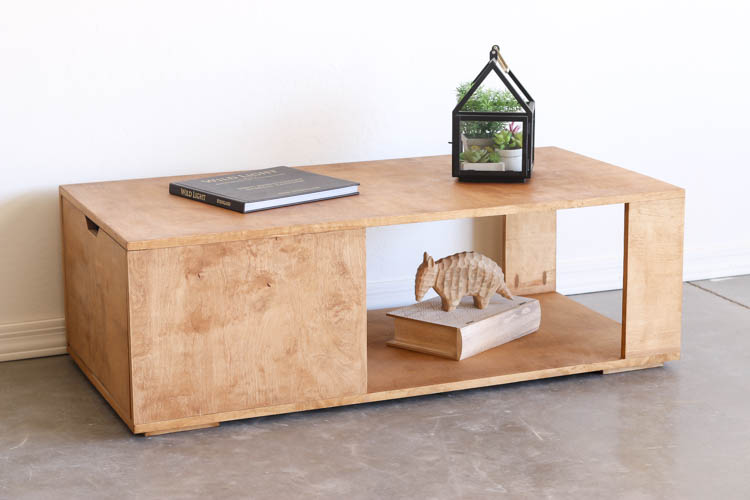
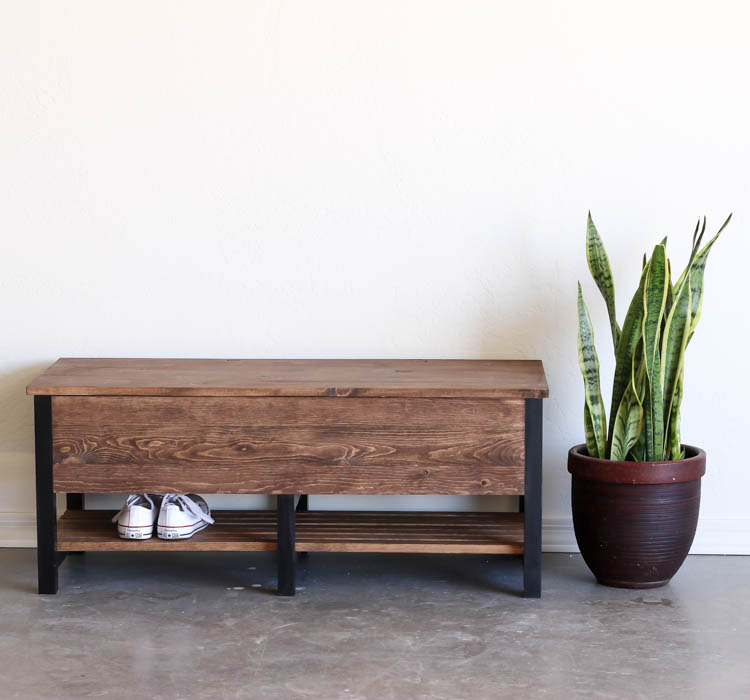
Finished DIY Storage Bench
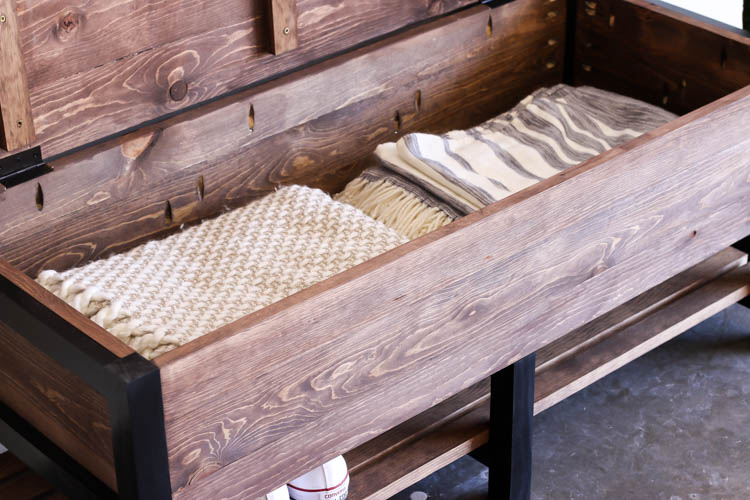
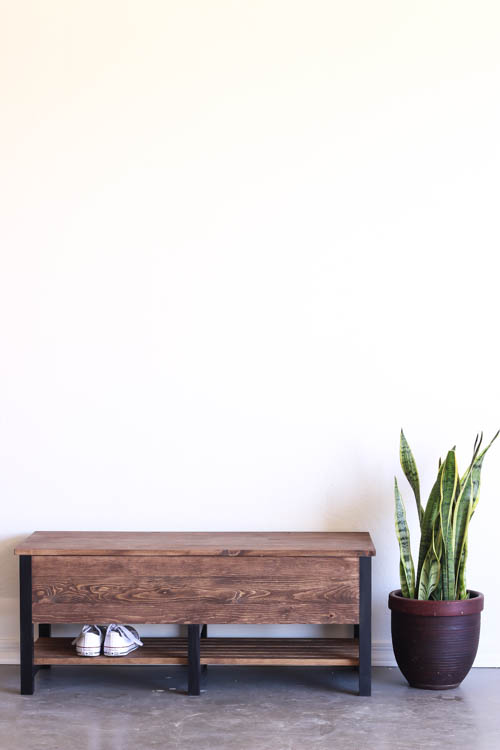
This DIY storage bench is a great addition to an entryway, mudroom, bedroom, or living room. The hidden storage compartment and lower shelf make it perfect for storing:
- Blankets
- Shoes
- Games
- Books
- Baskets
- Seasonal decor
And with materials costing just a little over $100, it’s an affordable furniture build that looks far more expensive than it is.
Don’t forget to download the printable plans to build your own!
If you make this project, I’d love to see it. Tag me on social media or send me photos of your finished bench!