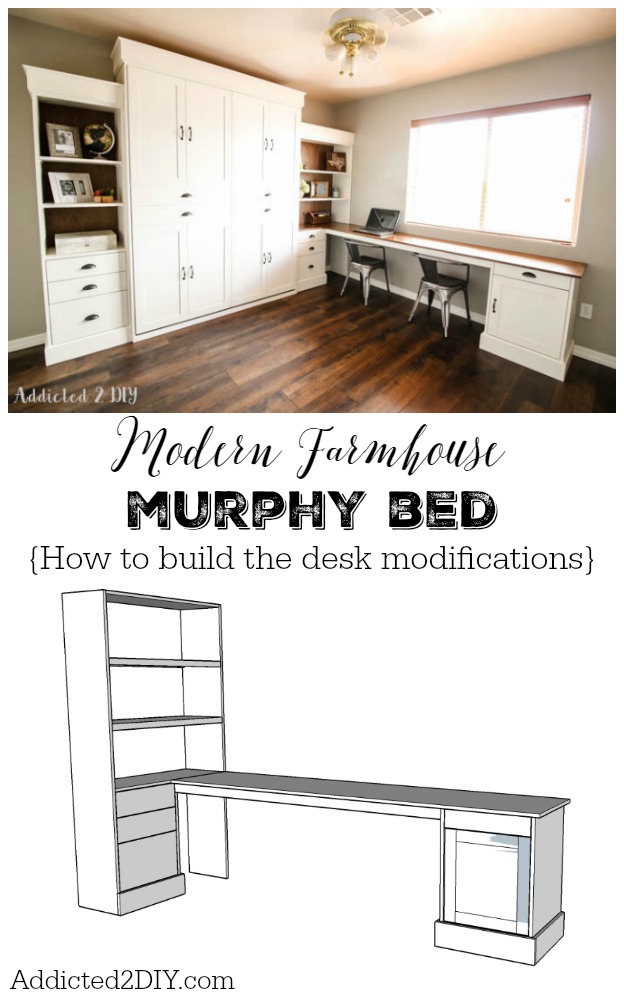
Murphy Bed Desk Build (DIY Tutorial + Free Plans)
Learn how to build a functional Murphy bed desk with this step-by-step tutorial and free printable plans. Perfect for creating a dual-purpose office and guest room!
This post was originally published in 2016 and has been updated with improved instructions to make it easier to follow along as you build your own Murphy bed desk. 10 years later and this entire unit is still just as great as the day we installed it!
DIY Murphy Bed Desk Build
Hey everyone! Last week, I shared how I teamed up with Rockler Woodworking and Hardware and PureBond plywood to build a gorgeous modern farmhouse Murphy bed for my office.
Today, I’m continuing that project and sharing how to build the desk portion of the Murphy bed, along with the free printable plans.
Designing this desk took some careful planning. I had a few important things to consider:
- The Murphy bed still needed to fully open and close
- The room door needed to function properly
- There had to be enough space to comfortably sit at the desk—even when the bed was down
In the end, I landed on a 20″ deep desktop—slightly narrower than standard, but still very functional.
👉 Be sure to download the free plans to follow along step-by-step.
Tools & Materials
- Plywood (PureBond recommended)
- Pocket hole jig (Kreg)
- Wood glue
- Brad nailer
- Router with 1/4″ straight bit
- Drawer slides (side mount recommended!)
- Cabinet hinges
- Screws (1 1/4″)
- Sandpaper
- Paint/stain
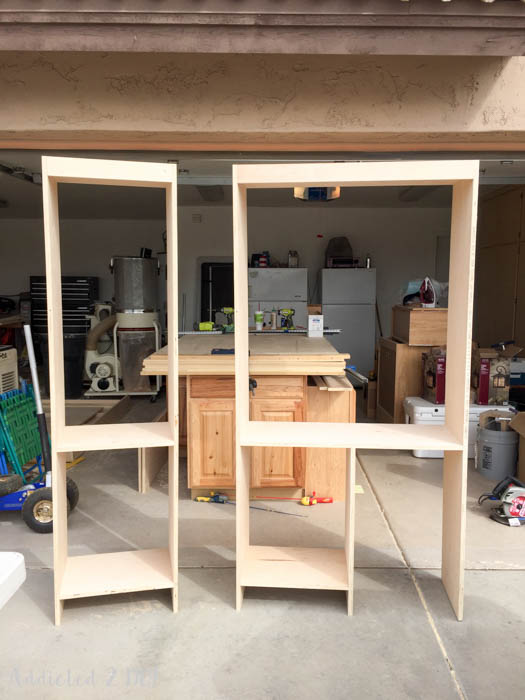
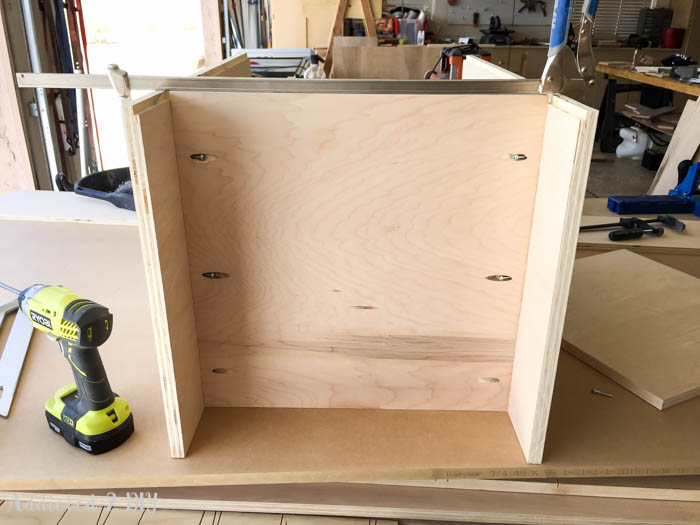
Step 1: Build the Bookcases
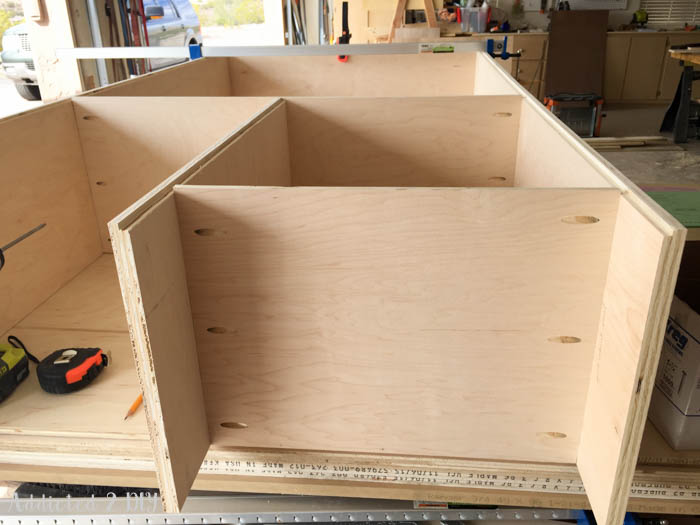
I started by assembling the bookcases, adding rabbeted edges so the 1/4″ plywood backing would sit flush.
- Installed the middle fixed shelf first
- Used 1 1/4″ pocket screws
- Did not glue the shelf since I planned to stain it separately
👉 Pro Tip: Even if you plan to remove a piece later, dry fitting helps stabilize your build during assembly.
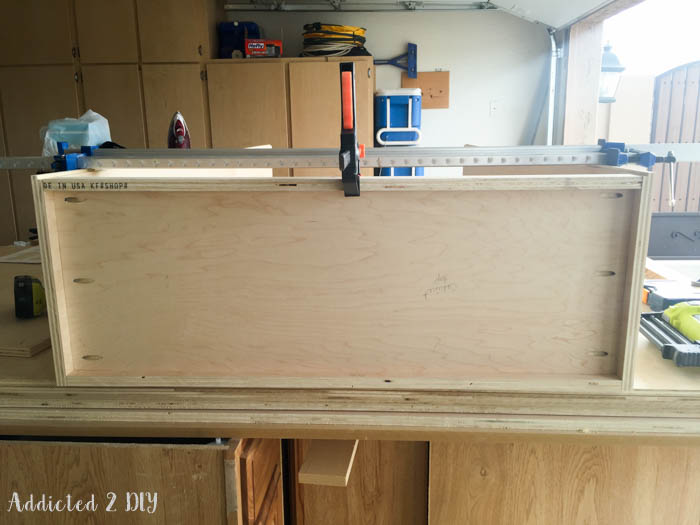
Next, I attached the top and header rails, placing pocket holes at the top to avoid filling them later.
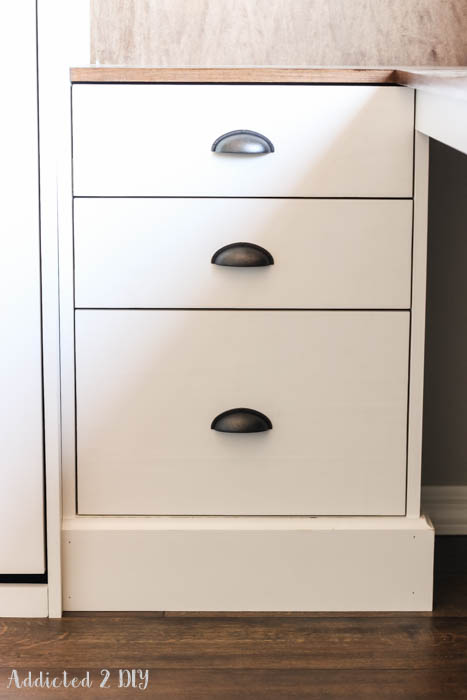
Step 2: Build the Desk Cabinet
Once the bookcases were complete, I moved on to the desk cabinet.
- Attached the fixed bottom using pocket screws and wood glue
- Positioned it 5 1/4″ up from the cabinet base
- Installed custom DIY bottom moulding with brad nails
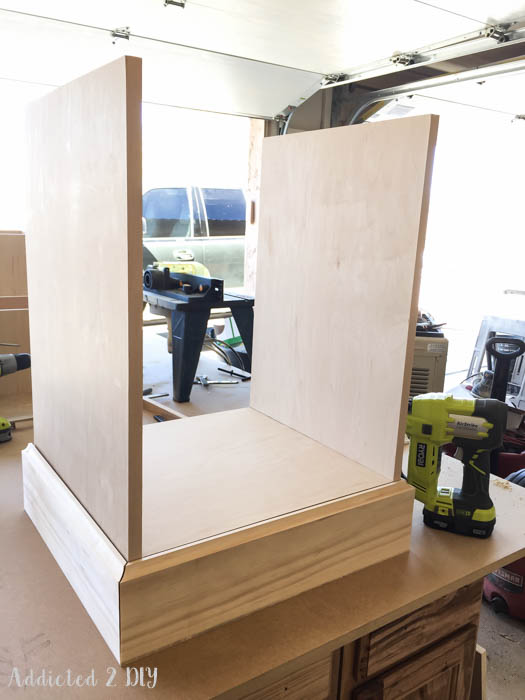
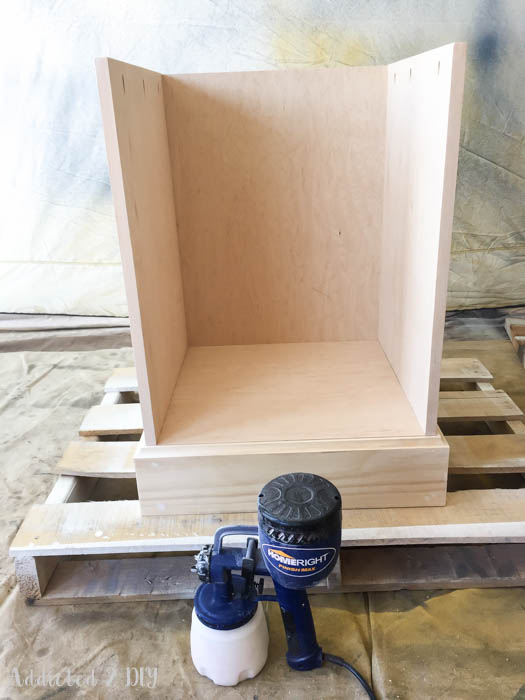
I drilled pocket holes into the cabinet sides, attached the backing, and finished everything with paint.
Step 3: Build and Install Cabinet Doors
To create the cabinet doors:
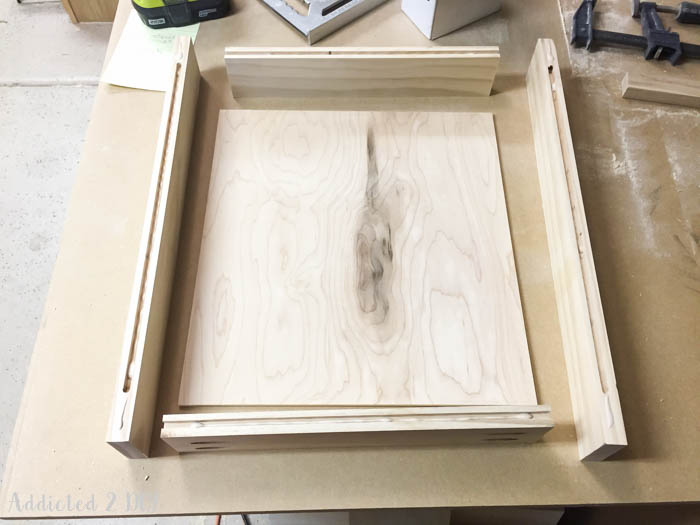
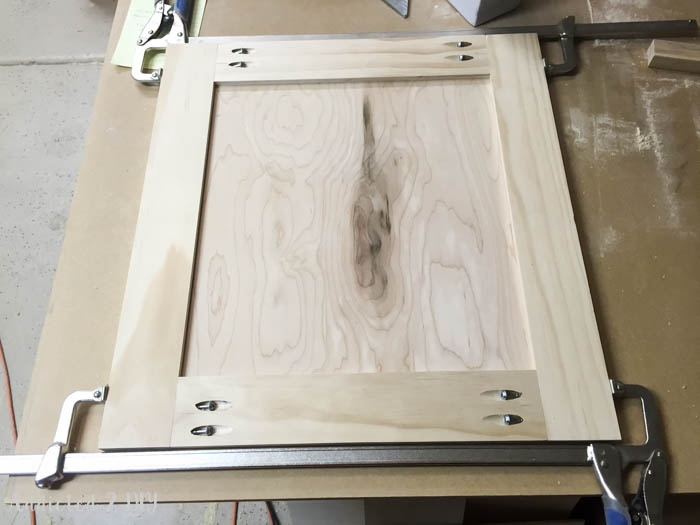
- Cut dado grooves in rails and stiles using a router or table saw
- Assembled with wood glue and pocket screws
- Installed adjustable cabinet hinges

👉 Helpful Tip: Use coins (like pennies) or playing cards as spacers to get even gaps around cabinet doors when installing them.
Step 4: Prep the Installation Area
Before installing the desk, I ran into a small hiccup…
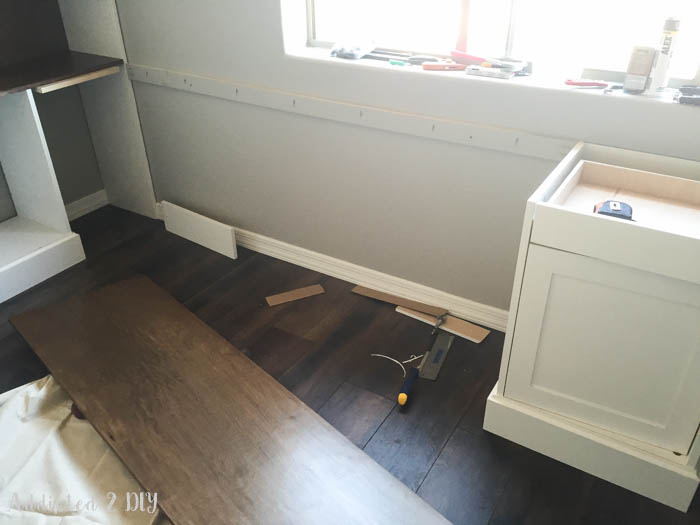
I had already installed baseboards along the wall where the desk would go. 🤦♀️
To fix it:
- Marked the cabinet footprint
- Cut the baseboards with a dovetail saw
👉 Lesson learned: Install baseboards after built-ins whenever possible!
Step 5: Install the Desk Support System
For the desk installation:
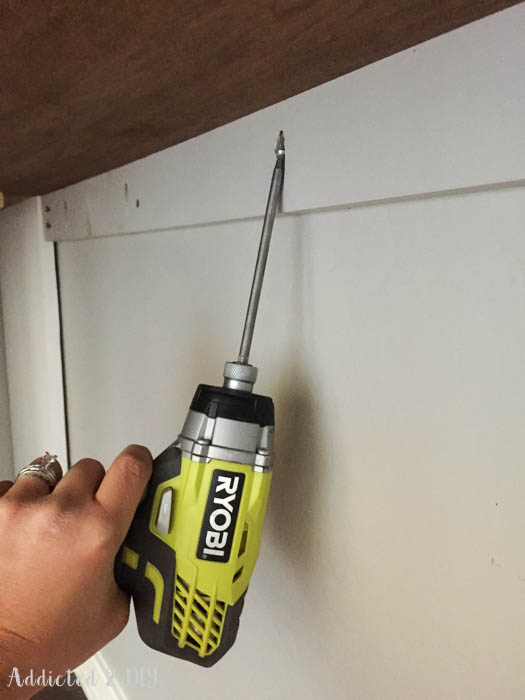
- Mounted a rear cleat into wall studs
- Installed the front support rail
- Secured the desk to the cleat, rail, and cabinet using pocket screws
I also painted the cleat to match the wall so it would blend in.
Step 6: Reinforce the Desktop
To prevent sagging where the desk met the fixed shelf:
- Added a 1×3 support board underneath
- Secured it with screws from below
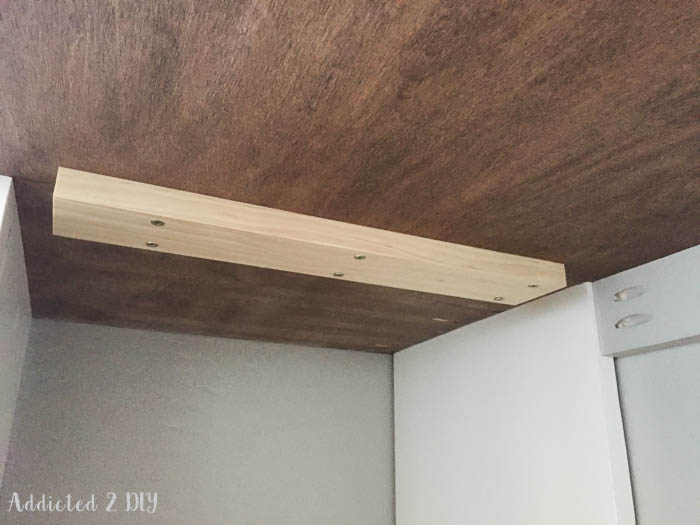
This made the entire desk feel solid and sturdy.
Step 7: Build and Install Drawers
I built 7 drawers using 1/2″ plywood and sanded all edges smooth.
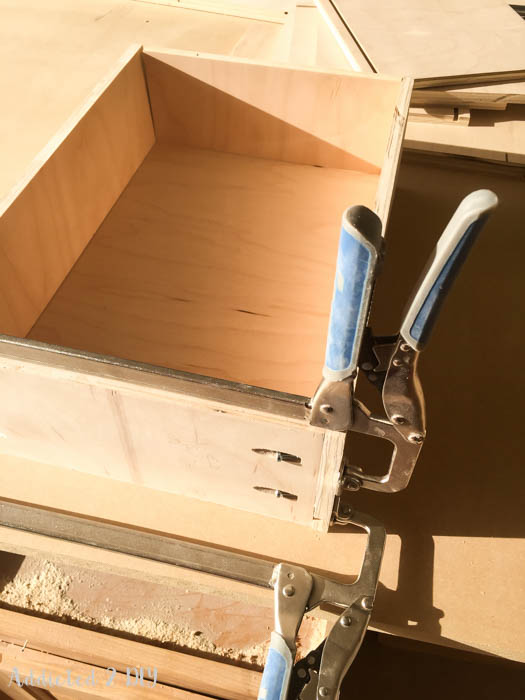
Originally, I tried undermount drawer slides…
👉 Big mistake. 😅
After struggling through a few installs, I switched to 12″ side mount drawer slides, which worked MUCH better.
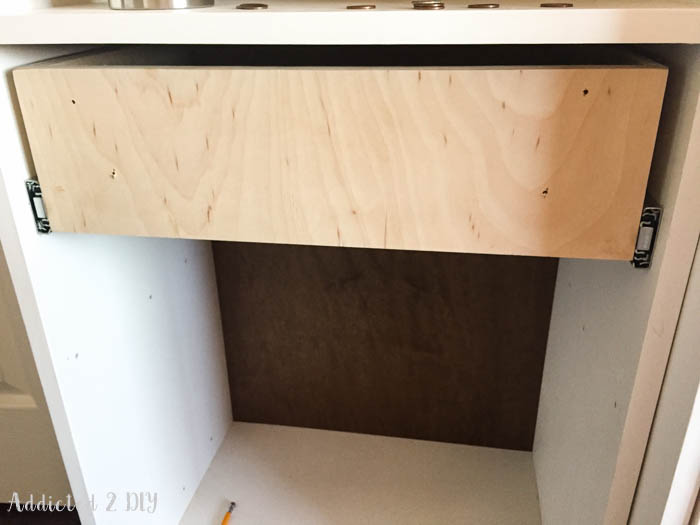
Once installed:
- Added drawer fronts
- Installed hardware
- Used coins again to get even spacing
Final Thoughts on This Murphy Bed Desk Build
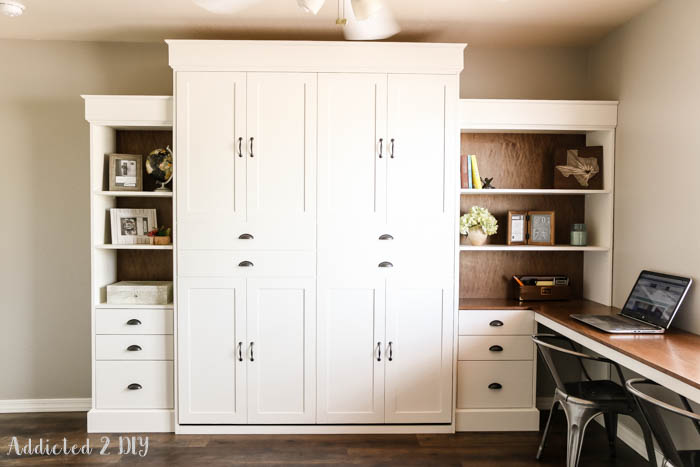
I am absolutely in love with how this project turned out.
This Murphy bed desk completely transformed my office into a functional guest room AND workspace. Even better, the desk remains usable when the bed is down—something that was really important to me during the design phase.
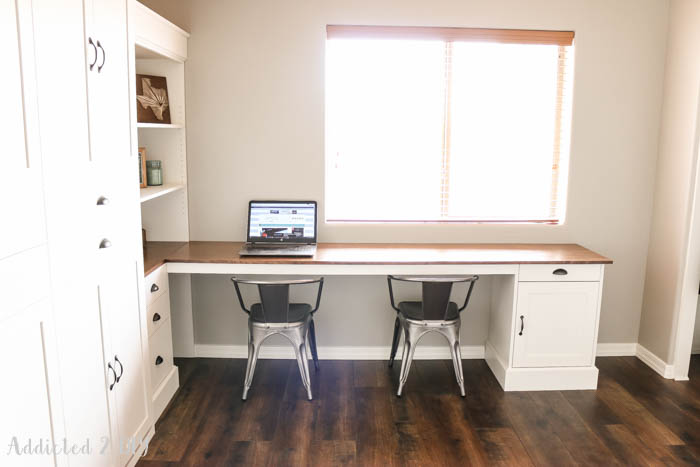
While this is a large build, it’s not overly complicated. With the printable plans and a little patience, this is a very doable project.

More From This Project Series
If you missed the earlier parts of this build, you can find them here:
Disclosure
This post was originally sponsored by Rockler Woodworking and Hardware and PureBond plywood. All opinions are 100% my own. This post also contains affiliate links. Please see my full disclosure policy for more details.