DIY Modern Coffee Table with Storage
Learn how to build a DIY modern coffee table with hidden storage for less than $150. This plywood coffee table features a large storage drawer that’s perfect for blankets, games, remotes, and more. It’s a beginner-friendly woodworking project that can be completed in a weekend using basic tools and plywood.
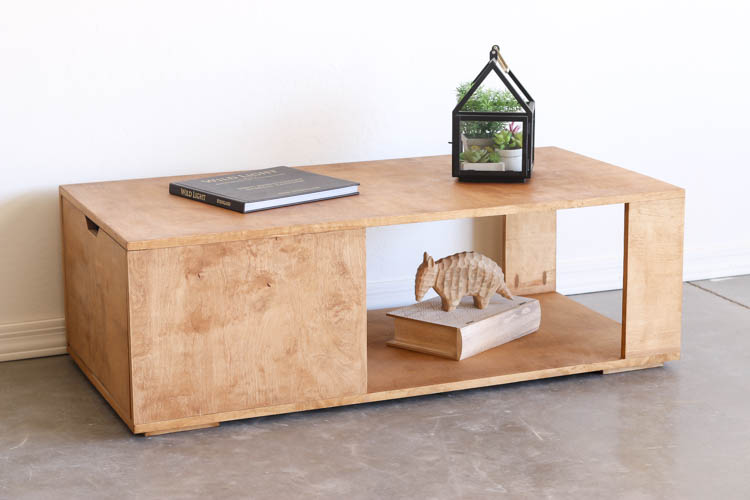
DIY Coffee Table with Hidden Storage
If you love furniture that looks clean and modern while still offering practical storage, this DIY modern coffee table is the perfect build. The oversized hidden drawer keeps clutter tucked away while maintaining a sleek, minimalist design.
This coffee table was inspired by a modern West Elm design and built entirely from plywood, making it an affordable project that looks high-end without the designer price tag. Even better, you can build this coffee table for under $150 in materials.
Whether you’re furnishing a living room, family room, or apartment, this coffee table adds both function and style.
Why You’ll Love This DIY Coffee Table
- Hidden storage drawer for blankets, games, and more
- Modern plywood design
- Beginner-friendly woodworking project
- Budget-friendly build under $150
- Great weekend DIY project
- Customizable with paint or stain
Download the Printable Plans
Be sure to download the printable woodworking plans for the complete materials list, cut list, and dimensions.
While a table saw makes breaking down plywood easier, this project can absolutely be built using a circular saw with a guide system like the Kreg Rip-Cut or Accu-Cut.
A veneer edge banding trimmer is also extremely helpful for getting clean plywood edges on this project.
How to Build a Modern Coffee Table with Storage
Step 1: Cut the Plywood
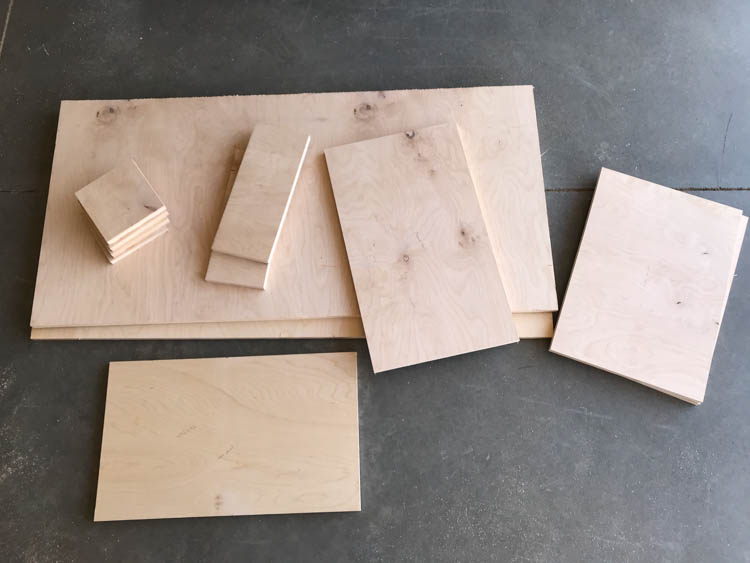
Cut all plywood pieces according to the printable plans.
Using a straight edge or cutting guide will help ensure clean, accurate cuts.
Step 2: Apply Veneer Edge Banding
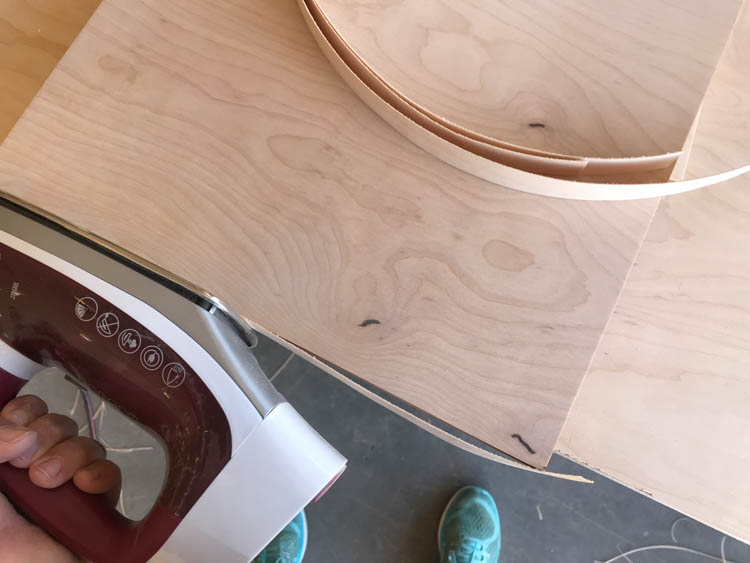
Heat a clothes iron to its highest setting and apply veneer edge banding to the exposed plywood edges.
Apply edge banding to:
- All four edges of the top
- All four edges of the bottom
- The feet
- Front and back edges of the side panels
- Long edges of the legs
Trim excess veneer using a veneer trimmer or razor knife.
Sand all pieces smooth using 220-grit sandpaper and an orbital sander.
Step 3: Drill Pocket Holes
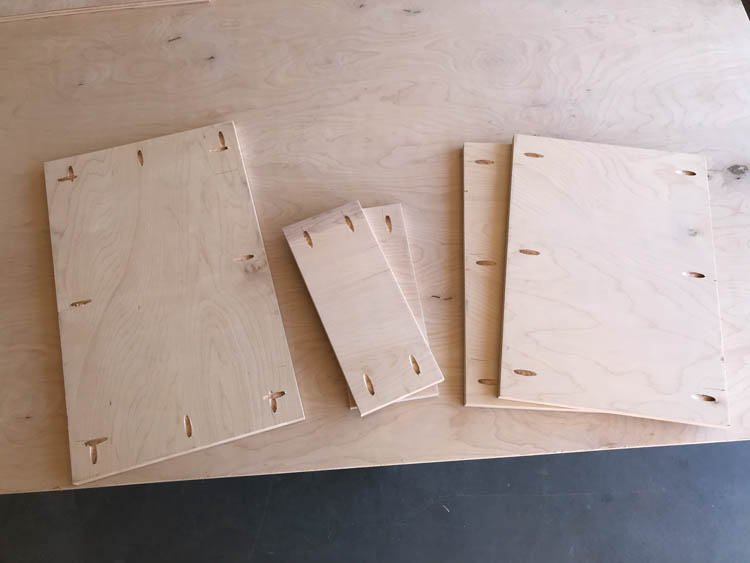
Using a pocket hole jig, drill 3/4-inch pocket holes into:
- Upper and lower edges of the legs
- Upper and lower edges of the side panels
Step 4: Assemble the Base
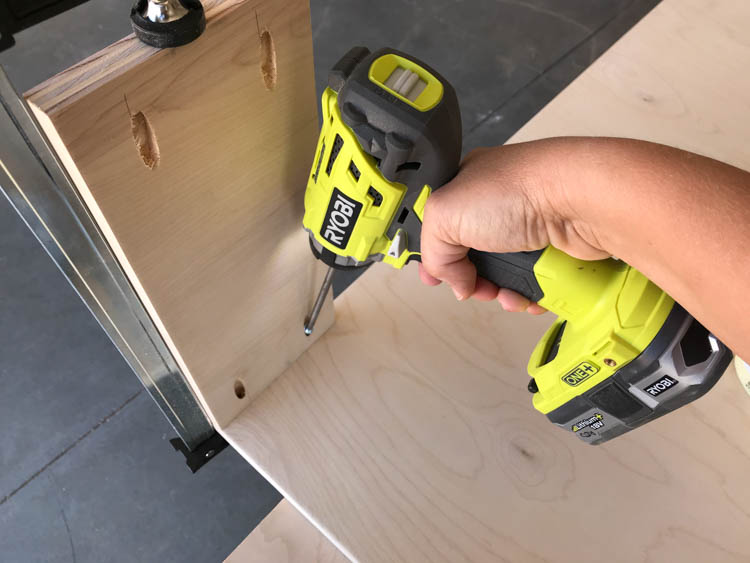
Attach the legs and side panels to the bottom panel using:
- Wood glue
- 1 1/4-inch pocket hole screws
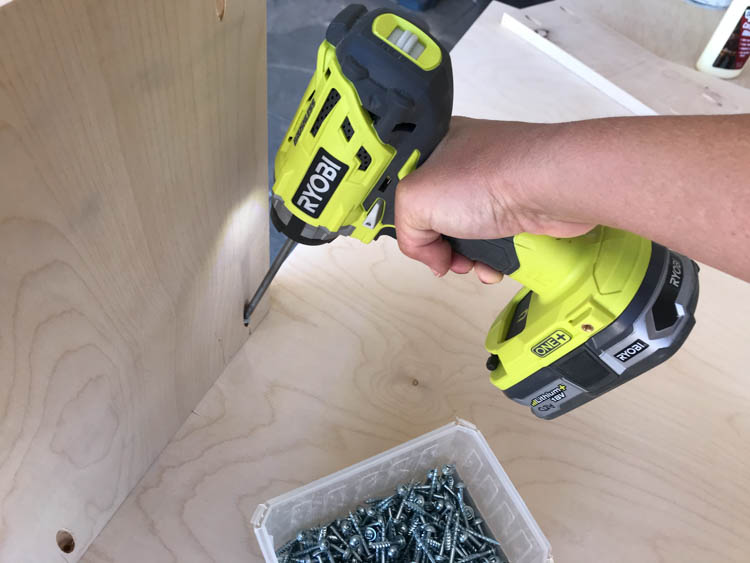
Clamp pieces securely and check for square during assembly.
Step 5: Attach the Coffee Table Top
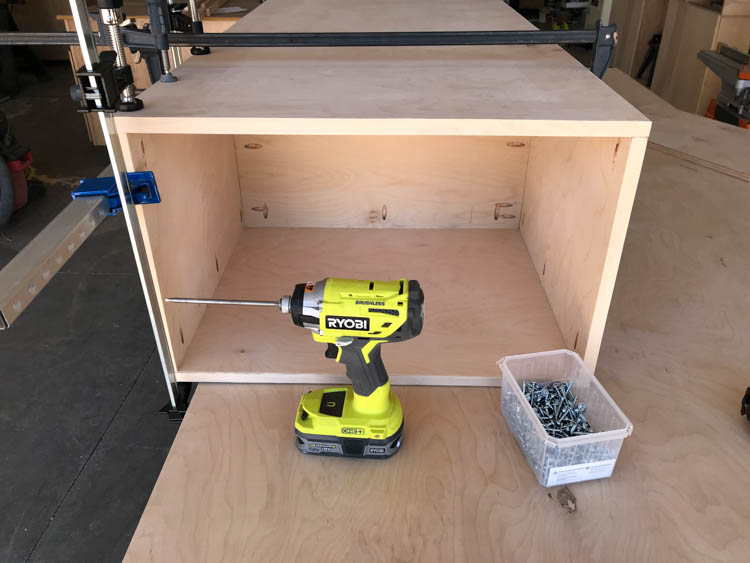
Secure the top panel to the legs and side panels using wood glue and 1 1/4-inch pocket screws.
Clamp carefully while assembling to keep everything square and aligned.
Next, drill 3/4-inch pocket holes around all four edges of the rear panel. Install the rear panel flush with the side panels and secure using pocket screws.
Step 6: Attach the Feet
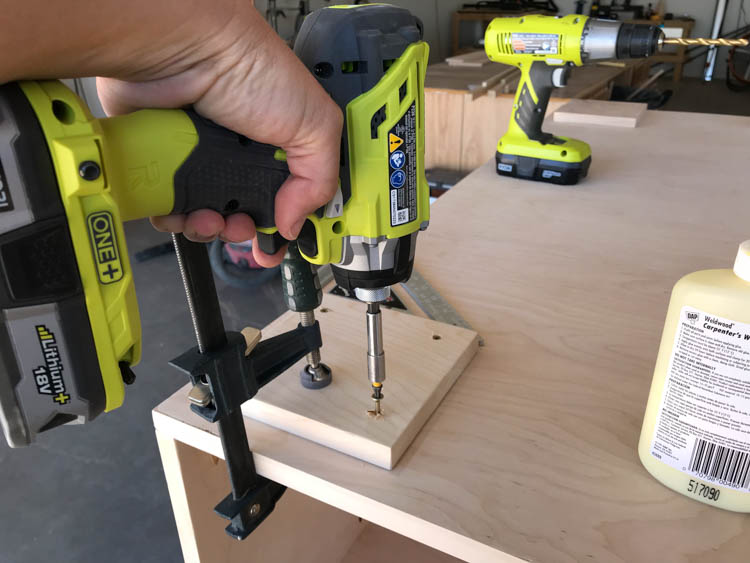
Measure and mark 1 inch in from each corner on the underside of the coffee table.
Apply wood glue to the feet and secure them using 1 1/4-inch brad nails.
Build the Storage Drawer
Step 7: Assemble the Drawer Box
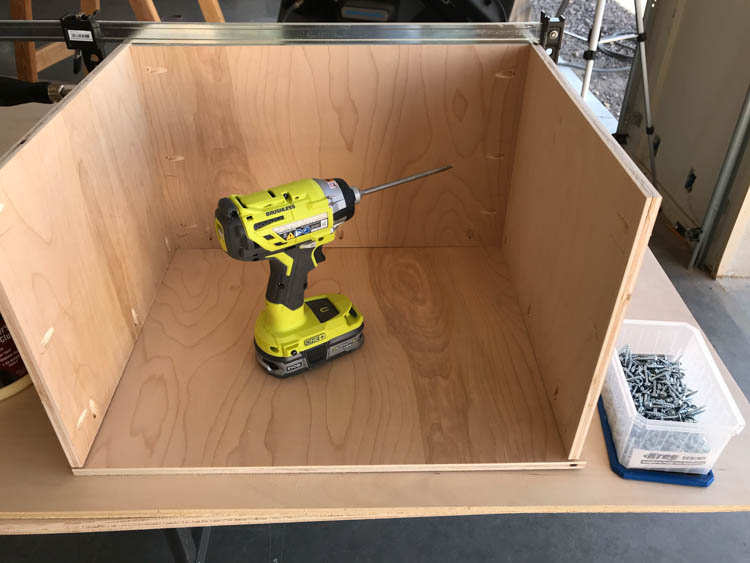
Drill 1/2-inch pocket holes into:
- Bottom and front edges of the drawer sides
- Bottom and side edges of the drawer back
- Front edge of the drawer bottom
Attach the drawer sides to the drawer back using:
- Wood glue
- 1-inch pocket screws
Apply glue around the bottom edges and install the drawer bottom panel.
Clamp everything securely and attach with pocket screws.
Step 8: Cut the Drawer Front Notch
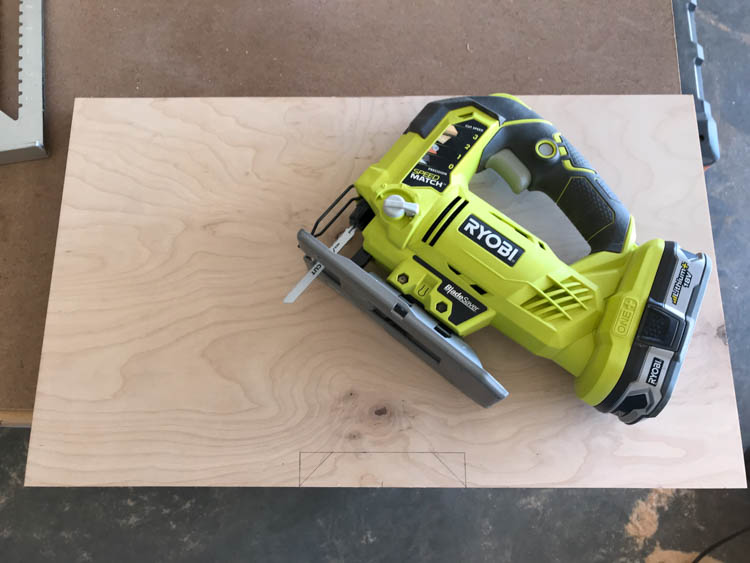
Measure and mark the notch layout according to the printable plans.
Cut the notch using a jigsaw.
Step 9: Attach the Drawer Front
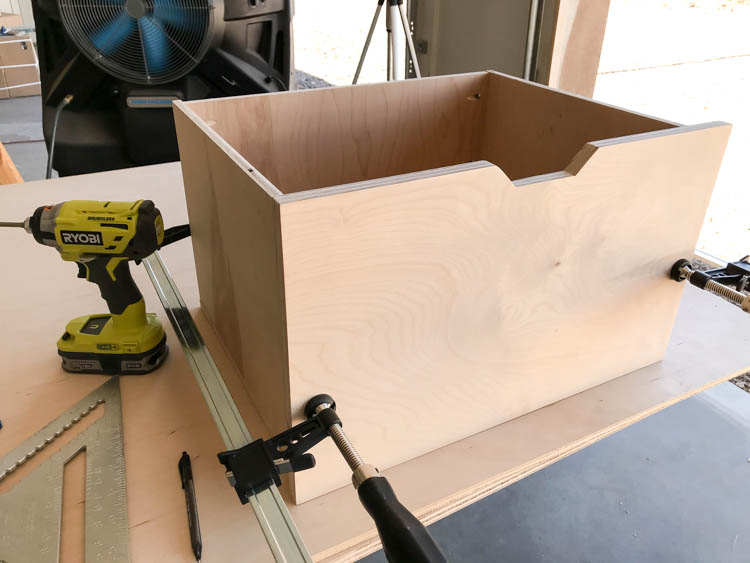
Secure the drawer front to the drawer box using:
- Wood glue
- 1-inch pocket screws
Step 10: Install Drawer Slides
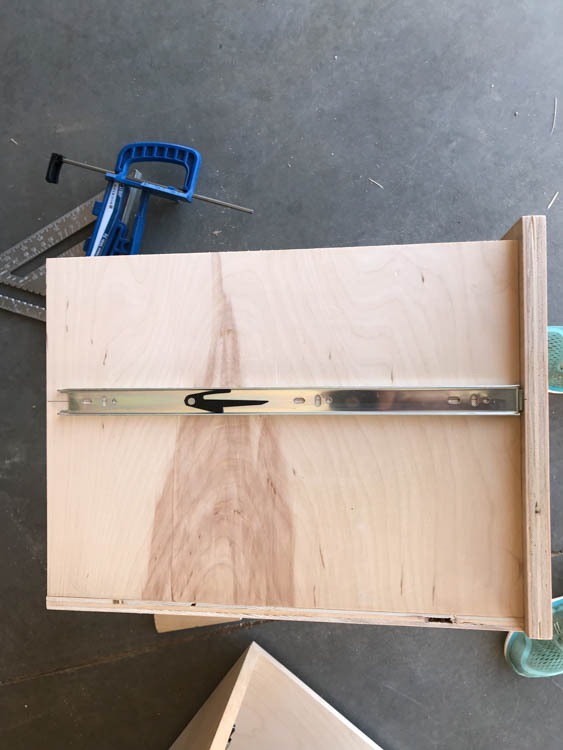
Install drawer slides so the drawer sits flush inside the coffee table opening with an even 1/8-inch gap around all sides.
Step 11: Fill Pocket Holes
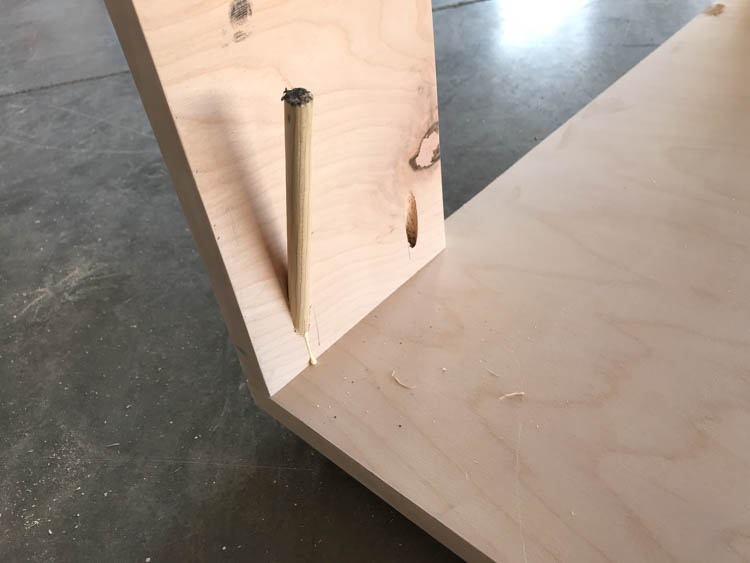
Fill visible pocket holes using either:
- 3/8-inch dowels
- Wood filler
If using dowels, trim them flush using a flush-cut saw and sand smooth.
Step 12: Sand and Finish
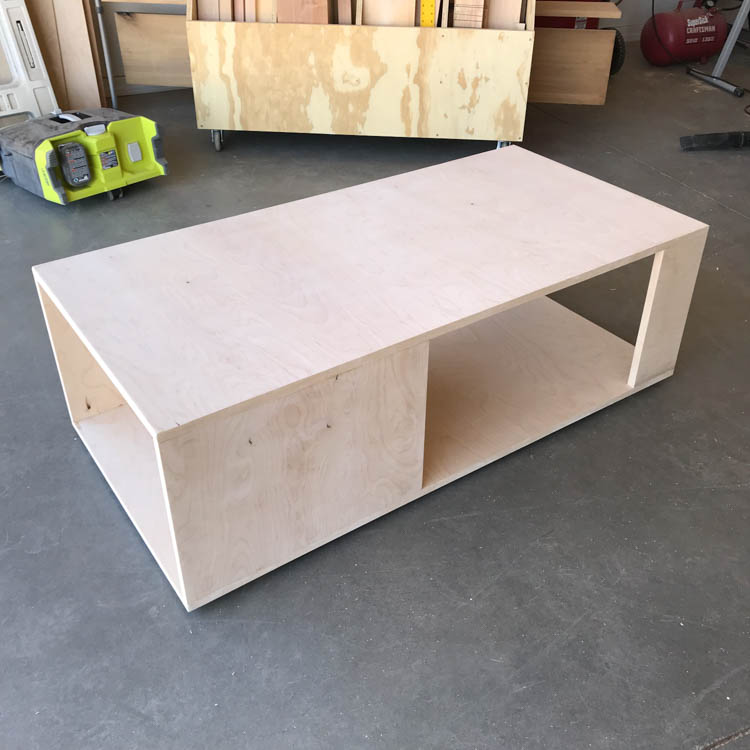
Give the coffee table a final sanding with 220-grit sandpaper.
Finish the table with your preferred paint or stain. If staining, apply at least two coats of clear protective finish such as:
- Polycrylic
- Polyurethane
- Wipe-on polyurethane
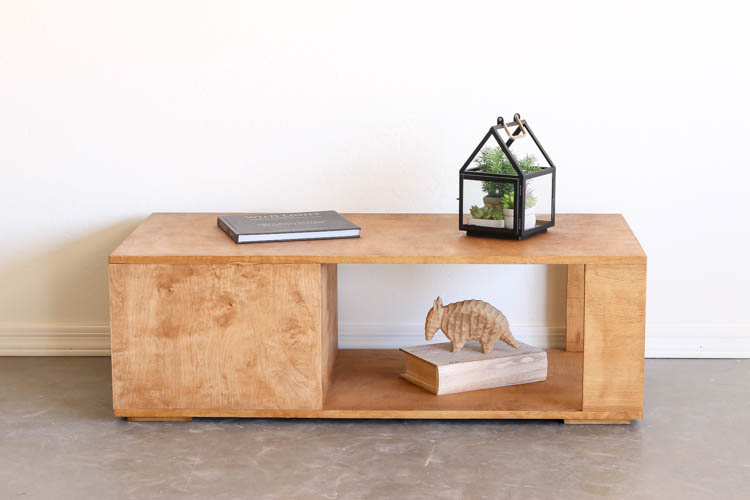
Finished DIY Modern Coffee Table
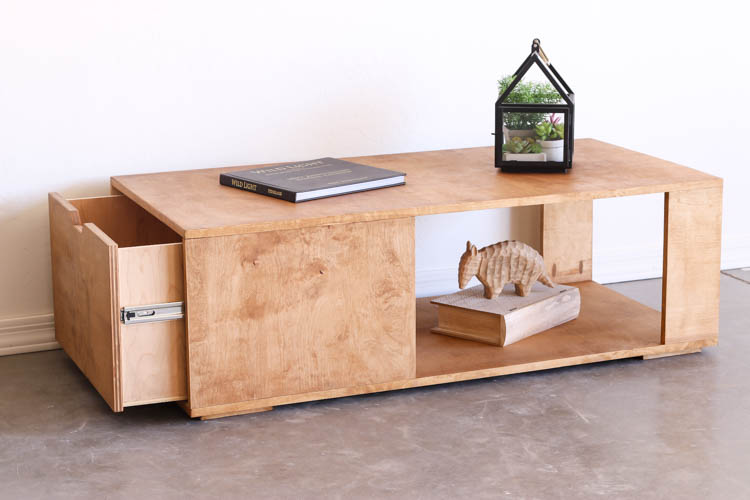
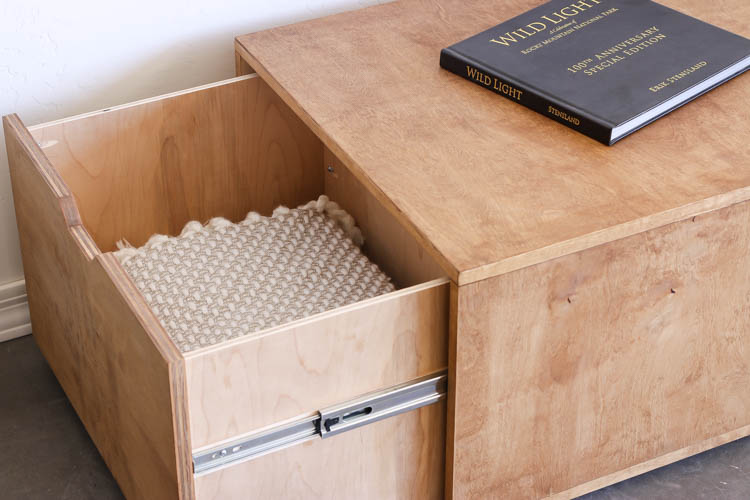
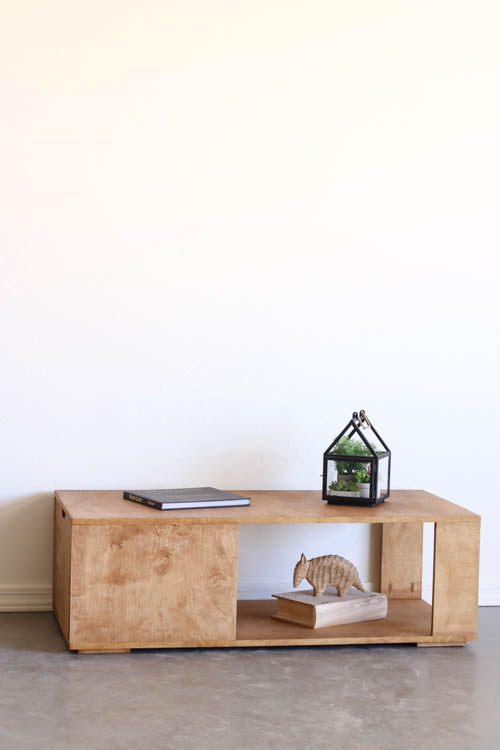
One of my favorite things about this coffee table is the clean, modern design combined with the hidden storage. The oversized drawer holds a surprising amount while still keeping the room looking uncluttered.
I also love the open shelf space for displaying books, baskets, or decor.
If you enjoy the look of exposed plywood edges, you can even skip the veneer edge banding to save time and money while giving the table a more modern plywood aesthetic.
At under $150 to build, this is an affordable DIY furniture project that looks far more expensive than it actually is.
Printable Plans
Don’t forget to download the printable plans for the complete cut list, dimensions, and step-by-step diagrams.
If you build this