How to Replace Baseboards Without Damaging Your Walls (Step-by-Step Guide)
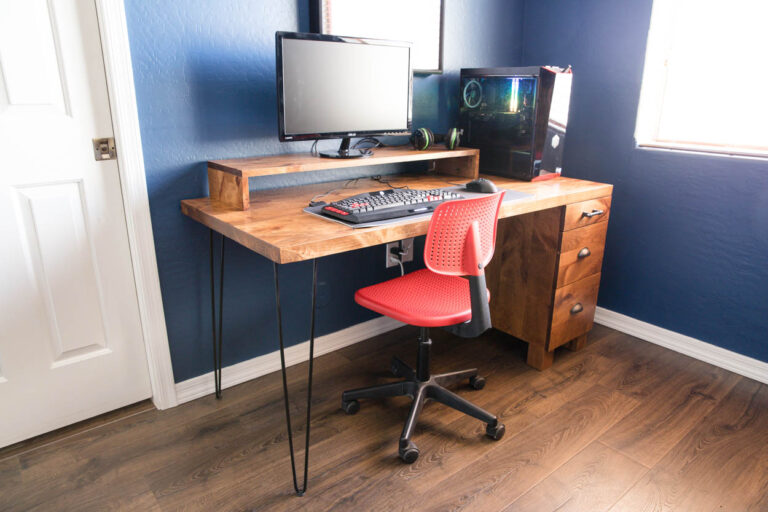
Making updates to your home doesn’t always require a full renovation. Sometimes, simple changes like fresh paint and updated baseboards can completely transform a space. When we decided to repaint our master bedroom, it felt like the perfect opportunity to upgrade our old baseboards at the same time. Pairing these two projects together made a big impact with minimal effort—and it’s a great way to give any room a clean, updated look.

Learn how to remove and install baseboards the right way—without damaging drywall. This beginner-friendly DIY tutorial walks you through each step for clean, professional results.
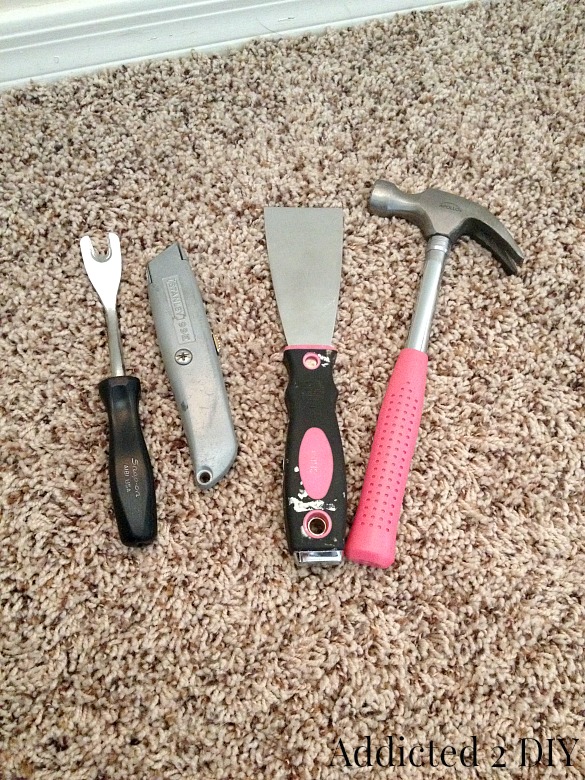
Tools & Materials Needed
- Razor knife (utility knife)
- Putty knife
- Pry tool or trim removal tool
- Hammer
- Measuring tape
- Miter saw
- Brad nailer (18-gauge recommended)
- 2″ brad nails
- Stud finder
- Caulk + caulking gun
- Paint + sprayer or brush
- Wood filler (optional)
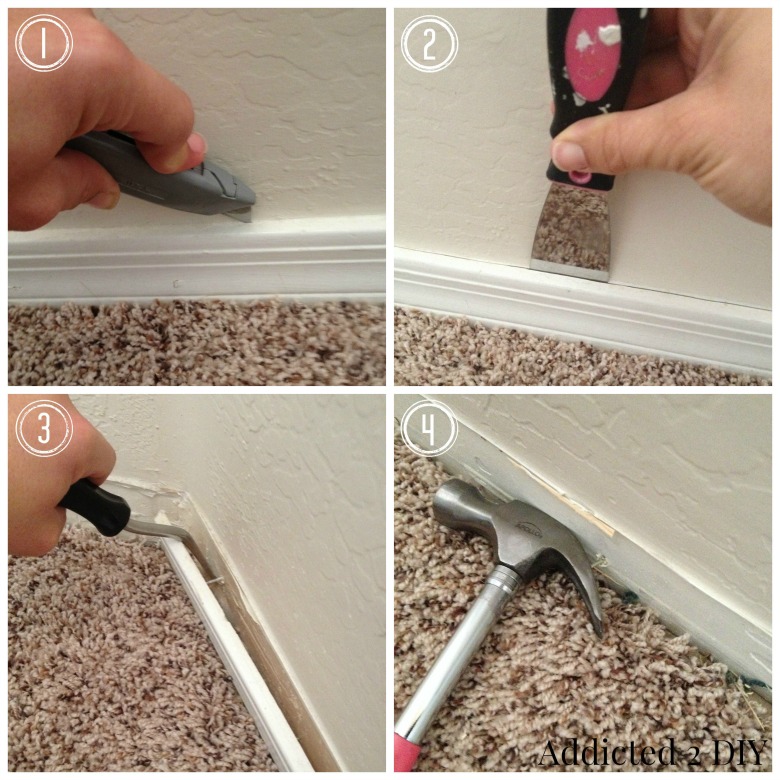
Step 1: Cut the Caulk Line
Before removing your baseboards, use a razor knife to carefully cut along the top edge where the baseboard meets the wall.
Why this matters:
Cutting the caulk prevents the drywall paper from tearing and keeps your walls smooth.
Step 2: Loosen the Baseboards
- Insert a putty knife between the wall and baseboard.
- Gently tap it in with a hammer to create a gap.
- Insert your pry tool into the gap.
Step 3: Remove the Baseboards Safely
- Work in small sections (about 4–5 feet at a time).
- Gently pry the baseboard away from the wall.
- Important: Always pull the tool away from the wall, not toward it, to avoid dents.
Remove any remaining nails from the wall using a hammer.
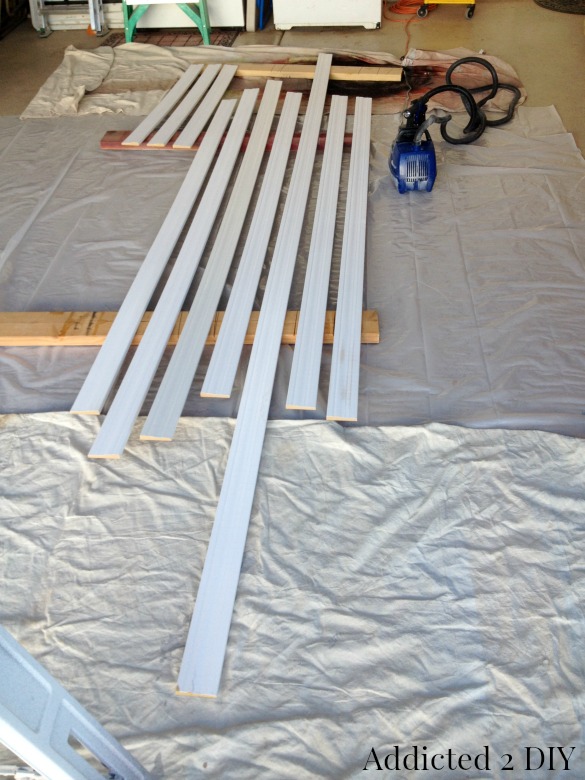
Step 4: Prep and Paint New Baseboards
Before installation:
- Lay baseboards flat (garage or workspace).
- Apply paint using a paint sprayer or brush.
- Allow them to fully dry.
Pro Tip: Pre-painting saves time and gives a cleaner finish.
Step 5: Measure and Cut Baseboards
Measure each wall section carefully and cut your baseboards to fit.
Cutting Tips:
- Straight runs: 90° cuts
- Inside corners: Miter or cope
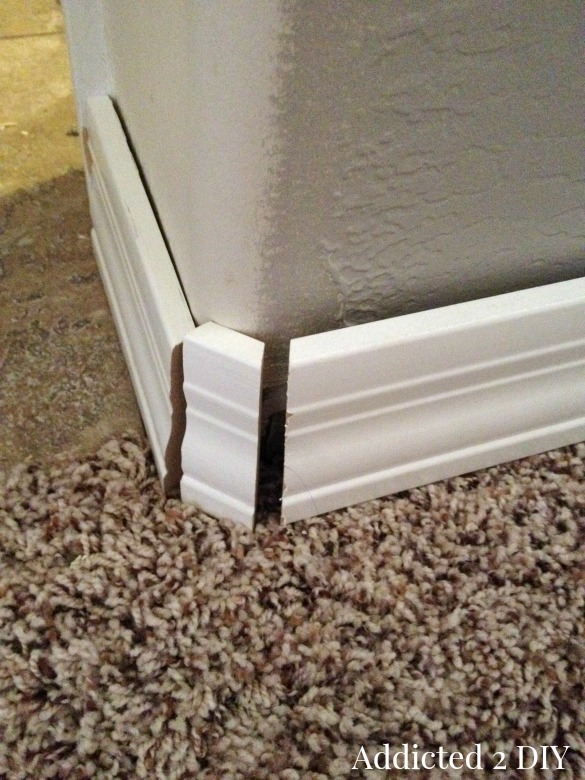
- Outside corners: Typically 45° cuts
- Rounded corners:
- Use corner caps
- Cut adjoining pieces at 22.5° angles
For unusual angles (like bay windows), test with scrap pieces and adjust until the fit is tight.
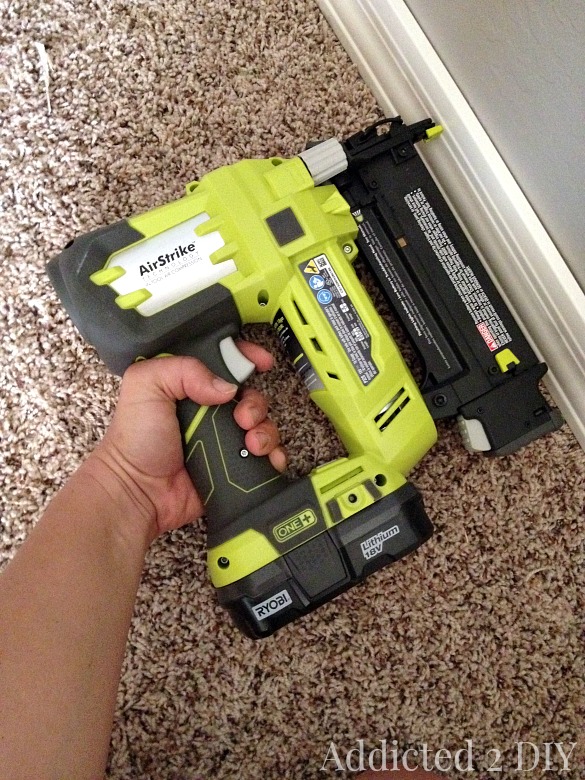
Step 6: Install the Baseboards
- Use a stud finder to locate studs.
- Position the baseboard against the wall.
- Secure using a brad nailer with 2″ nails.
Nail into studs for the strongest hold.
Step 7: Fill Nail Holes and Imperfections
Once your baseboards are installed, fill all nail holes using wood filler.
- Apply a small amount of filler to each hole
- Let it dry completely
- Lightly sand smooth if needed
This step ensures a clean, seamless surface before finishing.
Step 8: Caulk the Seams
Next, apply caulk along the top edge where the baseboard meets the wall, as well as any corner seams.
- Run a thin, consistent bead of caulk
- Smooth it out using your finger for the best control
- Wipe away any excess immediately
Pro Tip: A smooth caulk line makes a huge difference in achieving a professional-looking finish.
Step 9: Touch Up Paint
After the filler and caulk have dried, finish the project with paint touch-ups.
- Lightly sand any rough spots if needed
- Wipe away dust with a clean cloth
- Use a brush to touch up nail holes, seams, and caulk lines
For best results, apply thin, even coats and blend into the existing paint.
Pro Tip: Even if you pre-painted your baseboards, a final touch-up coat after installation ties everything together for a flawless finish.
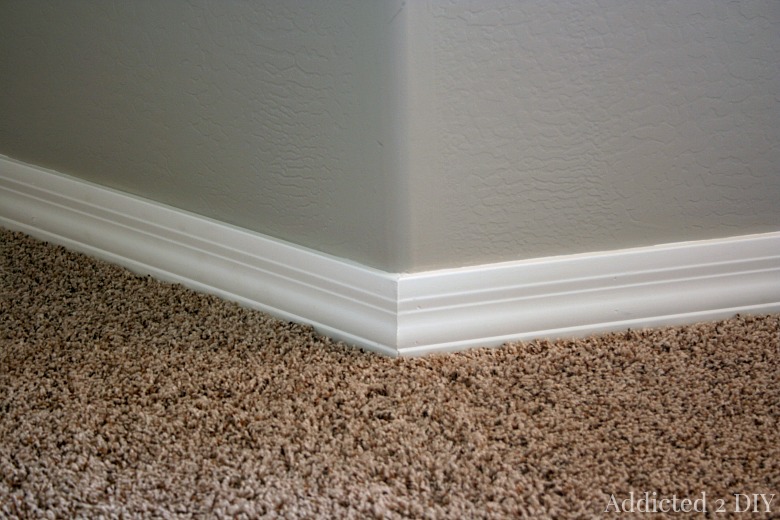
Final Result
Once installed and caulked, your new baseboards will give your space a clean, updated look with a professional finish.
Pro Tips for Best Results
- Work slowly when removing old trim to avoid wall damage
- Always cut caulk first—this is the #1 mistake DIYers skip
- Pre-paint baseboards before installing
- Use a cordless brad nailer for easier maneuverability