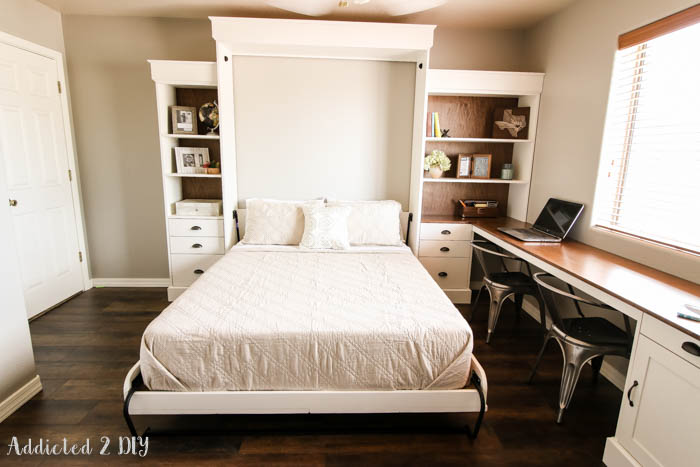
DIY Modern Farmhouse Murphy Bed (With Bookcases)
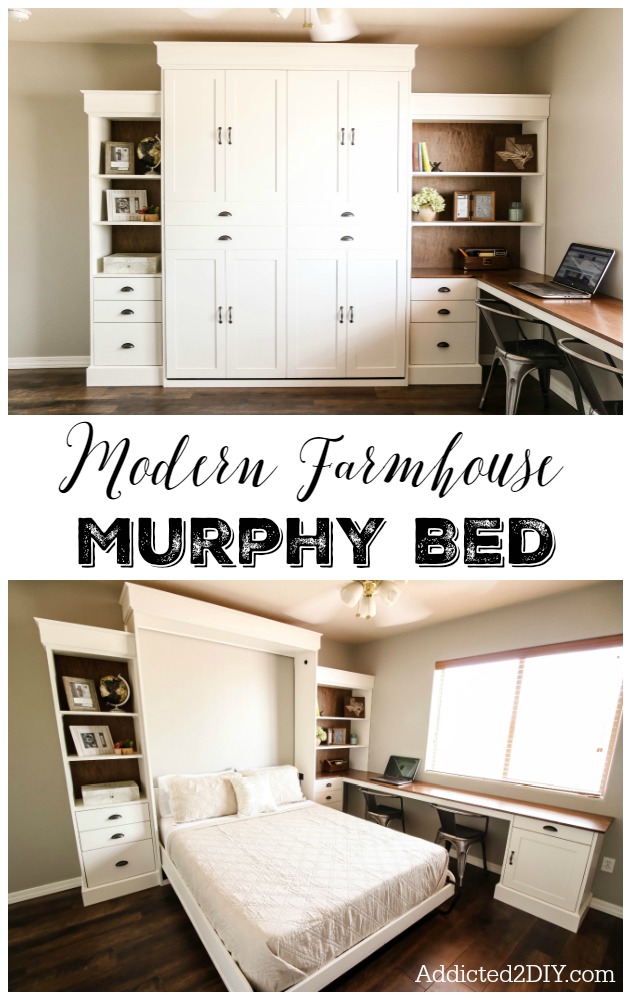
Looking to add a guest bed without sacrificing space? This DIY modern farmhouse Murphy bed with bookcases is the perfect solution. It transforms a home office or craft room into a functional guest space—without permanently taking over the room.
In this tutorial, I’m walking you through exactly how to build a Murphy bed and matching bookcases, using step-by-step instructions and practical tips I learned along the way.
Why Build a Murphy Bed?
If you’ve ever struggled with where to put overnight guests, a Murphy bed is a game changer.
Instead of dedicating an entire room to a bed that’s rarely used, you can:
- Maximize square footage
- Create a multi-functional space (office + guest room)
- Add built-in storage with bookcases
- Increase your home’s value and functionality
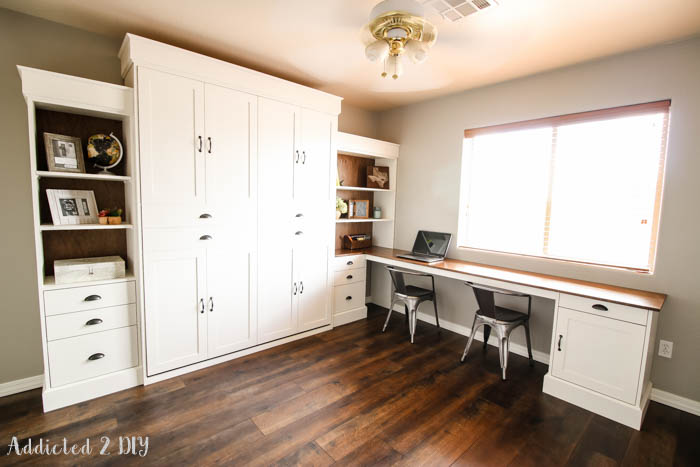
Project Overview
As part of my office/craft room remodel, I:
- Painted the walls
- Installed new baseboards
- Replaced carpet with laminate flooring
- Built this custom Murphy bed with bookcases
Previously, guests stayed in our “guest house” (aka the trailer 😅), which worked—but wasn’t exactly convenient. This project solved that problem beautifully.
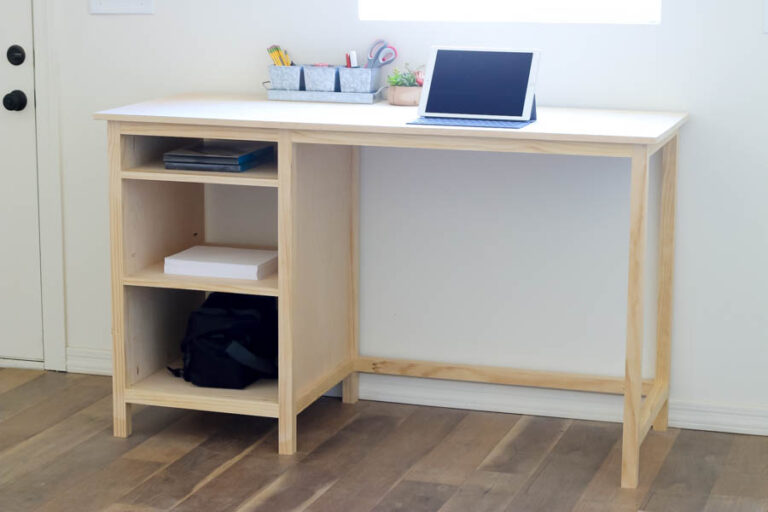
👉 Note: I also incorporated a desk into this build, but that portion is covered in a separate tutorial.
Tools & Materials
Materials
- 3/4″, 1/2″, and 1/4″ plywood (I used PureBond maple plywood)
- Poplar boards (for support rails and trim)
- Murphy bed hardware kit (Rockler)
- Edge banding
- Wood glue
- Screws (1 1/4″, 4″ lag screws)
- Brad nails
- Wood filler
- Paint or finish
Tools
- Circular saw + rip guide (Kreg Rip-Cut)
- Drill/driver
- Pocket hole jig
- Router + bits
- Shelf pin jig
- Iron (for edge banding)
- Level
- Stud finder
Step 1: Review Plans + Prep Materials

Before making a single cut, carefully review your plans and hardware instructions.
Pro Tip:
Murphy bed hardware kits often include templates for drilling and cutting—use them!
I used approximately 12 sheets of plywood, so planning your cuts ahead of time is essential to minimize waste.
Step 2: Cut All Plywood Pieces
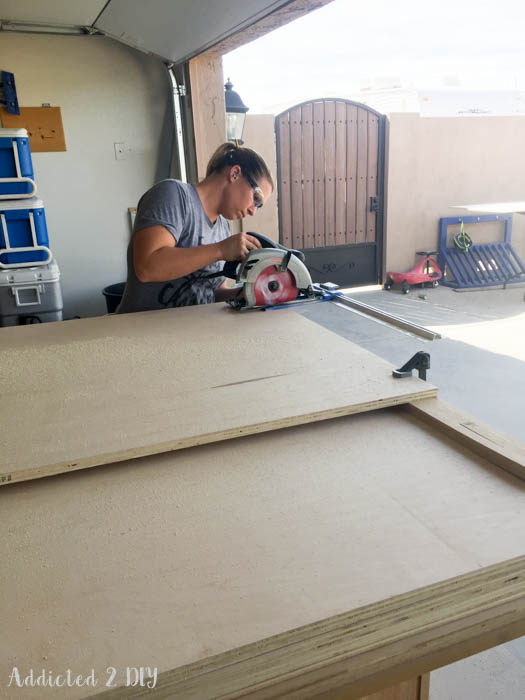
Break down your plywood using a circular saw and rip guide.
- Follow cut diagrams closely
- Label each piece as you go
- Double-check measurements before cutting
This step saves a ton of time during assembly.
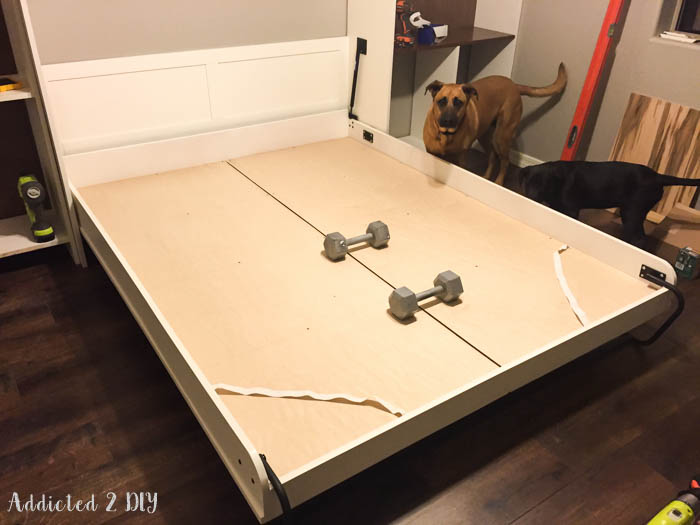
Step 3: Build the Bed Frame
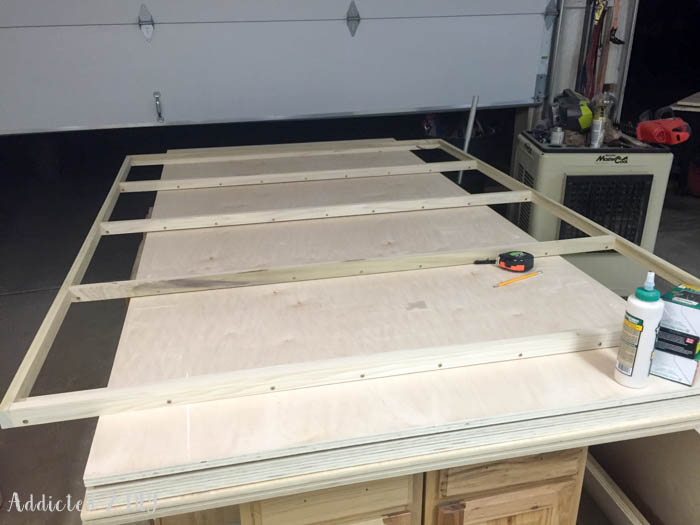
Construct the bed platform using:
- 3/4″ poplar support rails
- Plywood base panel
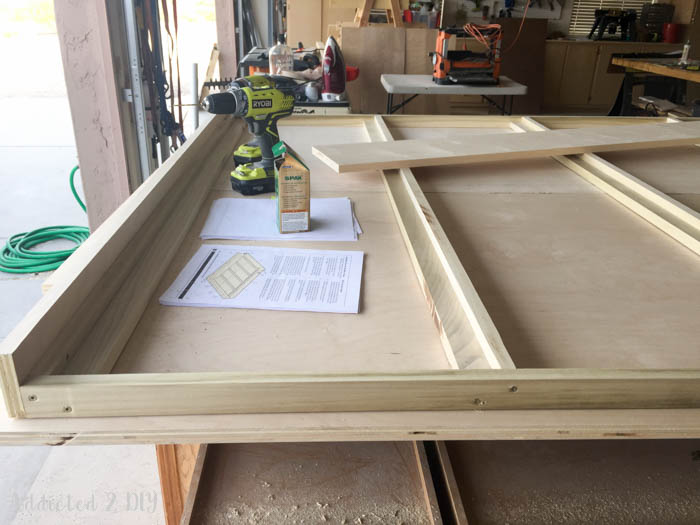
Attach the frame to the front panel (this becomes the visible face of the Murphy bed).
Important:
Make sure the best-looking side of your plywood faces outward.
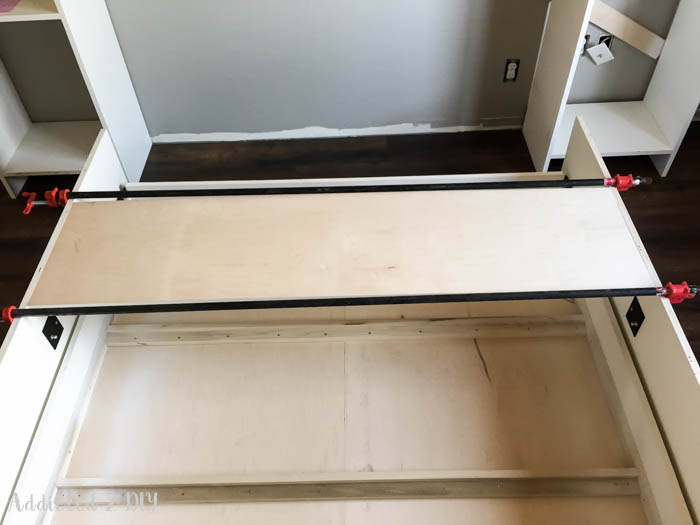
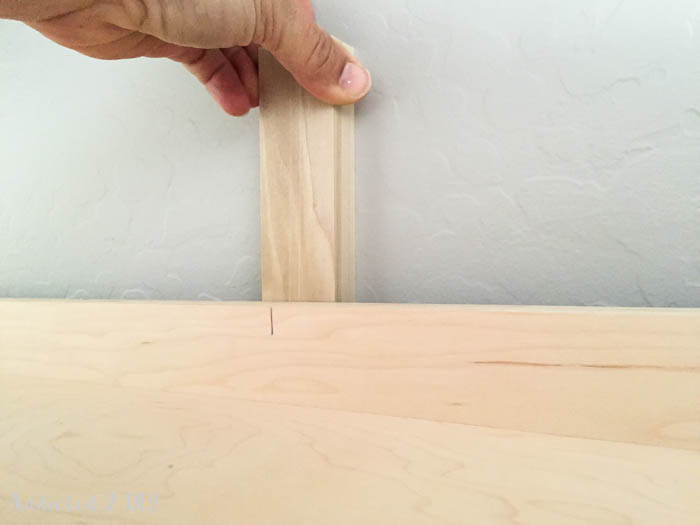
Step 4: Apply Edge Banding
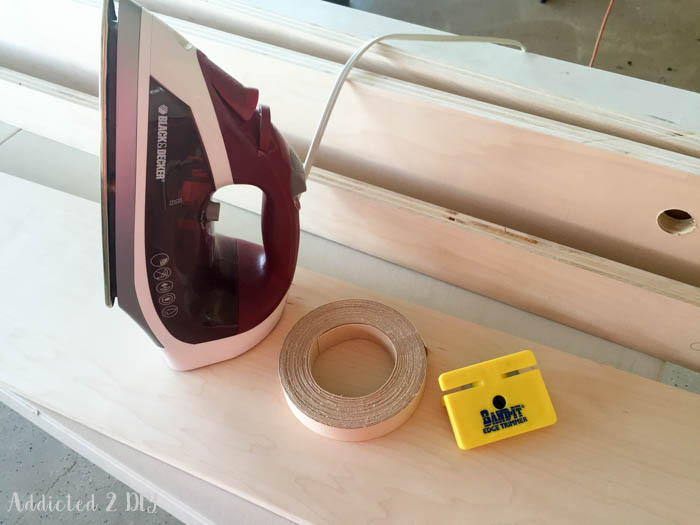
Since plywood edges will be visible, apply edge banding:
- Use an iron to adhere it
- Trim excess with an edge banding trimmer
Lesson learned:
Don’t skip edge banding—even on areas you think will be covered. It affects how trim and moulding sit later.
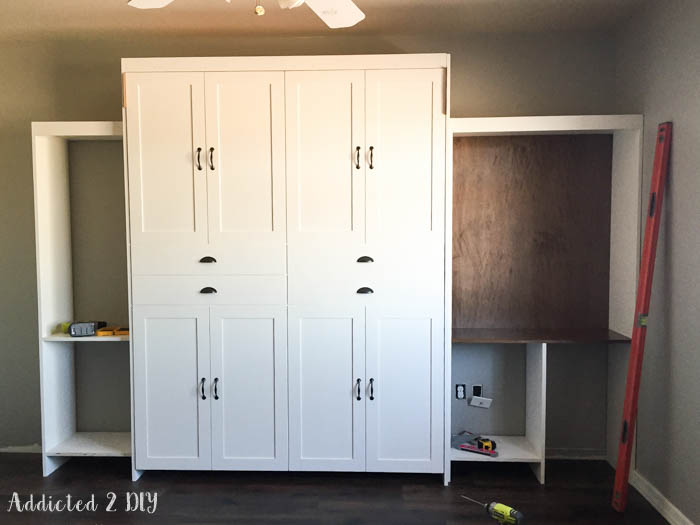
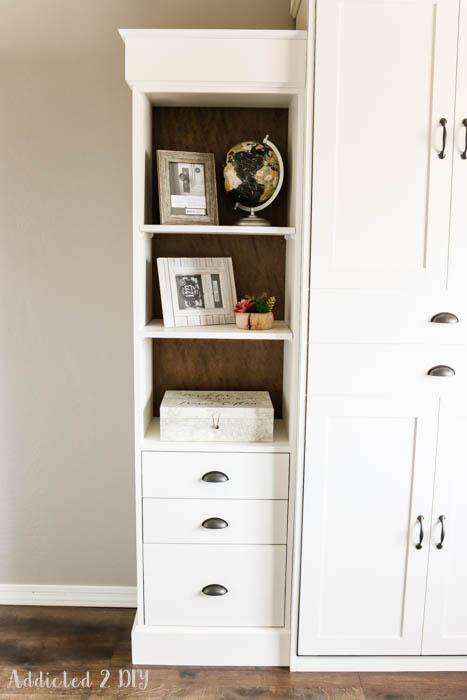
Step 5: Build the Bookcases
Each side of the Murphy bed includes a bookcase for storage.
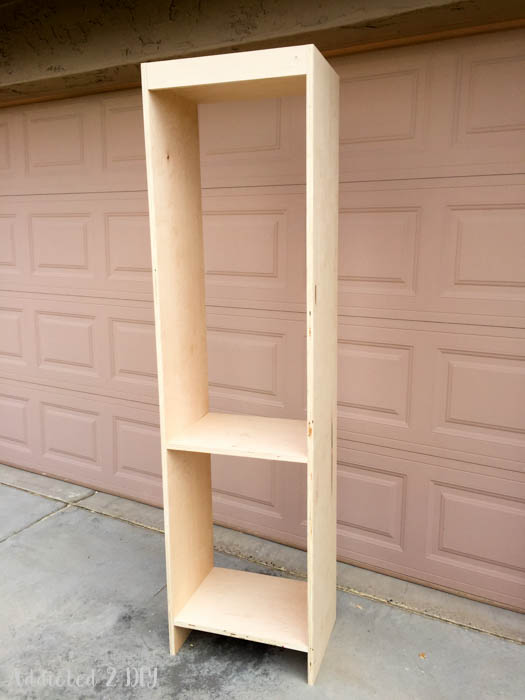
Key steps:
- Cut vertical panels and shelves
- Drill shelf pin holes for adjustable shelves
- Install backing (1/4″ plywood, set into rabbets)

My Modifications:
- Used pocket holes instead of dados for fixed shelves
- Adjusted shelf width slightly (18 3/8″ fit better than 18 1/4″)
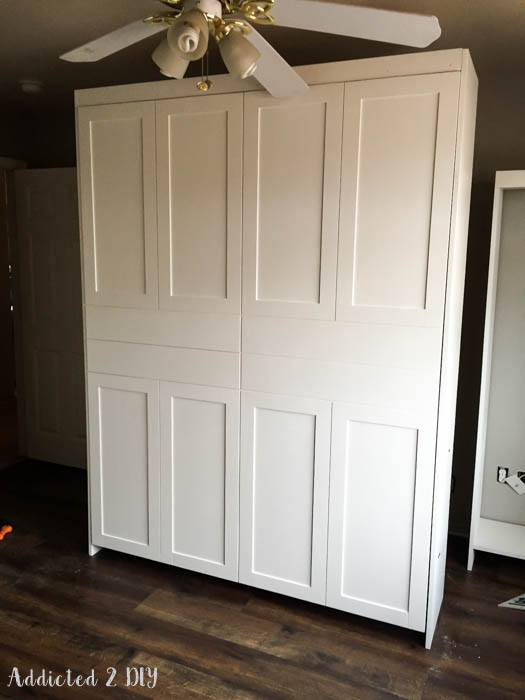
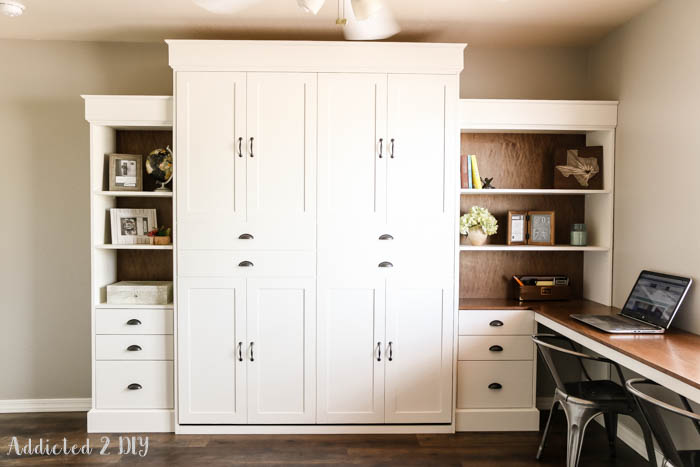
Step 6: Add Face Details + Moulding
Customize the front of your Murphy bed to match your style.
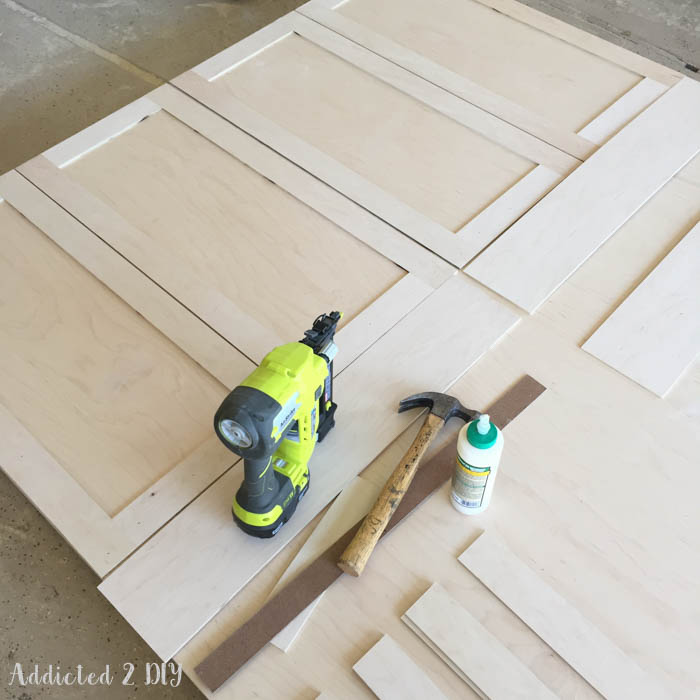
Options include:
- Faux cabinet doors
- Flat panel design
- Decorative moulding
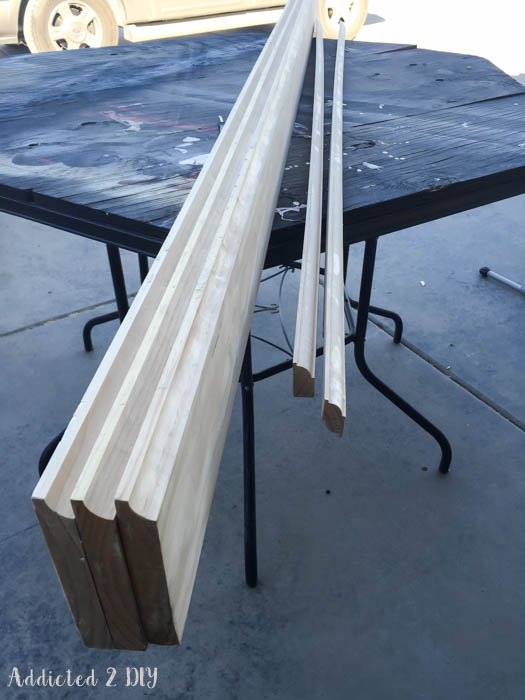
I created my own moulding using a router:
- Roundover bit (for crown look)
- Cove bit (for decorative trim)
Beginner Tip:
Making your own moulding is easier than it sounds—and way more affordable.
Step 7: Paint or Finish
Before final assembly:
- Fill holes
- Sand everything smooth
- Prime and paint
I chose a painted finish and stained bookcase backs for a clean modern farmhouse look.
Step 8: Assemble + Install the Murphy Bed
Assembly happens in place.
Order of installation:
- Attach bed frame to cabinet sides
- Install headboard
- Stand unit upright
- Attach top header
- Install gas springs
- Install bed stops (this part requires extra help!)
Step 9: Secure to Wall (CRITICAL)
This is the most important safety step.
- Locate studs
- Use lag screws to anchor the unit
- Add shims if your wall isn’t perfectly plumb
I used:
- 3/4″ shims
- 4″ lag screws for a secure hold
👉 This bed is not going anywhere.
Step 10: Final Assembly
Finish installing:
- Pivoting legs
- Mattress support slats
- Elastic mattress straps
- Bookcases (attached to sides)
Mattress + Bedding Tips
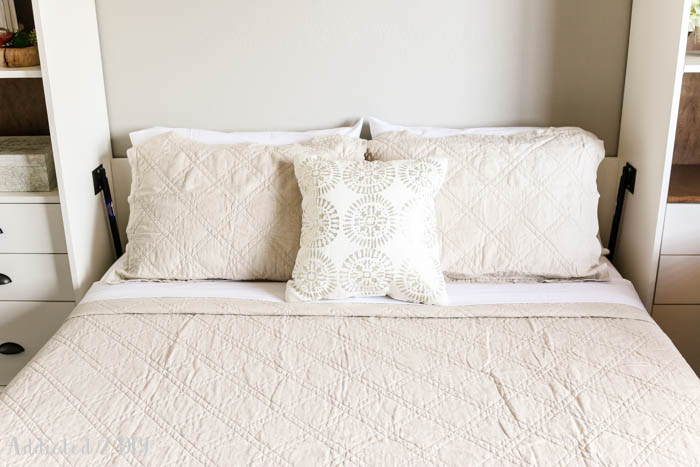
I used a:
- Memory foam mattress (bed-in-a-box style)
- Choose a mattress that is not too light or heavy. Around 50lbs. This provides the best cantilever weight for easy pull down and putting up of the bed.
- Lightweight quilt instead of a comforter
Why?
- Bedding stays in place when the bed folds up
- Easier to manage in a Murphy bed setup
Final Thoughts
This project might look intimidating, but it’s absolutely doable with patience and attention to detail.
The end result:
- A beautiful modern farmhouse Murphy bed
- Functional built-in storage
- A flexible space that works as both office and guest room
Honestly, it turned out even better than I imagined—and it completely transformed the room.
What’s Next
Be sure to check out:
- Desk modification plans
- Drawer installation tutorial
- Full finishing process
Disclosure
This post was originally sponsored by Rockler and PureBond Plywood. All opinions are my own. This post also contains affiliate links for your convenience.