This tween boy closet makeover took this space from a dysfunctional mess to an organized and functional storage space for clothes, toys, and more!
It’s been a minute since I posted anything new with my youngest son’s bedroom, but today I’m sharing how I turned his dysfunctional mess of a closet into something where everything has a place! I’m partnering with DAP Products today to show you how I transformed this closet into something that is both functional and organized.
Download The Printable Plans
While every closet is different, I did put together some printable plans that you can use either as a reference, or follow them exactly to design your own custom closet. You can download the printable plans HERE.
How to Organize A Closet
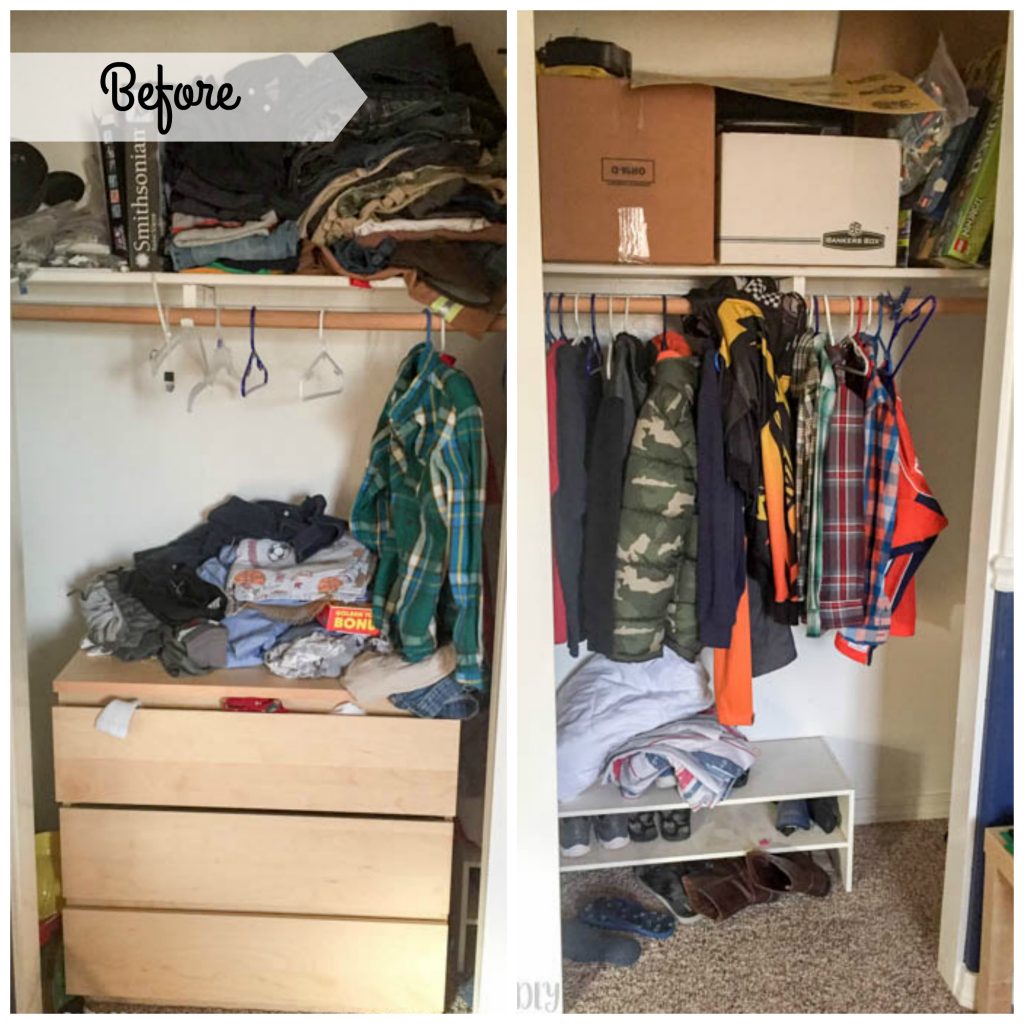
I wish I had taken a photo of my youngest’s closet before I started tearing his room apart, but I can tell you it looked almost identical to my oldest son’s closet before I got it organized. The only difference is that my younger son’s closet doesn’t have so much space on each end of it behind the opening.
When putting together the plan for this closet, I needed to look at the whole picture. What did I need to accomplish with this? What are some major organization issues in his room? What can we get rid of? How can this grow with him as he gets older? I then drew out the design and got to work.
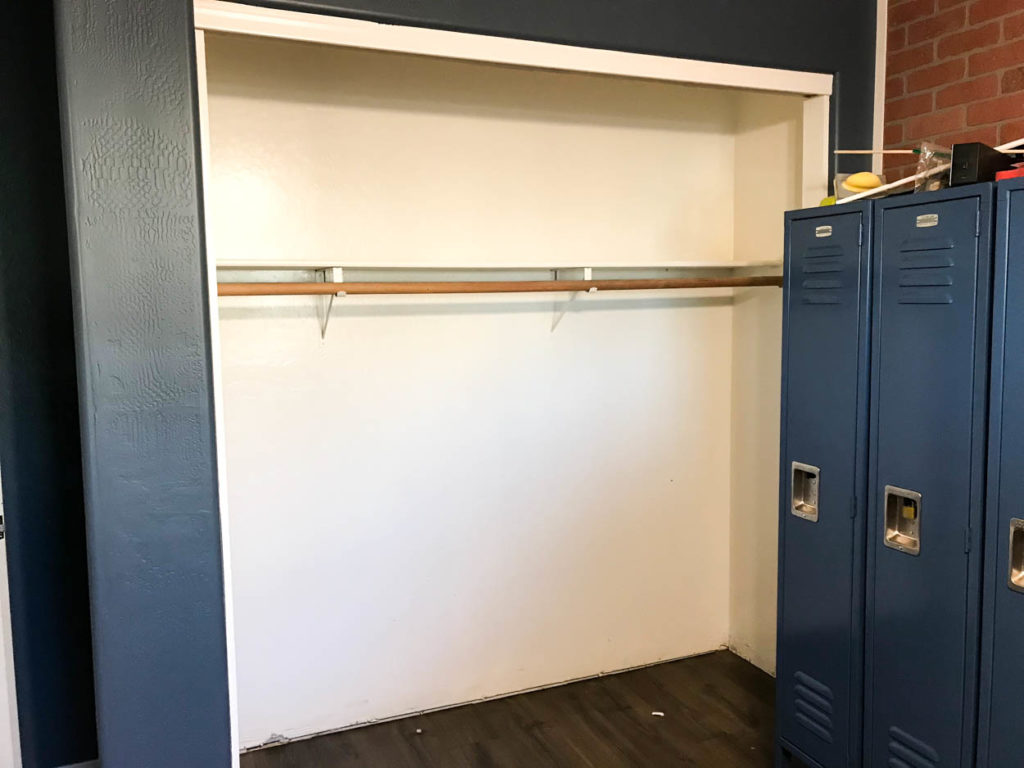
Here is how it looked midway through the whole process. With his bedroom having a sports theme, I ordered lockers on Amazon for his clothes to hang, as well as storage for hats and shoes.
Preparing The Wood For The Closet
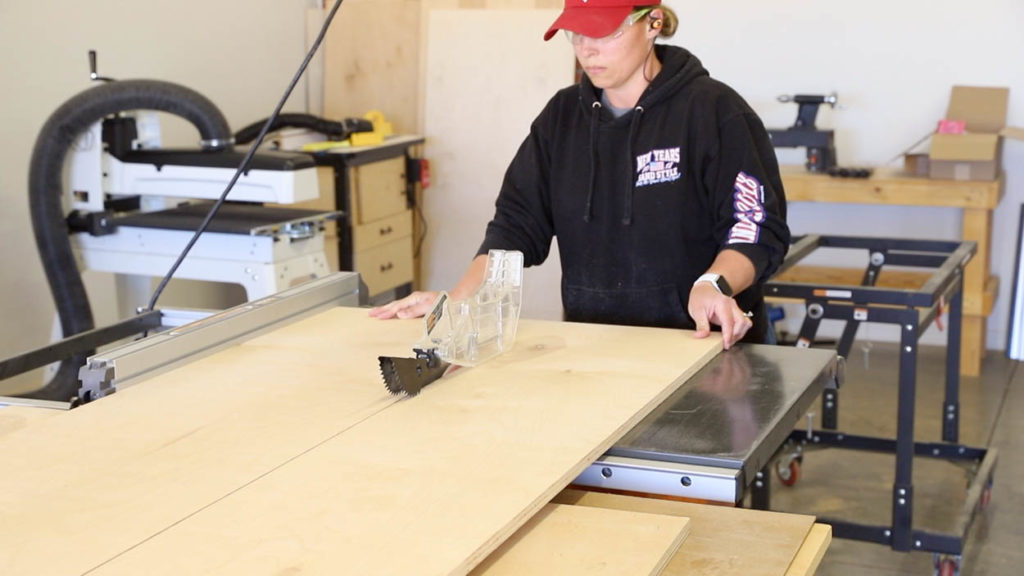
I used 3/4″ veneer plywood for all of the closet components. I cut all of the pieces down to size before beginning assembly.
How to Apply Veneer Banding
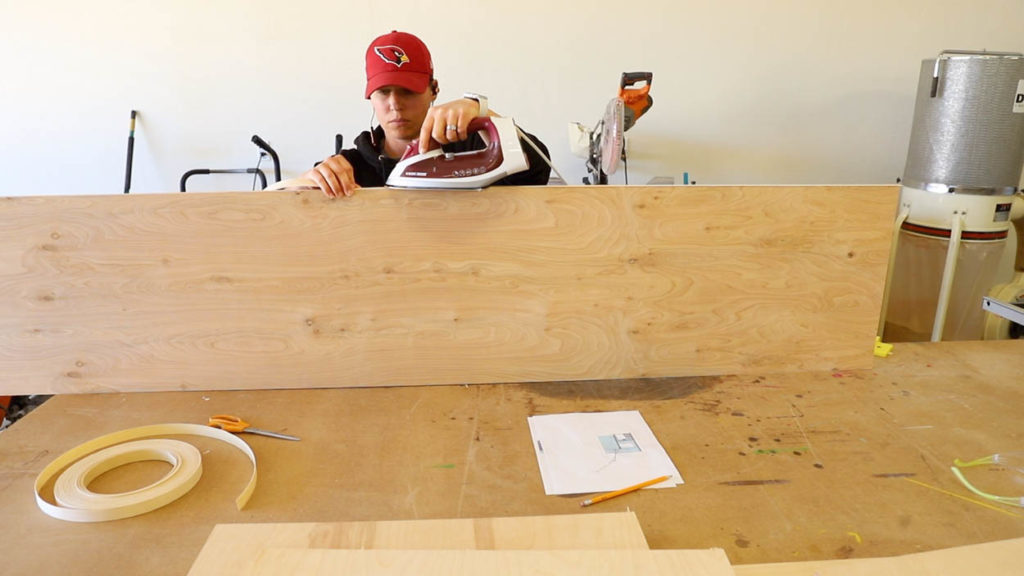
Because several edges of the plywood would be exposed, I used veneer edge banding to cover those edges. I used a hot iron to melt the glue to attach it. Once the glue was dry, I trimmed the excess of with an edge banding trimmer.
How To Assemble The Cabinet
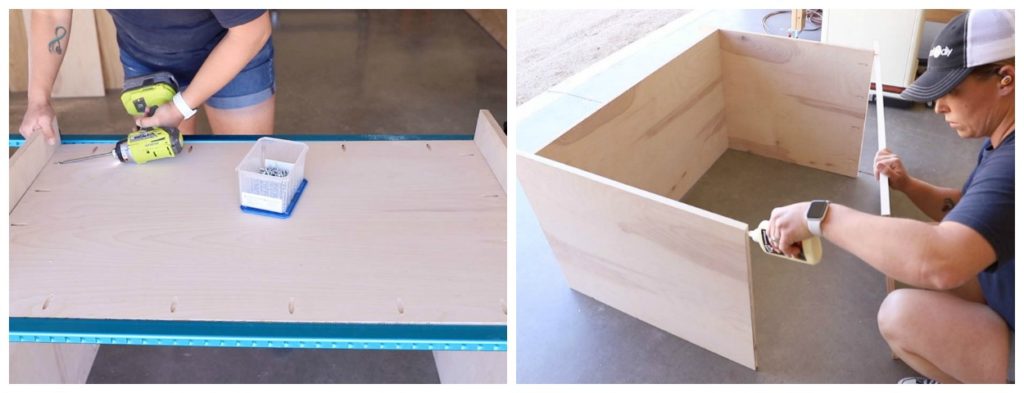
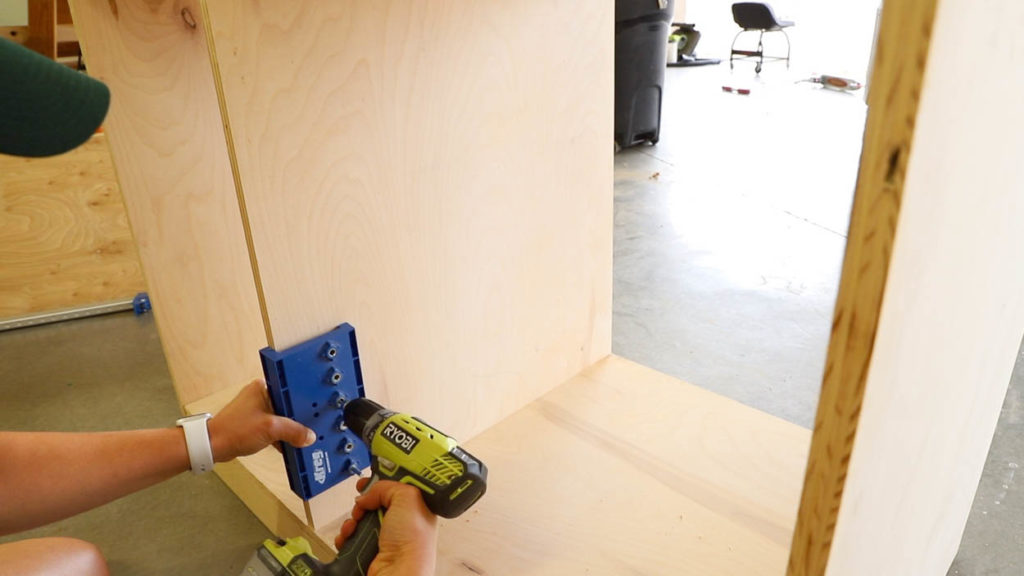
When all of the pieces were prepped, I built the cabinet box. I drilled 3/4″ pocket holes into the sides on the bottom piece and vertical pieces. I attached everything with 1 1/4″ pocket screws and wood glue.
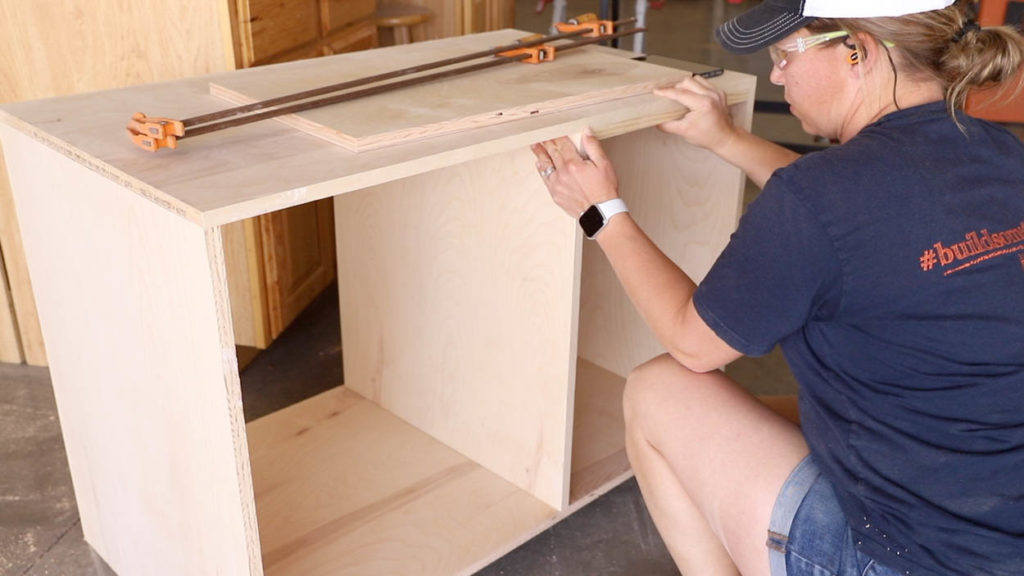
When the bottom was attached to the sides, I moved on to the top. I again used wood glue and 1 1/4″ pocket screws to attach it.
Once the cabinet box was assembled, I installed the center divider. I cut scrap wood down to size to use as blocks to help me align the divider into place. The divider was attached with 1 1/4″ pocket screws, which I positioned so that they would be on the drawer side of the cabinet and not exposed.
Building The Hamper Drawer
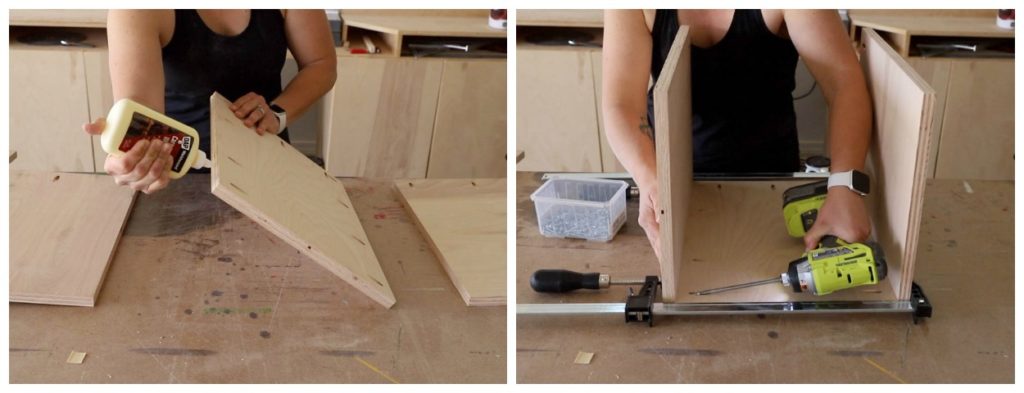
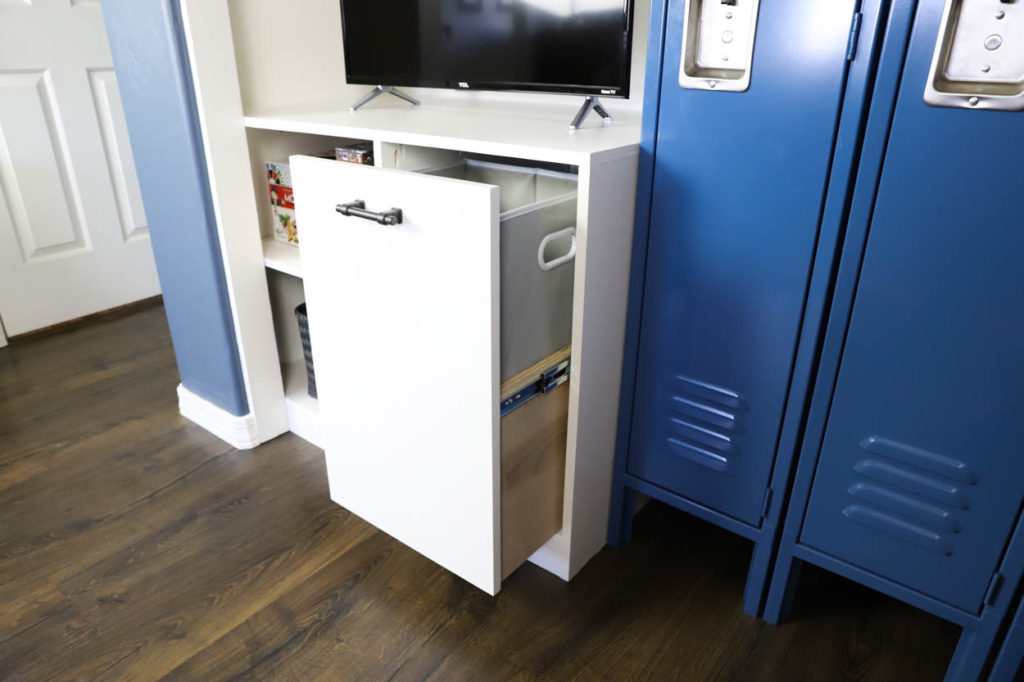
The cabinet will function as both storage and a clothes hamper. I built a tall drawer that a clothes hamper would fit into to keep his laundry out of sight. The drawer is made of 3/4″ veneer plywood. I glued and attached all of the pieces with 1 1/4″ pocket screws.
Attaching The Apron Pieces
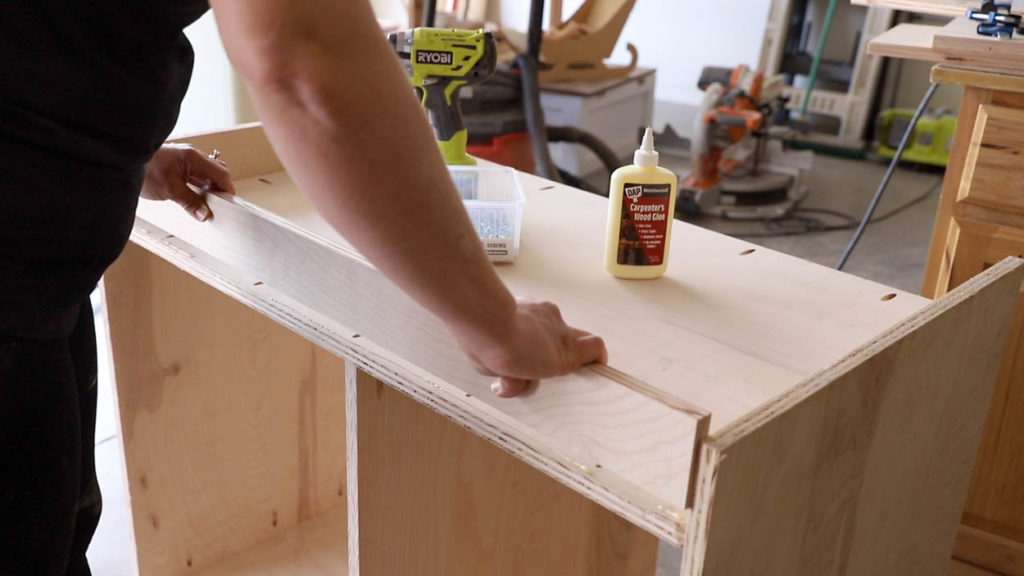
To give the cabinet support in the middle, I ripped down plywood to make up the front and back apron pieces. I drilled 3/4″ pocket holes into the top and sides of the pieces, then attached them with wood glue and 1 1/4″ pocket screws.
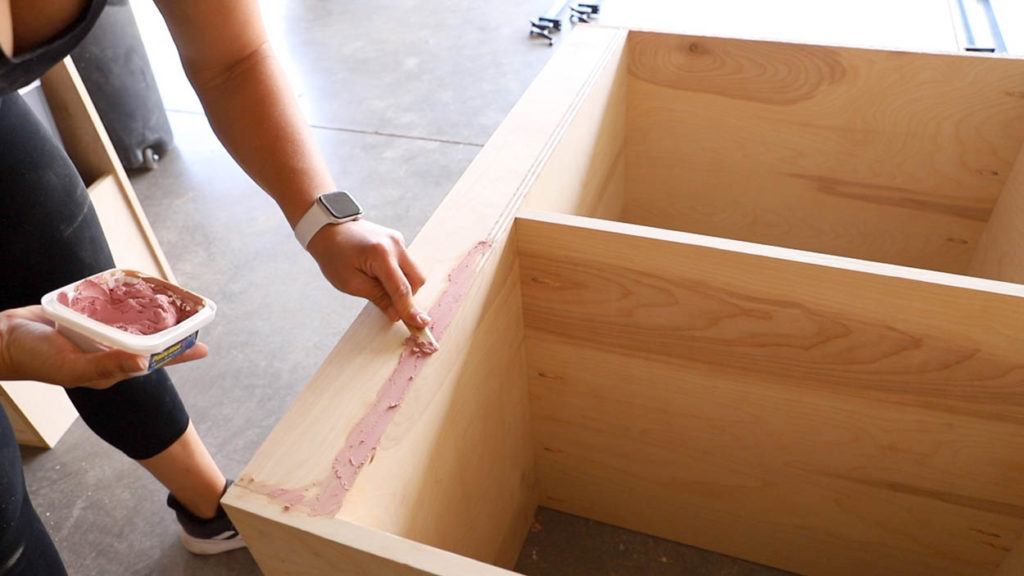
With the aprons in place, I used Plastic Wood-X wood filler on the exposed edge of the plywood to fill in any voids. I let it dry, then sanded it smooth.
Adding An Adjustable Shelf
The cabinet will have an adjustable shelf for customizable storage. I drilled shelf pin holes with my shelf pin jig in the front and back edges on each side of the cabinet carcass.
I measured the interior dimensions of the cabinet and cut a plywood shelf to size, leaving approximately 1/8″ on all sides for the shelf to easily be adjusted.
Painting The Cabinet
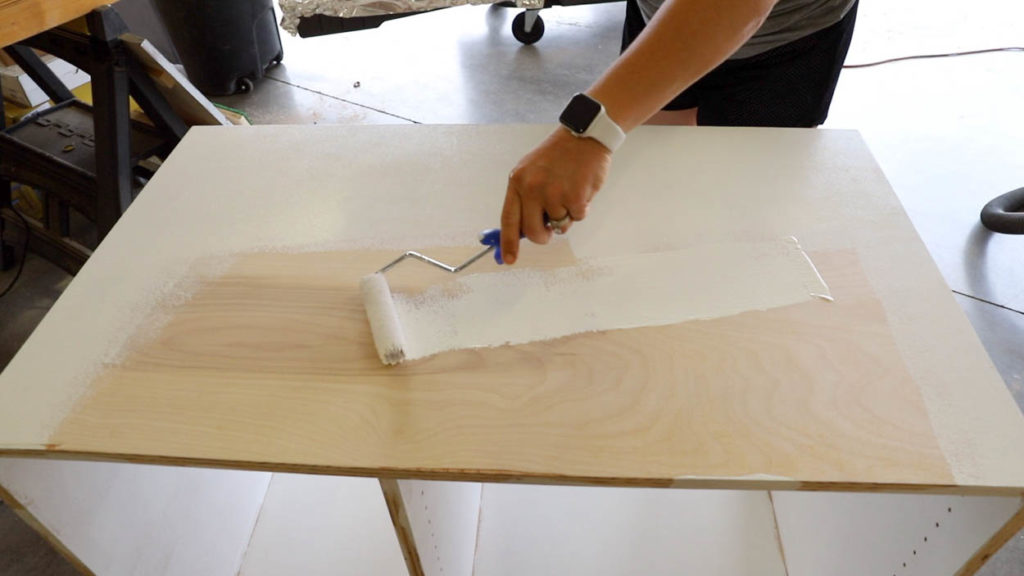
I painted the cabinet white to match the walls in my son’s closet. The paint is Swiss Coffee in semi-gloss. I rolled on three coats, lightly sanding in between coats.
How To Install The Cabinet and Shelf
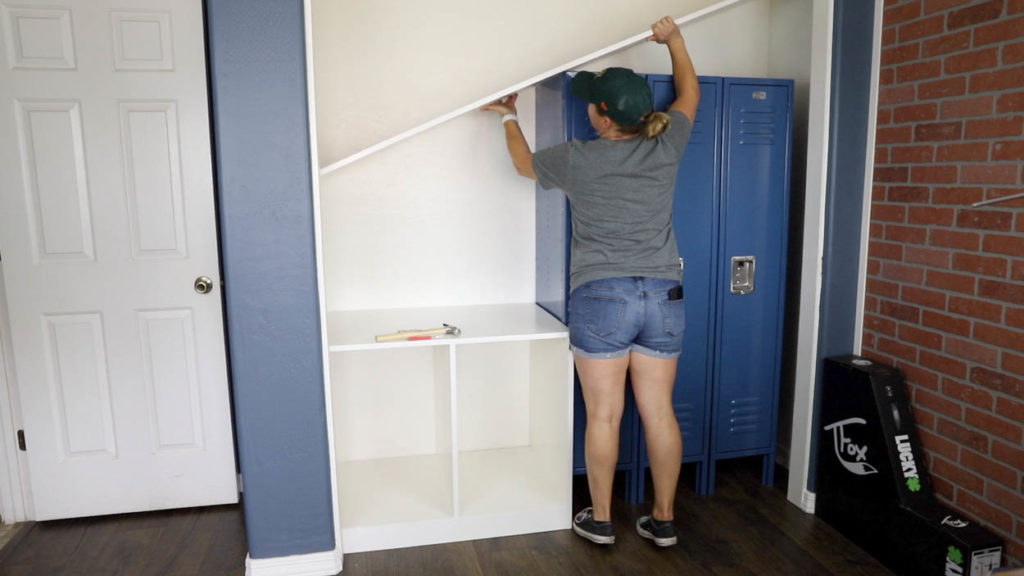
The cabinet fits just behind the opening of the closet. I pushed it into place, then set the lockers where they would go. The upper shelf sits partially on the top of the lockers, which helped me to determine where the supporting cleats would be attached.
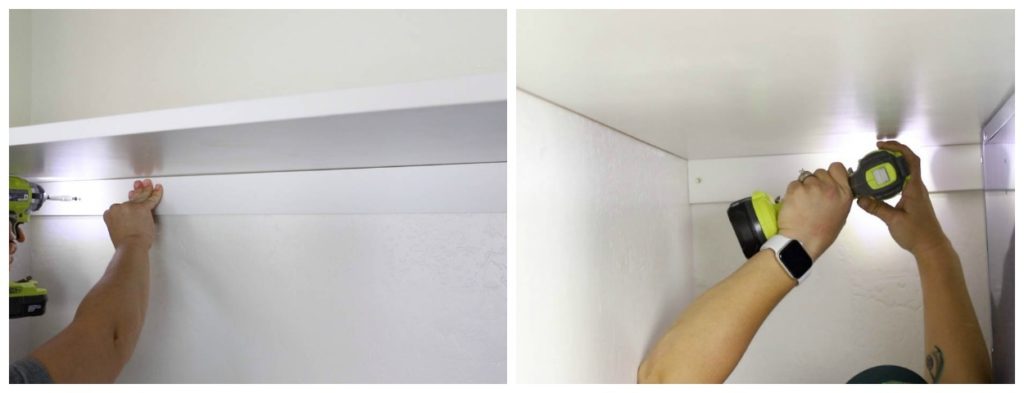
I bought a 1×3 pre-primed pine board for the supporting cleats. The lengths were measured and cut to size to support the closet shelf. I used a stud finder to locate the studs, and drove 2 1/2″ screws into them to secure the cleats. Make sure to check that the cleats and shelf are level throughout this process.
Sealing The Closet
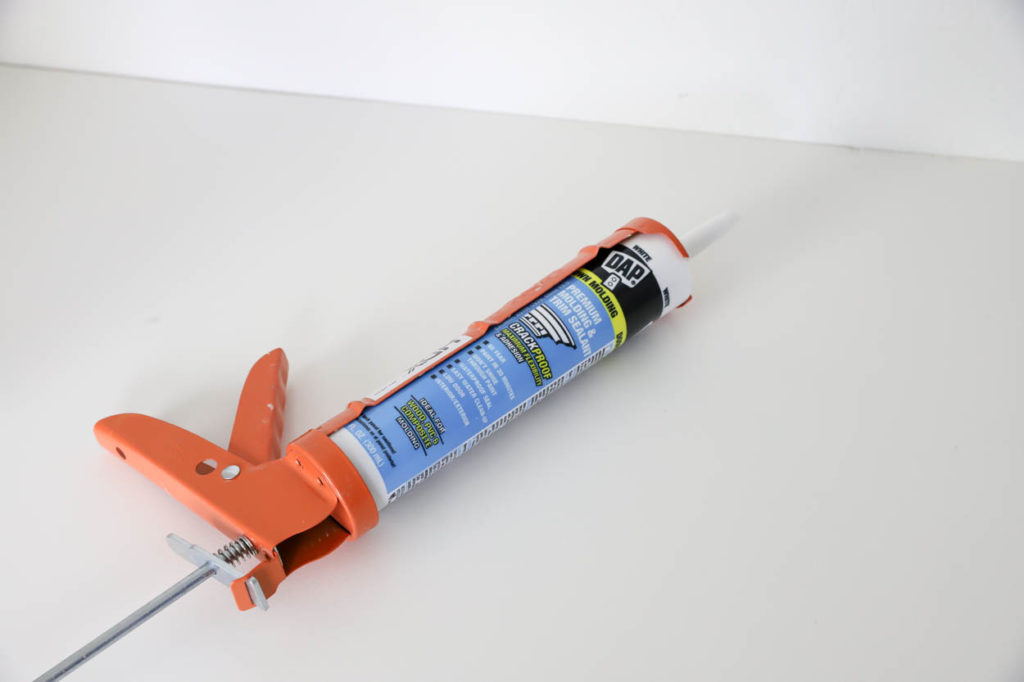
To give the closet a seamless look, I used DAP Alex Flex premium molding and trim sealant.
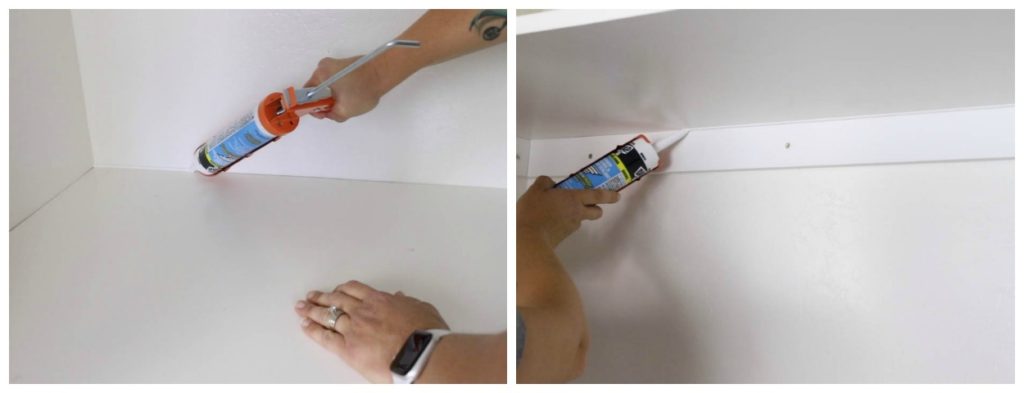
I applied a bead of the caulk to all areas where there was a seam or corner. To smooth the bead, I use old gift cards. I have found that they work really well to get a smooth seam.
When the caulk was dry, I touched up all of the seams and cleats with more paint. I did not fill the screw holes as I wanted to be able to have the option to locate and remove them if and when that time comes.
Installing The Drawer
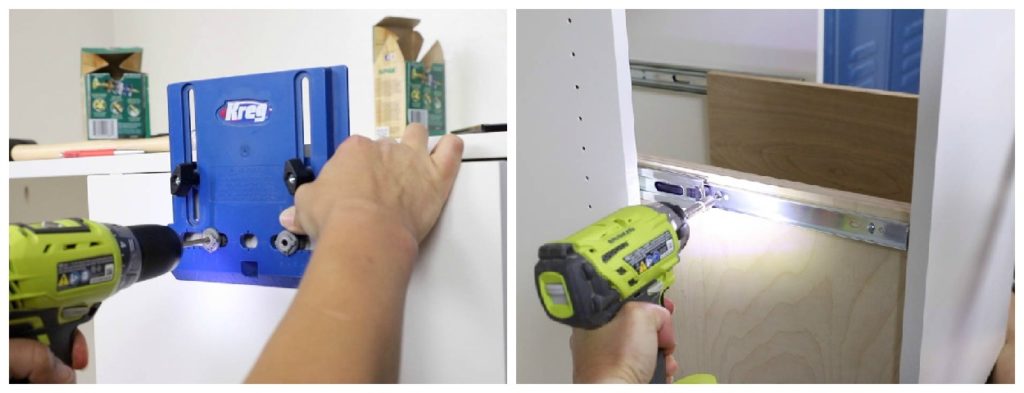
Lastly, I installed the hamper drawer. I first added the drawer hardware, which matches the hardware on my son’s dresser and his bed. I then installed the drawer slides. With the drawer installed, I added the clothes hamper to it.
Organized Tween Closet Makeover
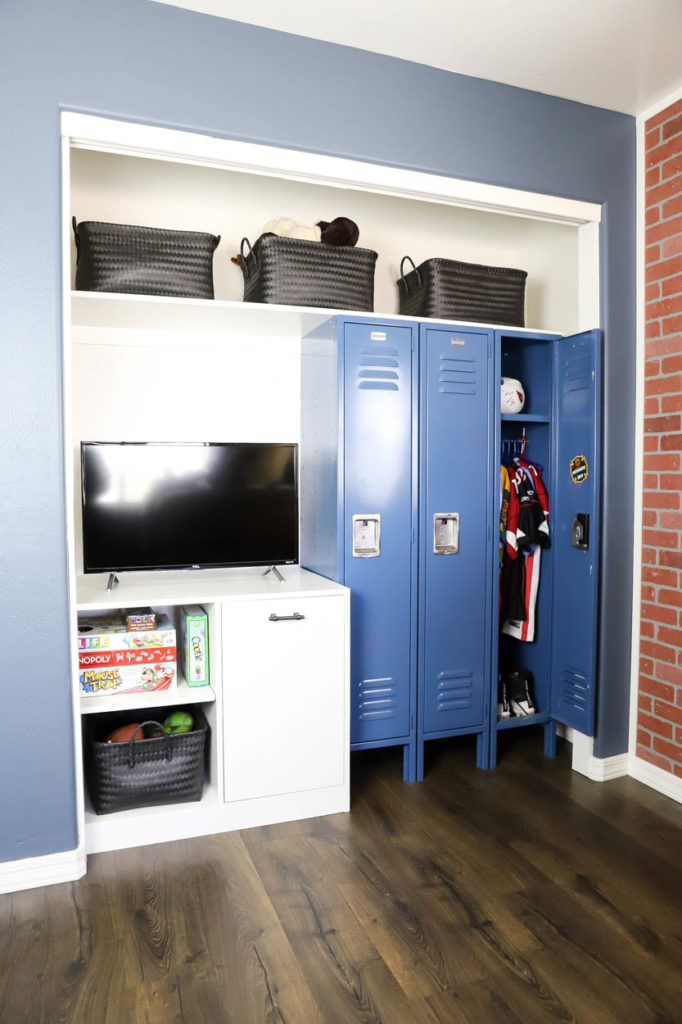
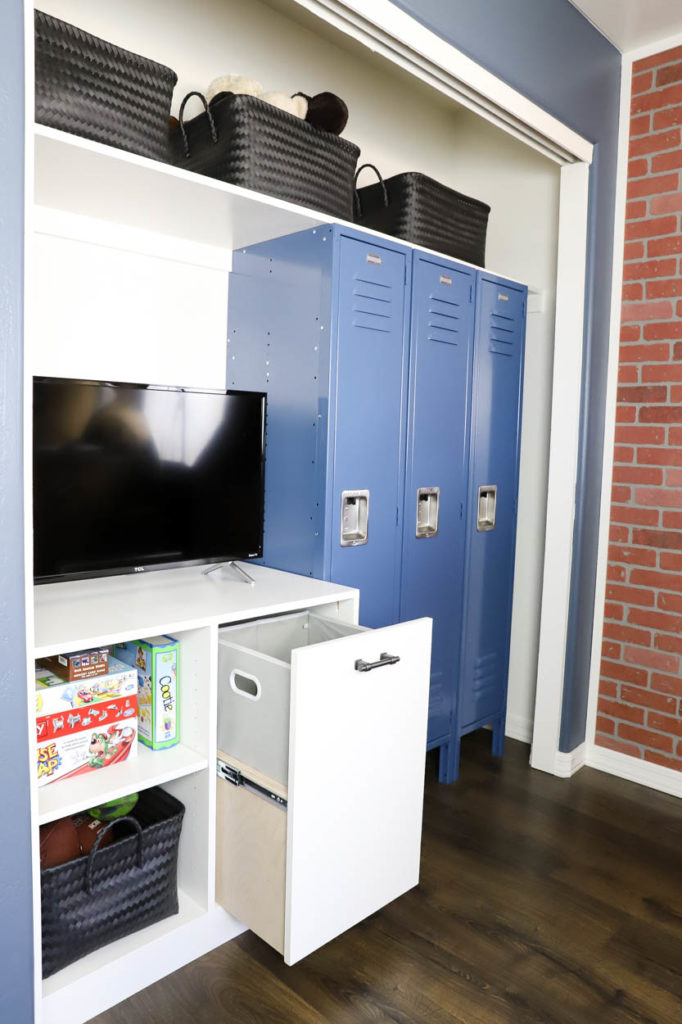
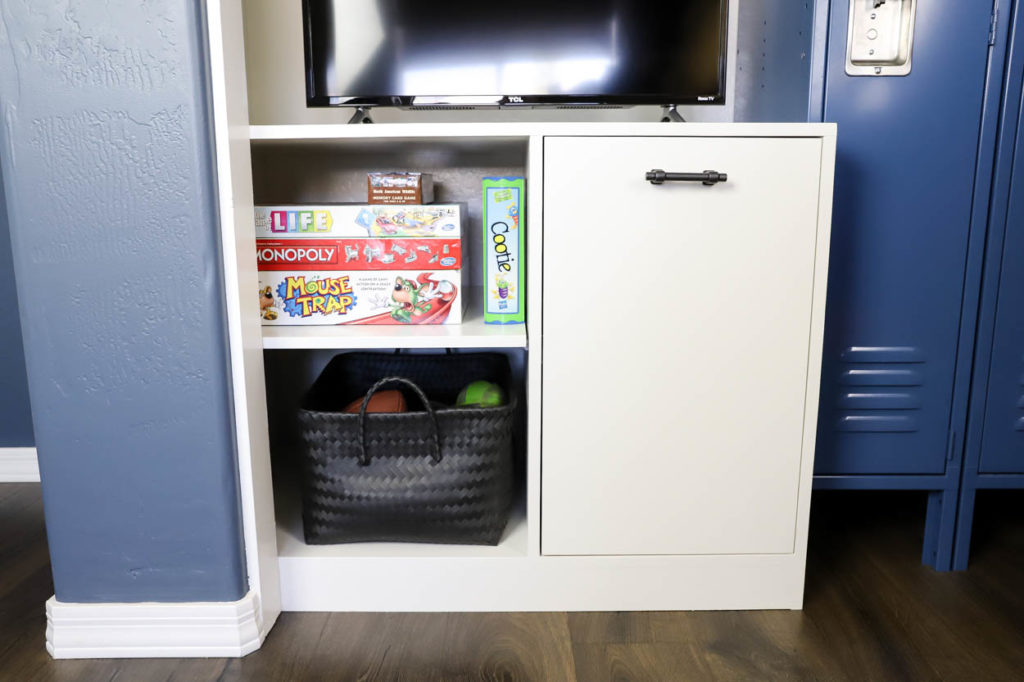
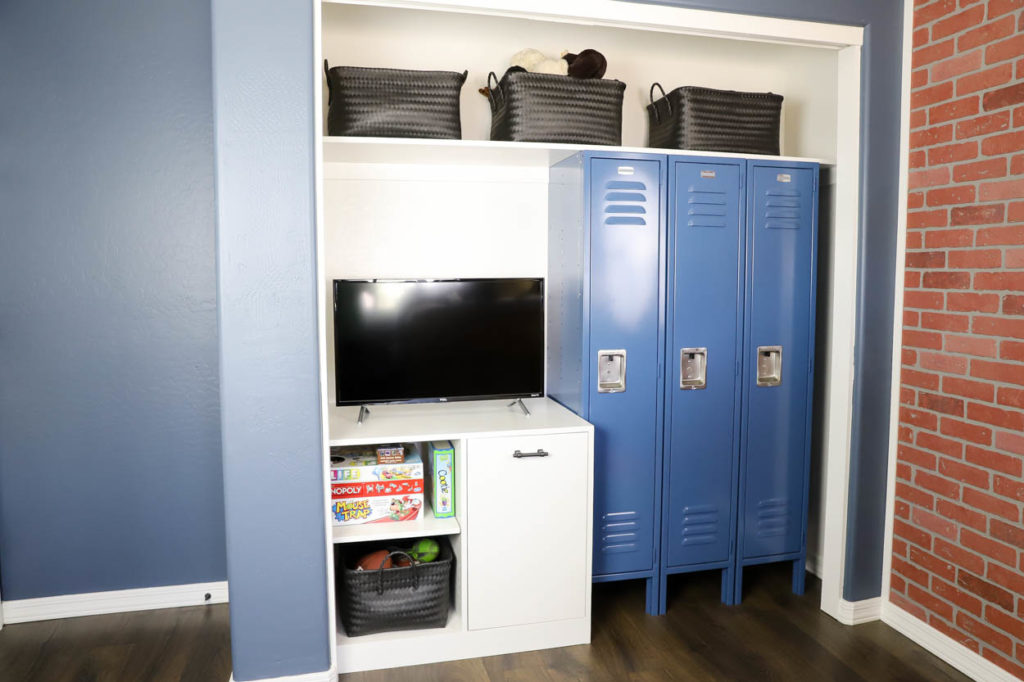
The end result of this makeover is a functional, organized closet space that my son loves. There’s a place for everything and everything is in its place. The hamper drawer might be my favorite part, because it hides dirty laundry in plain sight. The baskets I bought are big enough to store away his stuffed animal collection that he refuses to let go of, and they are a fairly smooth design, so they won’t scuff up the paint on the shelf or cabinet. He loves the lockers being organized so that his school uniforms are in one, sports jerseys in another, and jackets in the third.
CLICK HERE TO DOWNLOAD THE PRINTABLE PLANS
What Size Lockers Do I Buy?
One question I get asked a lot by friends is about the locker sizing. Given that my son is 11 and still growing, I made sure to buy lockers that were 18″ deep. They’re big enough to hold full size hangers and shirts so that he can continue to use them as he grows. The lockers are also 12″ wide, so we can get a good number of shirts in each of them. They have a shelf at the top where he stores his hats, and the lower shelf/bottom is a great place for him to stash away his shoes.
DISCLOSURE: I was provided product and/or compensation for this post. All opinions and ideas are 100% my own. This post contains affiliate links. Should you purchase an item from one of these links, I will receive a small commission at no extra cost to you.

Leave a Reply