This tiny bathroom remodel makes a huge impact with fresh paint, vertical shiplap, and new fixtures.
Like EVERYTHING in our house, our guest bathroom has been a tough room to figure out how to remodel. It has taken years of me staring at this room and brainstorming dozens of ideas before I finally decided on one I liked. I’m partnering with DAP Products today to show you how I FINALLY transformed this bland and boring bathroom into a light and bright space that is now kind of my favorite makeover!
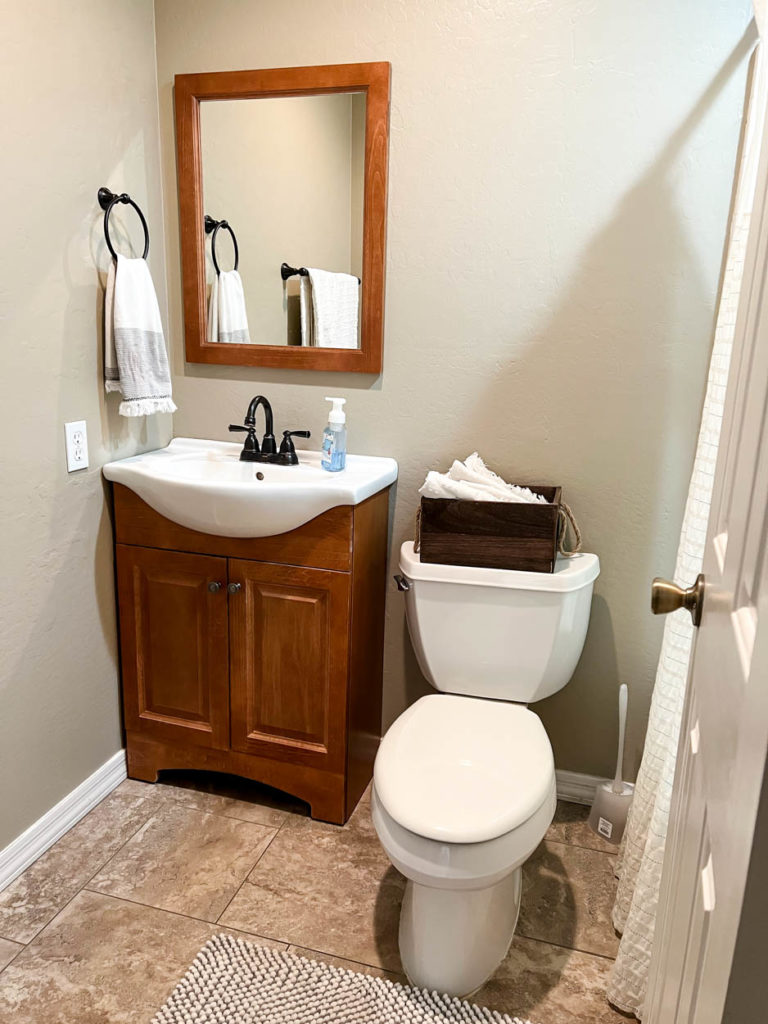
When we bought our house 11 years ago, there were some interesting color and decor choices going on. Now, to each their own, but there were a lot of changes that we needed to make to the entire house before we moved in. One of them was the guest bathroom. You will want to see the original “before” to get a feel for what we started with.
We were just barely dipping our toes in the DIY pool at that point and I don’t even know if Pinterest was around quite yet. So we went with what we knew. The same earth-tone paint color we used in our last house, and a small vanity that would fit in this teeny, tiny, FULL bathroom. As in, there is a full shower/tub on the other side of the door. Which, by the way, is only 24″ wide. I’m not sure who drew the plans for this house, but they must have messed up a few of the measurements. The doorway is so small that even though the door is 24″, the door casing still had to be cut in half to fit around the opening.
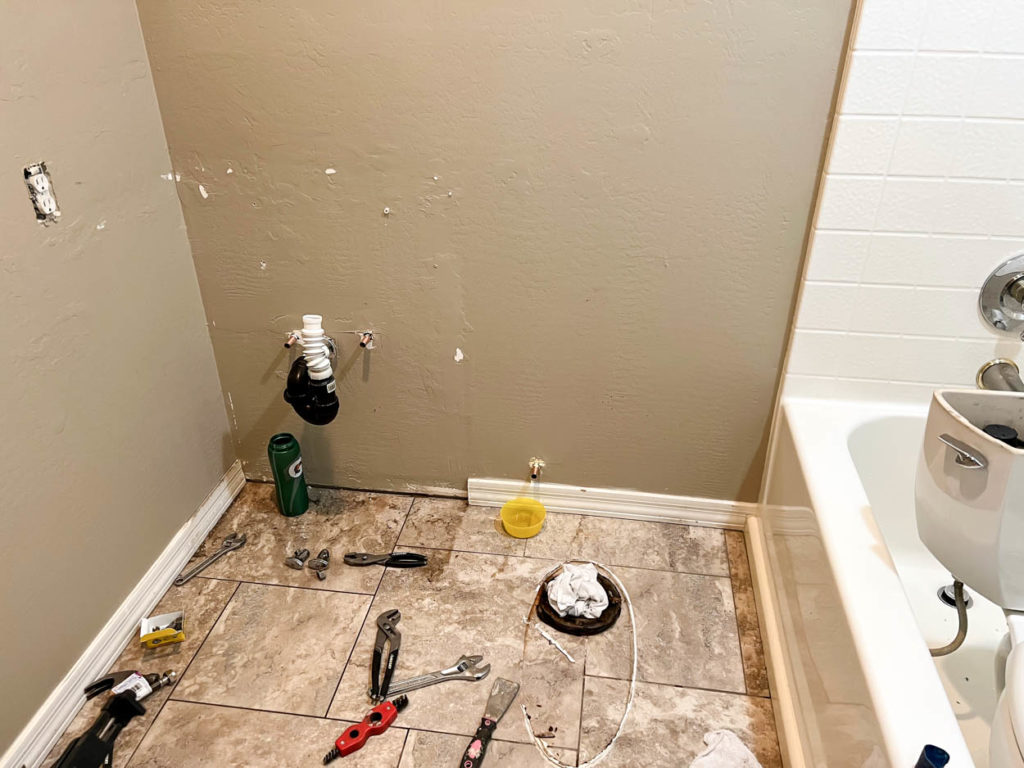
So, fueled by coffee, I got to work to finally make this a space I could be proud of. I took out the old toilet, removed the vanity, and quickly realized I needed to put on my plumber’s hat. The old valves for the sink and toilet had gone bad and I needed to replace all of them. It was touch and go at first, because I’d accidentally turned a valved completely on instead of off.
After sopping up the water, my husband patiently coached me through the rest of the process and I can now proudly say that I can replace water valves. No promises on not getting water everywhere, though.
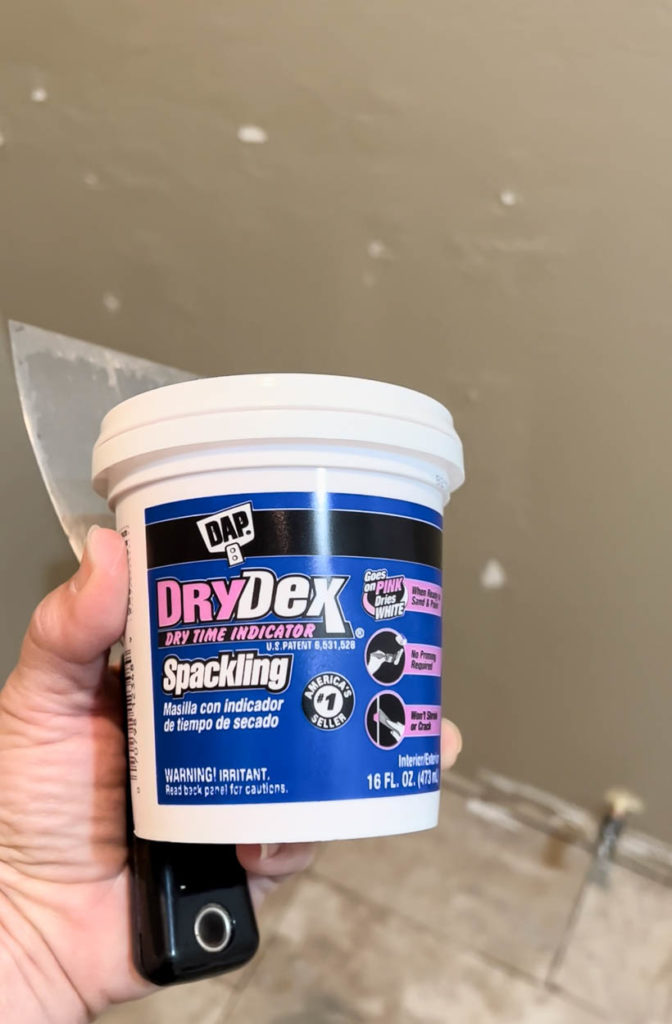
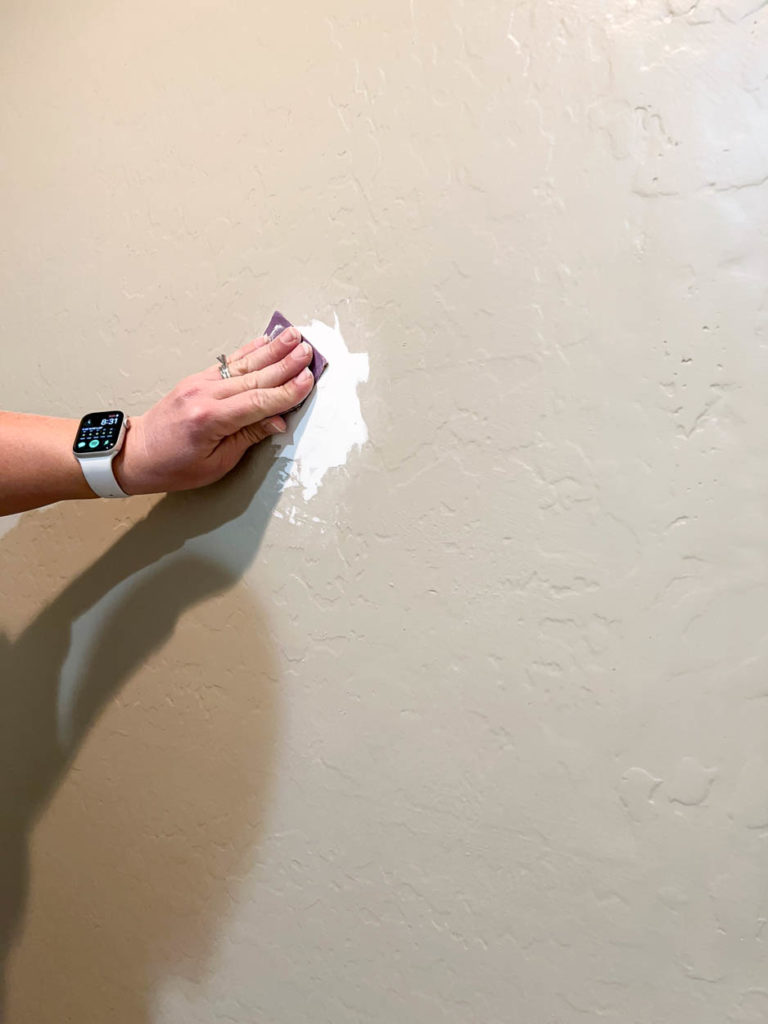
With everything except the shower removed from the bathroom, I got to work patching areas on the walls. I removed the towel rod, mirror, and the shower curtain rod and those areas all needed to be patched with DAP DryDex Spackling.
I love using this because it goes on pink and dries white, so you know when it’s time to sand.
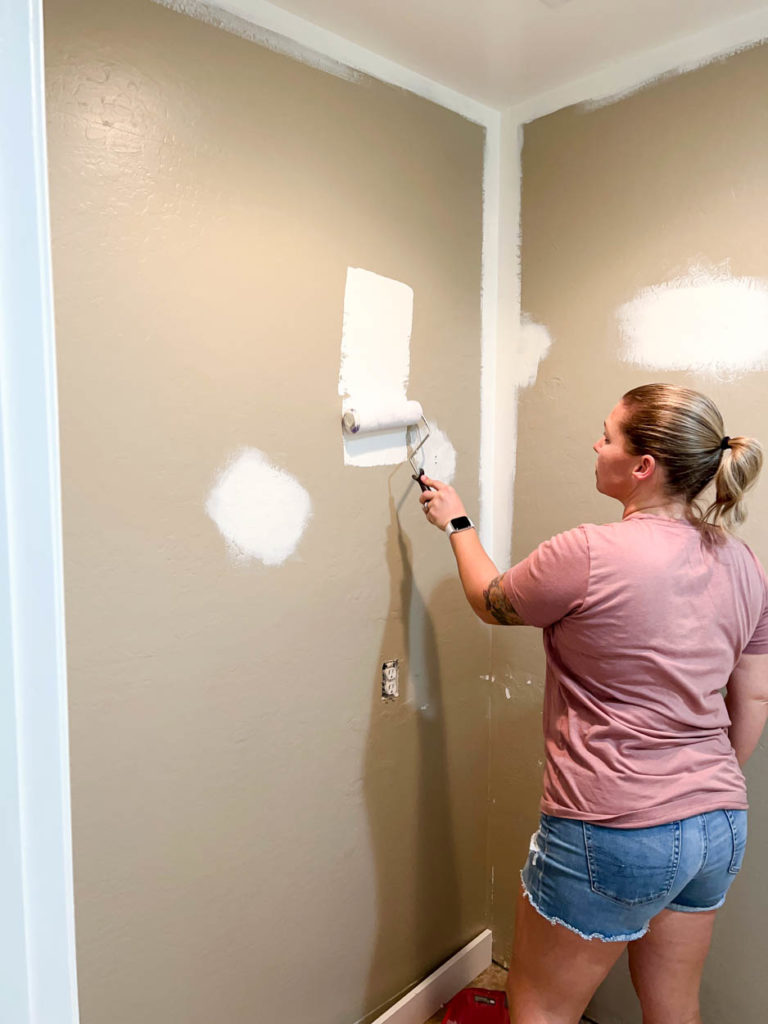
Once the patched areas were dry, I worked on painting the upper half of the walls. I went with Swiss Coffee, which is my go-to color when I am painting things white. It’s also what I painted my kitchen cabinets.
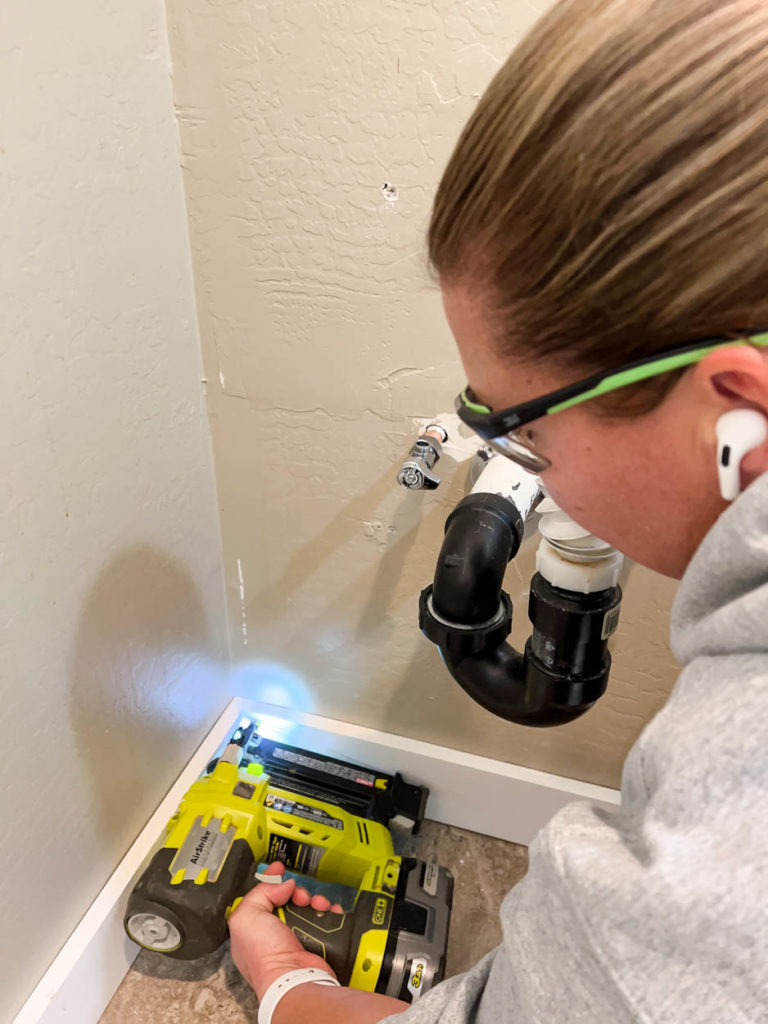
With the upper half of the bathroom painted, I worked on adding the baseboards. I purchased 1×6 primed pine boards, which I ended up ripping down to 4″ tall. This isn’t necessary, but the valve for the toilet was low on the wall and would have run halfway through the top of the baseboard if I had left it intact.
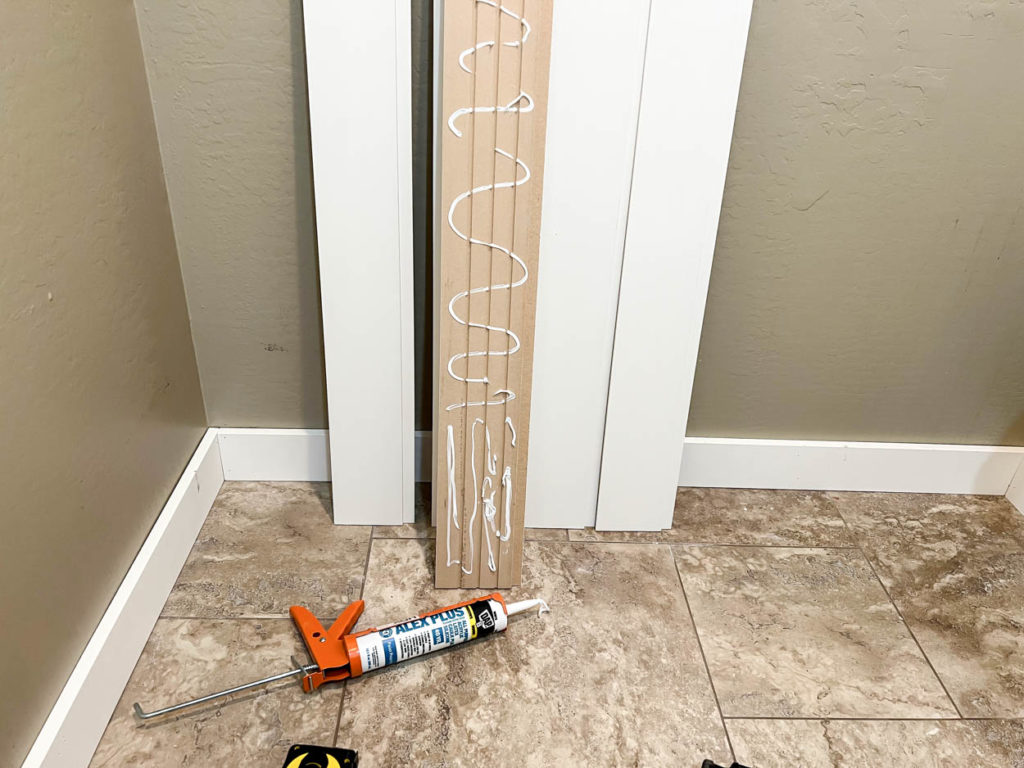
After the baseboards were nailed in place, I began adding the MDF shiplap. I wanted the shiplap to run vertical on the wall, so I trimmed it to size, then added some Alex Plus caulk to the backside of each of the boards. This will hold them to the wall a little better, since not all of the planks will have a stud behind them. I should note; however, that while Alex Plus has great adhesion qualities, it is not recommended to use as a replacement for one.
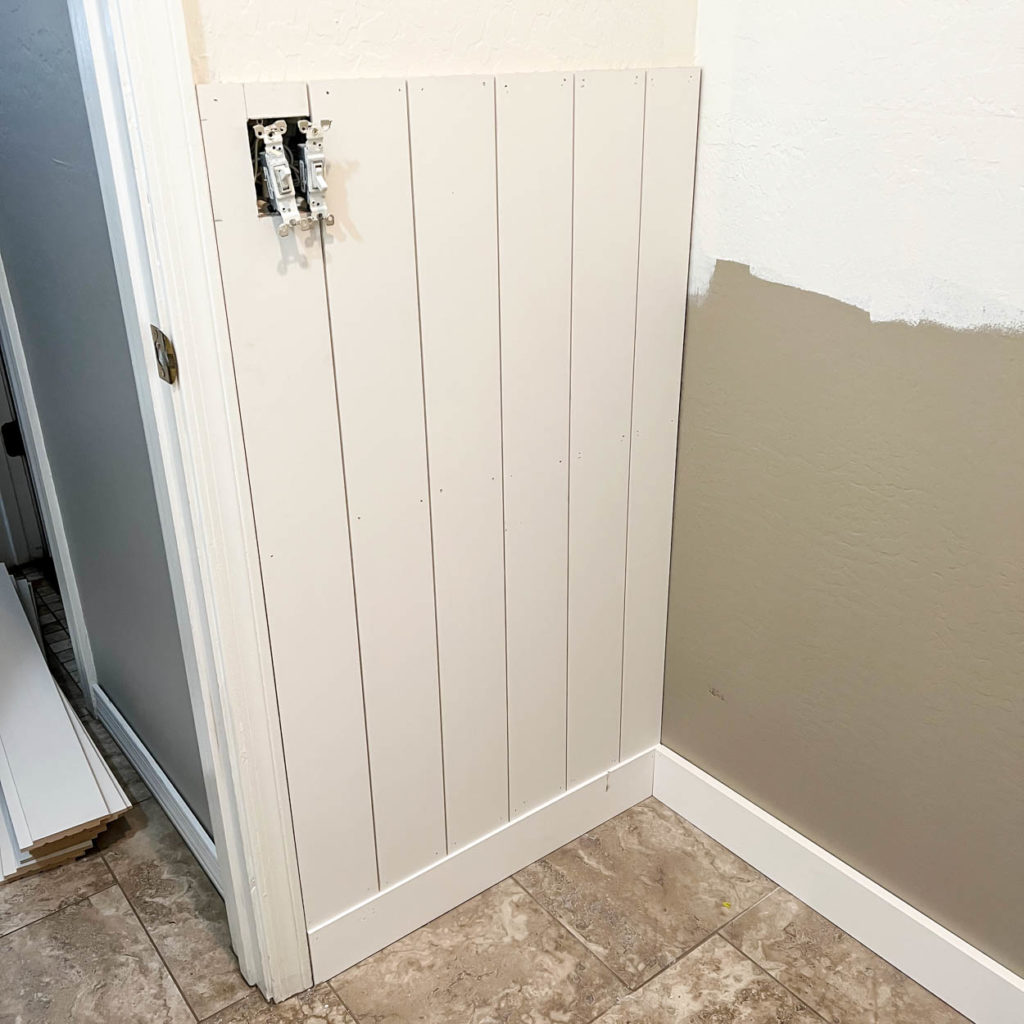
I nailed the planks to the wall with my 18ga brad nailer and trimmed it in the corners as needed. I took special care on the wall with the plumbing and used 1 1/4″ brad nails on that wall where I knew the pipes were lurking nearby. Been there done that with hitting a pipe with a 2″ brad nail and I was NOT going to let that happen a second time in this house.
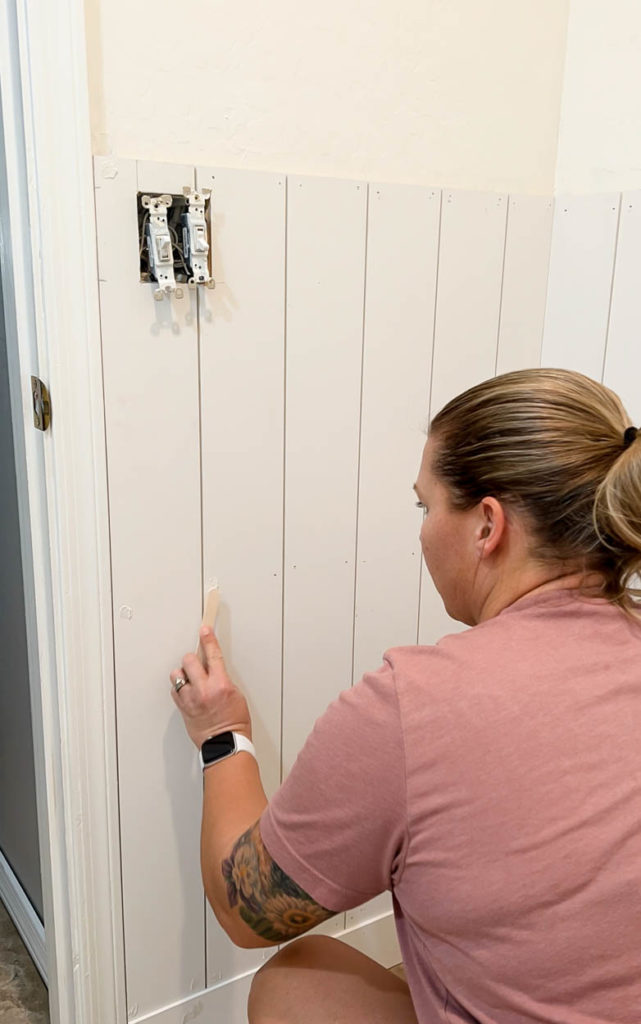
I filled all of the nail holes in the shiplap and baseboards with DAP Premium wood filler and let it dry before sanding. I found it easiest to bring my orbital sander in the house, hooked up to a shop vacuum. Sanding by hand would have taken all day.
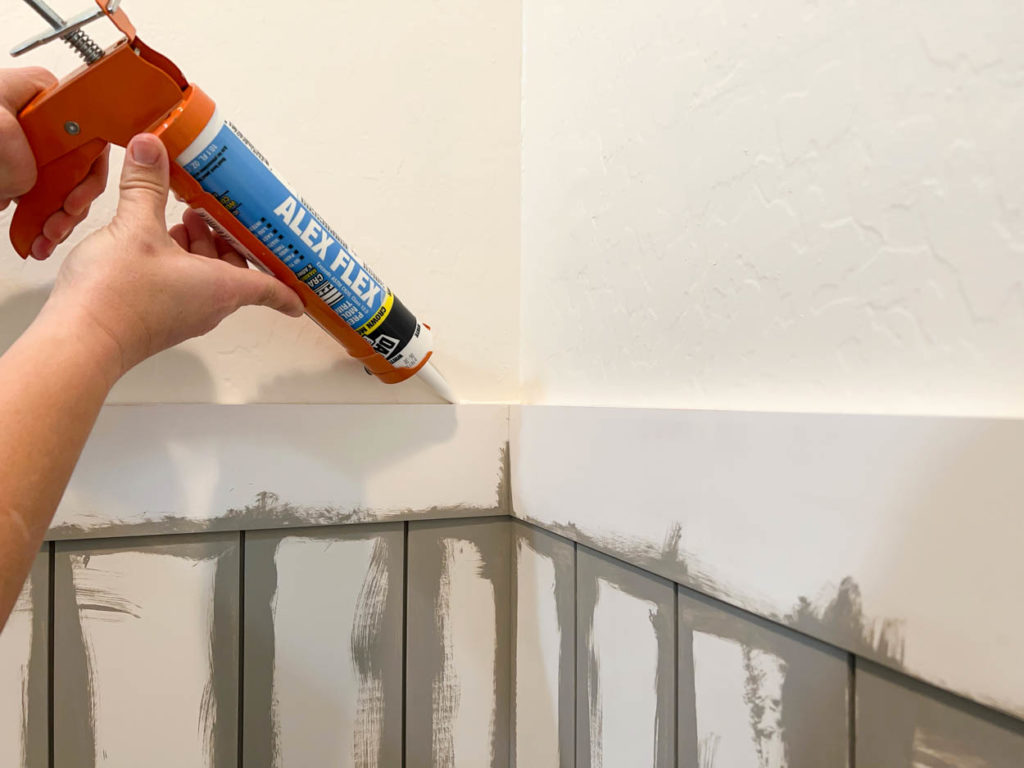
Next, I added the top trim to the shiplap, painted all of the gaps in the planks, then caulked all of the way around the top with DAP Alex Flex caulk for trim and moulding. With a 30 minute dry time, I didn’t have to wait long to finish up the painting process.
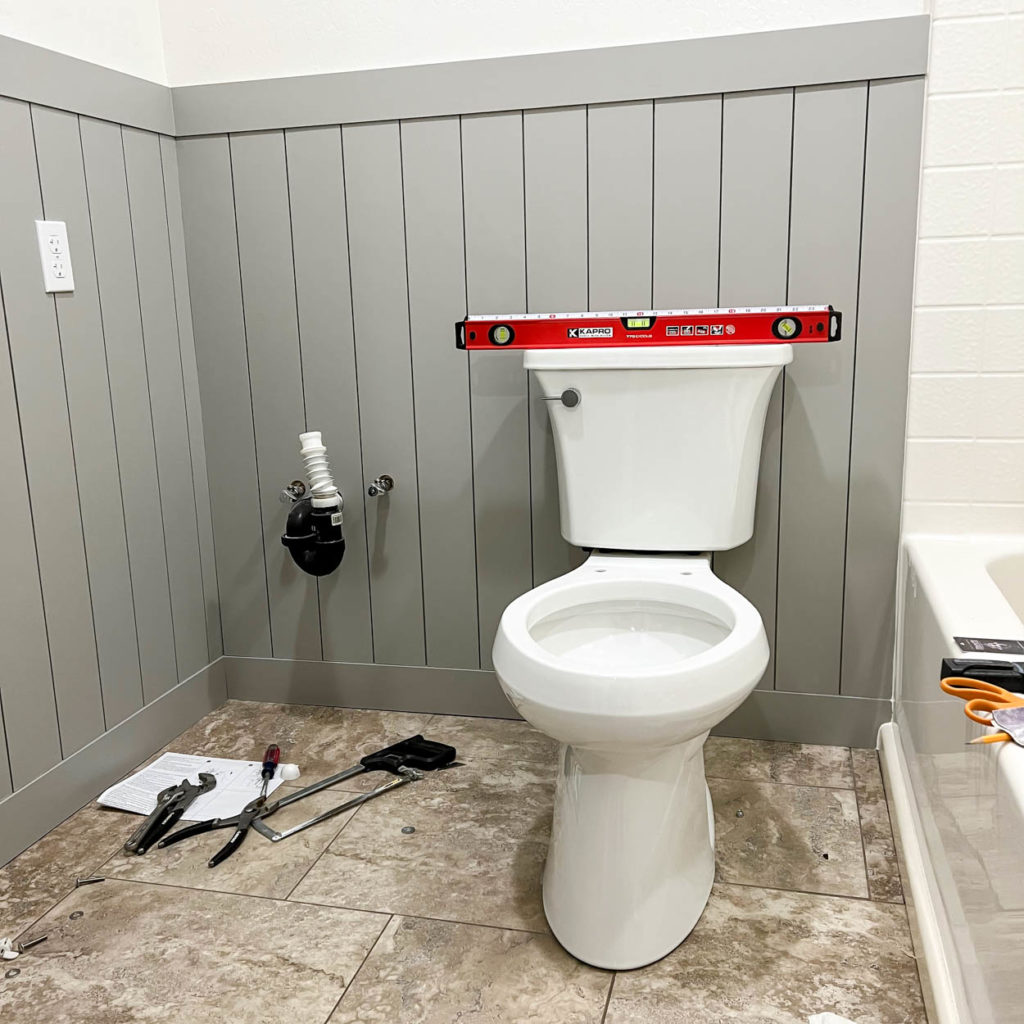
With the room completely painted, it was time to start bringing in the fixtures. I purchased a new toilet from Home Depot, as the old one was possibly original to the 24 year old house. If you remember, the old toilet also had a bead of caulk around the bottom of it. DO NOT do this. If your toilet has a leak, you won’t find out very quickly and if you have a 2 story house or a wood subfloor, it could be catastrophic when you do.
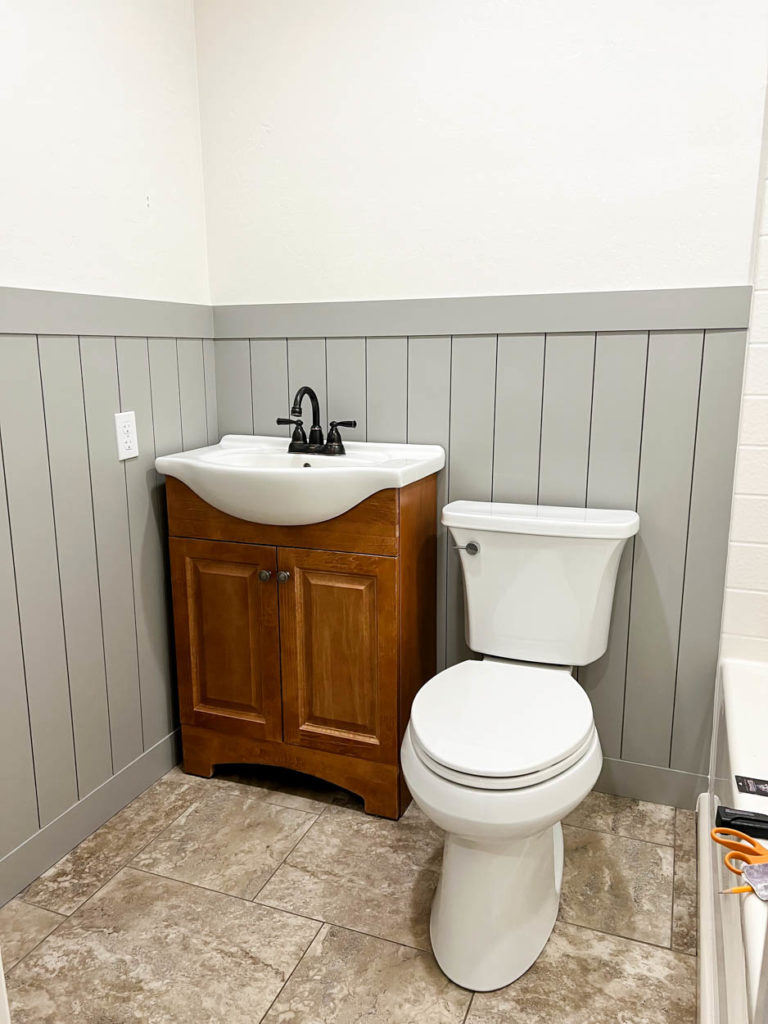
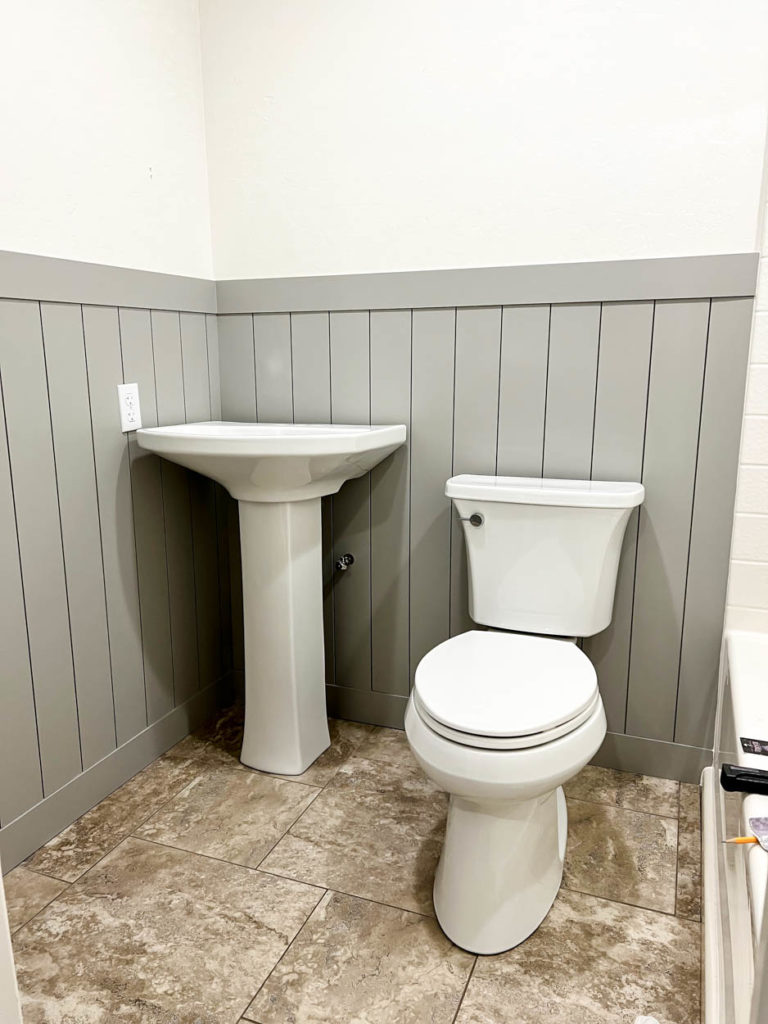
It was at this point that the very difficult decision came about. Do we keep the old vanity? Do we go with a pedestal sink? I was really torn on this, but my husband and I both decided that a pedestal sink looked best. I know it takes away a lot of storage, but I promise I have a plan for that.
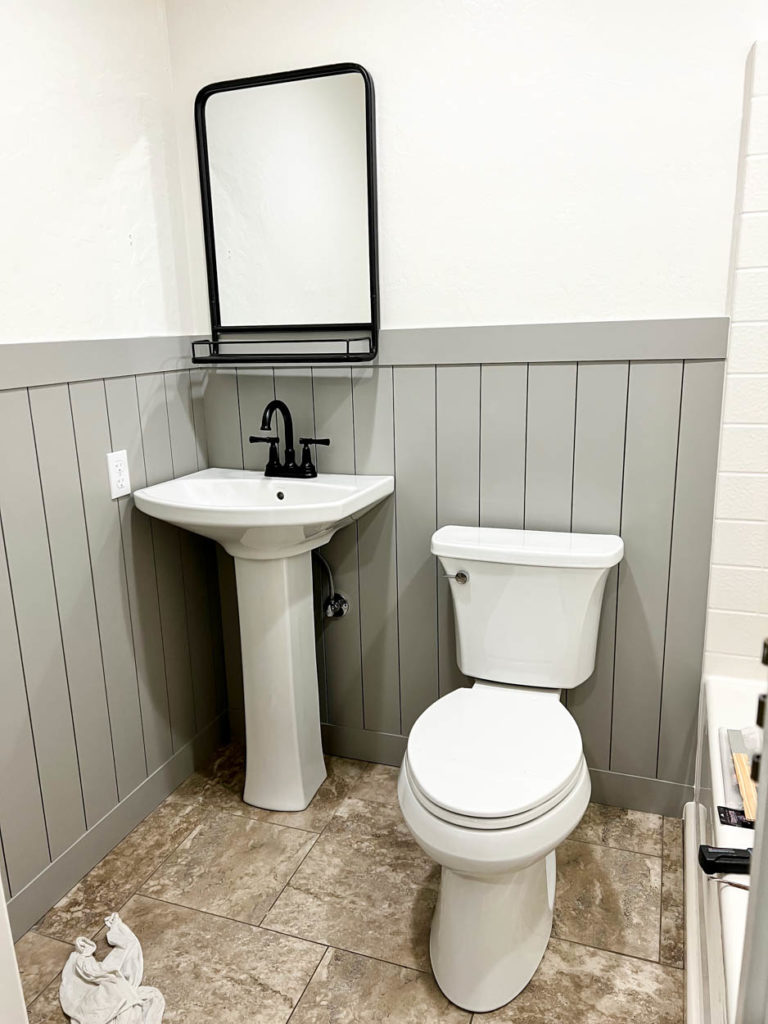
With the sink decision finalized, I got to work installing it and the new faucet. I also installed a coordinating mirror that I found on Amazon. I loved the mirror so much I bought two more to hang over my boys’ bathroom vanities to give them a bit more space.
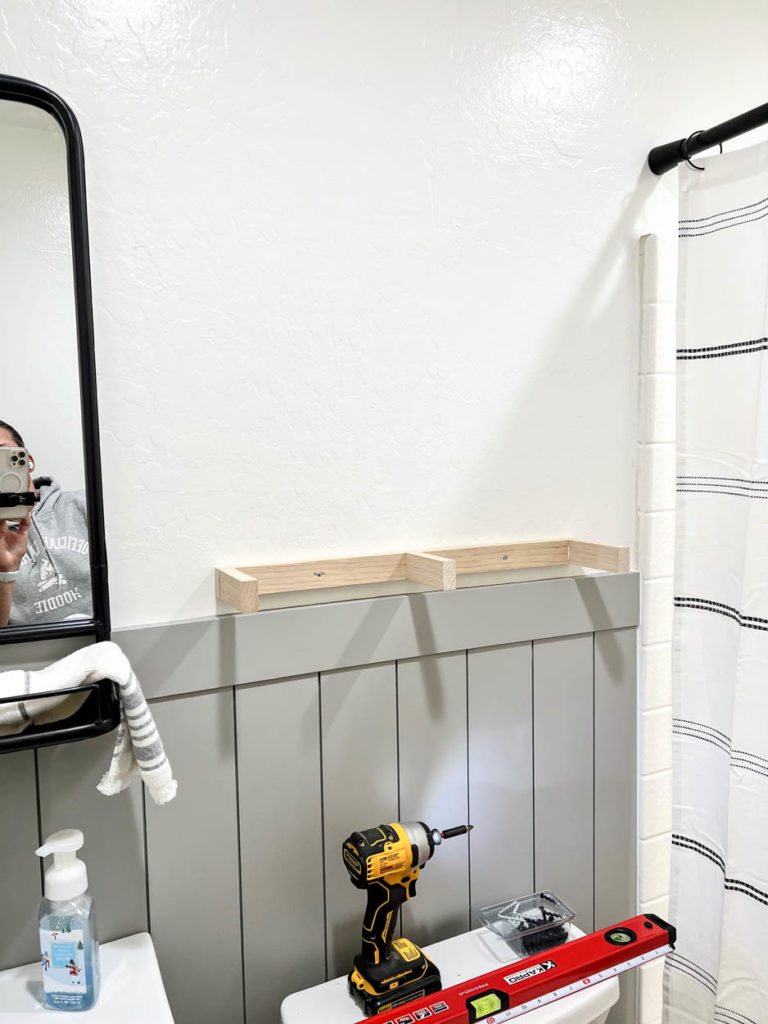
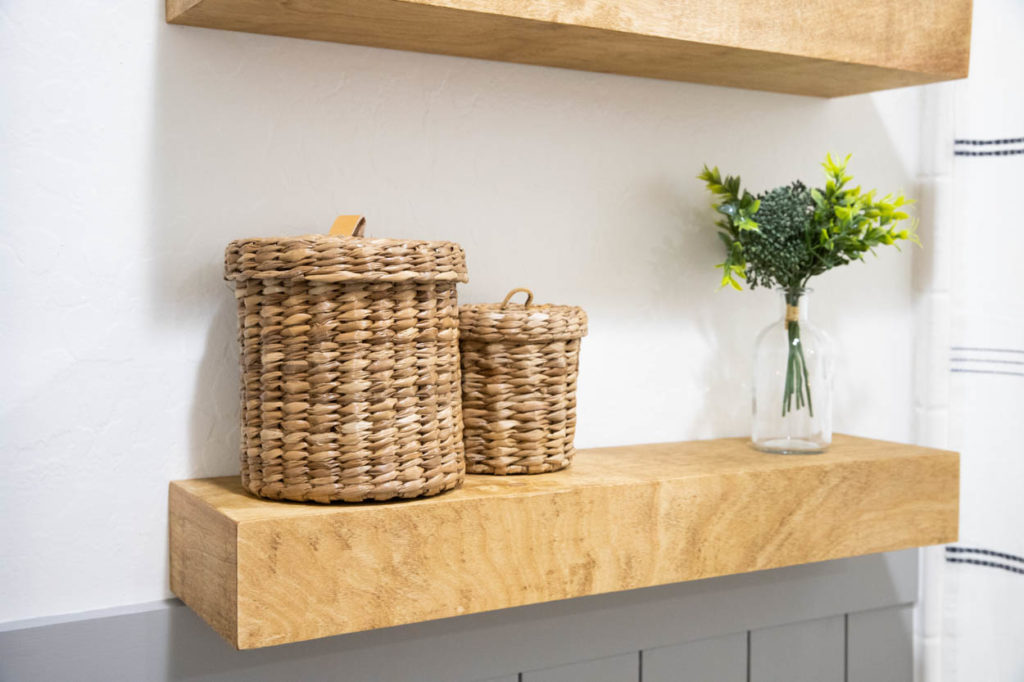
To finish off the space, I built some floating shelves out of some scrap plywood.
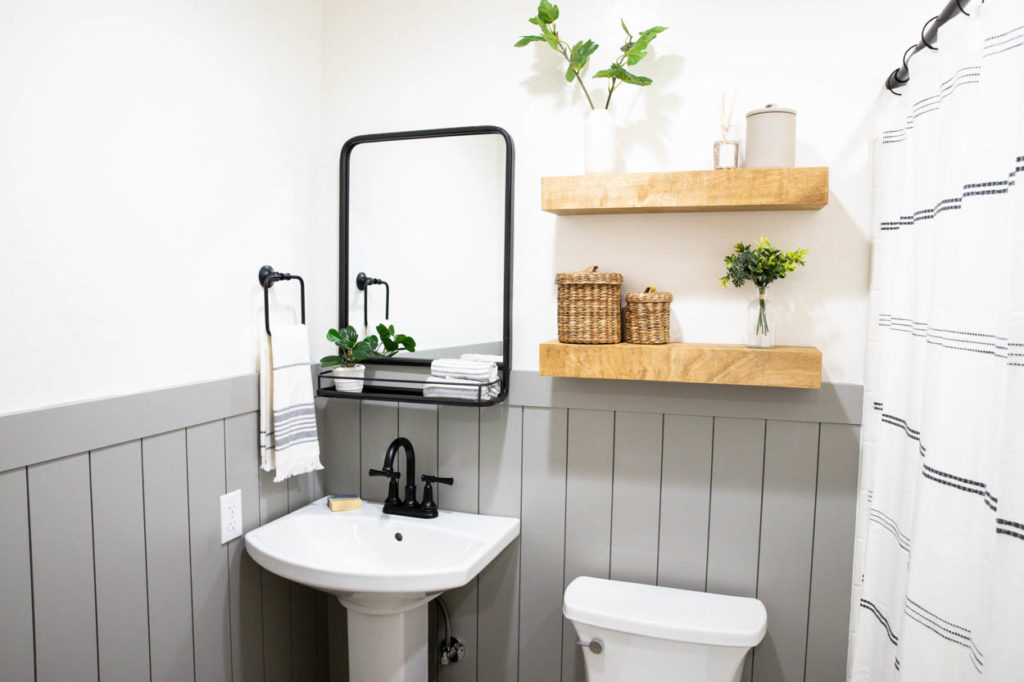
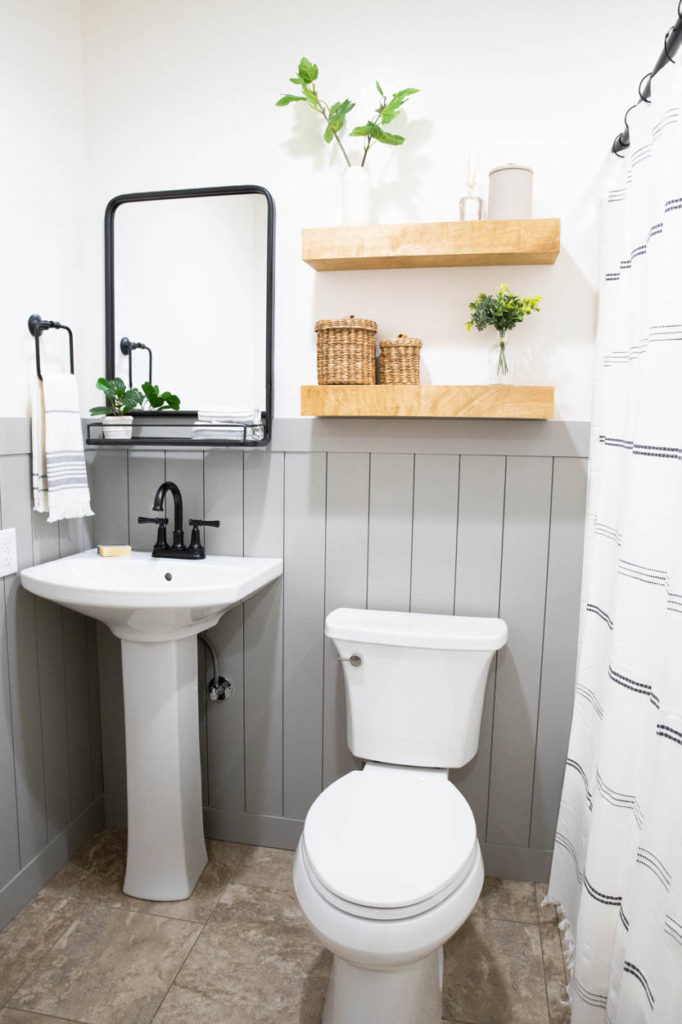
And with that, the bathroom is done! I’m absolutely in love with how light and bright it feels in this room now. Despite losing the storage space from the vanity, I did find some containers to place on the shelves to help store toiletries. With this just being a guest bathroom, I wasn’t too worried about losing any other storage. When guests stay over, we will hang the bath towels on hooks over the bathroom door for easy access.
As for the MDF shiplap, I’m not concerned about it being in this bathroom because we rarely have guests stay over. So the once a year that anyone uses this shower is not a moisture concern like it would be in a bathroom where the humidity levels will be really high. Also, all of the baseboards in our house are MDF, so I don’t think it’s as huge of a concern if they are primed and painted.
Products Used (affiliate links)
- Delta Chamberlain Faucet
- Delta Chamberlain Towel Ring
- Kohler Pedestal Sink
- Kohler Pedestal
- Kohler Toilet
- MDF Shiplap
- Primed Pine Baseboard (I trimmed this down to be 4″)
- Primed Pine Trim Board
- Upper paint – Behr Swiss Coffee in Semi-Gloss
- Lower paint – Sherwin William’s Dorian Gray in Satin
- Mirror – Amazon
- Shower Curtain – Target
- Hand Towel & Wash Cloths – Target
A huge thanks to DAP Products for sponsoring this post. For more information on the products I used, make sure to click the links I’ve shared with them. There you will find helpful information on how to use the products as well as where you can purchase them.
DISCLOSURE: I was provided product and compensation for this post. All opinions and ideas are 100% my own.

Nice job Katie. It gives me some ideas for my own bathroom. Thanks.
Thank you so much!!!
This came out great! I would love to pin it to my Pinterest board, but I don’t see a pin icon. : (
Yay! I see it!
Oh good! I created a few pins for it, so I was worried when you couldn’t find the button. Thank you for pinning!
This looks great! And I agree, the room looks so much bigger now.
Thank you so much!!