How to build a tailgate bench
A tailgate bench is an instant conversation starter and such a fun furniture project to build. If you love rustic, one-of-a-kind pieces with character, this DIY Rustic Tailgate Bench is a great project to add to your list. I’m sharing the full tutorial, along with the cut list and step-by-step build instructions, so you can make one of your own.
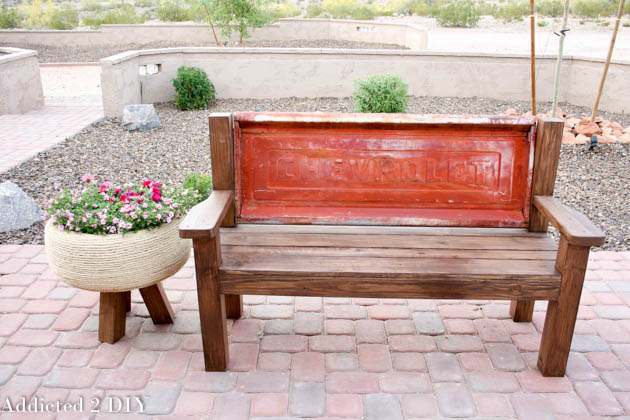
I’ve actually wanted to build this bench for quite a while. About a year and a half before I finally made it, I mentioned the idea to my mom, and the very next day she and her boyfriend showed up with a tailgate they had found at a swap meet. It had the perfect rusty finish and so much amazing patina. It was one of those pieces that already had so much character all on its own.
Even though I loved it, I just wasn’t ready to build the bench yet. Then I made this tire planter, and suddenly it felt like the space needed a tailgate bench sitting right next to it. Once I could picture it all together, I knew it was finally time to make it happen.
Before You Begin
Keep in mind that these measurements are based on the tailgate I used, which measured 50 3/4″ x 19 1/2″. If your tailgate is larger or smaller, you’ll want to adjust the bench dimensions to fit.
Supply list:
- 2 – 4×4 boards @ 8′ long
- 2 – 2×4 boards @ 8′ long
- 3 – 1×6 boards @ 6′ long
- 1 – 1×4 board @ 6′ long
- 1 – 2×6 board @ 8′ long
- Tailgate
- Kreg Jig
- 2 1/2″ pocket screws
- Brad nailer
- 1 1/2″ brad nails
- Wood glue
- 2 1/2″ deck screws
- Miter saw
- Jigsaw
- 2″ lag bolts
- Washers
- 2″ angle brackets
Cut list:
- 2 – 4×4 @ 37 1/2″ (back legs)
- 2 – 4×4 @ 23 1/4″ (front legs)
- 4 – 2×4 @ 13 1/2″ (side rails)
- 2 – 2×4 @ 50 3/4″ (front and back braces)
- 2 – 2×4 @ 17 1/2″ (center supports)
- 3 – 1×6 @ 57 3/4″ (bench seat)
- 1 – 1×4 @ 57 3/4″ (bench seat)
- 2 – 2×6 @ 18″ (armrests)
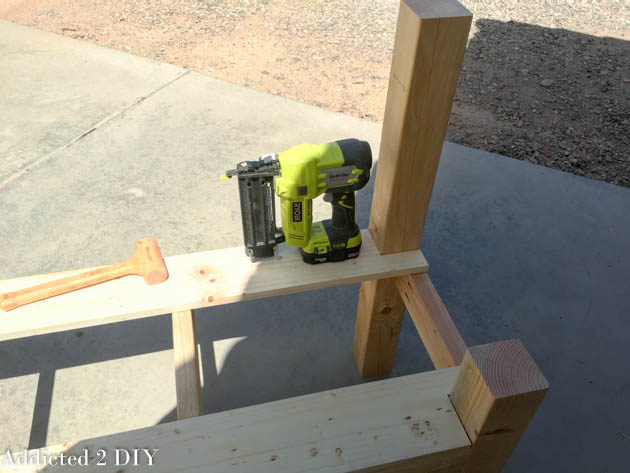
Step 1: Build the Bench Frame
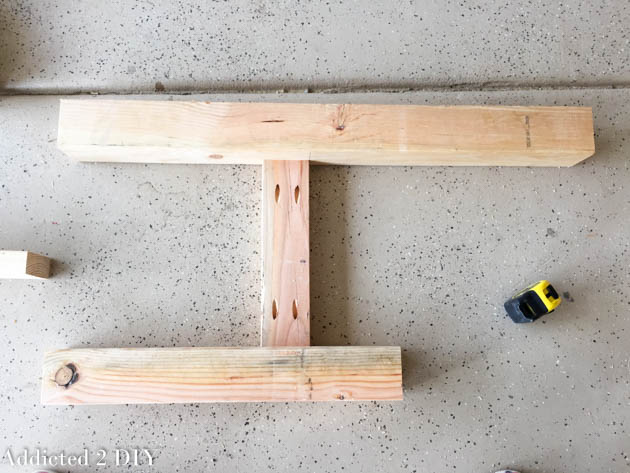
Drill 1 1/2″ pocket holes in the side rails, front and back braces, and center supports.
Measure and mark both the front and back legs 17 1/4″ up from the bottom. Attach the side rails so the bottom of each rail lines up with that mark. Secure them with wood glue and 2 1/2″ pocket screws. Repeat for the other side.
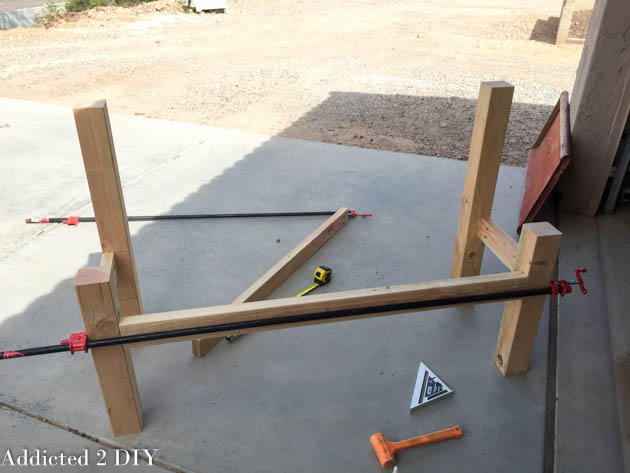
Next, mark the legs again at 17″ from the bottom and attach the front and back braces with wood glue and 2 1/2″ pocket screws.
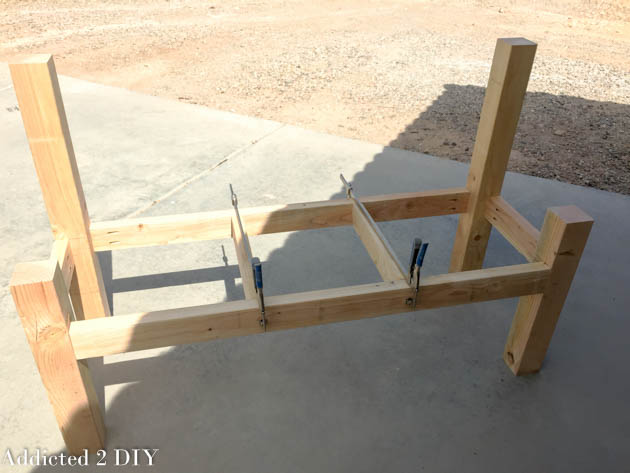
Measure 16″ in from each leg and attach the center supports using 2 1/2″ pocket screws.
Step 2: Cut and Attach the Seat Boards
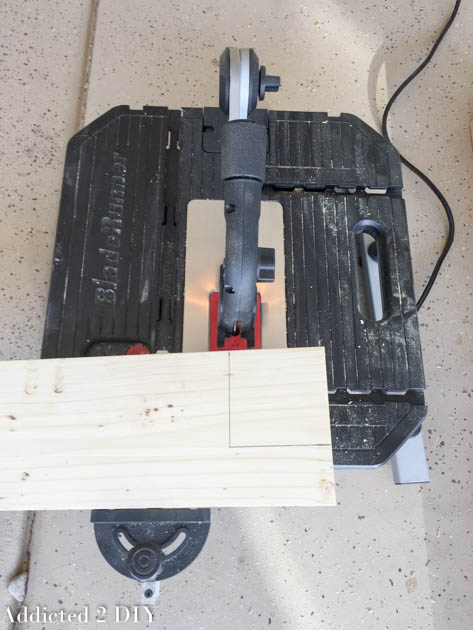
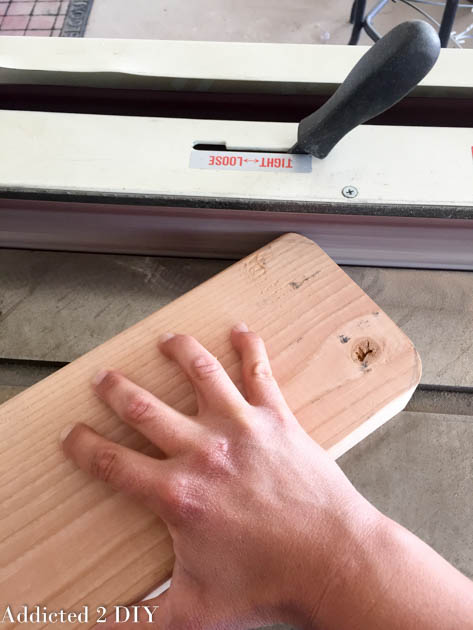
For the seat, notch the front and back 1×6 boards on each end so they fit around the 4×4 legs. A jigsaw works well for this.
Attach the front and back seat boards using wood glue and 1 1/2″ brad nails.
Then evenly space the remaining 1×6 and 1×4 boards between the front and back boards. Glue and nail them in place with 1 1/2″ brad nails.
Step 3: Make the Armrests
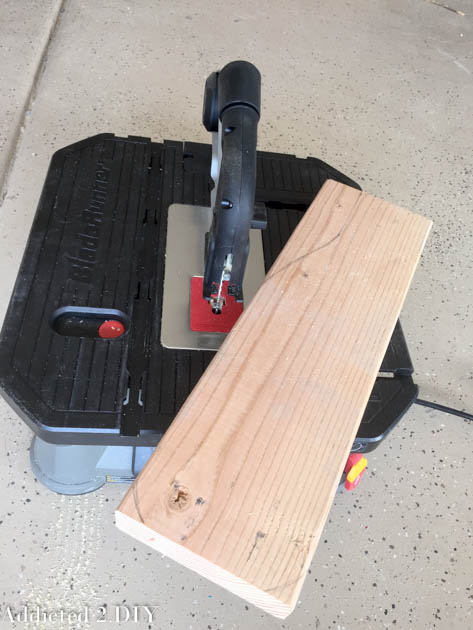
Cut the armrests from the 2×6 boards and draw the shape you want. Once you’re happy with the design, trace it onto the second armrest so both sides match.
Cut the shape with a jigsaw, then smooth and shape the edges. I used a belt sander to round over the corners and refine the narrower section of the armrest, then finished everything with an orbital sander. If you don’t have a belt sander, you can still shape them with a jigsaw and clean them up with an orbital sander.

To attach the armrests, drill 1 1/2″ pocket holes into the side that connects to the back legs and secure them with 2 1/2″ pocket screws. Then drive 2 1/2″ deck screws down through the top of the armrest into the front legs.
Step 4: Finish the Bench

I stained the bench using Behr semi-transparent weatherproofing wood stain. It only took a couple of sample-size cans to finish the whole project.
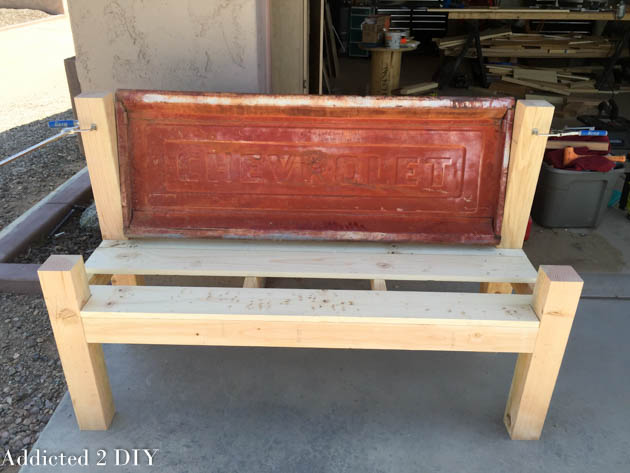
Step 5: Attach the Tailgate
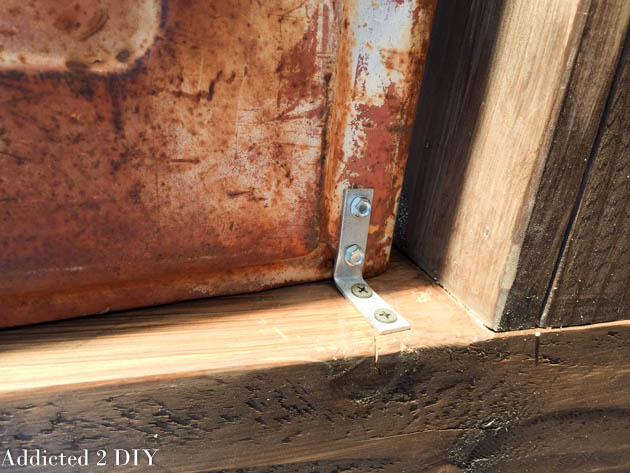
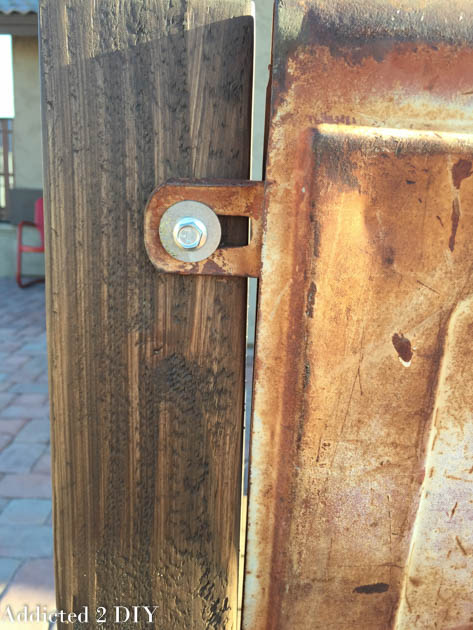
To attach the tailgate, I used 2″ lag bolts at the top along with 1 1/2″ corner braces at the bottom. It wasn’t my favorite thing to drill into the tailgate, but I couldn’t come up with a better way to secure it properly. Hopefully the classic truck lovers can forgive me.
Final Thoughts
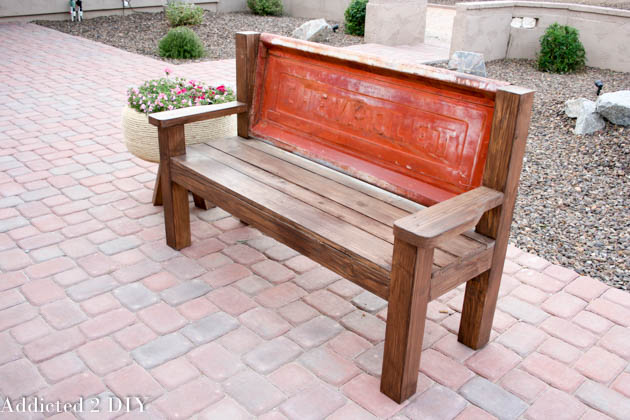
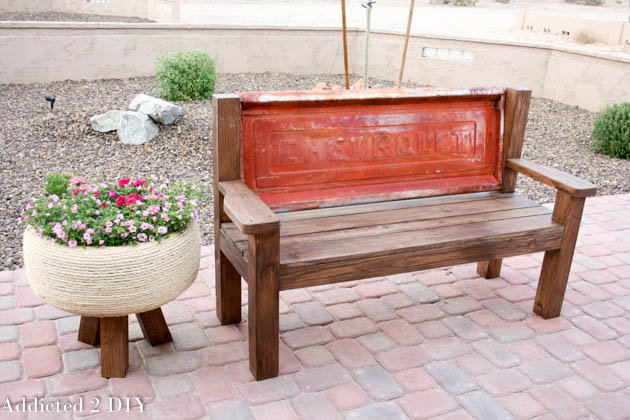
This bench turned out even better than I imagined. I love the rustic, weathered look, and it adds so much character to the space. It’s definitely a conversation piece, and it would also make an amazing gift for the car or truck enthusiast in your life.
Disclosure: This post contains affiliate links. If you purchase through one of these links, I may earn a small commission at no additional cost to you.