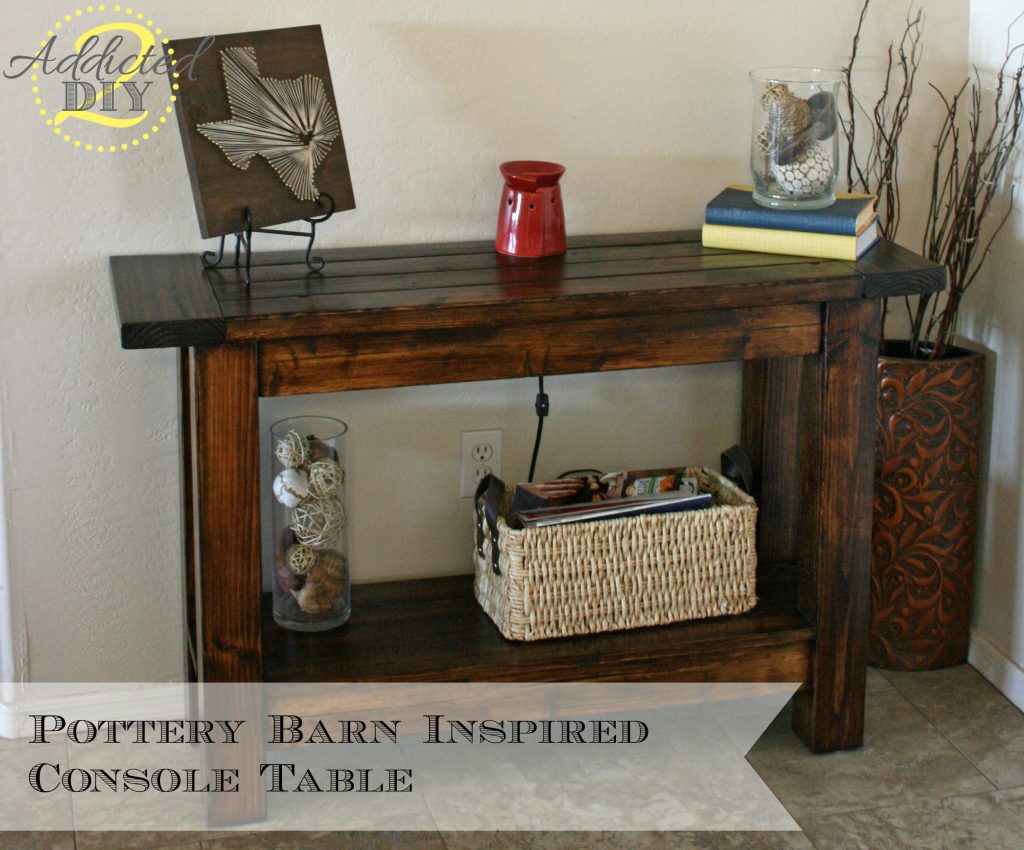
We bought all of the wood at Home Depot and had them cut most of the pieces for us. That saves quite a bit of time when you get everything home.
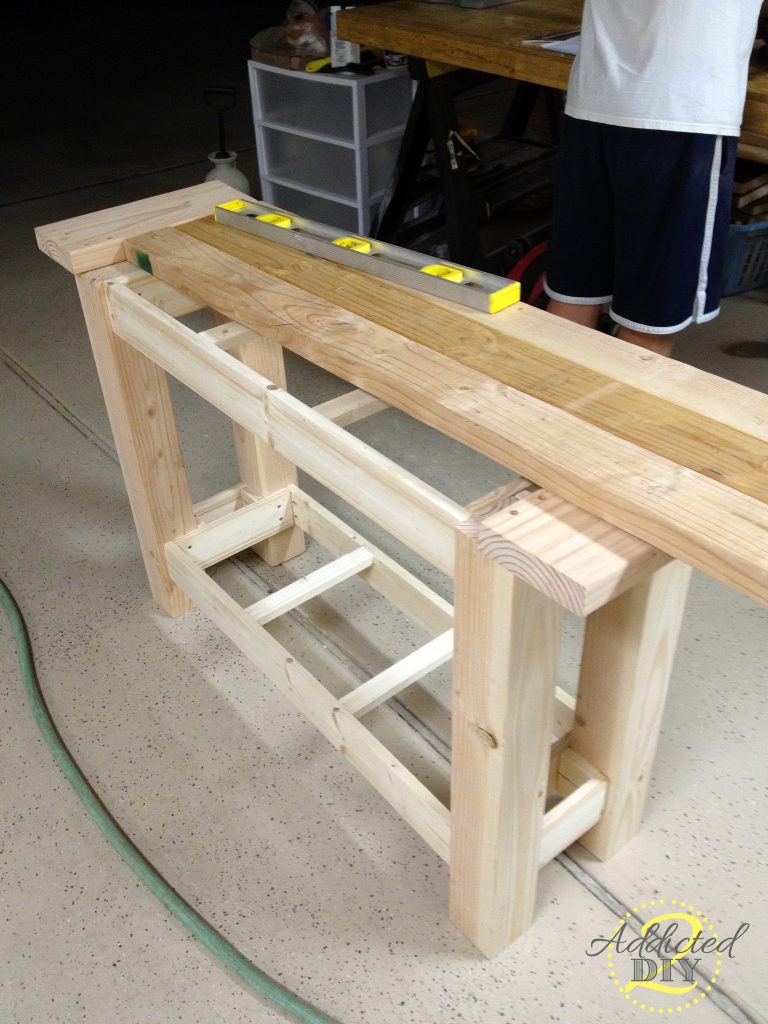
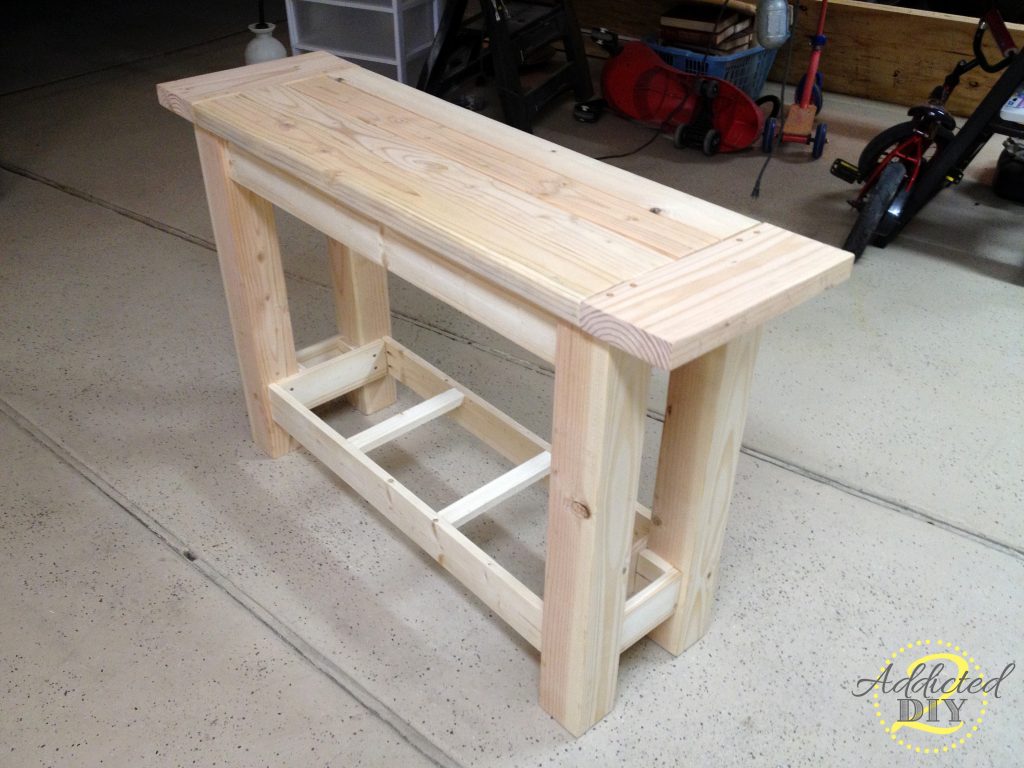
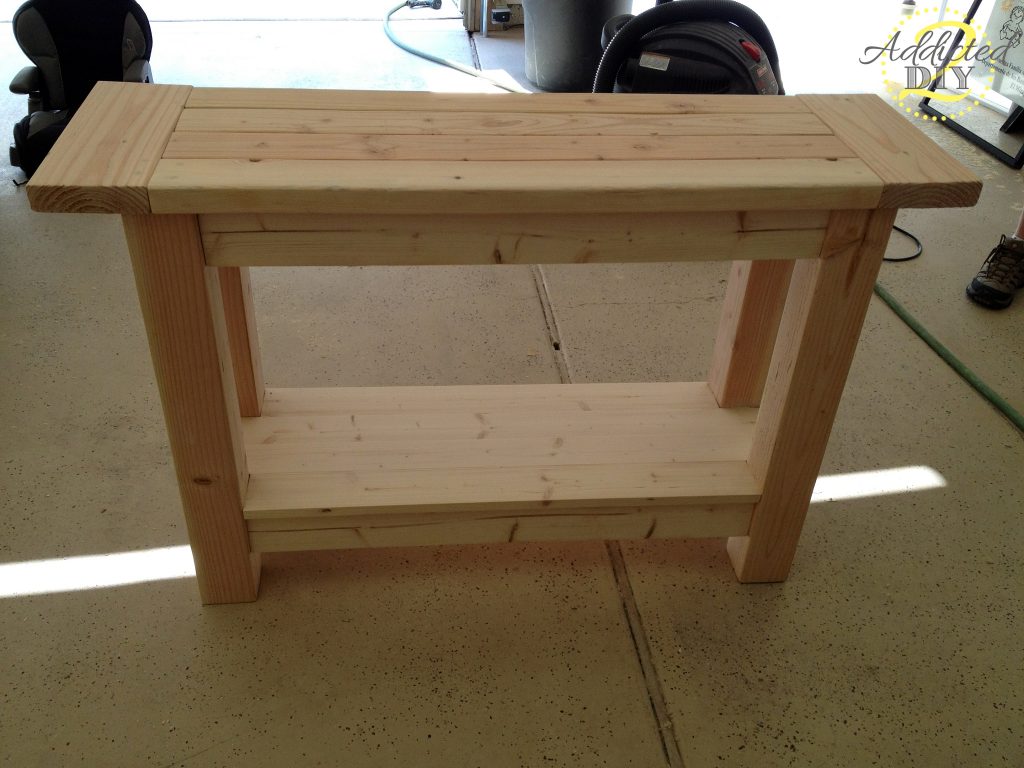
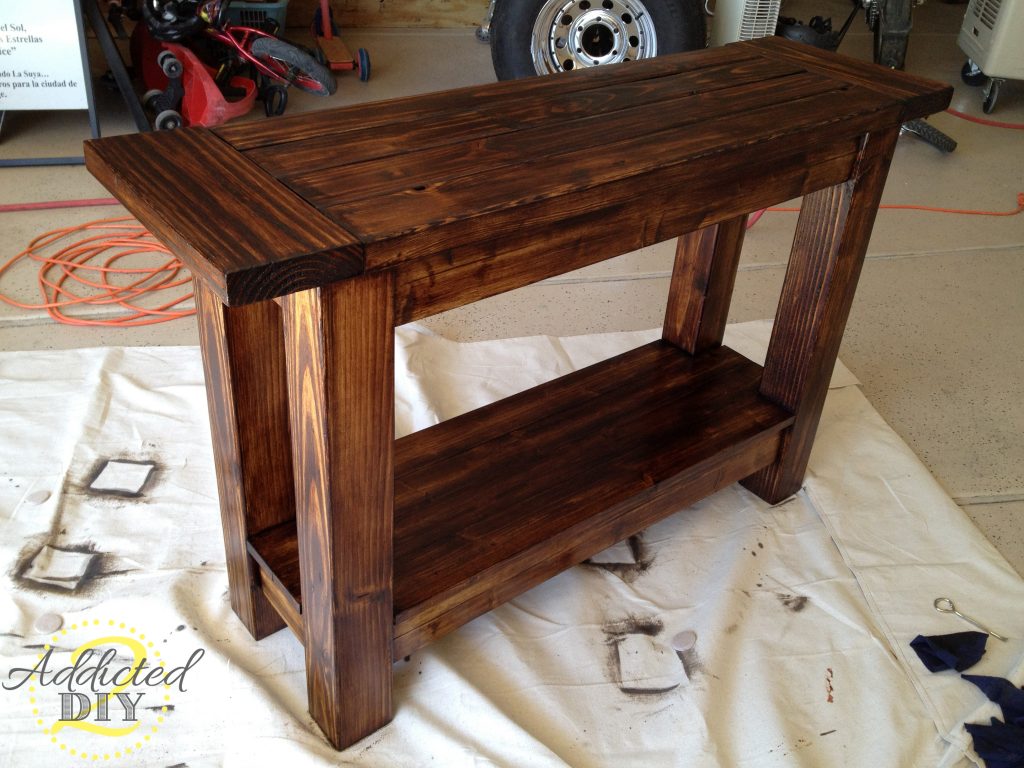
I stained it with Minwax Polyshades stain in Mission Oak. I did two coats and then applied two coats of Minwax Polycrylic in satin.
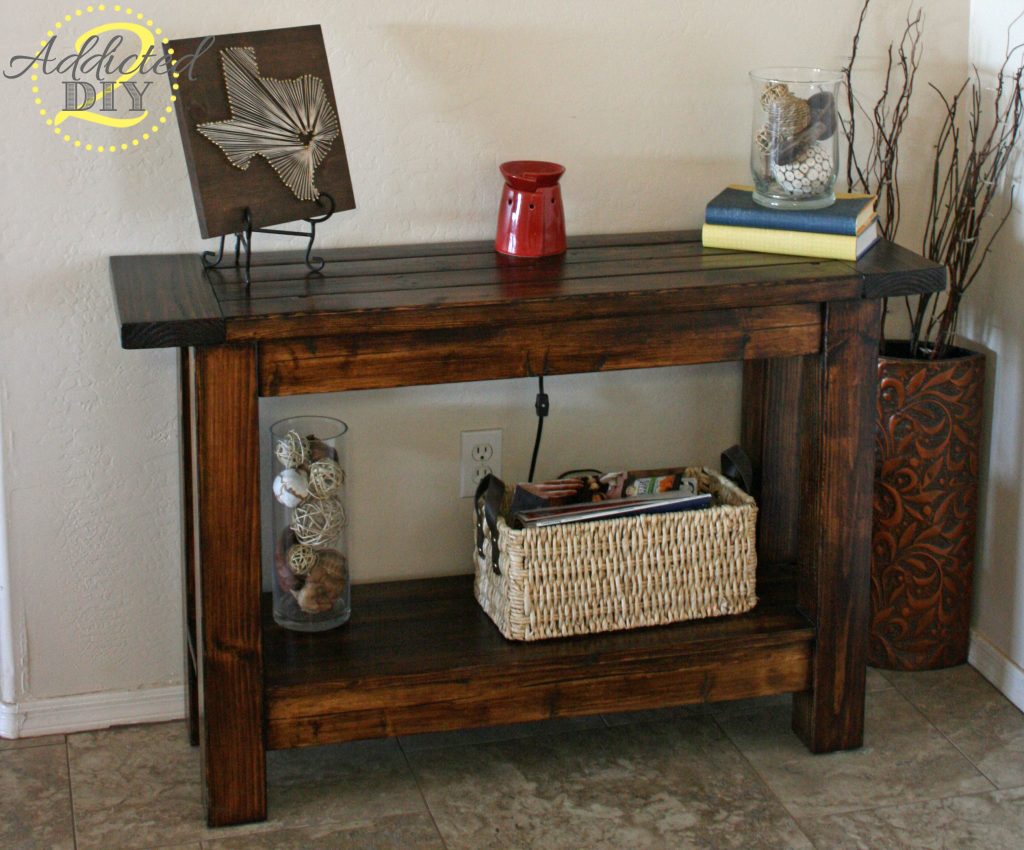
I was so excited to finally have an entry table. It adds so much to that dull, empty space by our front door. Check out Ana White’s website for the plans for this Tryde Console Table. It’s a great first time furniture project. It’s easy and it’s cheap! I think we spent about $70 on the entire thing!
As always, I love to hear your comments and I’d love it if you pin and “like” my posts!
{This post contains affiliate links which, if you purchase something from those links, I will receive a commission at no extra cost to you.}
Check out the parties I link to:



I like your site and ideas, but you pictures are so large that they take forever to load. By large, I mean the file size. And before you ask, I have a high speed internet connection. None of the other blogs that I visit have the issue of their images still loading as I read their posts. In case you are wondering, I pulled an image from ana-white.com (http://ana-white.com/sites/default/files/3154835869_1381864678.JPG) that was 26KB (kilobytes) and one (Entry-Table.jpg) from yours that was 4,402KB or 4.20MB. In my browser they both look great.
Again, love your blog, and just an FYI. 🙂
Thanks for the head’s up. I’ll try to work on that:)
Your pictures load instantly for me! Love the table, I might need to build an itty bitty one for my house !
Thanks:)
Can you send me the parts list for this table and the measurements to have them cut to. I want to build this to hold my popcorn popper I got for Christmas.
http://addicted2diy.com/2013/10/15/pottery-barn-inspired-console-table/
Hi Jason,
You can find the plans and shopping list for this project here: http://www.ana-white.com/2010/01/plans/tryde-console-table
Love your table!! I like the shelf on the bottom and will try this when I do my table this weekend. Quick question- I’m curious, is there a reason you didn’t use 1x3s on the bottom shelf instead of ripping 1x4s? I just want to make sure I’m not missing something because I was thinking of just using 1x3s. Also, the pieces of the bottom that aren’t the shelf itself (the sides of the shelf, that the shelf itself is actually sitting on)- what size boards are those?
Thanks for your help!
We didn’t use 1x3s because they are actually 2 1/2″ wide, so they aren’t quite wide enough to fill the space between the 4×4 legs. As far as the side aprons on the bottom, those are 1x4s. In a way, you’d be duplicating the frame that you built on the top to hold the table top. Hope that helps! If you have any other questions, just let me know!
Your table is beautiful! And $70?! There’s no way you could have bought a table from PB at that price. I love the idea that HD cut most of the wood for you. Awesome awesome job!!
Thank you! It definitely made it nice to have Home Depot do some of the work for us. The only downside to that is they aren’t always 100% accurate on their cuts. It’s amazing how much 1/8″ can throw things off:)
Loving what you did!!! I wouldn’t spend $1000 for a table either. Love how you talked your husband in doing it, sounds a lot like me. I do the same thing to him. I like that you went with a darker stain as well, the wood grain looks beautiful and the table looks like you spent $1,000+ on it.
Great job!
Thanks! When I first told him I wanted to start building furniture, he asked when we became Amish;) He loves doing it as much as I do though. He just hates the finishing part, so he leaves that task to me.
Perfect! Just what I’ve been looking to do as well!!! I also wanted a shelf, so thanks for leading the way! 🙂 Visiting from the Beneath My Heart link-up. 🙂
So cool! That looks awesome and I want one!!
I love this! You are SO handy! It’s gorgeous. I also love your Texas canvas 🙂
Thank you! We love it too:) I can’t wait to get started on our next project after the new year.
Wow Katie, the finished result is stunning! You and your hubby must be so proud! Thanks so much for sharing at our Get Your DIY on party! We are excited to be continuing our challenge with a monthly party. January’s theme is Organization and it starts Jan 5th! Hope you’ll continue to join us each month and share your fabulous projects!
XO, Christy
Absolutely! I loved your link party challenges and I can’t wait for the next one:) Thank you so much for your kind comment. I hope you have a happy new year!
I love it Katie!! You did a beautiful job! Seriously, isn’t building the best, do you have your husband convinced? Mine loves that I build, my next goal is to get him addicted to building too! I would love it if you shared this at our Wowza Weekend link party!! It is to awesome not to share! Hugs!
http://mylove2create.blogspot.com/2014/01/wowza-weekend-link-party.html
Mindi recently posted…Wowza Weekend Link Party #
Thanks! When I first told my husband that I wanted to build our own furniture, he asked when we became Amish;) He loves it as much as I do now. Especially because it’s so much cheaper than buying furniture and we get to build things together. I’ll stop by and post this now:)
Love this table. I SO want to build one for myself now too. Thanks for sharing on The Patriotic Pam’s link party last weekend. We are featuring it this weekend! Stop back by and check it out tonight at 7pm (EST) when the party goes live. Again LOVE it!!!
Pam
Pam @ The Patriotic Pam recently posted…Wowza Weekend Link Party #38
Thanks, Pam! I’ll definitely be coming back this week:)
I really like your table and I love the Texas string art on it. Did you do that too?
Marti recently posted…How to Keep Your Garage Clean(er)
Thank you! I did make that myself:)
I’ve been thinking of doing a tutorial on that. I’ll add that to my project list! I hope you have fun building this table and thanks for stopping by!
What type of wood did you use? What type of wood do you recommend?
Thanks
We used just plain pine wood from Home Depot.
Is there any chance you can give me the exact wood cuts for this table and maybe the dimensions. I think I want to try this. Will be my first ever project 🙂 Thanks!
Hi Jenn, the dimensions and cuts are all in the plans on Ana-White.com. The plans are free and she has the finished dimensions as well as the cut list all in there for you:). For the bottom shelf, we measured and cut those to fit after the top of the console was framed.
Thanks so much!!!
Hi Katie, Love the table.
I just picked up the Mission Oak Color and the sample looks alot brighter than the one you posted in your picture.
Did the Polycrylic Satin change it to a darker color? or was the Polycrylic just a clear coating?
Thanks!
Hi Katie, Love the table!
I wasnt sure if my previous post actually got posted so lets try again.
I just picked up the Mission Oak Minwax for a table im using and the sample color doesnt look like the color of your PB Inspired console table.
Did the Polycrylic change the color by any chance or was it just the two coats that made it that dark? Thanks in advance =)
Kevin recently posted…IKEA Dresser Challenge Roundup – Vote For Your Favorite!
The polycrylic doesn’t change the color at all in my experience. It dries completely clear. The mission oak polyshades stain is just that dark, which was the desired color for us.
Hey Katie, my wife and i plan on making this table this weekend and was curious what the measurements of the cuts that we need? Anna Whites website is down and was curious if you could help me! Thanks!
Yikes! I’m so sorry it’s down! I’ll take the measurements in a bit and email them to you.
Hi how did you attatch bottom shelf?
Did you use nails or screws?
Or Kreg screws?
We attached the bottom shelf with finish nails.
Hello! I love your version of Ana White’s table. Is it possible for you to email me the exact cuts I need to get from Lowe’s, including the bottom shelf? I’m a beginner and this is my first project! Any advise is greatly appreciated!
I will be happy to! I’m out of town at the moment, but will do so when I get home.
I have been searching for a console or couch table that my wife has decided that I need to make her before this Christmas season. I like the table that you and your husband made very much. I showed it to my wife and she said “that’s it”. I will modify the size to fit our purpose and have started cutting the wood already. I could not pull the plans up on Anna-White Webb site, so I am calculating what mine should be. I just finished making me a super sized wooden ice cooler and we bought a green stain that went with the Coca-Cola colors. She wants the frame done with that green stain and the top and bottom tops stained dark. It should come out looking good. She is very good with colors. Thanks for the posting. I will follow you on face book for more good ideas. I might post my table and wooden ice cooler on Pinterest if I can figure out how to do it. Thanks.
Thanks so much Larry! I’d love for you to email me pictures of your finished table. I’m always excited to see what my readers come up with!
Hi, great post. I built this for my wife this weekend, turned out great. Not sure how to upload a picture, but she is very happy with it. Thanks for the idea!
That’s so great to hear! You can always email me a photo and I’d love to feature it on social media:) katie@addicted2diy.com
So beautiful. I have a coffee table that I sanded down and would like to redo. This many be a silly question, but did you just paint the stain on? Any specific brush? I have completed a handful of furniture pieced, but have never worked with actual stain. Thanks so much!
Hi Kim! You can use a brush, cloth, or even a foam brush.
I am so in love with this table! I want something similar with a drawer. Do you have any tips on how it could be added to this design?
You could certainly add a drawer. It’s a little complicated to explain it, but rather than have a solid 1×4 stretcher across the front of the console, you would have a gap in the middle the desired width of your drawer. So you’d cut the length of your 1x4s and attach them to the 4×4 legs and in the middle, you would have a 1×4 running perpendicular to attach to the front edge and the back 1×4 stretcher. Do this on both sides and it would leave you with a space to add a drawer. Hopefully that helps! You can also search for DIY entry consoles and I’m certain there are designs similar that have instructions for a drawer.
Love this console table, can you send me the exact dimensions in special for the bottom shelf? Thanks!
I actually don’t have the console table anymore and am to able to send the dimensions. We just figured it out by taking some measurements during the course of the build.