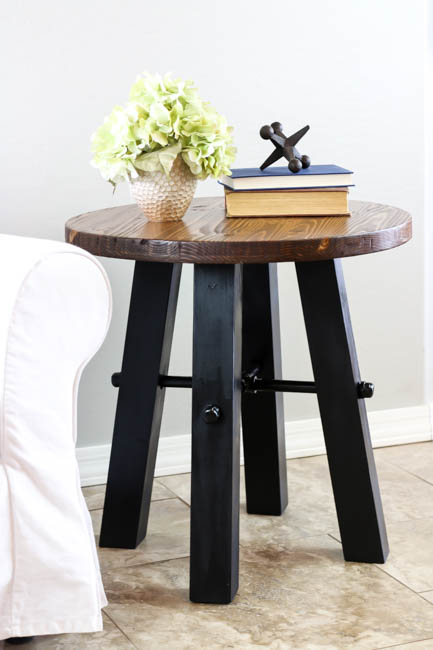
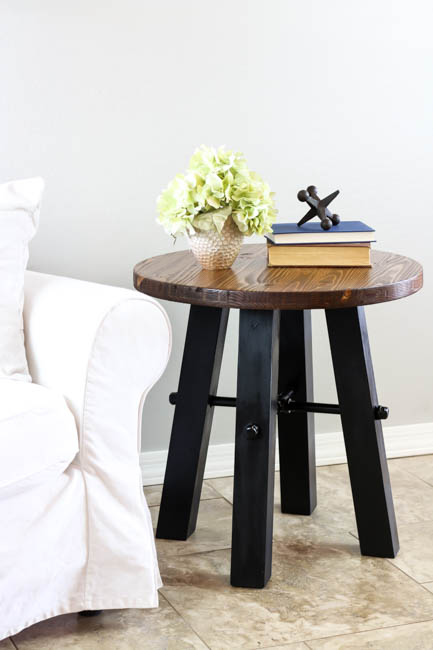
Hey guys! It’s been a while since I’ve posted some building plans and I’m so excited to be sharing this project with you all today. It’s been on my “to-do” list for months now and I finally built it! It’s a knockoff of a Pottery Barn side table that they do not have in stock at the moment, so you’ll just have to trust me that this looks just like the original, but just a tiny fraction of the $450+ price tag, about $35! I’ve teamed up with Rockler Woodworking to bring you this tutorial today and I’m going to be sharing some of the tools I used that are seriously life changing when it comes to building projects! I’ve also included affiliate links to products I used to complete this project. If you purchase an item from one of these links, I’ll receive a small commission at absolutely no extra cost to you.
Before we get started, make sure you download the printable plans for this project. They include the materials list, cut list and tools list for this project.
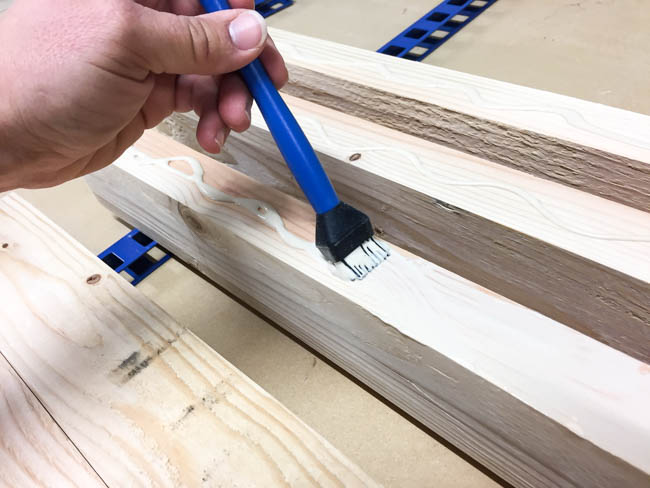
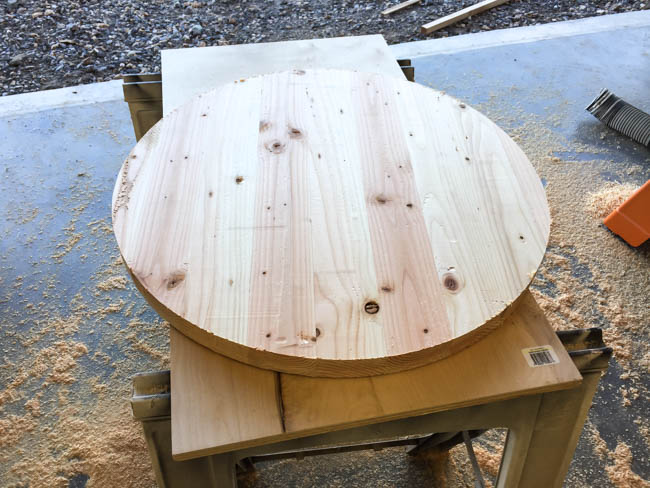
To get started, you’ll want to rip down all of the 2x4s to square up the edges. I set my table saw to cut 1/4″ off each side to equal 3″ wide. I cut 30″ pieces to make up the table top and glued them up with wood glue.
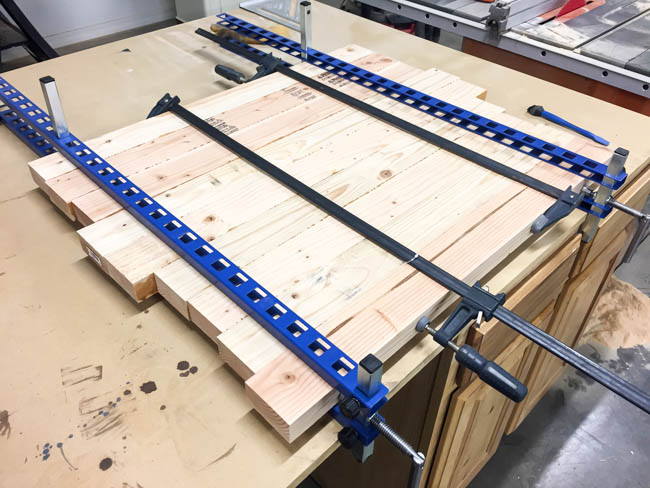
I clamped the boards in place using these awesome panel clamps from Rockler. They sandwich your glue up together while preventing your project from bowing in the middle. What’s great is they go up to 38″ wide, so you can do a whole tabletop if you want to. I used two, but if you’re doing a bigger project, I’d suggest a few more.
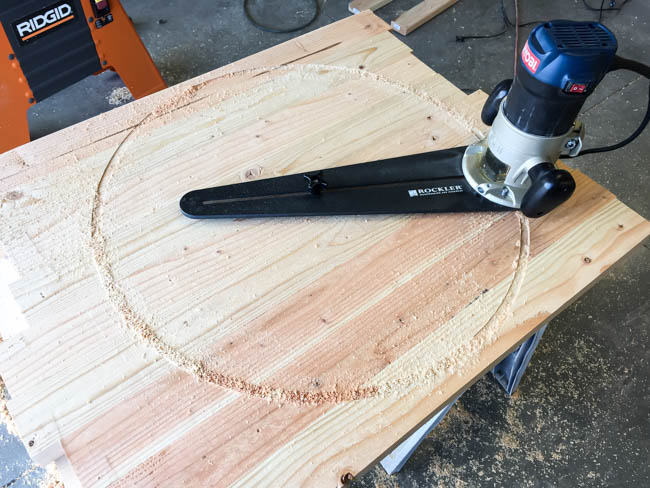
Once my table top had dried for about 24 hours, it was time to cut the circle. Cutting circles on projects with a jigsaw is doable, but you aren’t going to necessarily get the greatest edge and probably not a perfect circle. This trim router jig from is such a great solution. It can cut perfect circles from 6″ to 36″ using your trim router. The jig is predrilled to fit several brands of trim routers. Mine wasn’t one of those routers, but I was able to easily mark and drill the holes for it to accommodate my router. I used a straight bit and gradually increased the depth of the router with each pass around the circle.
Once my circle was cut out, I gave it a good sanding and rounded off the edges just a bit.
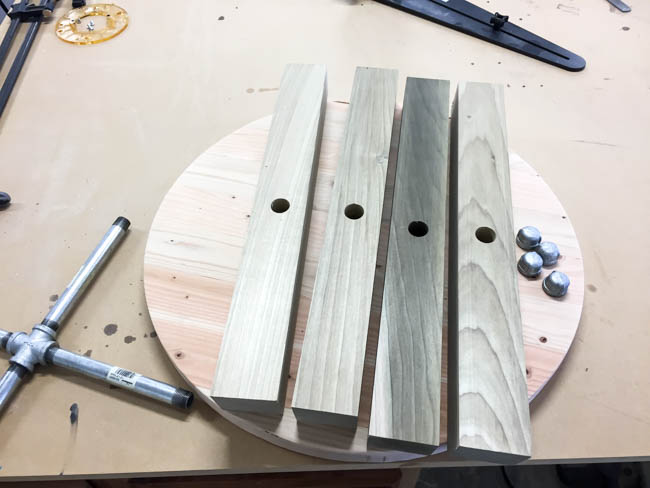
My printable plans include instructions on how to make your own 3×3 legs using the 2x4s I said to rip down at the beginning of the tutorial. While at the local hardwood store, I happened to see some 12/4 poplar and decided I’d give it a shot for the legs. Had I thought of it earlier, I definitely would have used 2x4s. Not only are they MUCH cheaper, but unless you have a powerful enough table saw, you will not be able to rip this thick of lumber down.
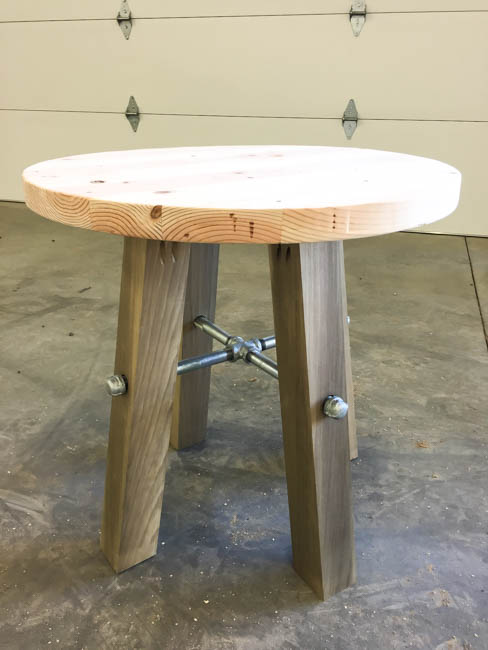
The legs will set at a 10 degree angle, so I cut the legs accordingly. I also drilled 1″ holes at a 10 degree angle on my drill press to accommodate the steel pipe, which makes up the cross supports.
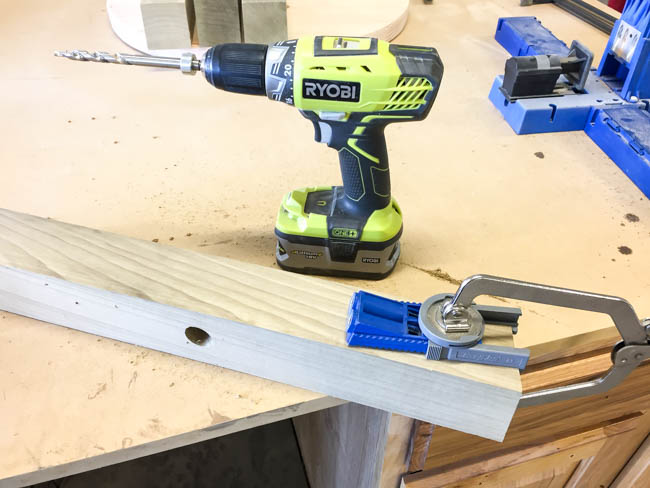
To attach the legs to the table top, I drilled 1 1/2″ pocket holes with my Kreg R3. I positioned the legs on the underside of the table top, glued them and attached them with 2 1/2″ pocket screws.
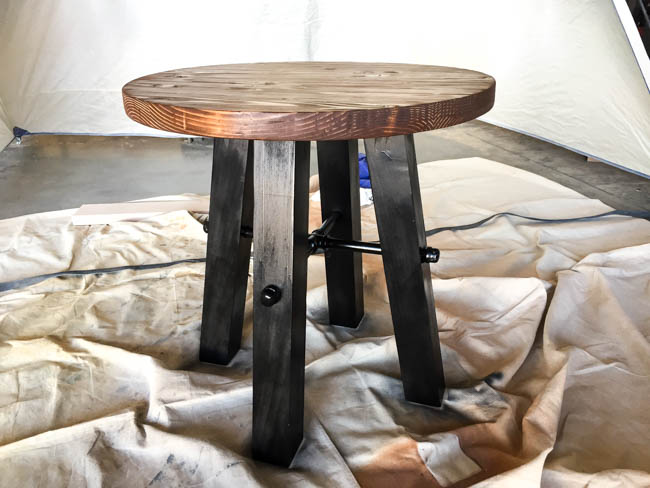
The moment of truth was when I added the steel pipe. I’ll be honest, I was a little nervous that somewhere my calculations were wrong and nothing would match up in the center. Lucky for me, it all worked beautifully!
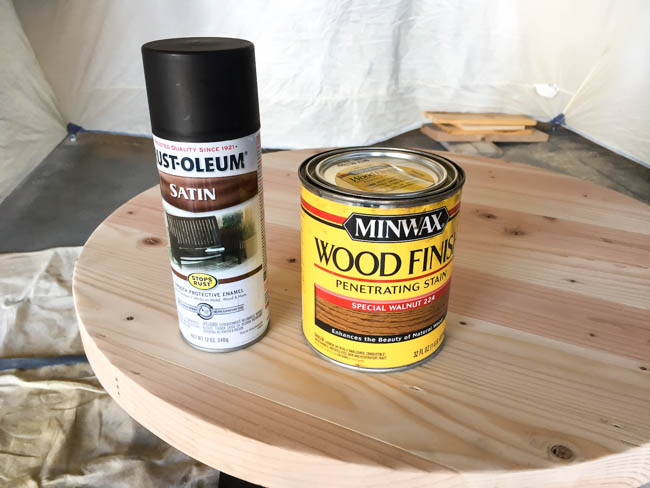
The original inspiration was two toned (black and stained) and I loved the look of it. I painted the legs and pipe with a satin sheen black spray paint. The top was stained with Minwax Special Walnut stain. Once it was all dry, I added several coats of Minwax Wipe-On Poly to the table top.
I thought I loved the design before I got it in my house, but it definitely had me giddy once I saw how it looked inside. The rustic industrial look lends a little bit of a farmhouse feel, which is exactly what I was hoping for! Plus, it was so easy to build! It’s definitely a great project to tackle on a weekend or even a few weeknights. You will not be disappointed! Don’t forget to download the free printable plans so you can build your own!
DISCLOSURE: I was provided product and/or compensation for this post. All opinions and ideas are 100% my own. Please read my full disclosure policy for more information.

This is amazing! Thank you for the very detailed directions.
Thank you, Dyan!
This is too cute! Thank you for doing your table build properly. 😊
Rachel Lynn recently posted…How to Install Stacked Cabinets Over Builder’s Grade
I can’t locate a source for 1/2″ x 8″ threaded pipe..any ideas where it purchase?
Hi Georgiann, I purchased mine from Home Depot.