Build A Queen Size Storage Bed
Learn how to maximize space and organization by building a queen size storage bed with platform lift hardware. The lift platform makes it easy to store totes, luggage, blankets, and more while keeping everything neatly tucked away.

Do you ever feel like you could use just a little more storage and organization in your life? I think most of us would say yes. When my mom recently downsized and built a new house, she wanted to update the furniture in her guest room too. She asked if I could build her a new bed, and I immediately knew that with less square footage, adding extra storage would be a huge bonus.
That’s how this queen size storage bed came to life. Using platform lift hardware my friends at Rockler kindly sent over, I built a bed that is both beautiful and incredibly functional. This isn’t your average storage bed either. Thanks to the lift-up platform, it can hold everything from extra blankets and storage totes to suitcases and luggage.
Follow along as I walk you through the build process and share a few modifications I made along the way. I’ve also put together printable plans that include the materials list, cut list, and step-by-step instructions. This tutorial does not include instructions for building the metal bed frame itself, but you can find those details in the downloadable hardware instructions. And just between us, you’ll probably have better luck following the pictures than the written directions.
How To Build A Storage Bed Video
I know not everyone likes reading a full step-by-step tutorial, so I also put together a video to go along with this project and make the build process even easier to follow.
Prepping the Wood for the Bed Build
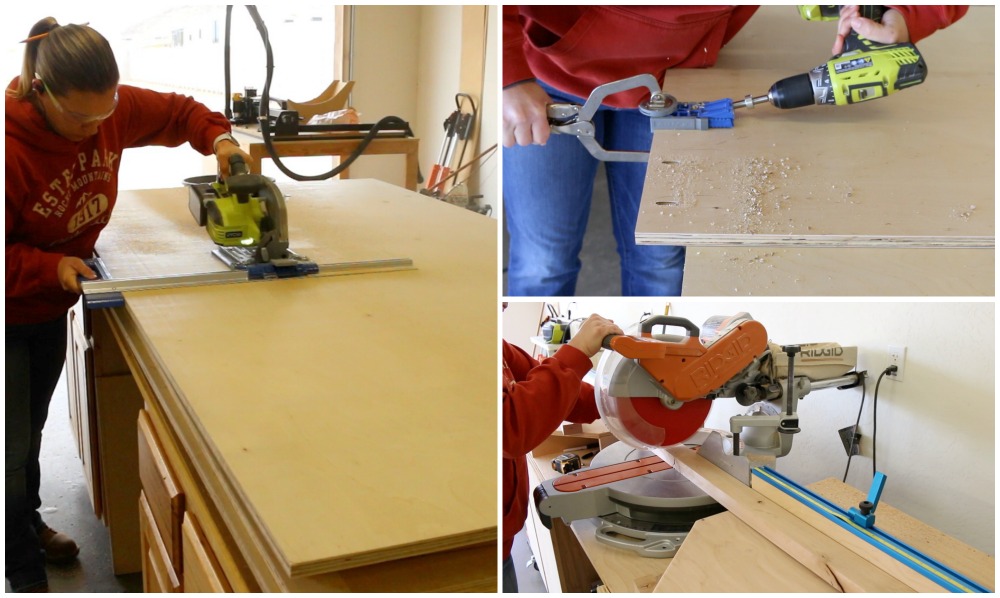
Before I could start building, I first needed to break down all of my materials. To cut the plywood into more manageable pieces before moving to the table saw, I used my Kreg Rip-Cut. I drilled pocket holes in the larger plywood panels using my Kreg jig and cut the dimensional lumber down to size on my miter saw.
For this build, I used milled knotty alder, but I created the plans using dimensional lumber that you can easily find at your local home improvement store.
Building the Sideboards and Headboard
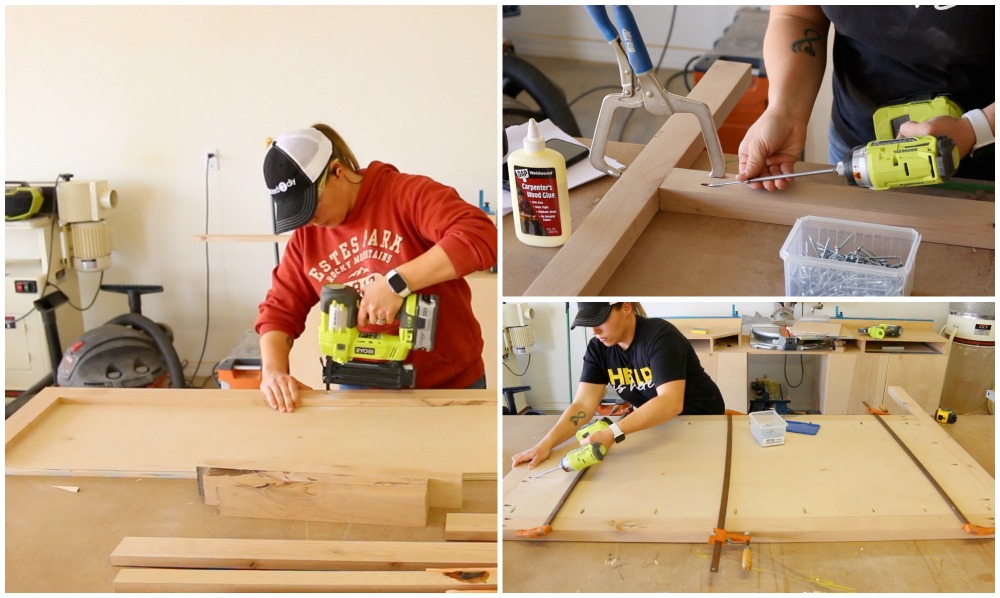
Once all of the wood was cut to size, it was time to build the sideboards and headboard. I used wood glue and 1 1/4-inch brad nails to attach the trim to the sideboard panels.
Next, I moved on to the headboard. I drilled 1 1/2-inch pocket holes into the horizontal frame pieces and attached them to the vertical posts using 2 1/2-inch pocket screws and wood glue. After the frame was assembled, I attached the face panel. Since the panel sits flush with the back edge of the frame, I used scrap wood underneath it to raise it into position before securing it with 1 1/4-inch pocket screws.
Adding Trim to the Footboard
The vertical trim pieces on the footboard overlap the trim on the sideboards, so I needed to dry fit the bed platform first to determine their exact placement. Once I had everything lined up, I attached the vertical trim pieces with wood glue and 1 1/4-inch brad nails, then measured and cut the horizontal trim pieces to fit.
Attaching Cove Moulding and Filling Holes
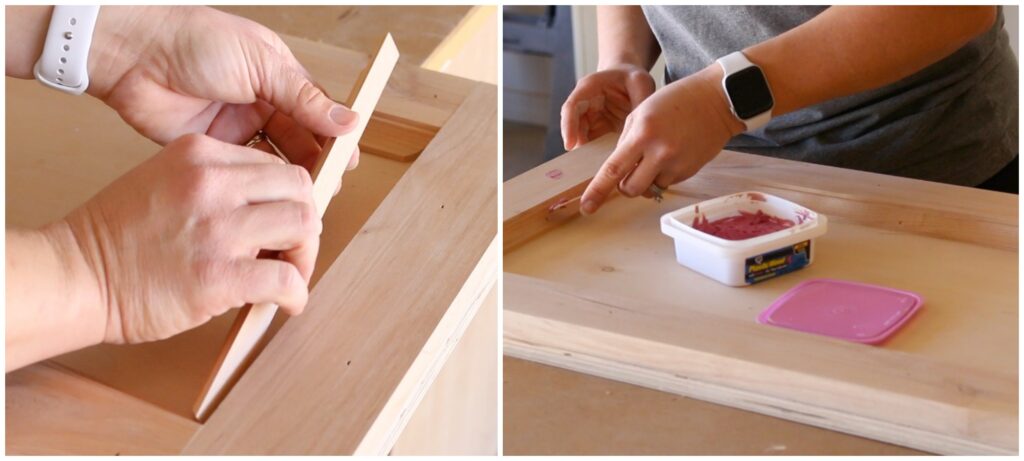
To give the bed a more finished and custom look, I added cove moulding to the inside edges of the trim. Since I was working with knotty alder instead of pine, I made my own moulding for this build. If you’re using pine, you can easily pick up cove moulding from your local home improvement store.
After all of the moulding was installed, I filled the nail holes and sanded everything smooth to prep for stain.
How to Attach the Top Board to the Headboard and Footboard
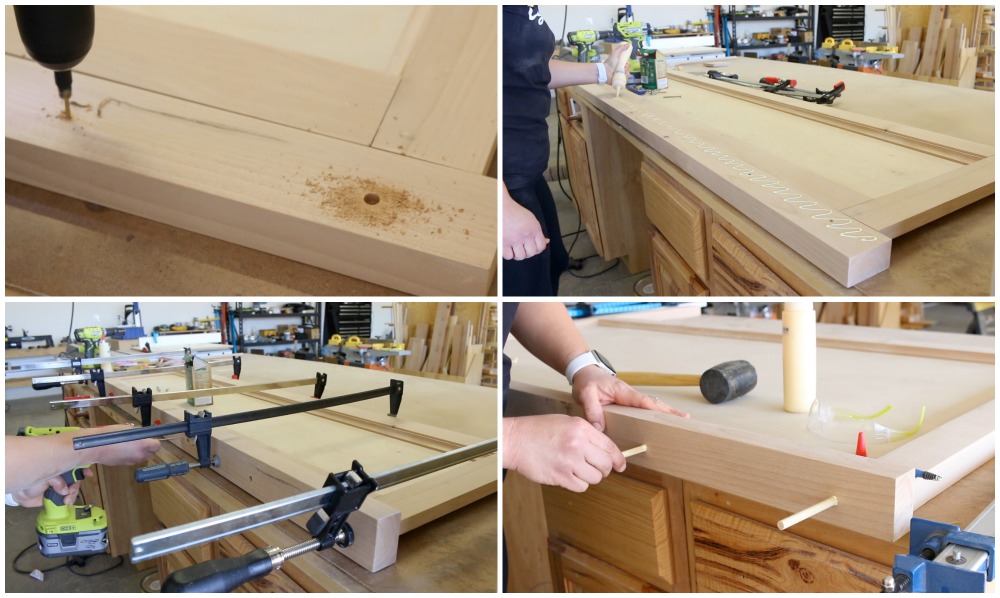
To add more detail and dimension, I attached a 2×3 to the top of both the headboard and footboard. I used a countersink drill bit to drill pilot holes for the screws, then flipped the 2×3 over and applied wood glue where it would meet the top edge of the headboard and footboard.
After clamping the board in place, I secured it with 2 1/2-inch wood screws and plugged the holes with 1/4-inch dowels to hide the screws. Once the glue dried, I trimmed the dowels flush and sanded everything smooth.
Paint or Stain?
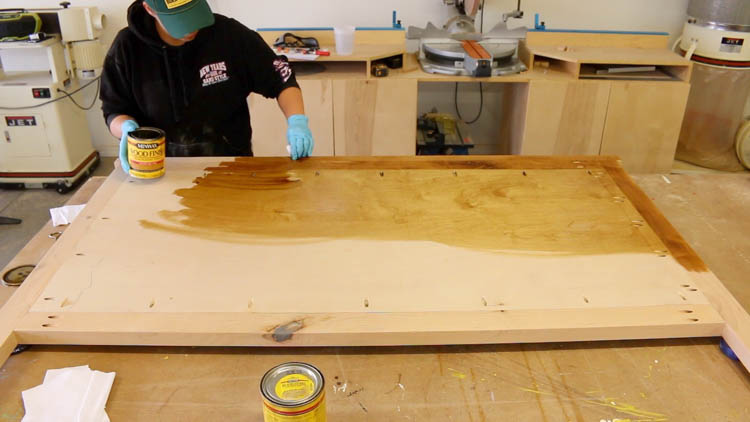
For this bed, I used a golden oak stain, which looks beautiful with the warm tones of knotty alder. Once the stain dried, I applied three coats of polyurethane for protection.
This bed would also look gorgeous painted in white, light gray, or even a distressed finish, depending on the style of the room.
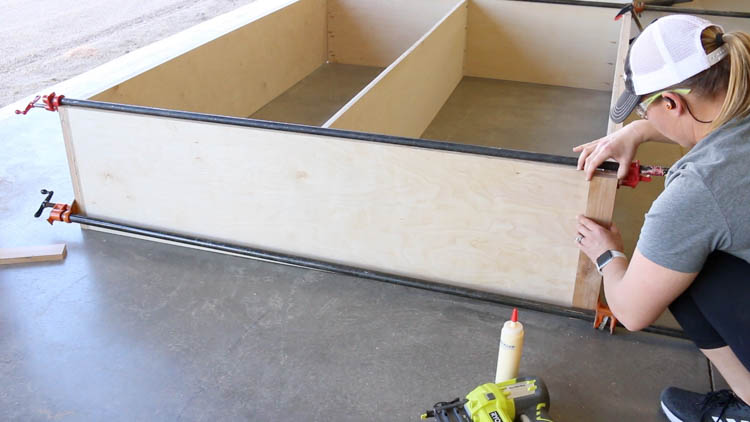
How to Assemble the Queen Size Storage Bed
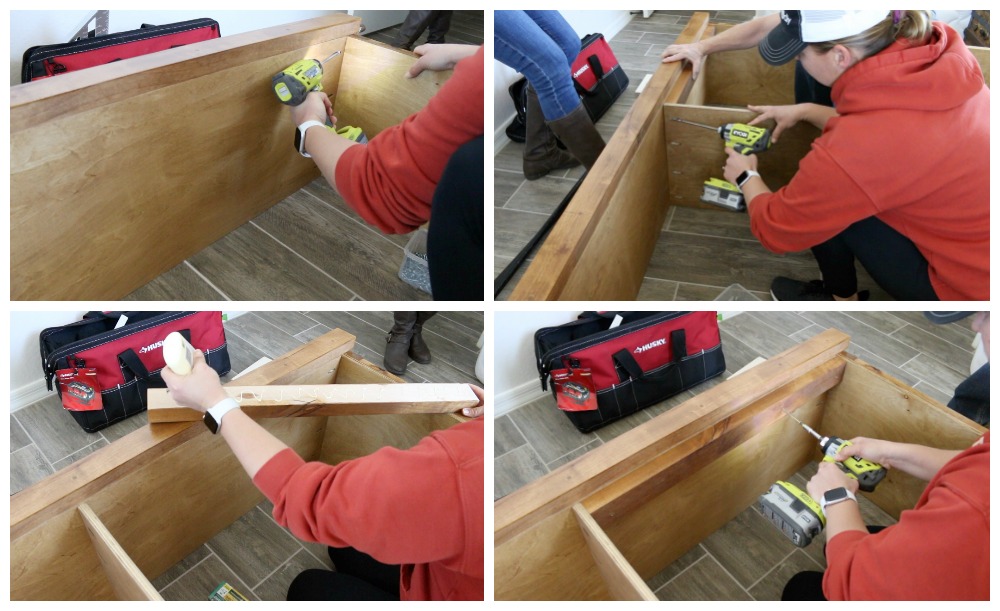
Since the bed was assembled in place, we loaded all of the pieces up and took them to my mom’s house for final assembly.
I started by assembling the platform frame, attaching the head and foot pieces with 1 1/4-inch pocket screws. After that, I installed the center divider. To attach the cleats to the foot of the bed, I used wood glue and 2 1/2-inch wood screws.
Attaching the Headboard
The headboard attaches from the inside of the pedestal. I used 1 1/4-inch screws for this step, though 2-inch screws would also work well.
Attaching the Lift Mechanism
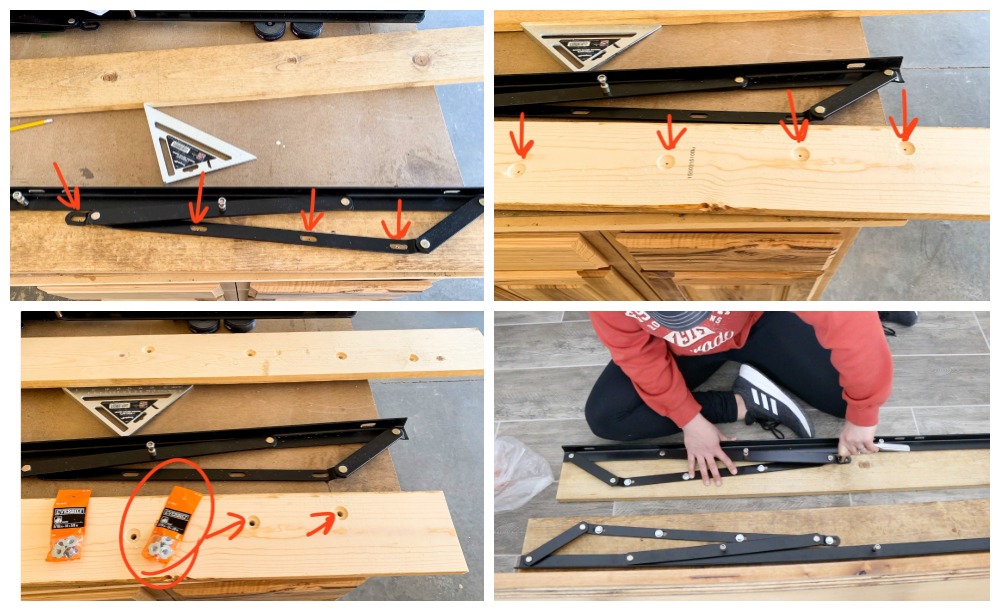
To install the lift mechanism, I followed the recommendations included with the hardware. I used the lift hardware as a guide to drill pilot holes into the cleats. Then I flipped the cleats over and used a 1-inch Forstner bit to bore each hole 1/8 inch deep.
From there, I used a 25/64-inch drill bit to enlarge the pilot holes, inserted the tee nuts, and attached the lift mechanisms.
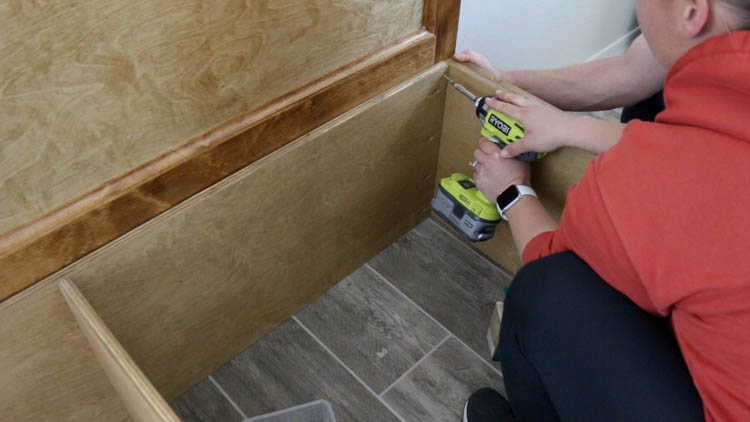
Installing the Lift Mechanism and Cleats
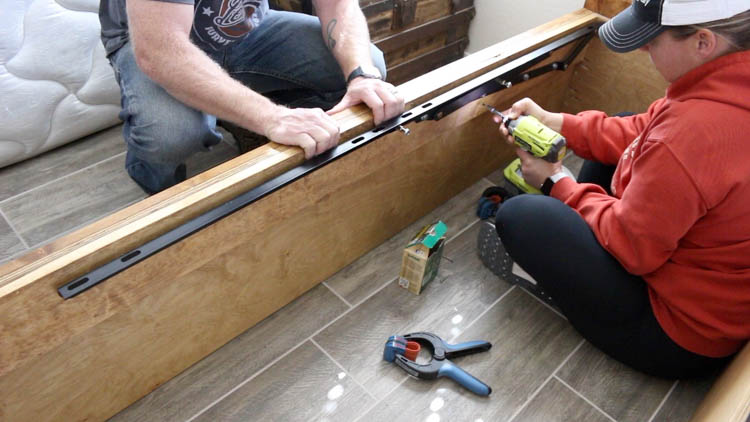
I installed the cleats on the inside face of the platform sideboards using 1 1/4-inch wood screws. The cleats sit flush with the top of the sideboards.
How I Modified the Bed Hardware
I’ll be honest — the instructions for the bed hardware weren’t great and required a fair amount of guesswork. We ended up needing to modify the hardware a bit to make everything work properly.
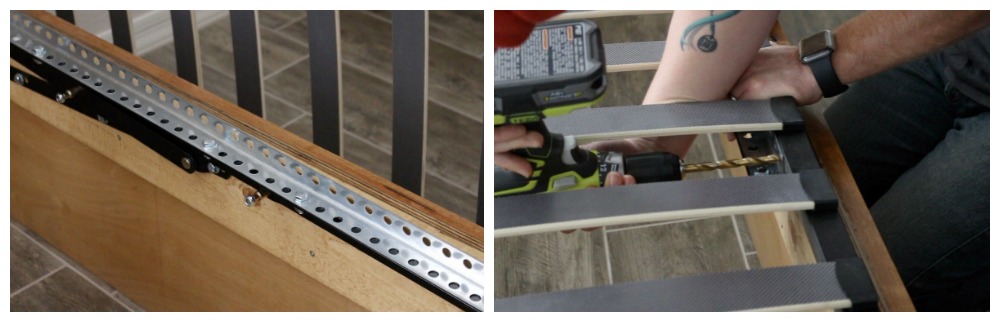
The cleats positioned the lift mechanisms too far inward, which meant they didn’t align with the holes in the metal bed frame. To fix that, we ran to Home Depot and picked up a punched angle brace, which we attached to each of the lift arms.
The angle brace attaches to the bed frame, so I used the holes in the brace as a guide and drilled matching holes into the metal bed frame with a 25/64-inch drill bit. The hardware kit came with nuts and bolts for attaching the bed frame to the lift mechanism, so I used those to secure the frame to the braces.
Installing the Gas Struts and Handles
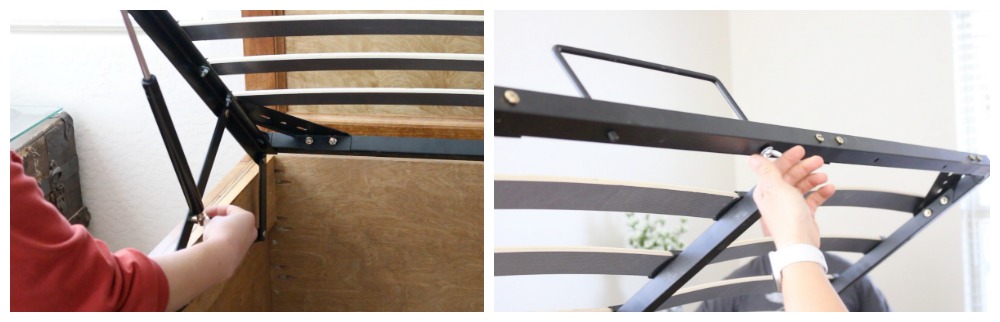
Once the lift mechanisms were installed, I attached the gas struts and then added the handles to the foot of the bed frame. There is also one handle at the head of the bed frame to help support the mattress when the platform is lifted.
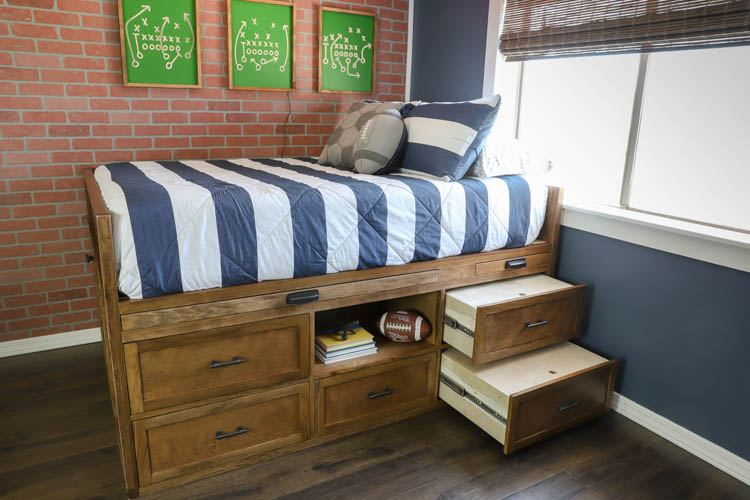
Finished Queen Size Storage Bed with Platform Lift

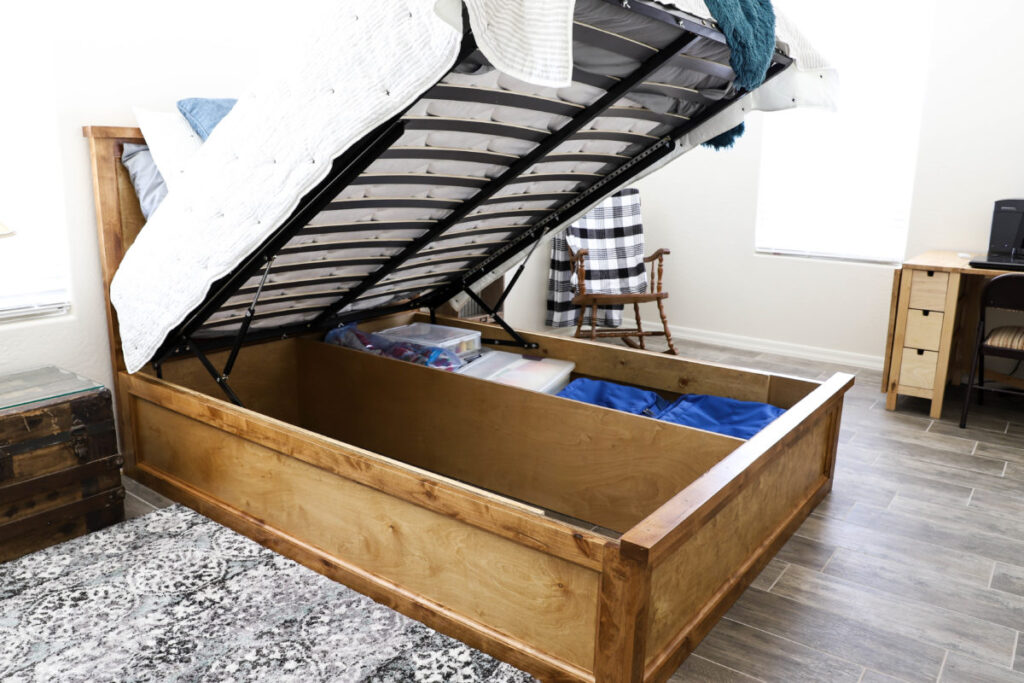
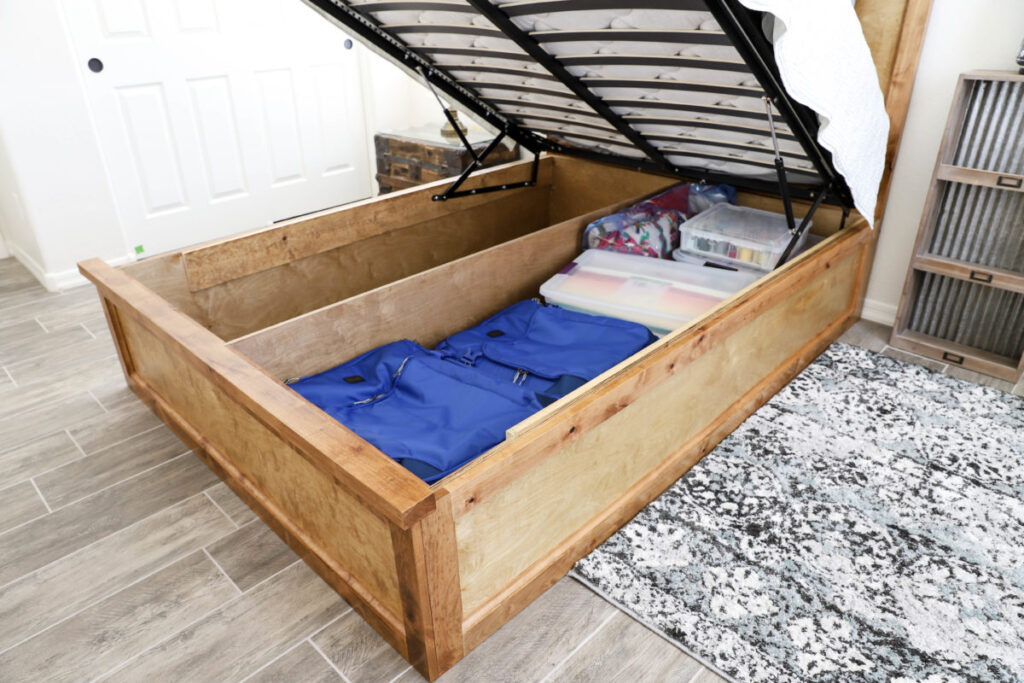
There is so much to love about this queen size storage bed. It offers an incredible amount of hidden storage for blankets, totes, and even luggage, making it a perfect solution for a guest room or any bedroom where extra storage is needed.
Honestly, I’m a little jealous that this one ended up at my mom’s house instead of mine.
If you’d like to build this bed yourself, the printable plans are available for purchase. They include the materials list, cut list, and detailed diagram instructions to help walk you through the build.