This Bathroom makeover was done with just paint and new fixtures. Small changes that make for a huge impact in an existing space.
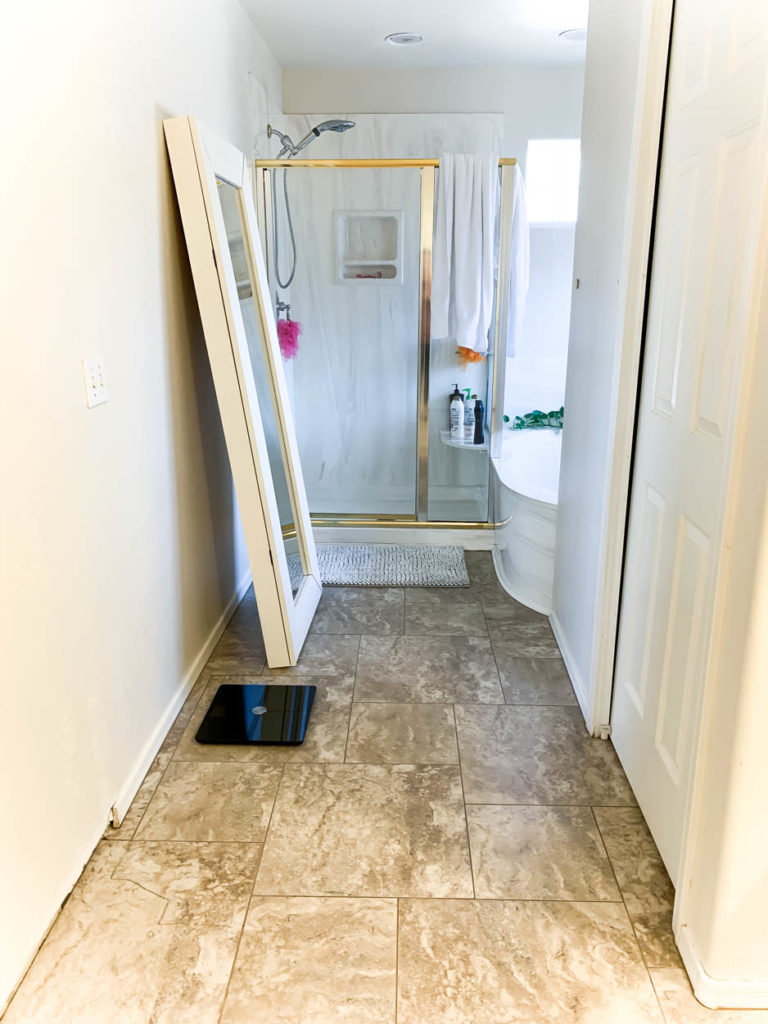
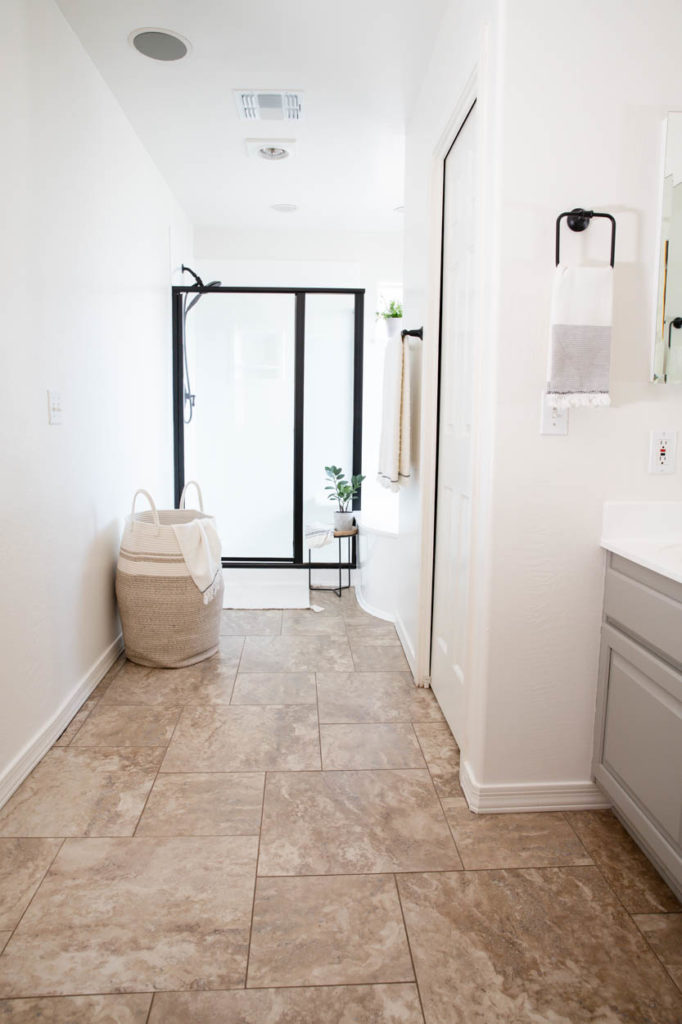
I am beyond excited to finally be sharing with you our bathroom makeover today and the simple changes that made a HUGE impact!
Our house was built in 1998 and our bathroom was definitely still stuck in the ’90s. We plan on one day gutting the whole thing and completely changing the layout, but my husband and I really can’t come to an agreement on what we want to do and there are other pressing updates to our house that that money needs to go to. I decided that, in the meantime, there were still things that I could do to this room to get it to a point where I’d be happy with it for the next year or two (or more) until we can really put together a plan.
I’m partnering with my friends from DAP products to share how you can do this yourself and give your outdated or dingy bathroom a gorgeous new look!
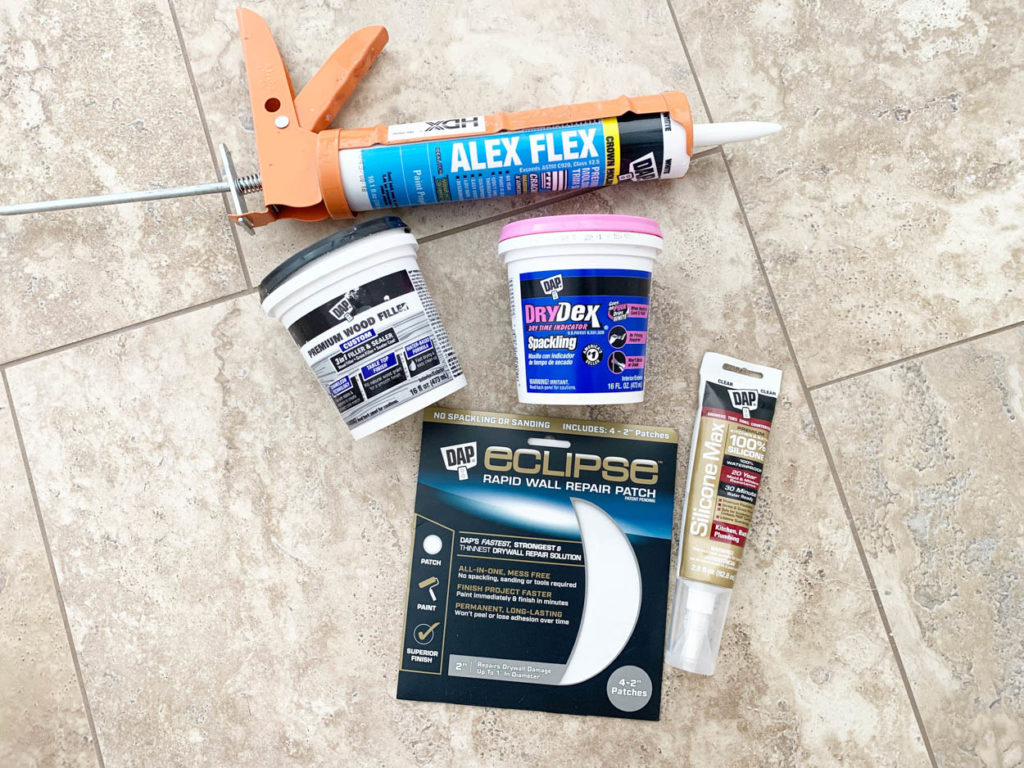
I absolutely love all of the products I used from DAP and here’s a lineup of what I used to achieve the beautiful results I got in this room.
- DAP DryDex Spackling – patching holes in the wall from the old towel bar
- DAP Premium Wood Filler – fill knots in vanity cabinets
- DAP Alex Flex Caulk – caulking new baseboards
- DAP Eclipse Rapid Wall Repair Patch – quick and clean patch for hole in ceiling
- DAP Silicone Max Silicone – sealing new drains in sinks
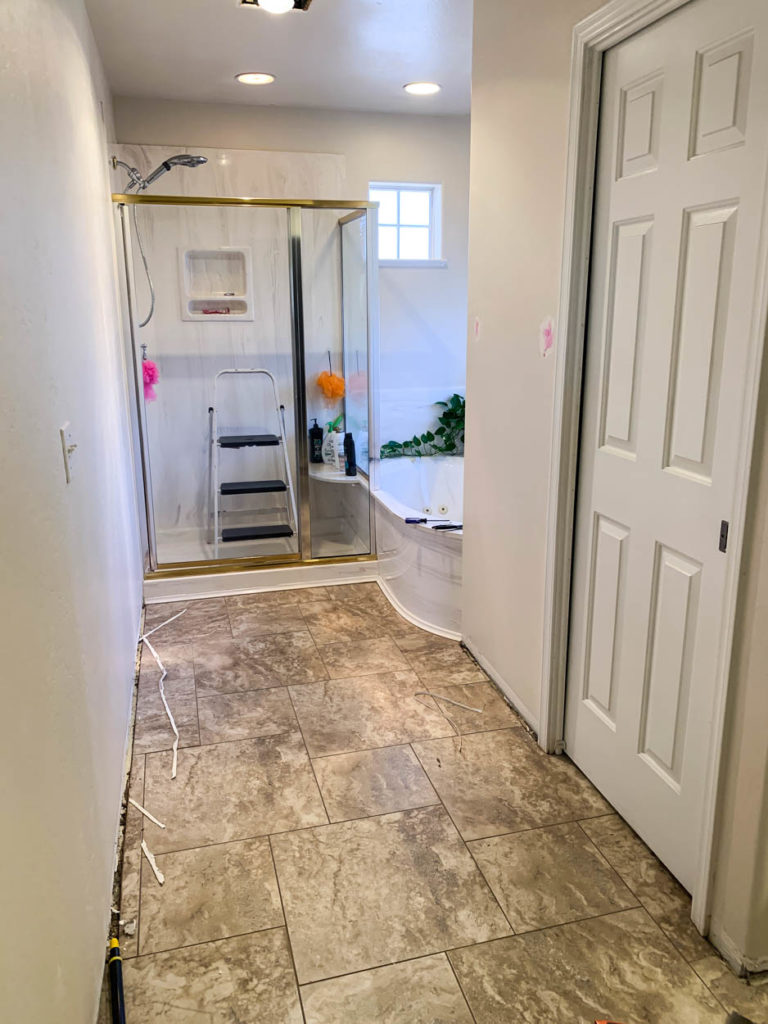
I started the bathroom makeover by taking out all of the old baseboards and also filling the holes from the old towel bar with spackle. The DAP DryDex spackle goes on pink and dries white so you know when it’s ready to be sanded down.
I also painted all of the walls and ceilings. The original color we painted when we moved in was an off white and I was tired of it. I chose Swiss coffee for the walls and ceiling, which also matches all of our doors and trim.
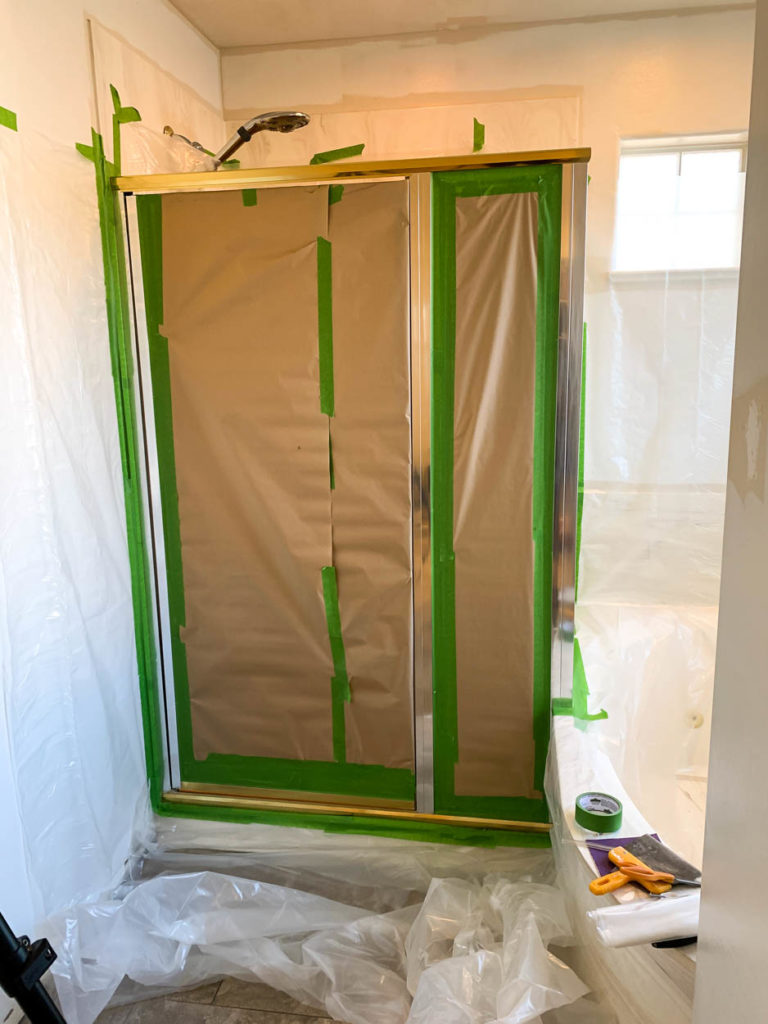
Of course, after the first coat of paint on the walls and ceiling, I realized that I really should have painted the shower frame first as overspray is inevitable, so I stopped with the paint and got to work taping off everything. I felt like I was in an episode of Dexter while doing this, and it was a good amount of work, but so worth it. Prior to this, I also cleaned and lightly sanded all of the metal so that the paint would adhere well.
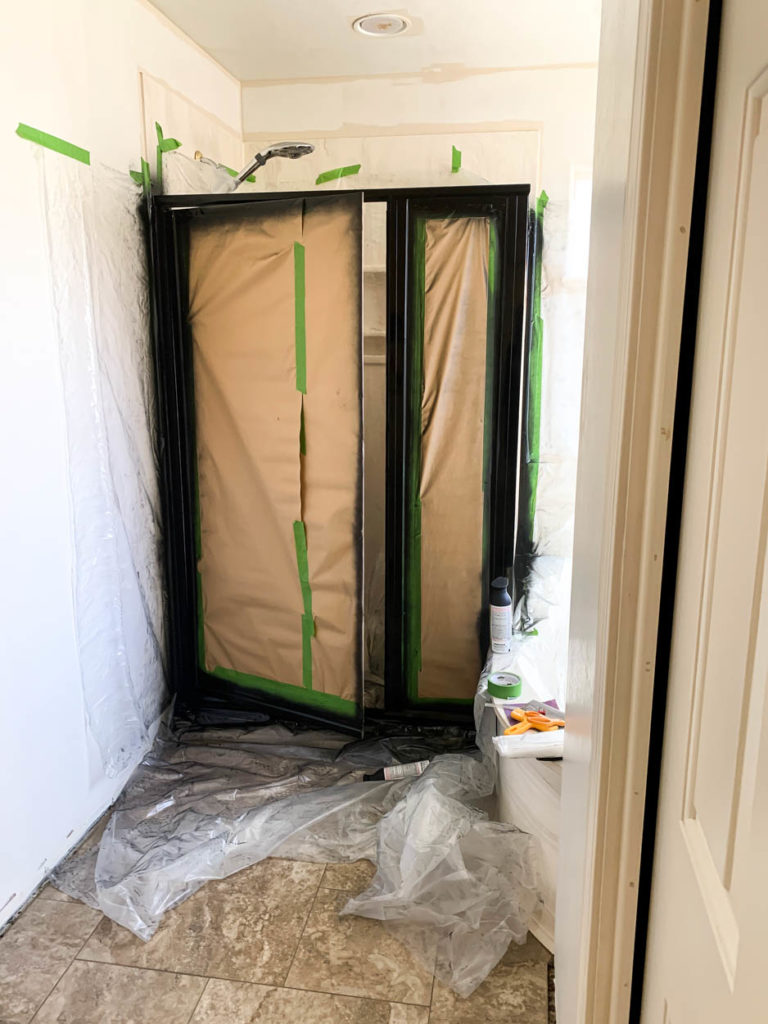
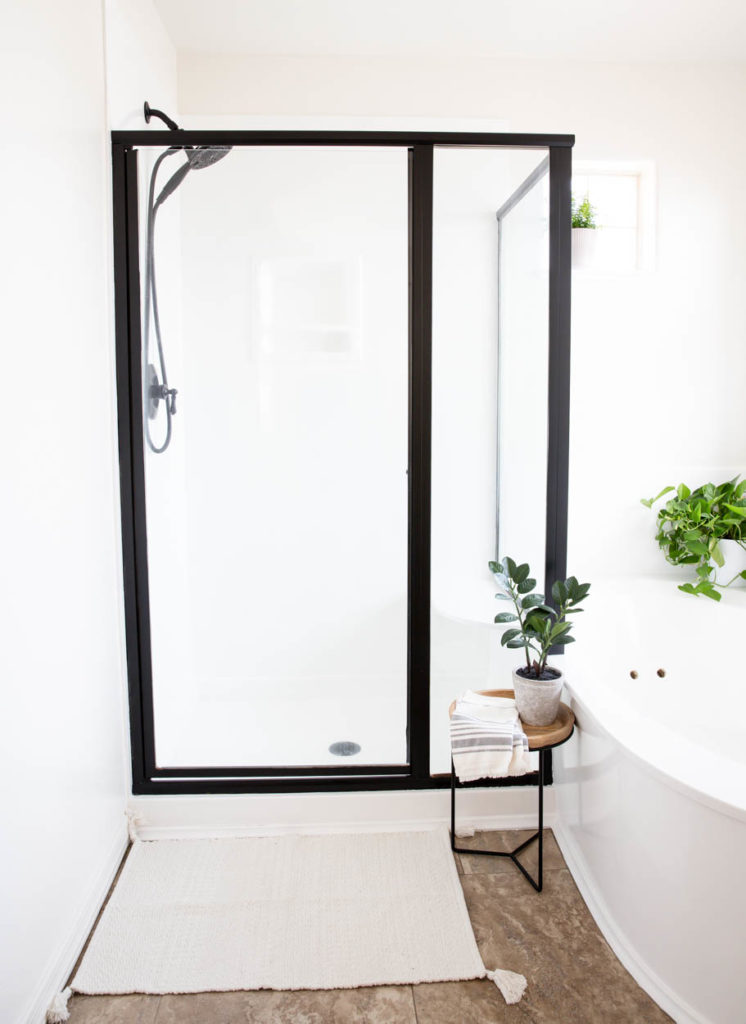
I used black Rustoleum spray paint in a satin sheen and sprayed 2-3 light coats over all of the metal, inside and out. You definitely want to wear a respirator for this and have an open window if you can.
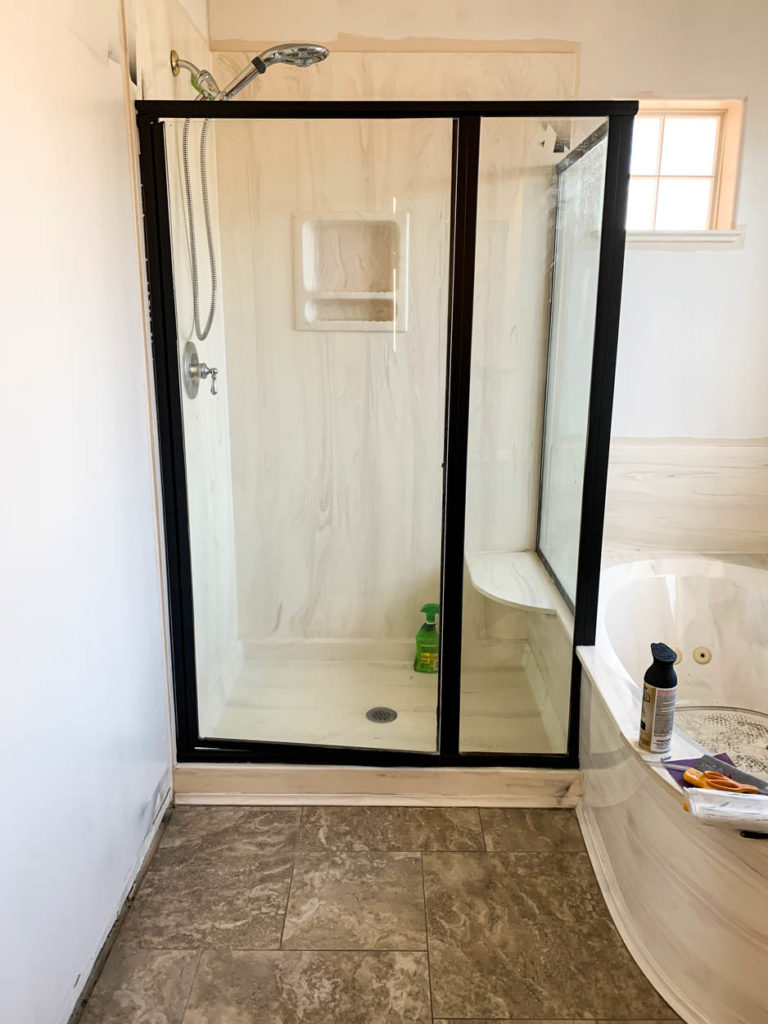
Once the spray paint was dry, I took down all of the paper and plastic and touched up any areas that needed it. I ended up buying a quart of Rustoleum enamel paint in a black satin sheen for this.
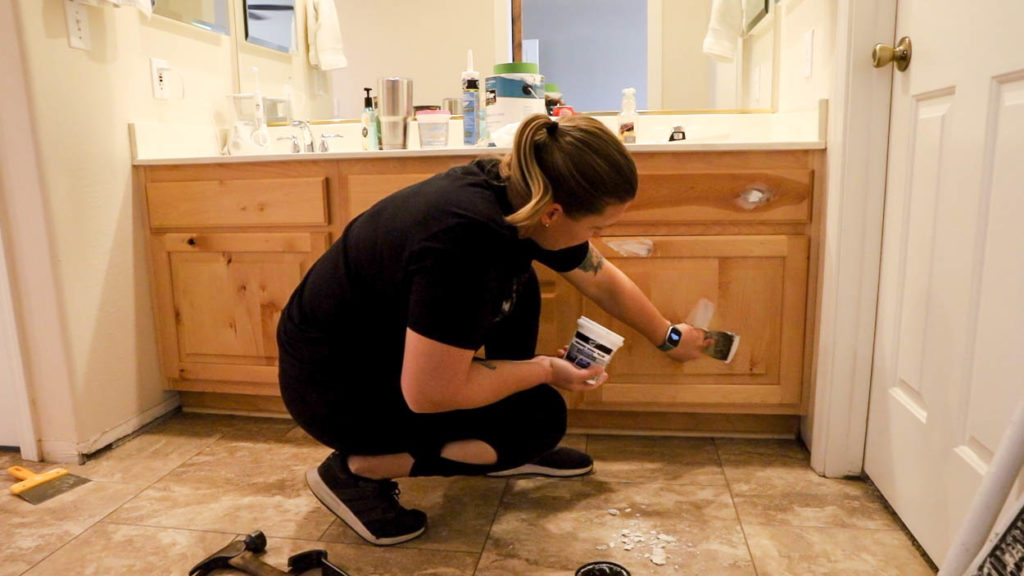
While the spray paint cured on the shower, I went to work on the vanity cabinets. The cabinets are made of knotty alder, and I filled all of the knots with DAP Premium Wood filler. I used this same method when painting my kitchen cabinets and they still look great 4 years later!
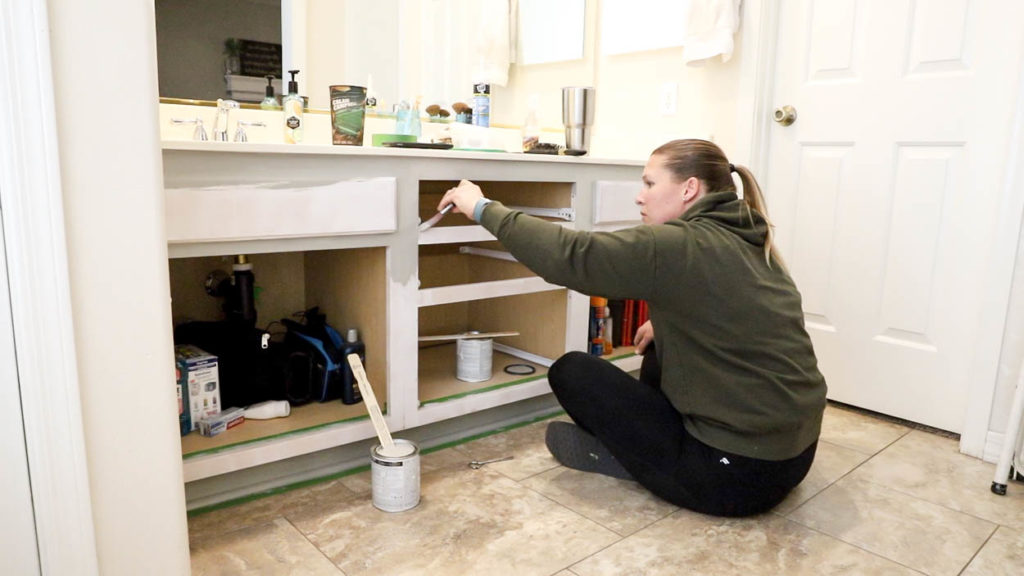
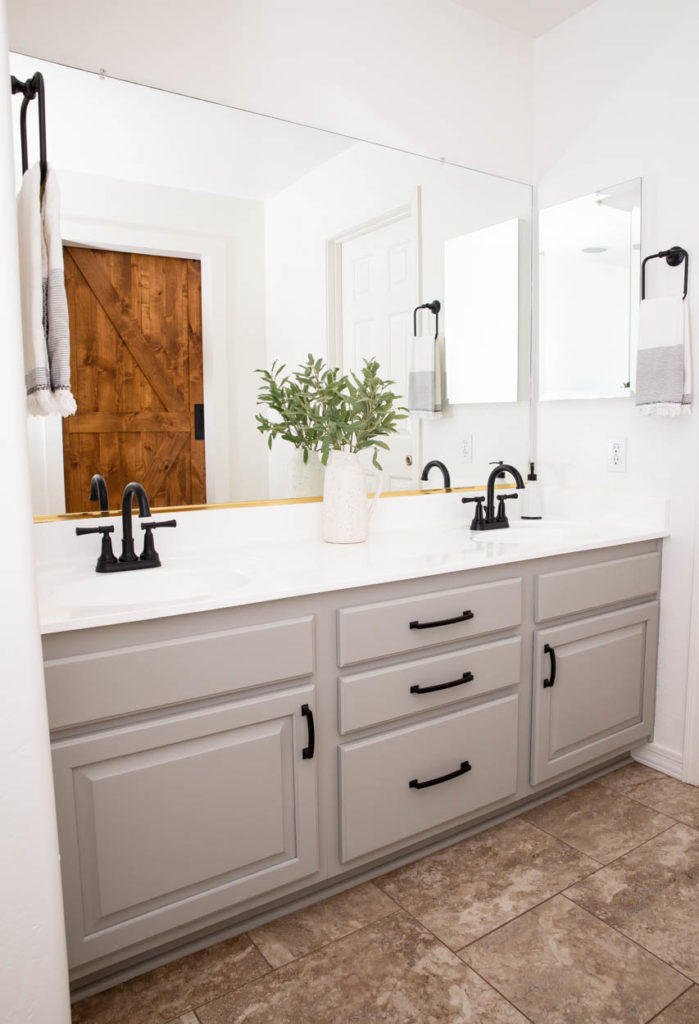
Once the knots were filled and sanded, I primed the cabinet frame, doors and drawers with Killz water based primer, then painted them. I used Sherwin Williams paint in Dorian Gray and LOVE the color and the paint coverage.
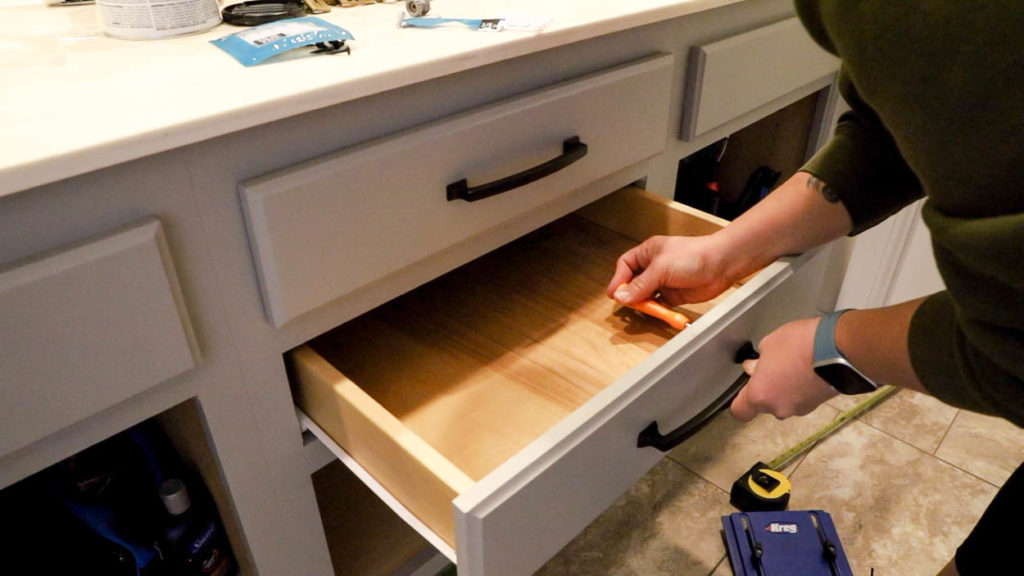
Once the cabinets were finished and the paint had cured for a while, I added the hardware. After years of not having hardware on these cabinets and drawers, it is SO NICE to not have to claw a drawer open to get my hairbrush.
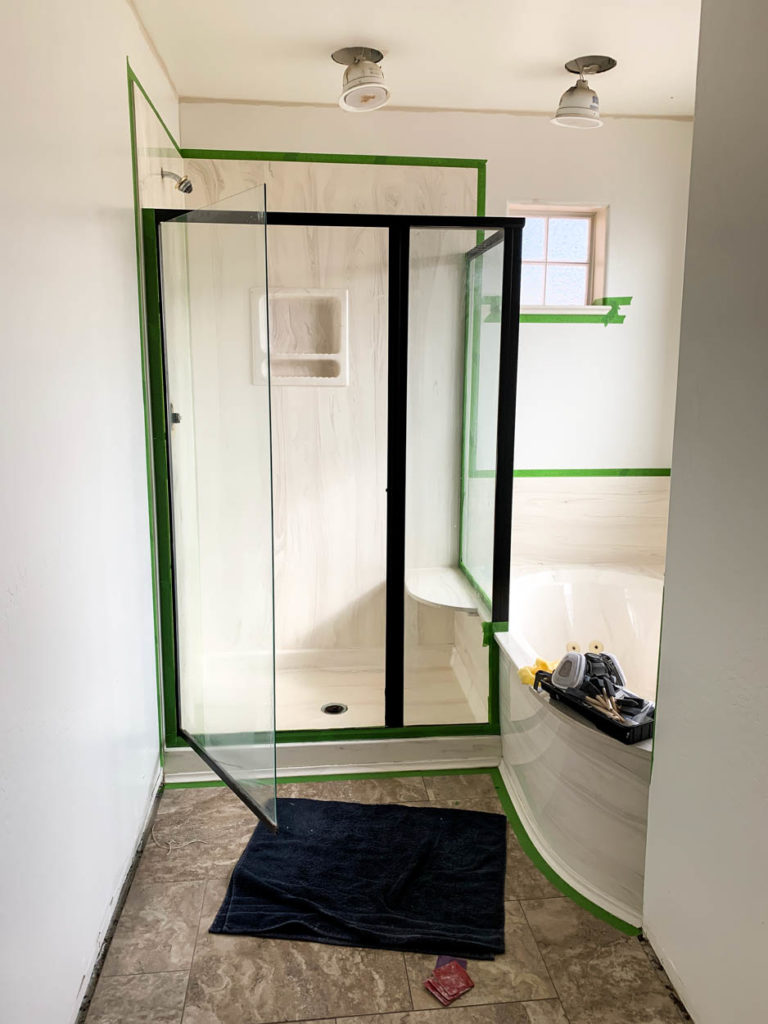
I painted the second coat of paint on the walls and ceiling and then got to work prepping the shower and tub for the epoxy paint. It’s a lot of steps to do this, but I promise the end result is worth it. You need to clean the surfaces with lime away (recommended) and then rinse everything down, then sand with 400 grit sandpaper, rinse everything down, then wipe everything with a tack cloth just before you’re ready to paint. Also tape off the surrounding areas.
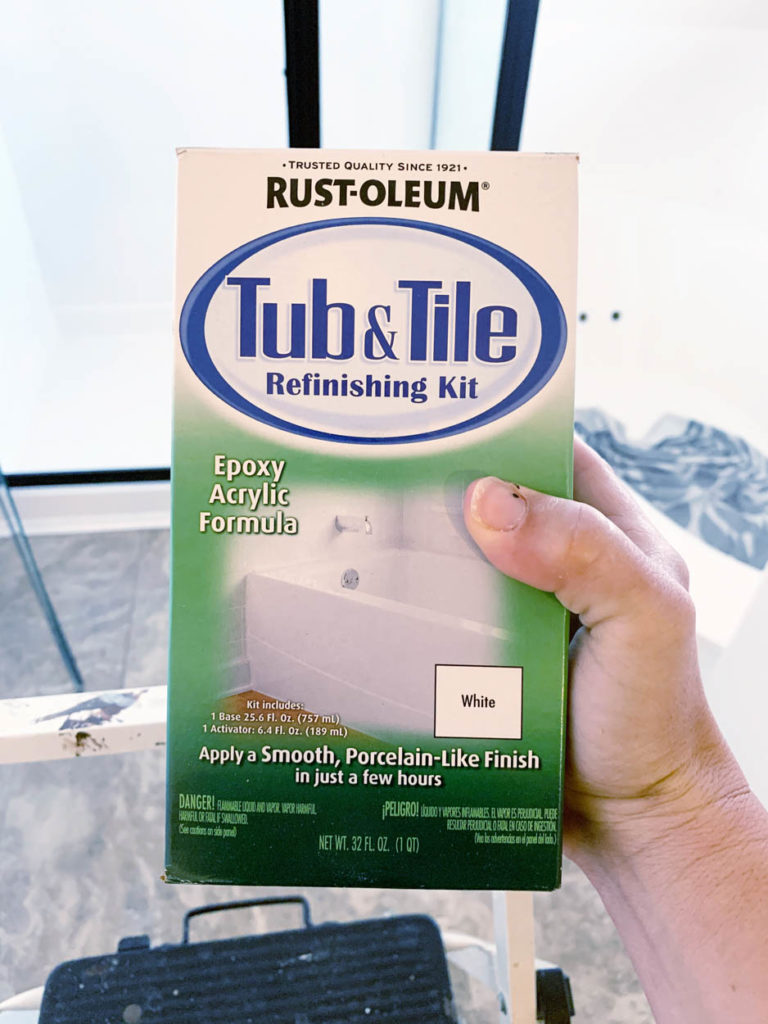
I used Rustoleum Tub and Tile refinishing kits, which I purchased on Amazon. For the tub and shower, it took three of the 1 quart kits to get full coverage on everything.
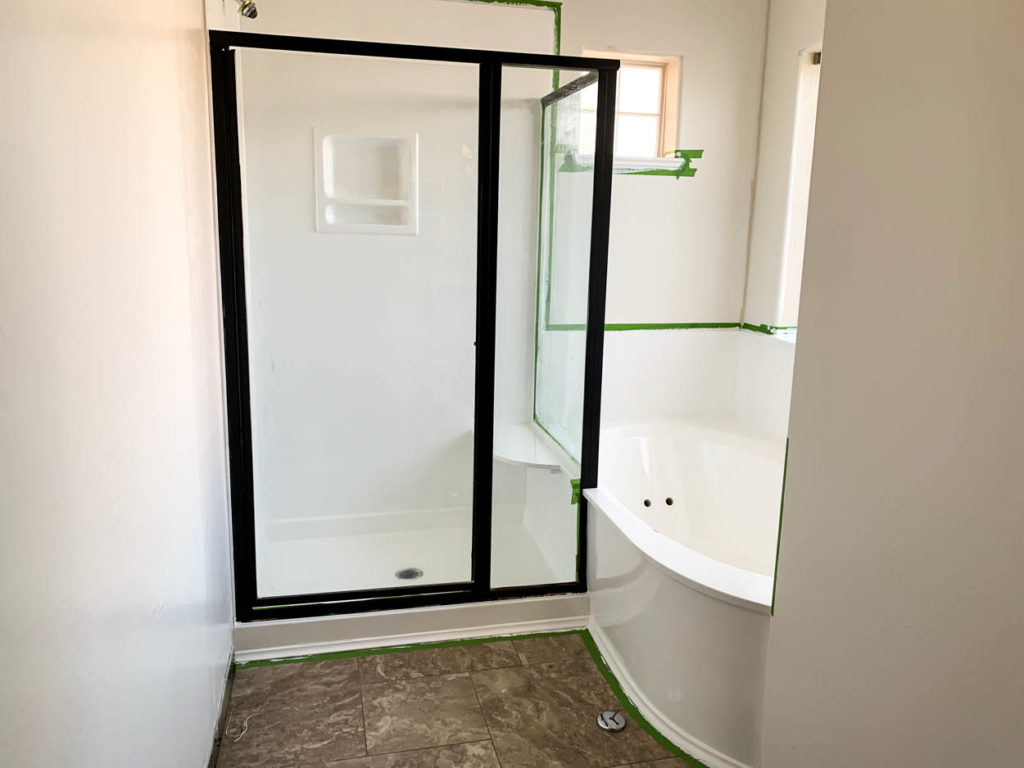
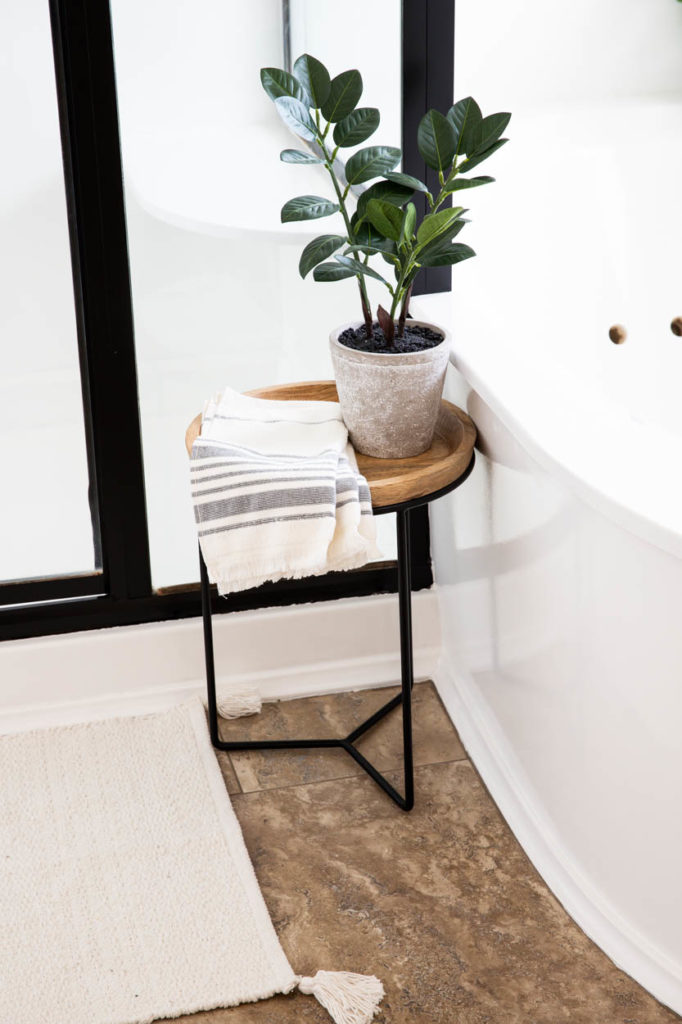
After three coats of the epoxy paint, the tub and shower were done! I can’t even begin to tell you just how refreshing it was to see the dingy, yellowing cultured marble turned to a clean, bright white. Like I said. It was a lot of work, but so worth it in the end.
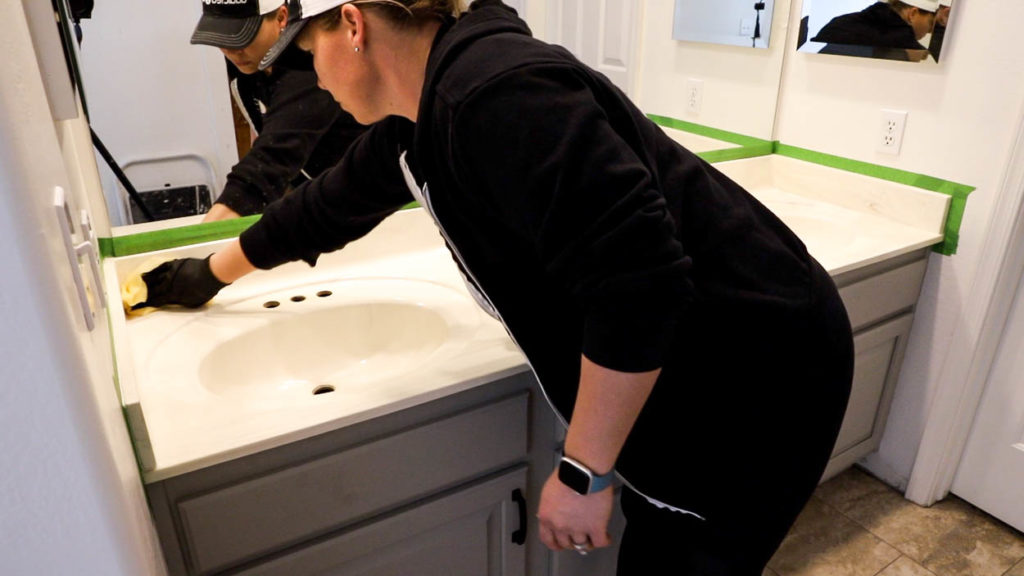
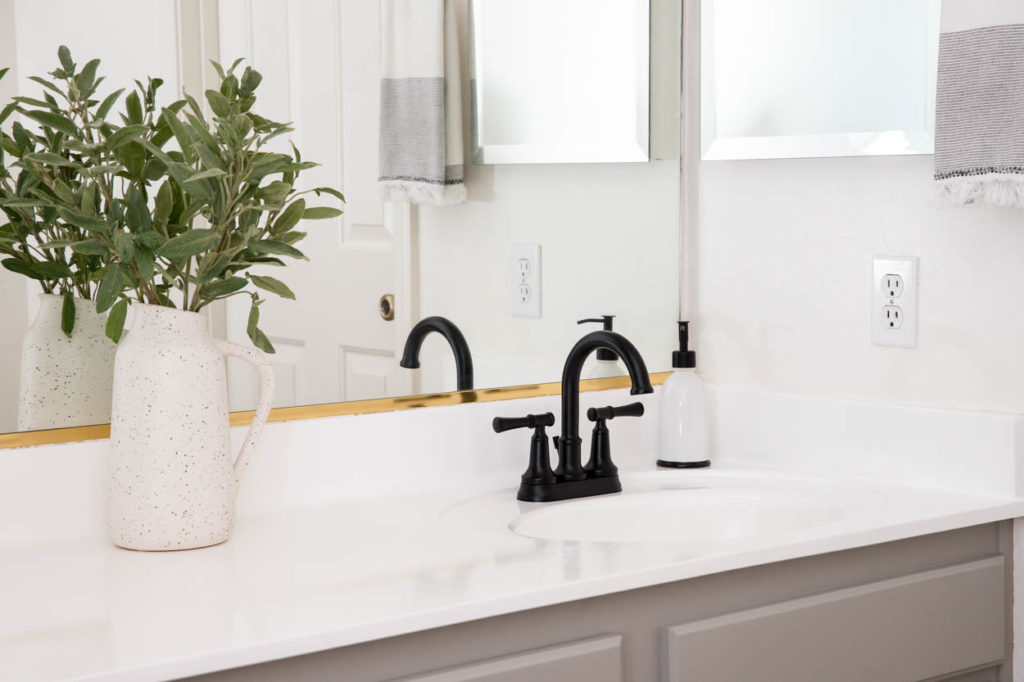
Once the shower and bath were painted, I moved on to the vanity counter and sinks. I followed the same steps to prep the area and wiped it with a tack cloth right before I got started.
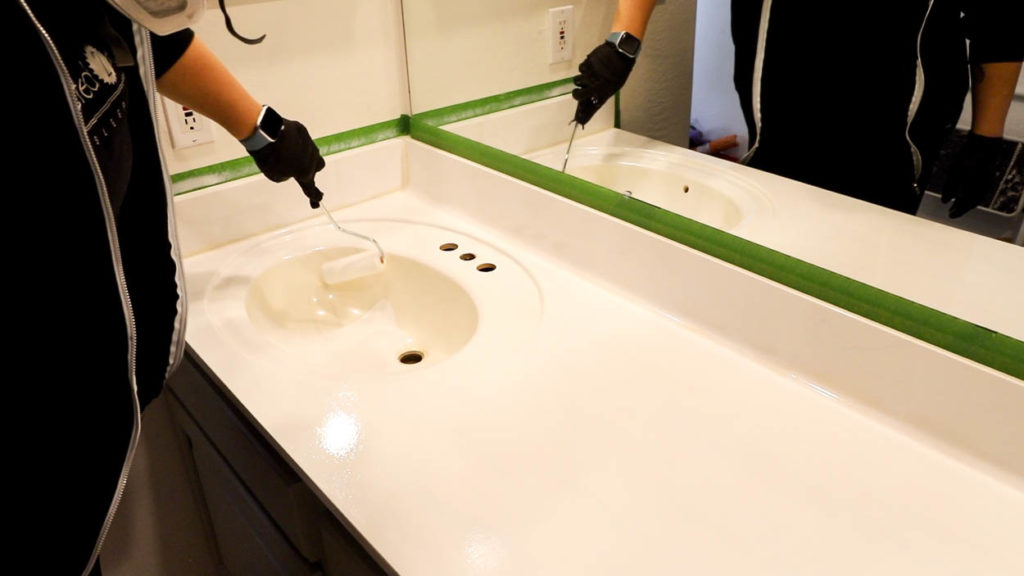
It took three coats total to paint the vanity counter. I used a foam roller for all of the epoxy paint and a good paint brush for cutting in. The epoxy paint reacts in a bit of a funny way to foam, so the roller swells up a bit and it started to fall apart after the second coat. I’d recommend a new roller in between each coat. You also can’t use foam brushes for this. They almost immediately fall apart.
The epoxy paint only has about a six hour shelf life, also. So once you mix a can, you have to use it during that timeframe or it hardens. There’s also a 3 day curing period that they recommend before you expose the epoxy to running water, so keep that in mind when planning your project.
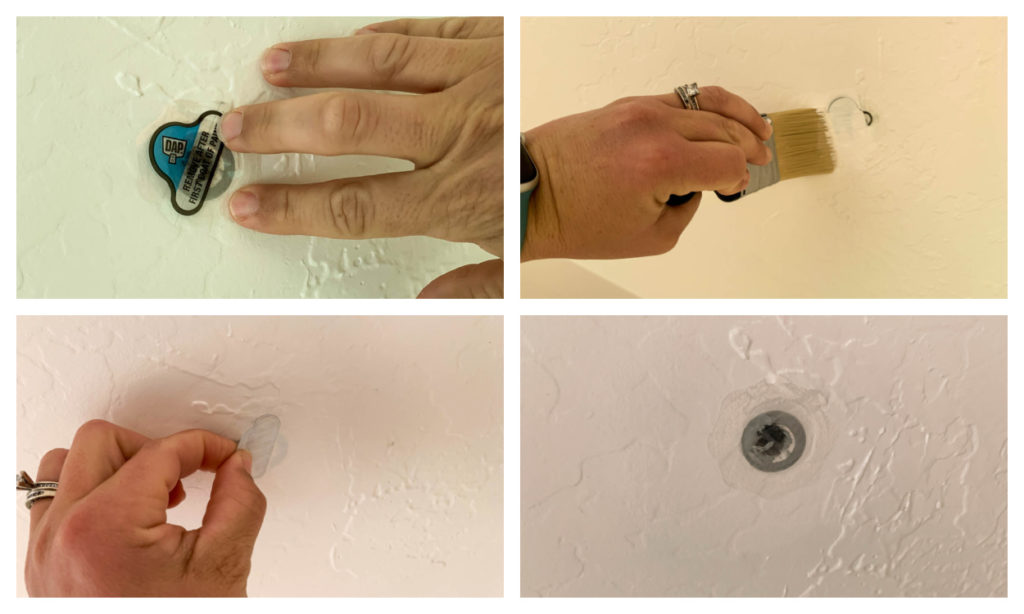
While I waited on the epoxy to cure at the sinks, I decided to go ahead and fill a hole in the ceiling where I had taken out an old, bent plant hook. I had planned to install a new plant hook there, but ended up changing my mind. I wanted a quick and clean way to patch the hole, and the DAP Eclipse Rapid Wall Repair Patch was just the trick. I smoothed it onto the ceiling (like a sticker) and then painted over the entire thing, which seals in the edges of the patch. You let it dry, then peel off the top of the patch and it then reveals the hole underneath.
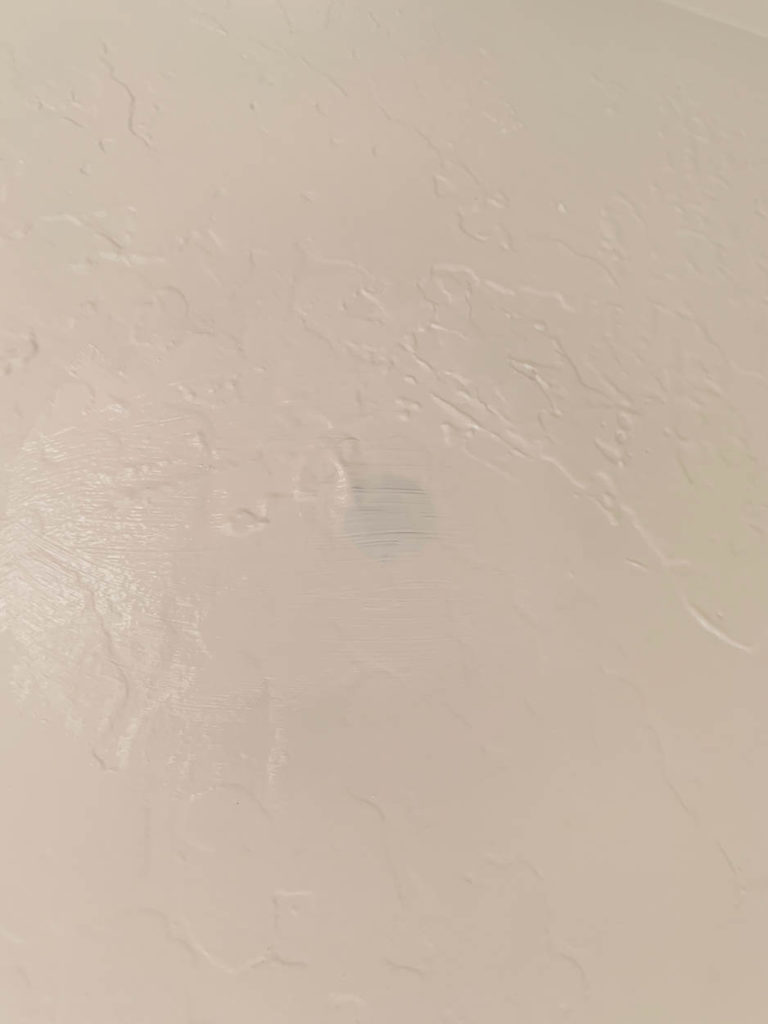
I then painted over the patch with a few more coats of paint. This was after one coat. Once I added a second coat, you couldn’t even tell there was ever a hole there!
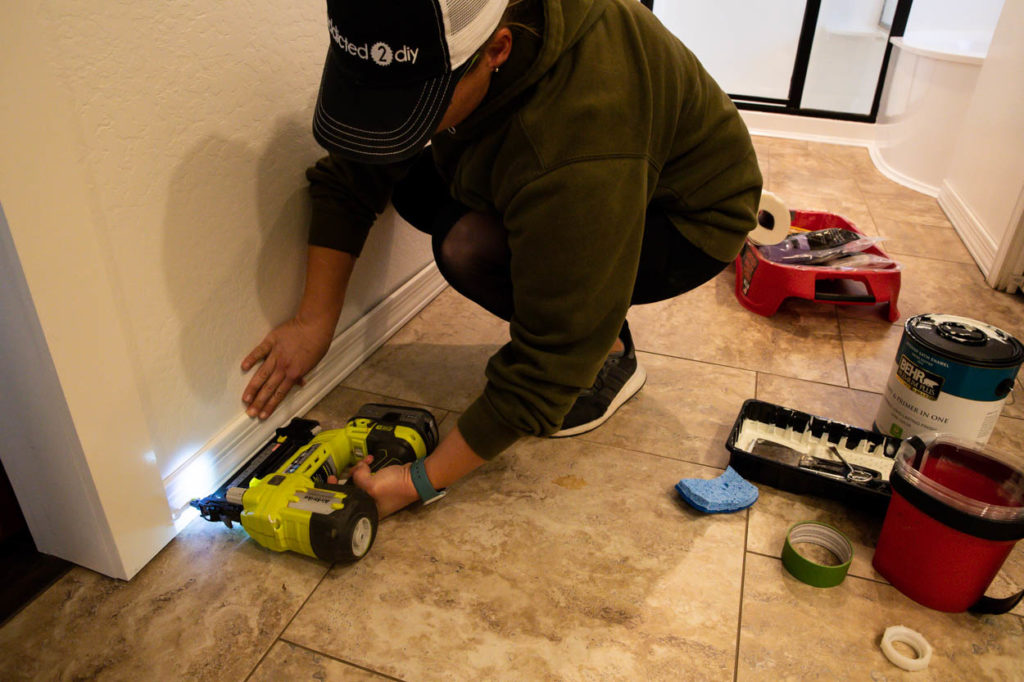
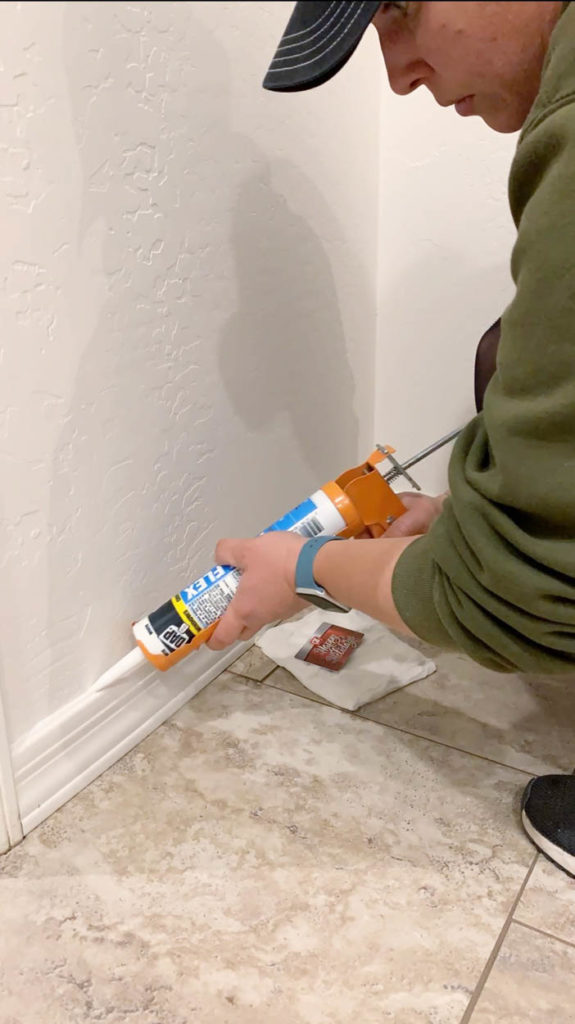
Moving on to the baseboards, I painted and installed the new baseboards. Then sealed the top edge and filled in the nail holes with DAP AlexFlex caulk.
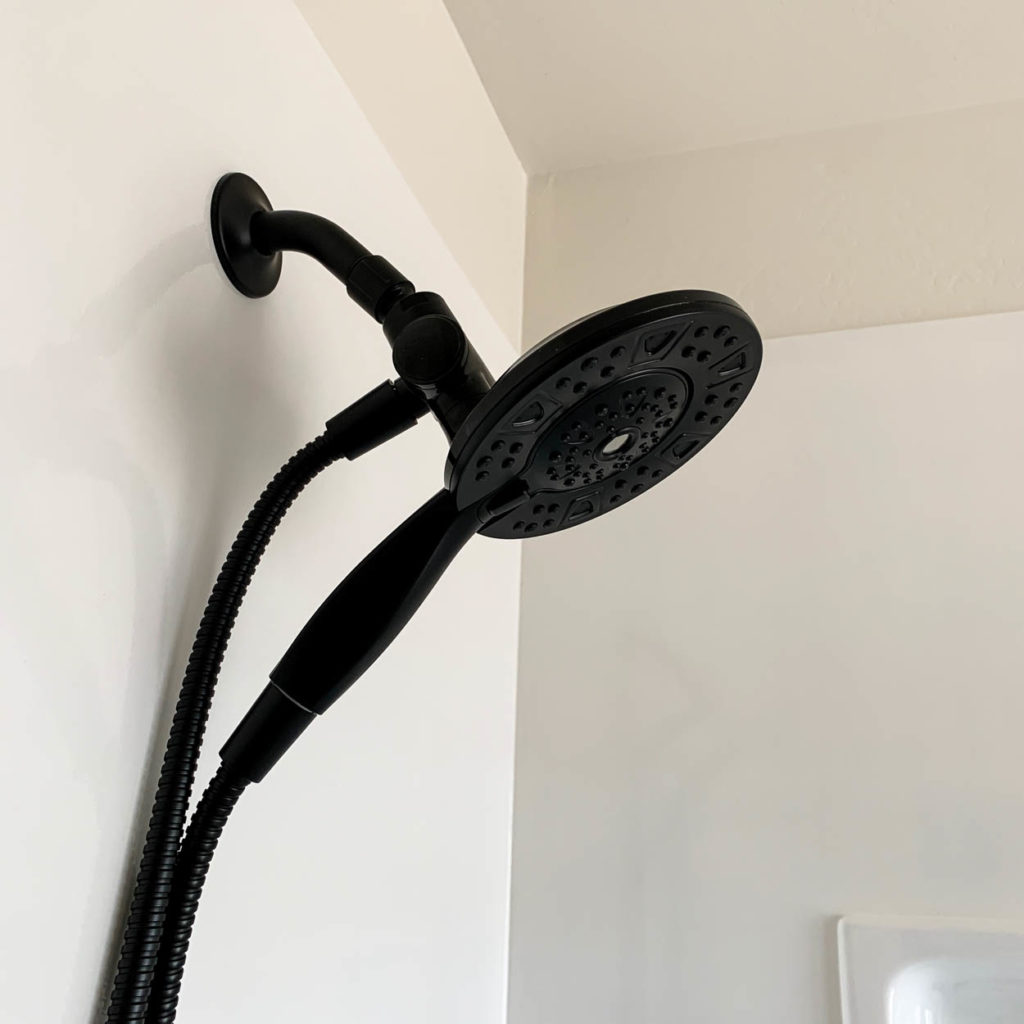
When it was time to install the fixtures, I got to work installing the shower head. The kit that I purchased also included a new valve and handle, but the valve would have been a lot of complex work that would not have been able to be done with our existing shower. I opted to hang onto all of it and use it when we finally did the full demo of our bathroom in a few years. To remedy this, I took the old handle and beauty ring and painted them with the same black spray paint I used on the shower frame. The color matches perfectly and you’d never know it was the original handle!
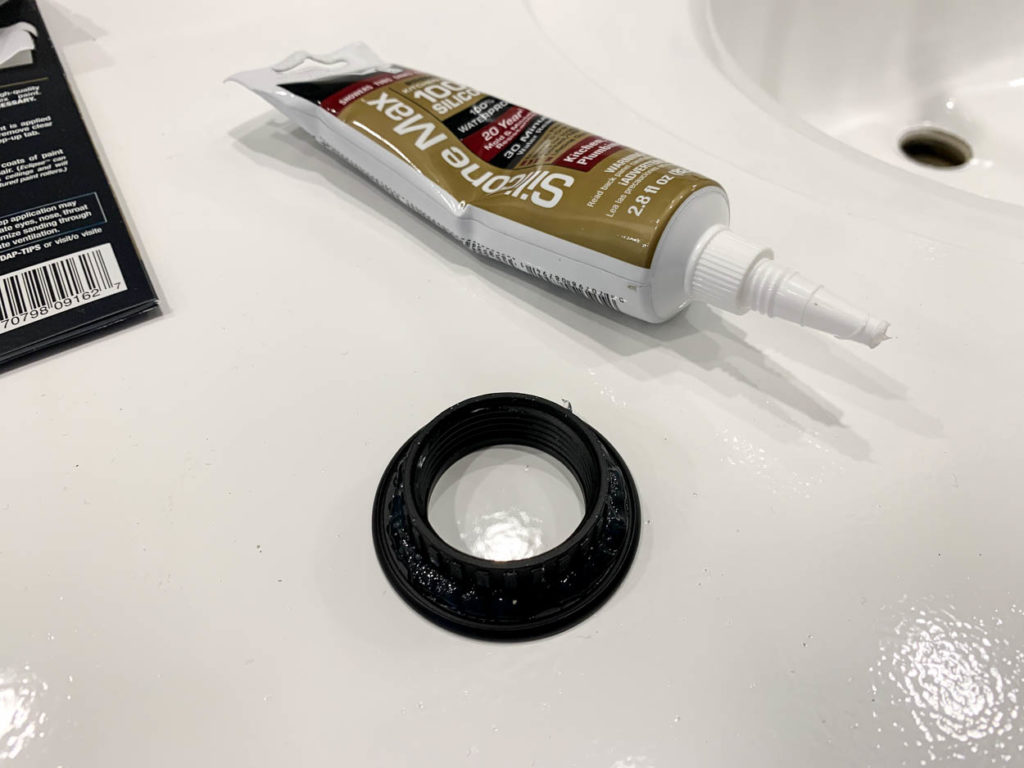
The new faucets in the sink also came with new drains that had to be installed. The instructions called for silicone to seal them, so I grabbed some DAP Silicone Max and added a bead to the bottom of each of the drain rings.
And that was that for the makeover!
Bathroom Makeover Reveal
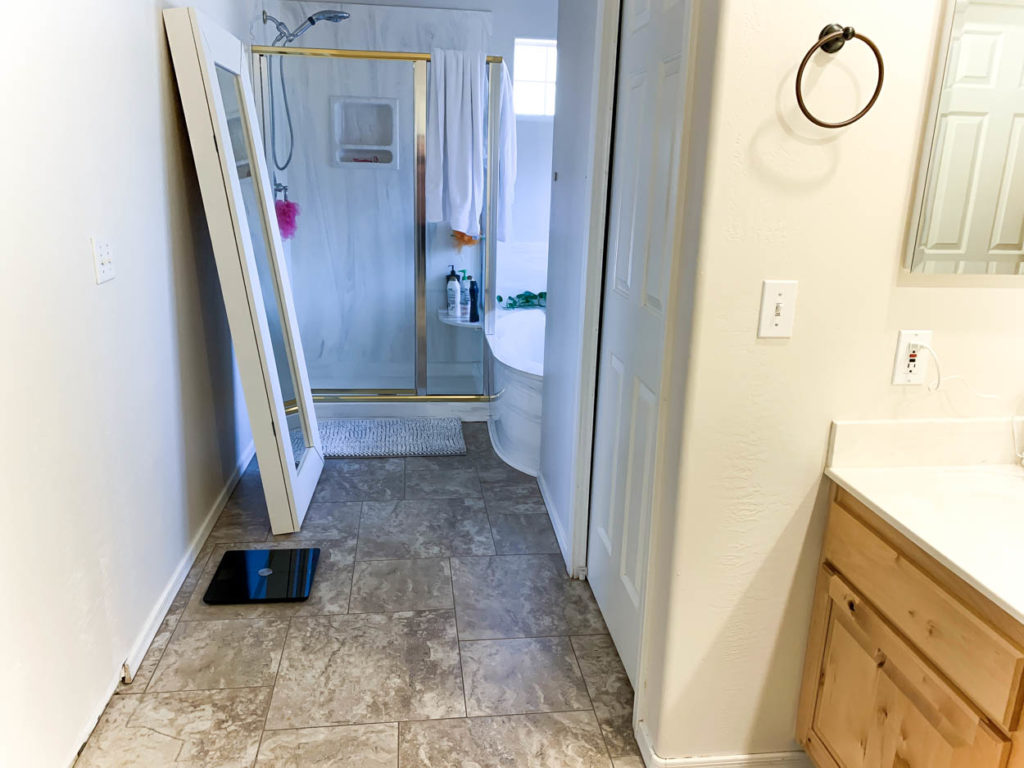
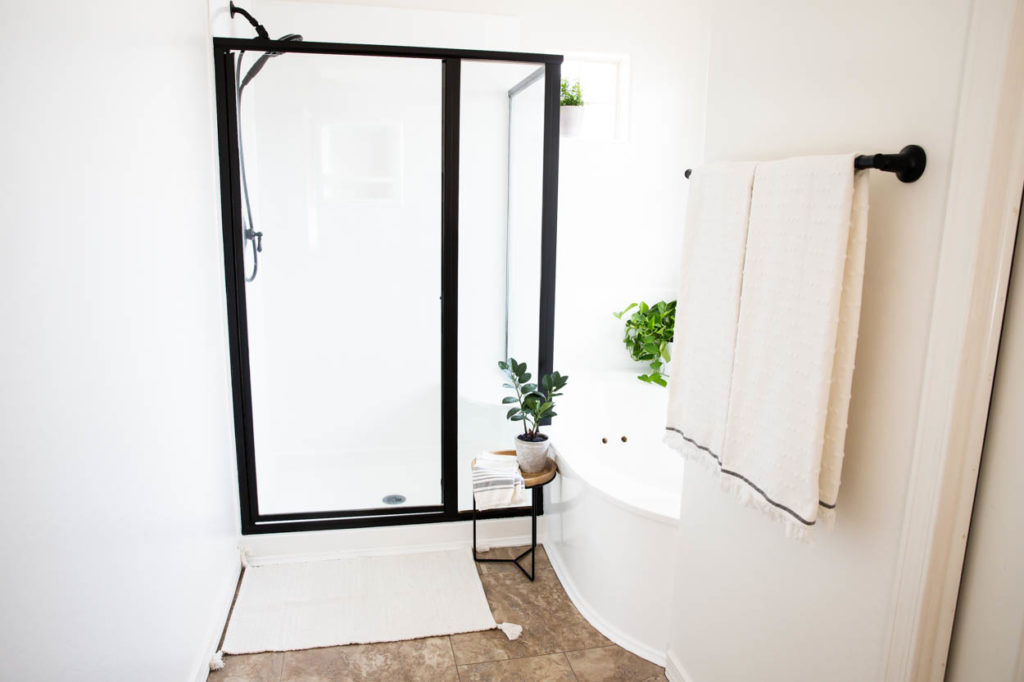
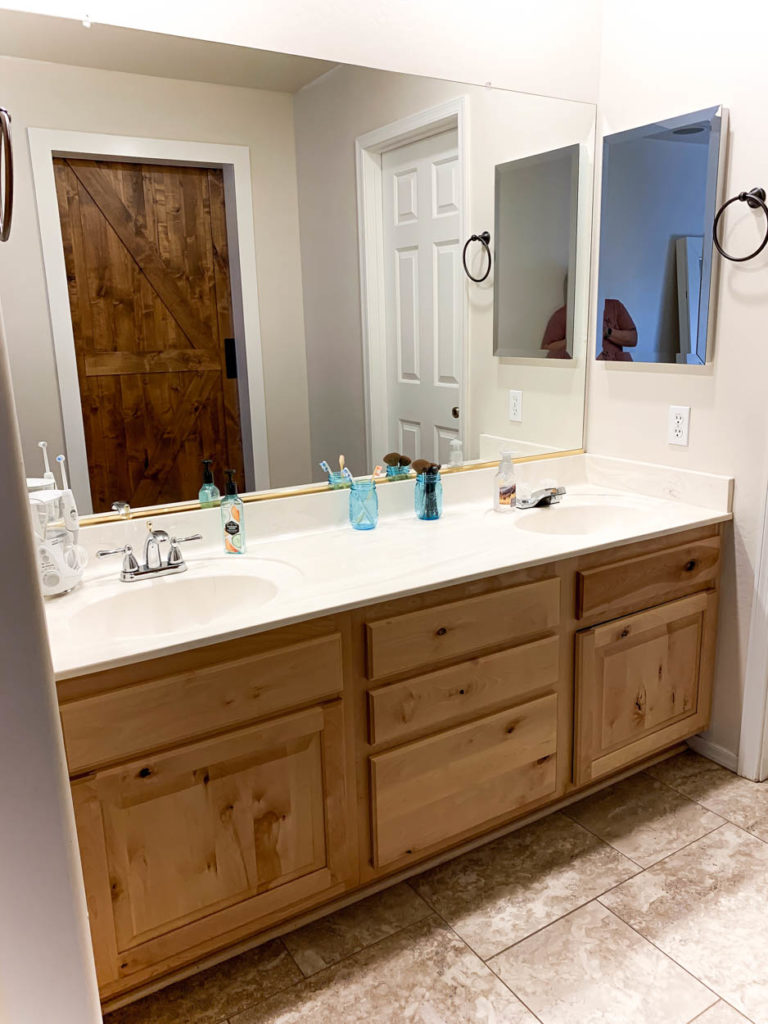
Bathroom Makeover Checklist:
- Paint shower frame, shower drain, and shower handle
- Paint the cultured marble shower, tub, and vanity counter
- Fill knots and paint vanity cabinets
- Paint walls and ceiling
- Install new baseboards
- Install new shower head and sink faucets
That’s it! No major renovations. Just simple changes to get this bathroom up to date and looking great! Keep reading to see how I put all of this into motion.
Check Out These Posts To See How We Walled The Bathroom Off From Our Bedroom
DISCLOSURE: I was provided product and/or compensation for this post. All ideas and opinions are 100% my own.

Leave a Reply