How We Walled Off Our Master Bathroom
Our master bathroom used to be wide open to the bedroom. Anytime my husband or I flipped on the bathroom light, whichever of us was still in bed got blinded. So when we replaced the bedroom flooring, we decided it was finally time to add a wall between the bedroom and bathroom.
In this post I’ll show you how we framed the new wall, trimmed out the doorway, and got the trim smooth and paint-ready with DAP Plastic Wood-X wood filler, Alex Flex spackle, and Alex Flex caulk for trim and crown molding.
Quick overview
- Project: Adding a framed partition wall and doorway between a master bedroom and bathroom
- Skill level: Intermediate (framing and trim); we hired out the drywall
- Why we did it: Block light, add privacy, and make the two rooms feel separate
Before: an open-concept master bathroom
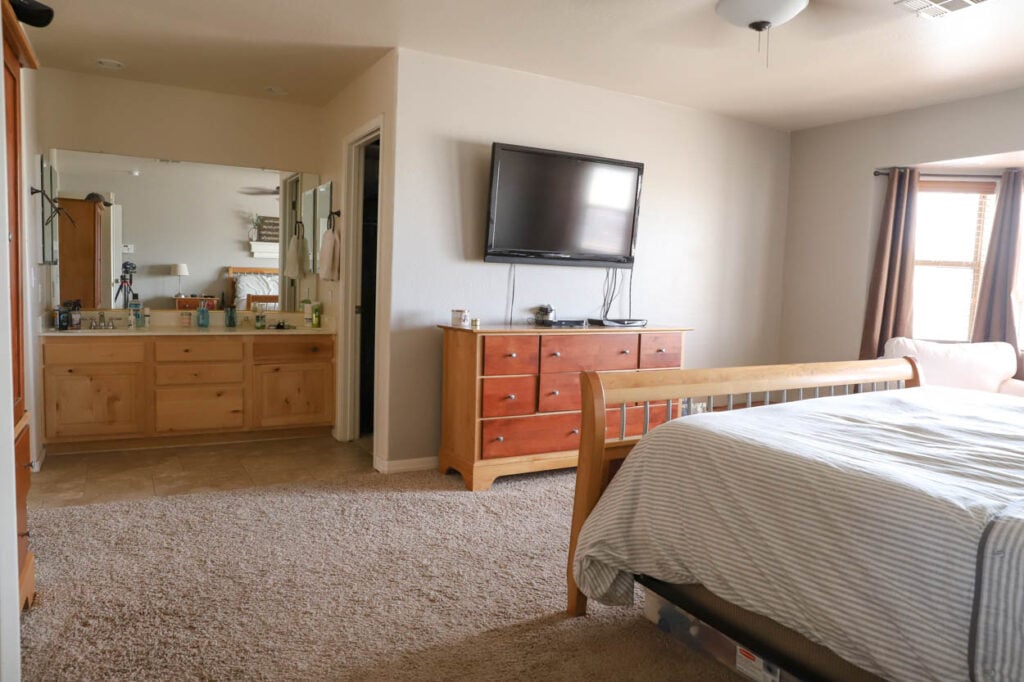
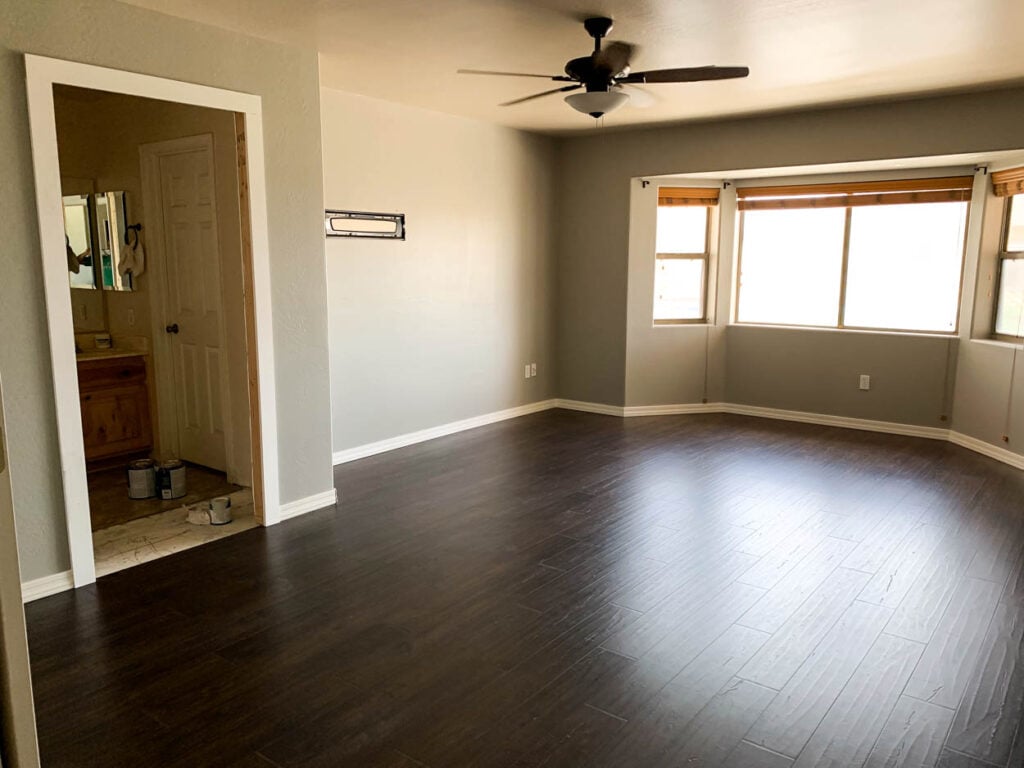
As you can see in the before photo, the bedroom and bathroom were basically one room. There was no door and nothing to stop the light. We’d been talking about walling it off for years, and new floors gave us the push.
Tools and materials
- 2×4 framing lumber and framing nails or screws
- Drywall, tape, mud, and texture (we hired this out)
- Pre-primed trim boards (ours were from Home Depot)
- Brad nailer and 2″ brad nails
- DAP Plastic Wood-X wood filler
- DAP Alex Flex spackle
- DAP Alex Flex caulk for trim and crown molding
- Putty knife
- Orbital sander connected to a shop vac
- Paint, roller, and an angled brush
- An old gift card or hotel key card, plus damp paper towels
- Matching floor tile (we had spares from our original install)
How to add a wall between a bedroom and bathroom
1. Demo and plan the wall placement
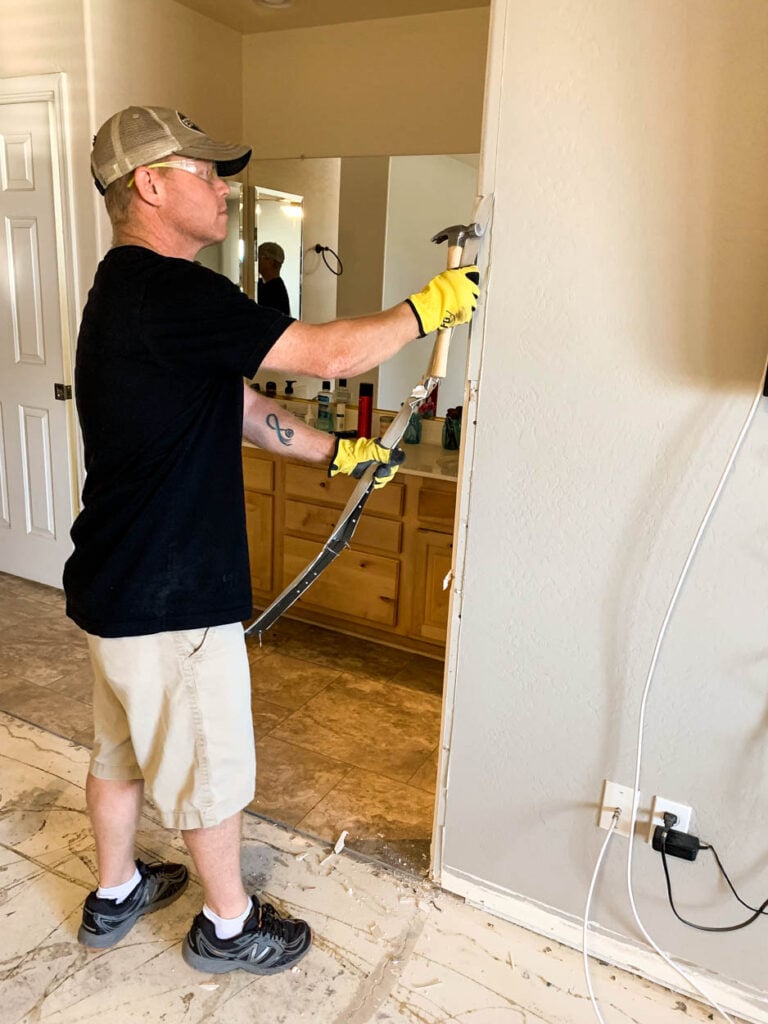
Demo was minimal. We only had to pull the corner bead off one wall corner. My husband loves demo day, so I let him have at it.
The tricky part was alignment. The opening between the two rooms didn’t line up, so we brought one side forward to meet the existing bathroom wall. That gave us a straight run for the new wall and doorway.
2. Frame the wall and doorway
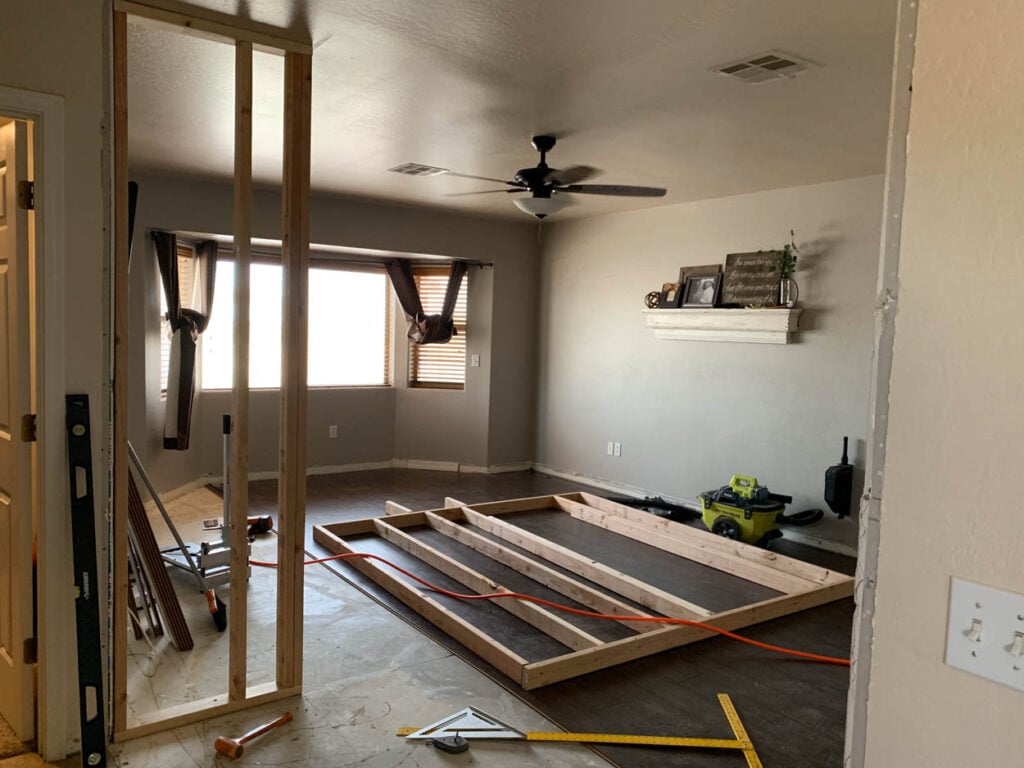
We framed the walls and doorway, then set them in place. This is also when you find every flaw in your home’s original construction. Ours was a huge gap in the ceiling.
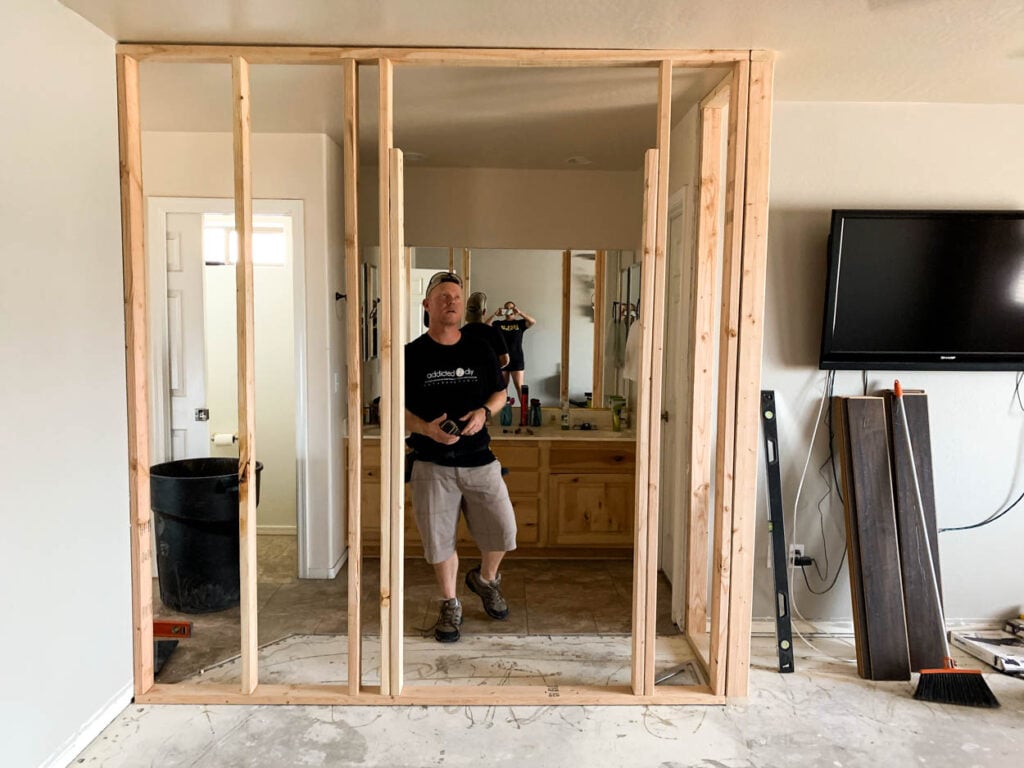
We planned a barn door for this opening, so we skipped the header inside the wall. I wanted an exposed header instead, so we framed the doorway like a standard opening. If you’d rather have the header inside the wall, add it between the studs while you frame.
3. Hang and texture the drywall
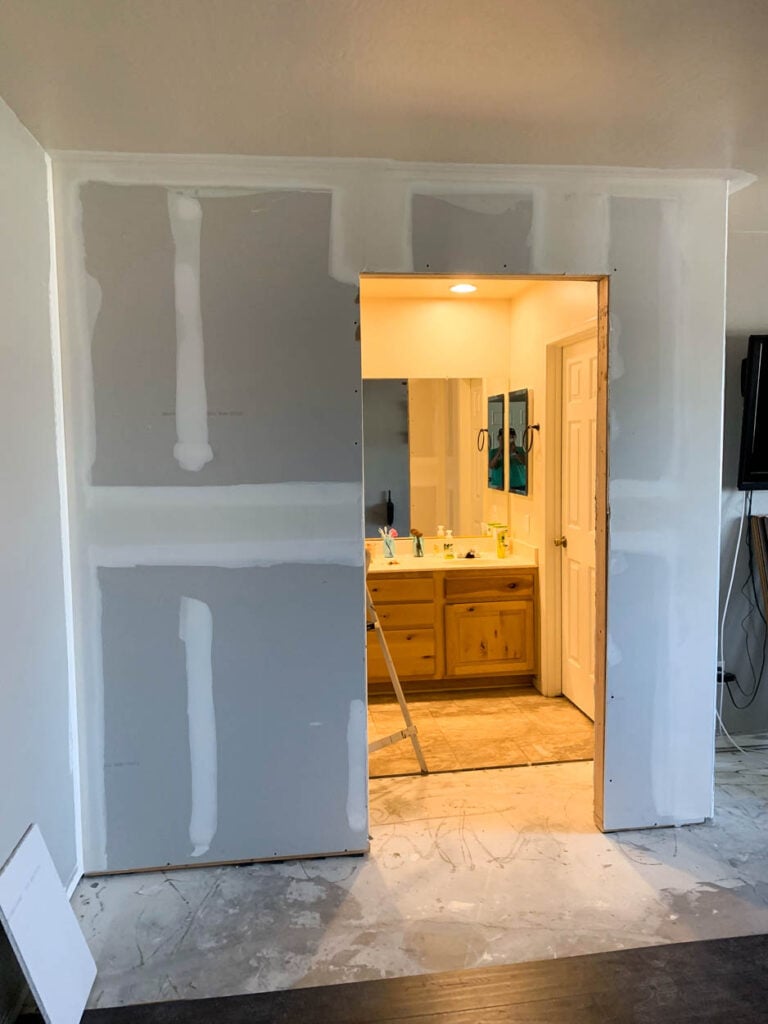
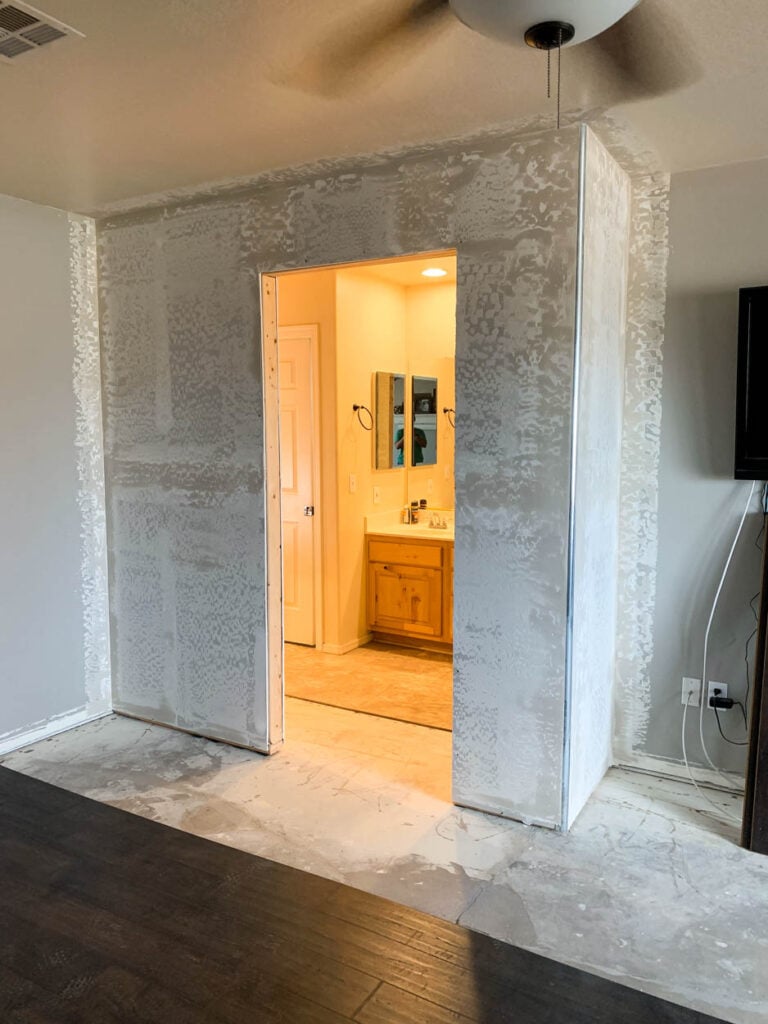
We’re not afraid to admit it: we don’t do drywall. We can get by, but it’s not something we do well. We hired a pro, and he finished far faster than we ever could have.
4. Paint, install trim, and patch the floor
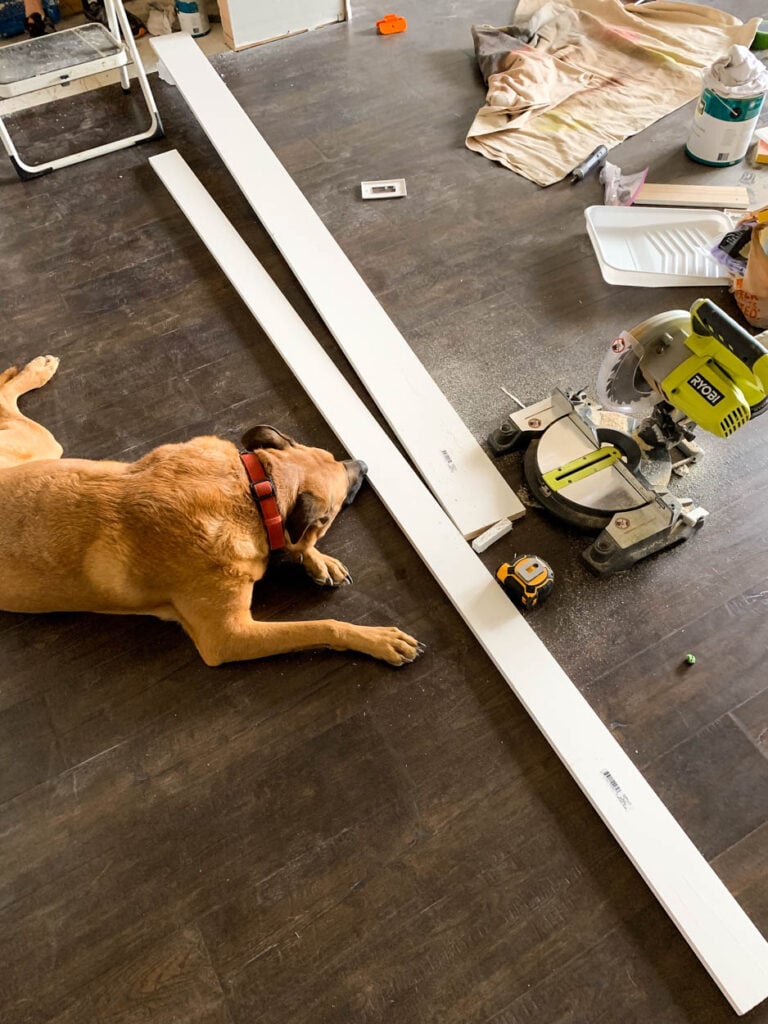
Once the texture dried, I painted the new wall to match both rooms. Then I installed pre-primed trim boards with 2″ brad nails. Our dog Dakota supervised, as usual.
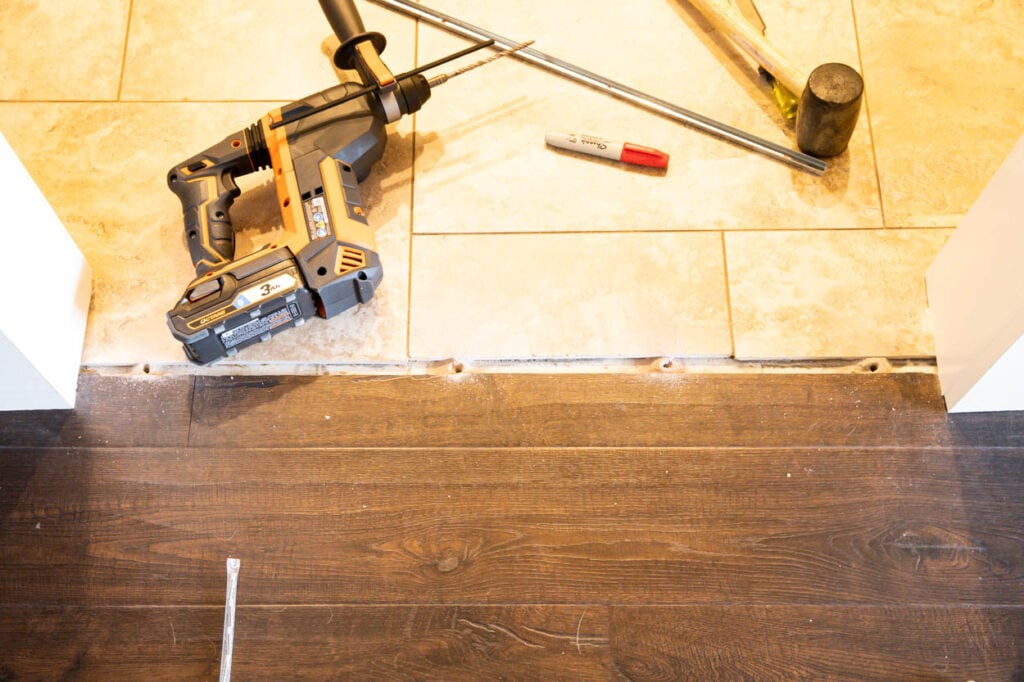
We had spare tiles from our original flooring install, so my husband extended the bathroom tile up to the new wall. Then I finished the remaining trim.
5. Fill nail holes and seams with wood filler
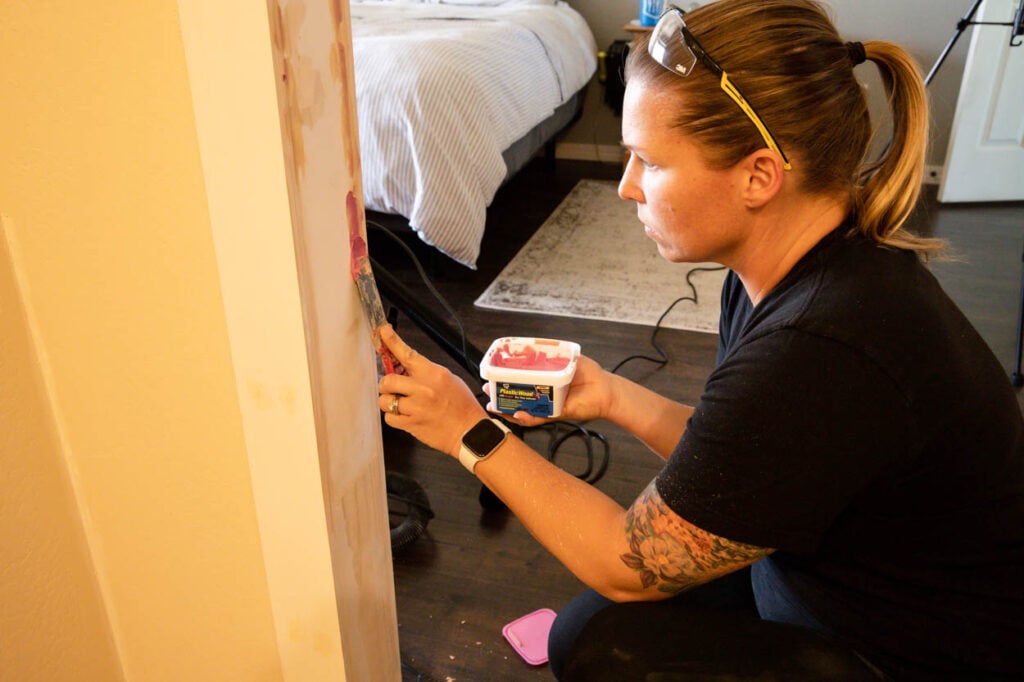
I filled every seam and nail hole with DAP Plastic Wood-X. Then, honestly, the project sat unfinished for seven months while other projects took over.
When I came back to it, I scraped off the larger bits of dried filler first so sanding would go faster. Then I sanded everything with my orbital sander hooked to my shop vac to keep the dust down.
After sanding, I did a second coat on the seams. For larger gaps, build up wood filler in thin layers rather than one thick pass. Your final sand will be much smoother. Plastic Wood-X goes on pink and dries to a natural color, so you know exactly when it’s ready to sand.
6. Smooth rough end grain with spackle
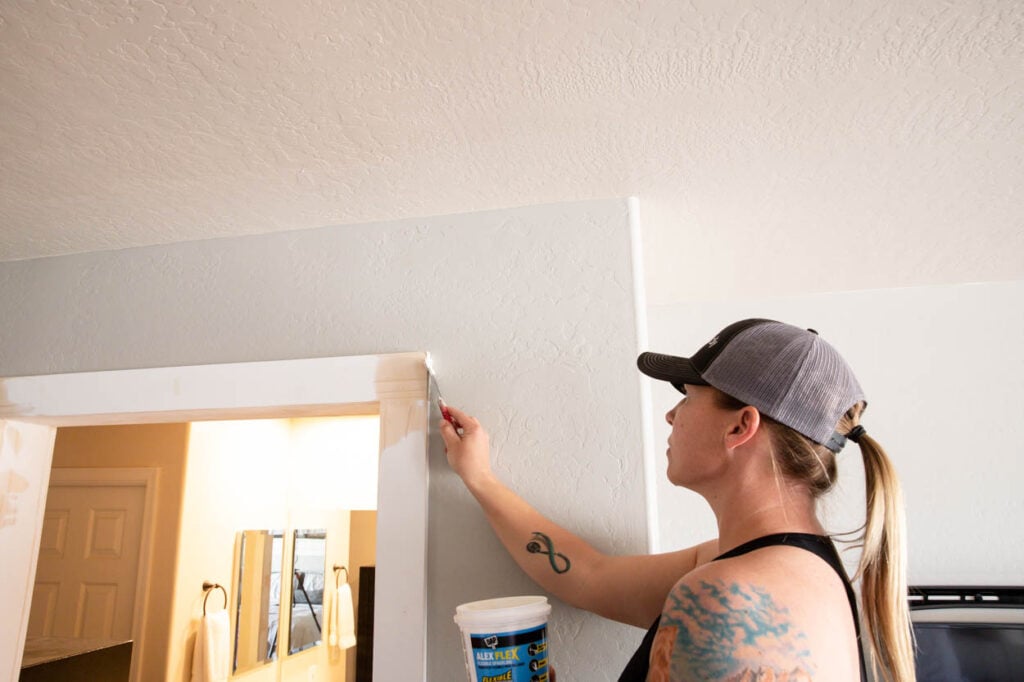
The end grain at the top of the trim was rough. I spread a thin layer of Alex Flex spackle over it with a putty knife, let it dry, and sanded it smooth.
7. Caulk the trim
I caulked the inside corners and the seam where the trim meets the wall with Alex Flex caulk for trim and crown molding.
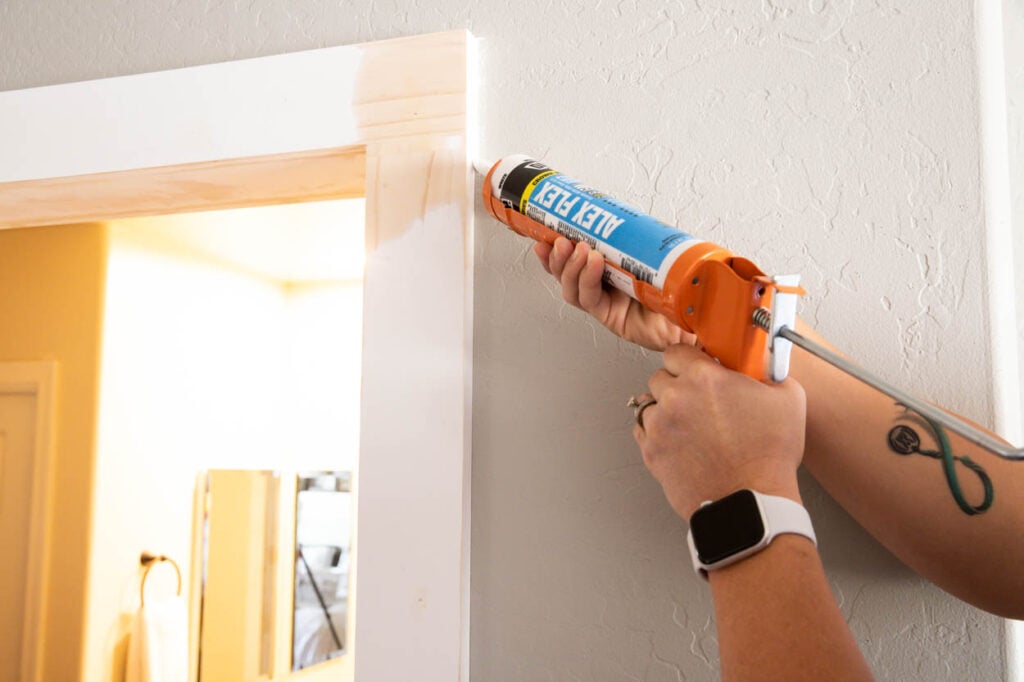
Tip: For a perfect caulk line, run an old gift card or hotel key card along the bead, then lightly wipe with a damp paper towel. It gives a smooth, clean finish every time.
8. Paint the trim
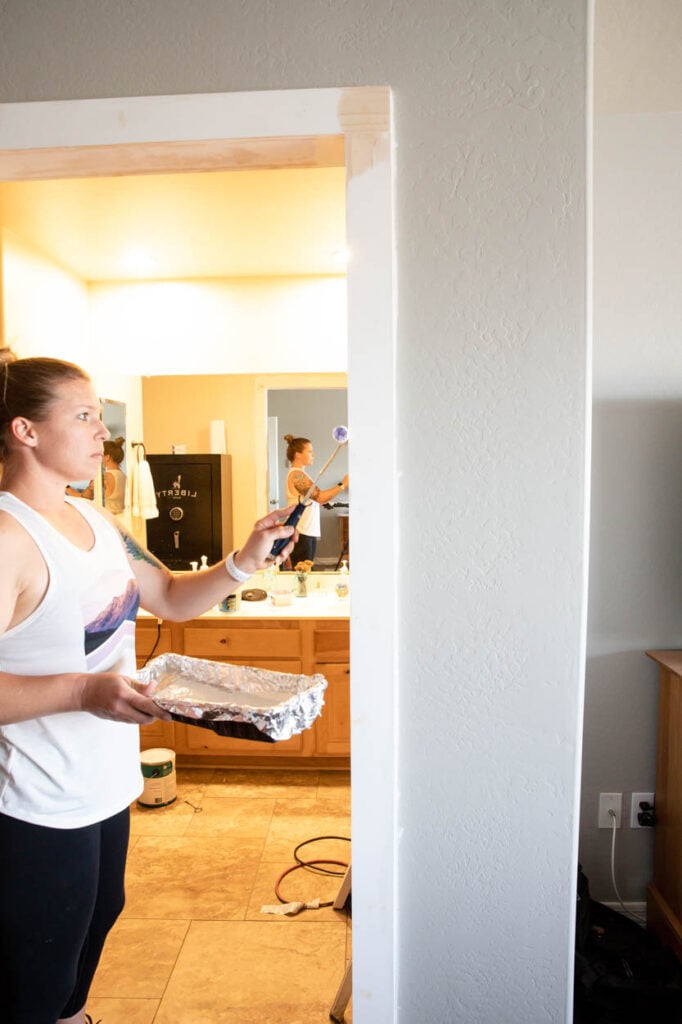
Once everything dried, I rolled on a few coats of paint and cut in the edges. Done!
After: the finished bedroom and bathroom wall
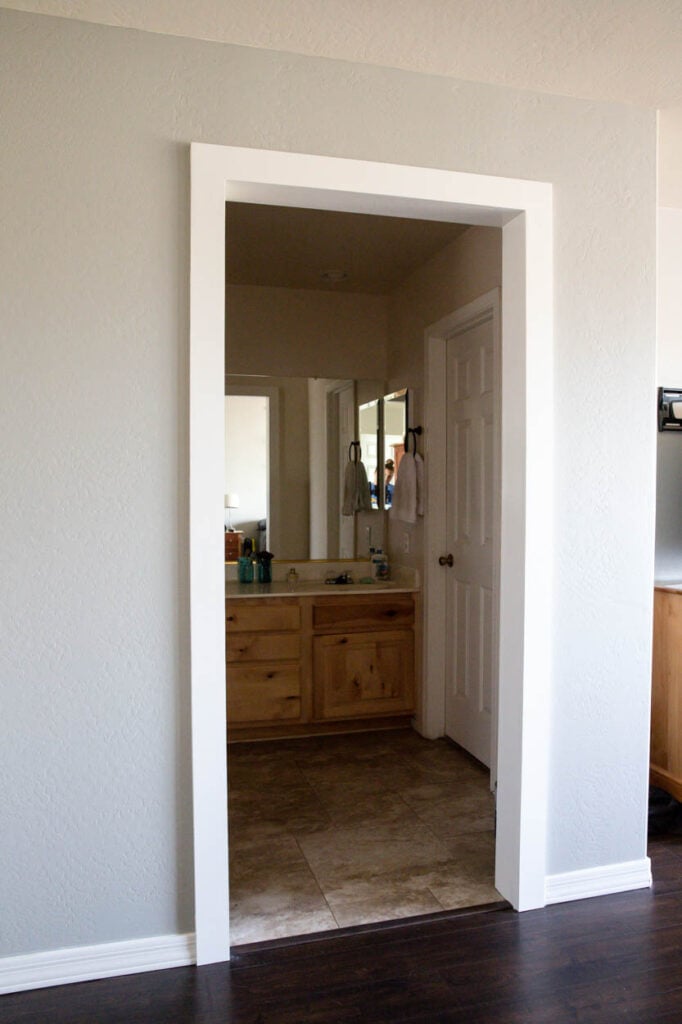
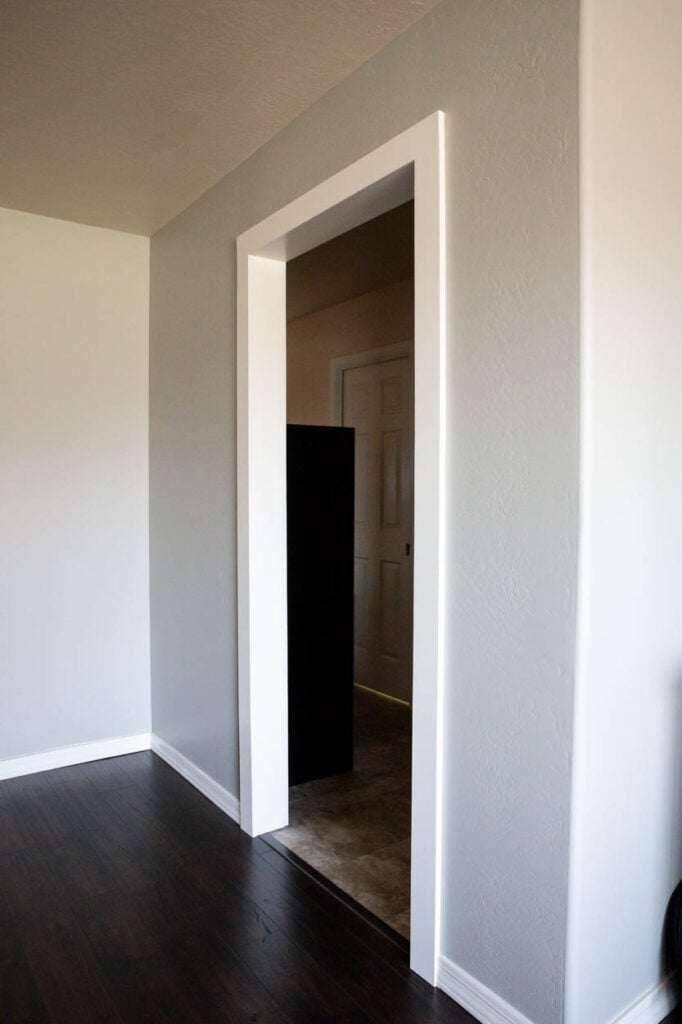
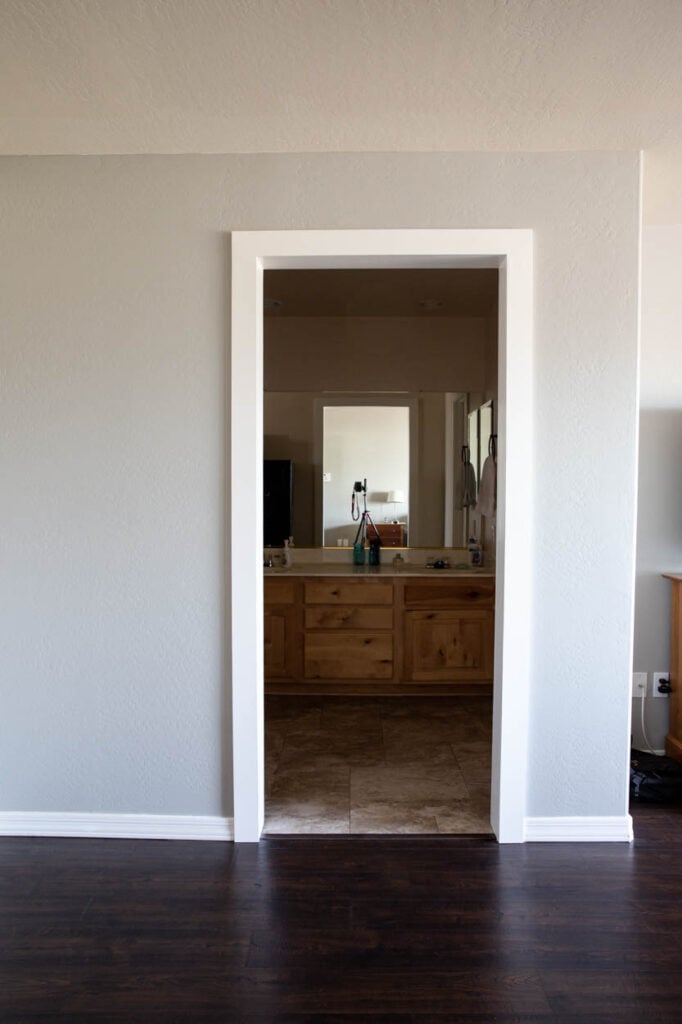
We were nervous that a new wall would look odd or make the bedroom feel closed in. It’s the opposite. The wall looks like it was always there, and nobody gets blinded at 6 a.m. anymore.
Next up is the barn door for this opening. Read the barn door tutorial here.
FAQ
Do you need a header for a barn door opening?
A barn door hangs from a rail mounted on the wall above the opening, not from the frame itself. We framed a standard doorway and used an exposed header board for the look. If you want the header hidden inside the wall, add it between the studs during framing. Make sure there’s solid backing where the rail mounts.
Do you need a permit to add a wall in your house?
It depends on where you live. Many cities require a permit for new framing, even non-load-bearing walls. Check with your local building department before you start.
How many coats of wood filler should you use on trim?
For nail holes, one coat is usually enough. For wide seams, use two or more thin coats and sand between them. Thin layers dry faster and sand smoother than one heavy coat.
How do you get a smooth caulk line on trim?
Cut a small opening in the caulk tube and run a steady, thin bead. Smooth it with an old gift card or key card, then wipe lightly with a damp paper towel.
Will adding a wall make a bedroom feel smaller?
In our case, no. The wall added separation without making the room feel cramped, and it made the bedroom much darker and more restful.
Disclosure: This post is sponsored by DAP Products. I was provided product and/or compensation, but all opinions and ideas are 100% my own.