DIY Narrow Hallway Table
Want a narrow table that won’t get in the way in a tight hallway? This DIY narrow hallway table uses tapered furniture legs, a simple 1×3 shelf base, and pocket-hole joinery. It takes one weekend to build, it’s fully customizable to your space allowance, and the free printable plans below include the full cut list and material list.
Why I Built a Narrow Console Table
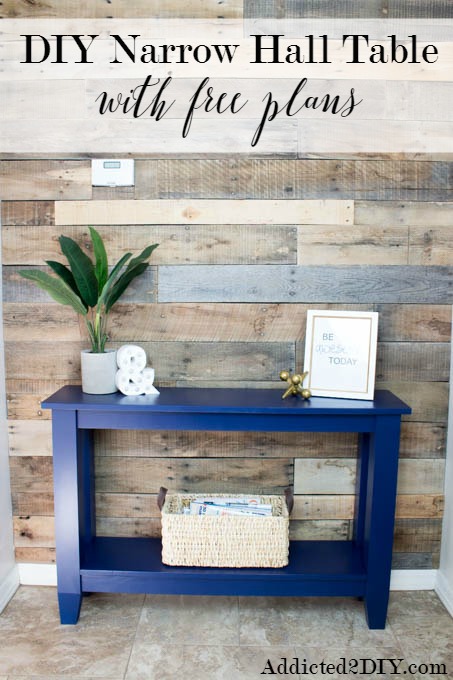
After installing a pallet wall in my boys’ hallway, I wanted to build it out into a full gallery wall with photos and decor. The space still felt like it was missing something — it needed a narrow table to anchor everything and add a little storage, but nothing so deep that anyone would get hip-checked walking out of a bedroom.
This build solved that: a low-profile, narrow console table with a bottom shelf, built in a weekend, finished with a paint sprayer for a smooth, brush-stroke-free finish.
What You’ll Need
Free printable plans: [Download the free plans here] — includes the full cut list, shopping list, and diagrams.
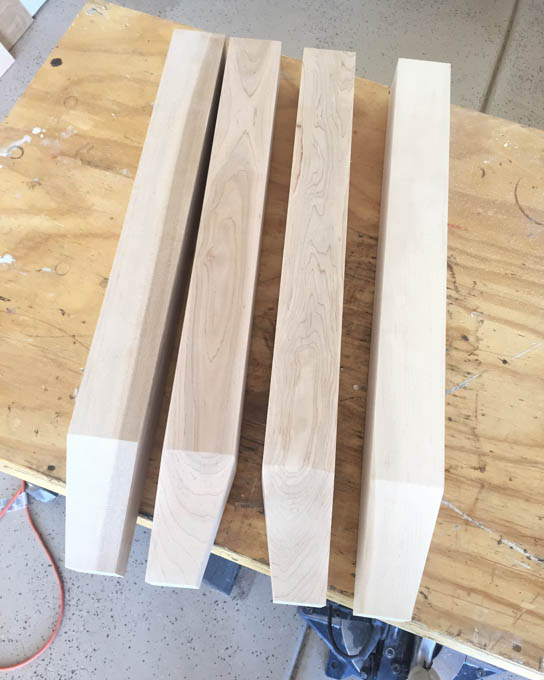
Table legs: [House of Wood Tapered Legs from Osborne Wood] — I used soft maple; however, you can choose any wood species you like for these.
Tools used:
- Pocket hole jig
- Drill and Impact driver
- Off-set screwdriver adapter (for driving screws into tight spaces between the legs)
- Jigsaw (for cutting shelf corners)
- Paint sprayer + spray shelter
How to Build a Narrow Hallway Table
1. Mark the Legs
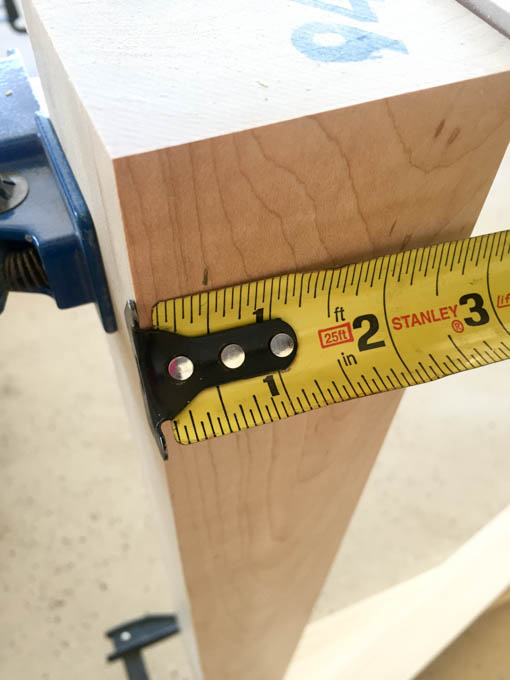
Mark each leg 1/2″ in from the edge — this is where the 1×3 side pieces attach. Then mark 5″ up from the bottom of each leg for the bottom shelf placement.
2. Build the Tabletop Frame
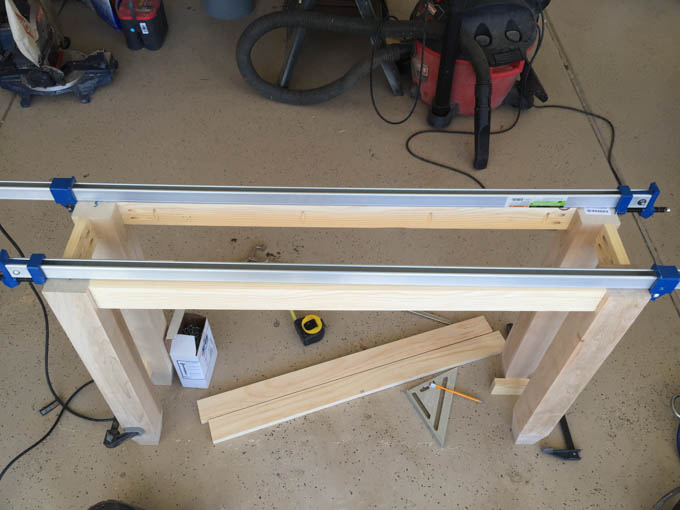
Attach the frame pieces with wood glue and 1 1/4″ pocket screws. Building solo means you’ll get creative with clamps to hold everything in place while you work.
3. Attach the Legs
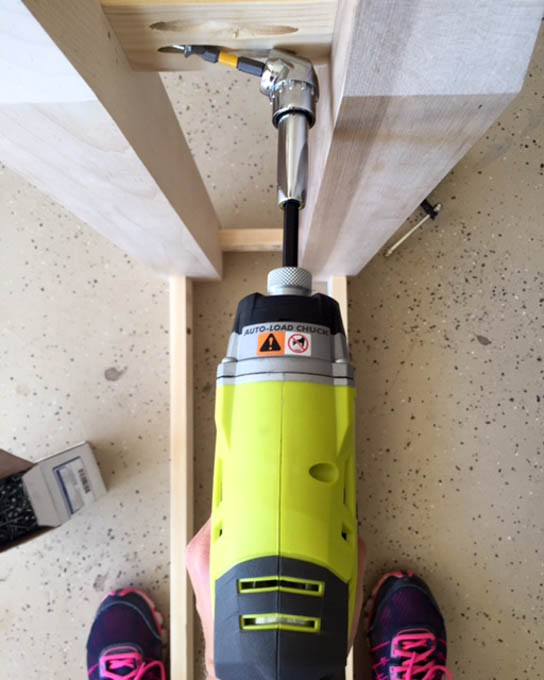
This is where the off-set screwdriver adapter earns its keep — it’s the only thing that reliably fits into the narrow gap between the legs to drive screws where an impact driver won’t reach.
4. Cut and Attach the Bottom Shelf
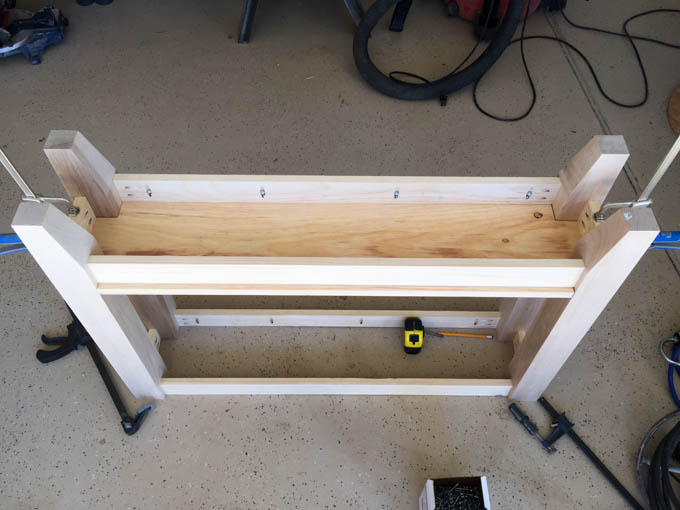
Notch the corners of the shelf board with a jigsaw so it fits around the legs, then attach with wood glue and 1 1/4″ pocket screws.
5. Attach the Top
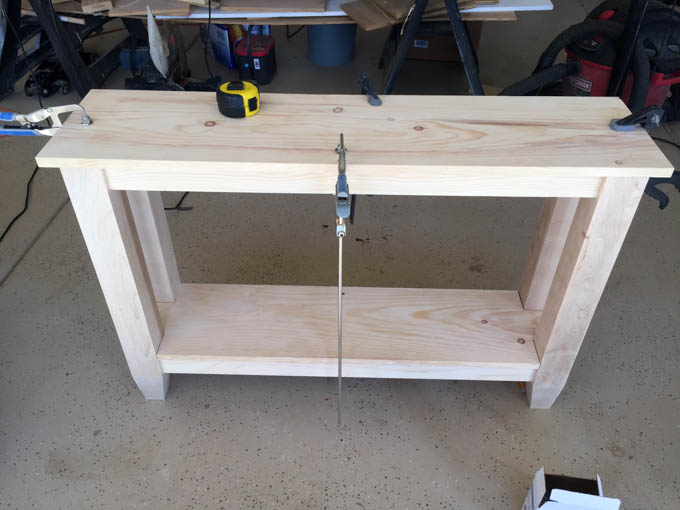
Center the top with about a 1″ overhang on each end and 1/2″ on the front and back, measuring from the legs (not the 1×3 frame). Clamp, then secure with wood glue and 1 1/4″ pocket screws.
6. Paint and Finish
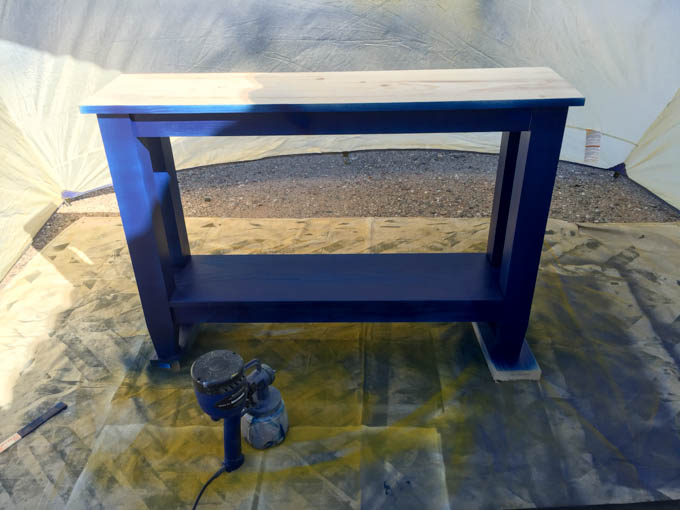
Original color: Indigo Ink, from the Behr Home Decorators Collection at Home Depot — a deep navy that fit the space perfectly.
Spray order: base first (2 coats), then flip and spray the top (2 coats) — painting the top last keeps it from sticking to the drop cloth while the underside dries.
Table Update: I refinished it a few years later
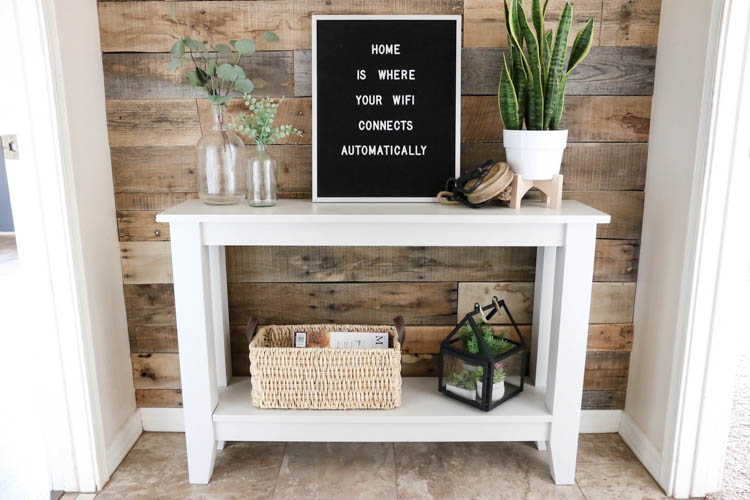
A couple of years after I built this table, I decided I wanted a more neutral paint color for it. It was super easy to do. I just lightly scuffed the paint with 220 grit sandpaper and then used my paint sprayer to repaint the entire table a beautiful light grey color. The color I chose is Sherwin Williams Repose Gray.
Frequently Asked Questions
How narrow can a hallway console table be? Most narrow hallway tables run 8–12″ deep. This build keeps a slim profile so it doesn’t crowd foot traffic near bedroom doors.
What wood is best for a narrow console table? Soft maple or poplar legs paired with 1× pine or poplar for the frame and shelf keep the project affordable while still taking paint or stain well.
Can I build this without pocket holes? Yes — you can substitute dowels or mortise and tenon joinery; however, it takes it up a notch on difficulty level. Pocket screws are the fastest and most beginner-friendly option.
How long does this project take? Roughly a weekend: one day to build and one day to paint and cure, depending on your sprayer and finish.