DIY Mudroom Built-In With Bench, Drawers & Storage
What do you do with an awkward empty nook that isn’t really serving a purpose? In this case, you turn it into a custom DIY mudroom built-in packed with storage.
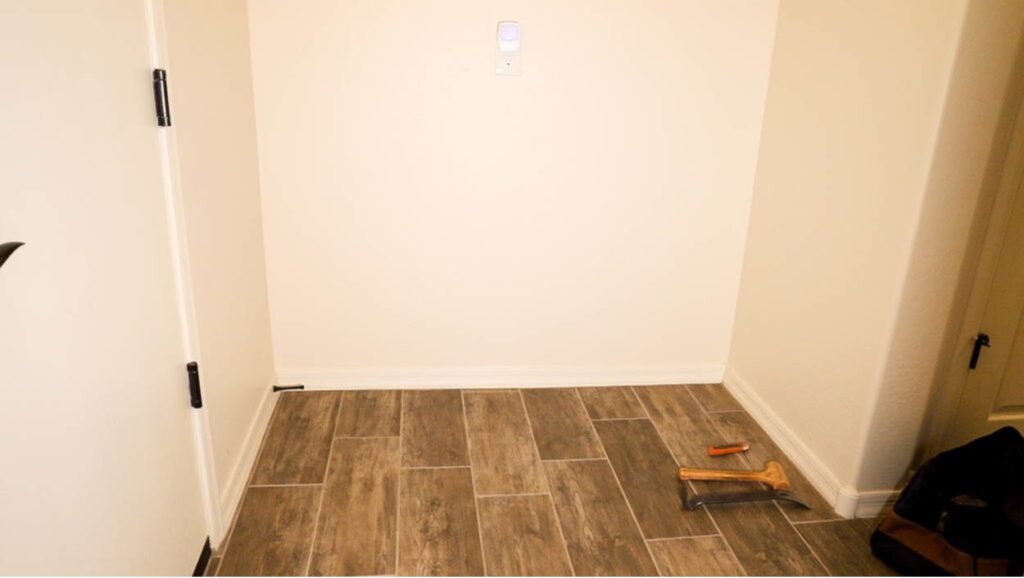
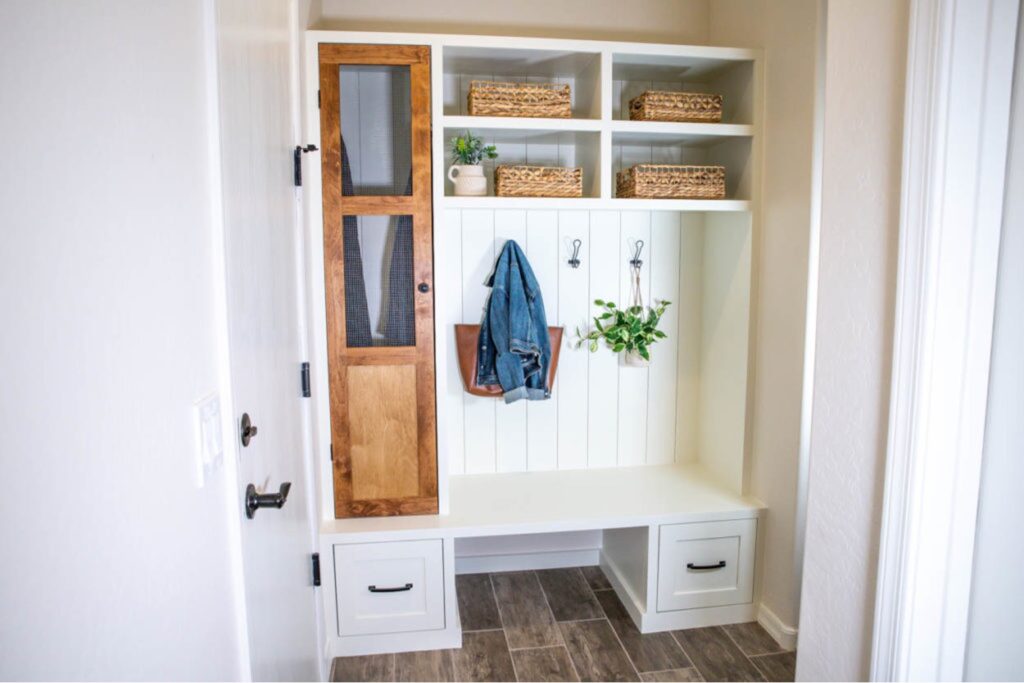
I built this mudroom at my mom’s house to transform a completely unused nook into a functional drop zone with a bench, drawers, hooks, shelving and hidden cabinet storage. It was definitely one of those projects that challenged me along the way—mostly because I built it to fit the space very closely—but the finished result was absolutely worth it.
And if you’ve ever built anything into an existing space, you already know my favorite part about built-ins: trim, wood filler, caulk and paint can fix an impressive number of problems.
This project was created in partnership with DAP Products. All opinions and project ideas are my own.
Get the DIY Mudroom Plans
Want to build your own?
I put together printable DIY mudroom plans that include the supply list, cut list, measurements and step-by-step building instructions.
This design can be installed as a true built-in like mine or built as a freestanding mudroom unit. If you go the freestanding route, you can finish the exposed plywood edges with additional trim or veneer edge banding for a clean, furniture-style look.
Designing the Custom Mudroom
The goal for this space was to pack as much useful storage as possible into an otherwise wasted nook.
The finished mudroom includes:
- A built-in bench
- Two large storage drawers
- Hooks for coats, bags and backpacks
- Open upper cubbies
- A tall cabinet with additional hooks inside
- Faux shiplap backing
- Plenty of hidden and open storage
Because I was building the entire unit to fit an existing nook, getting accurate measurements before I started was especially important.
As you’ll see later, I may have measured the nook perfectly—but I forgot to think about something else that would become very important during installation.
More on that in a minute.
Cutting the Plywood
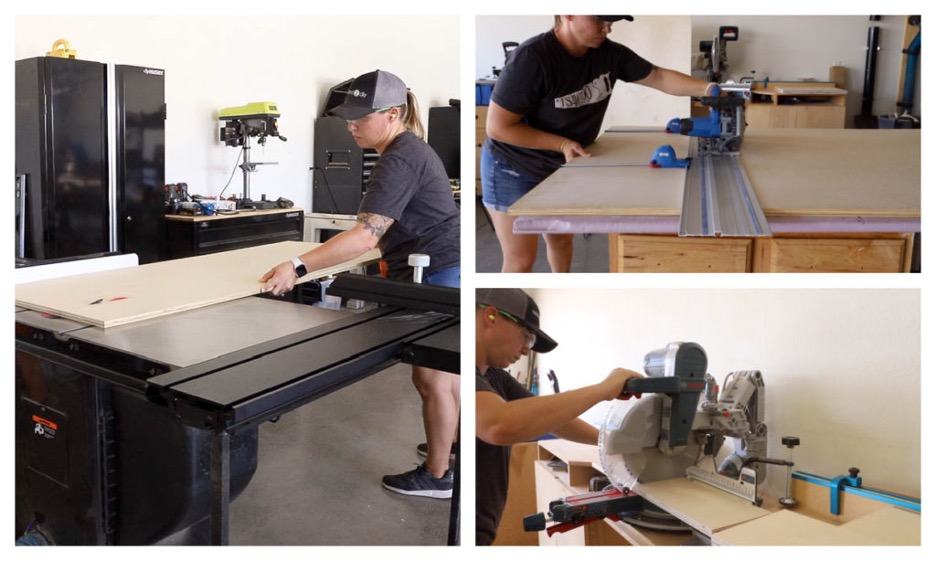
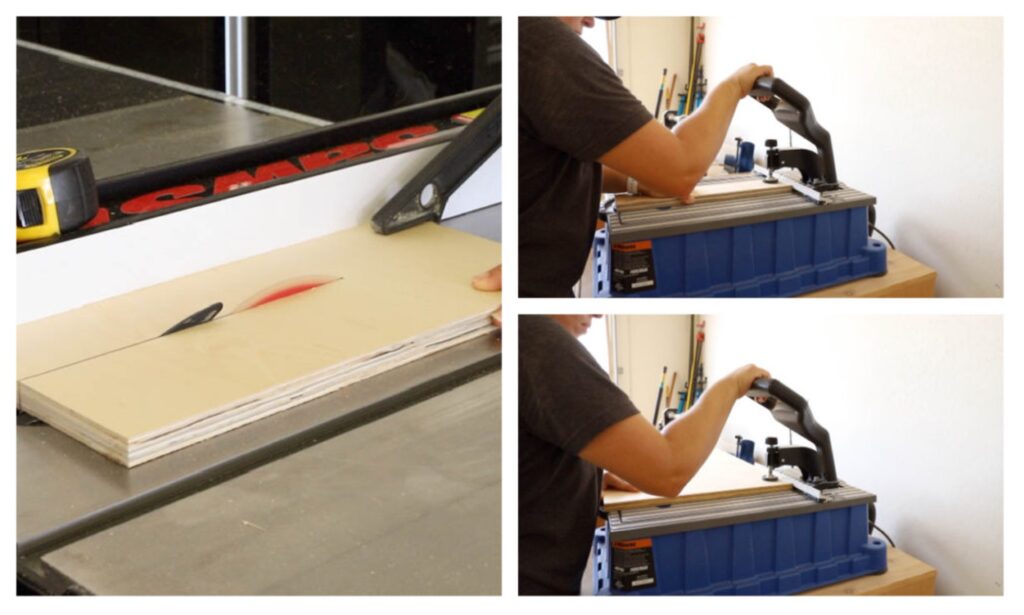
I started by breaking down all of the plywood for the mudroom.
I used a combination of my table saw, Kreg Adaptive Cutting System and miter saw. You definitely don’t need all of those tools to tackle a project like this, though.
If you don’t have a table saw or track saw, a circular saw paired with a cutting guide such as the Kreg Rip-Cut or Accu-Cut is another great way to break down full sheets of plywood.
Once everything was cut to size, I could start assembling the lower bench base.
Building the Mudroom Bench Base
I cut the stretchers for the base and drilled pocket holes into each one. I also drilled pocket holes along the top edges of the base side panels.
Those upper pocket holes are important because they’ll be used later to secure the bench top.
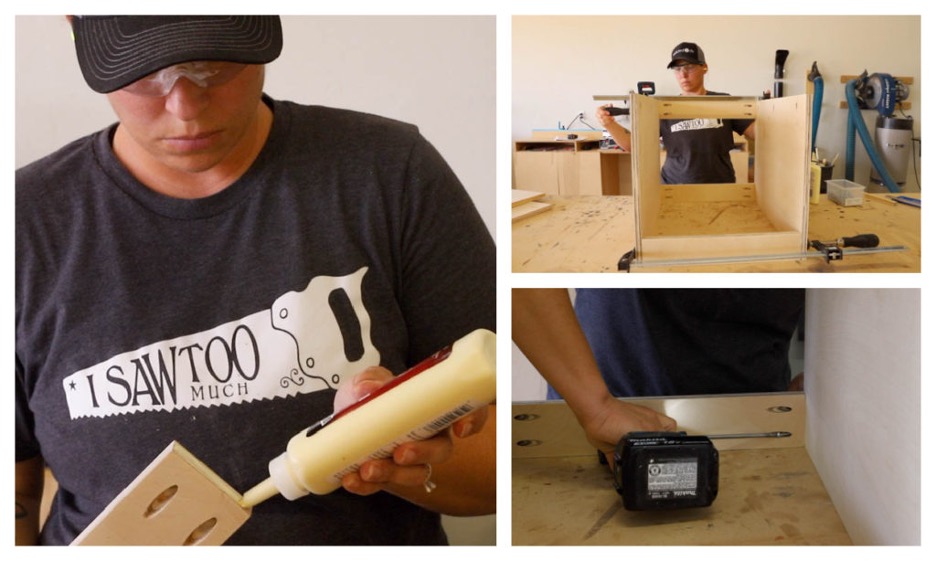
For assembly, I applied DAP Weldwood Wood Glue to the ends of the stretchers, clamped everything together and attached the pieces with 1 1/4-inch pocket screws.
I use Weldwood Wood Glue on a ton of my woodworking projects because it gives me a strong joint and sets up quickly.
Which is fantastic—unless I realize five minutes later that I assembled something incorrectly. Then that strong bond becomes slightly less exciting.
I installed two stretchers across the back of the base and one along the lower front.
With the bench bases assembled, I moved on to the much larger upper mudroom unit.
Building the Upper Mudroom Storage
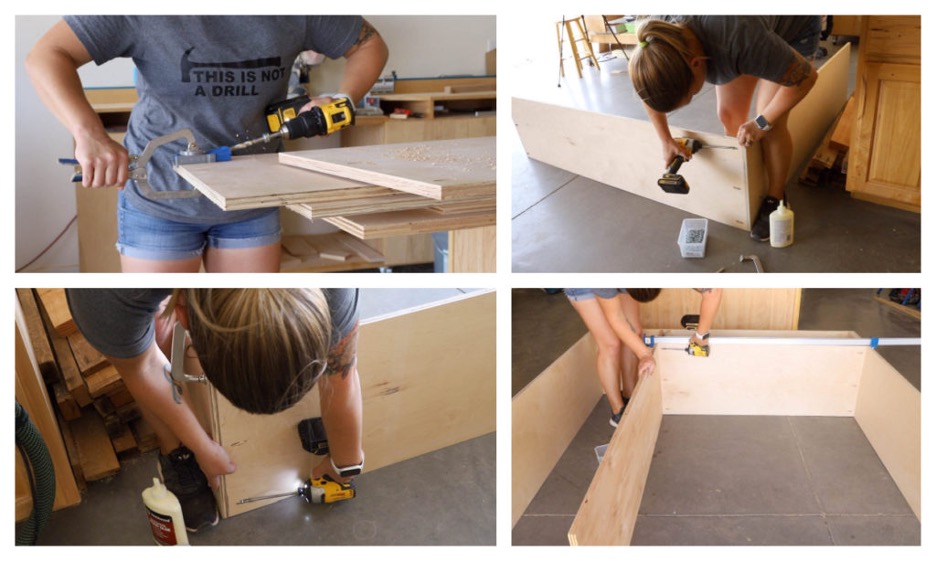
The upper portion of the mudroom is essentially one large cabinet carcass divided into cubbies and storage compartments.
I drilled all of my pocket holes first and then assembled the main structure with wood glue and 1 1/4-inch pocket screws.
One trick that made assembly much easier was using the shelves and dividers as spacers as I worked. This helped me keep the openings consistent without constantly stopping to measure.
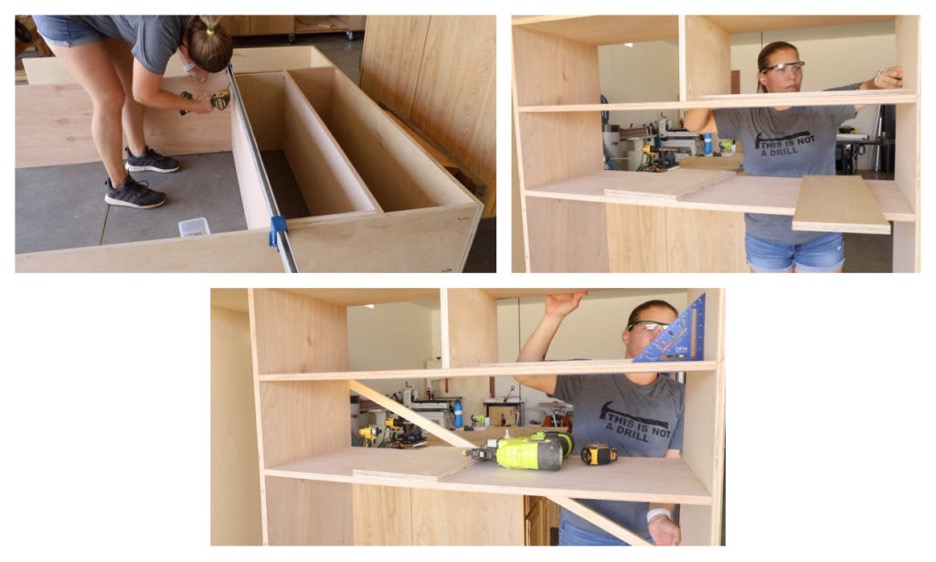
I attached the shelves and dividers with 1 1/4-inch pocket screws.
To help keep the entire unit square while I installed the center dividers, I temporarily nailed a scrap 1×2 across the back. Once everything was securely assembled, the temporary brace could be removed.
Adding the Faux Shiplap Back
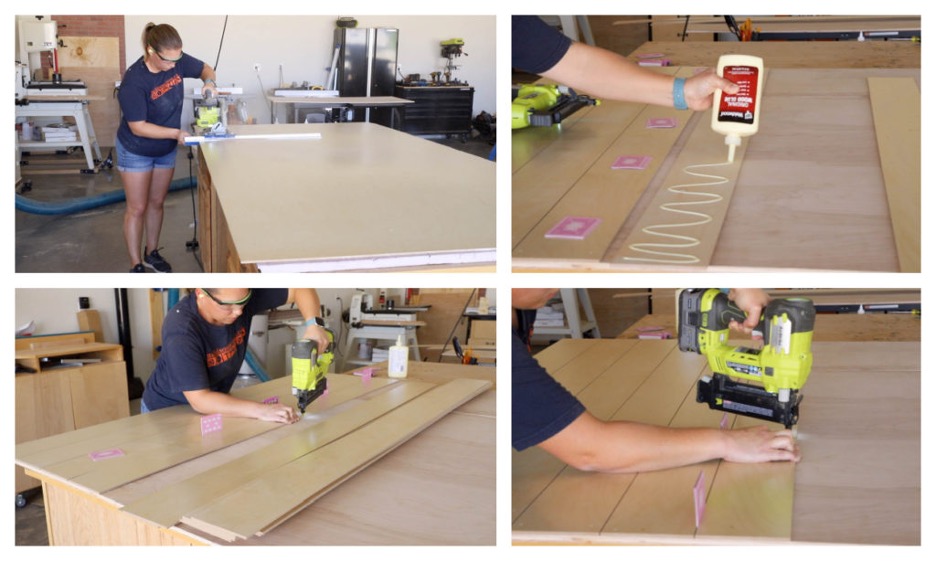
Rather than using traditional shiplap boards, I created a lightweight faux shiplap backing using plywood.
The main backing is made from 1/2-inch plywood. Because of the overall size of the mudroom, I needed two pieces to cover the entire back.
For the shiplap strips, I ripped 1/4-inch plywood into evenly sized strips.
And because apparently playing cards are also woodworking tools, I used stacks of cards as spacers to create consistent 1/8-inch gaps between each strip.
Each piece was glued and secured with 5/8-inch brad nails.
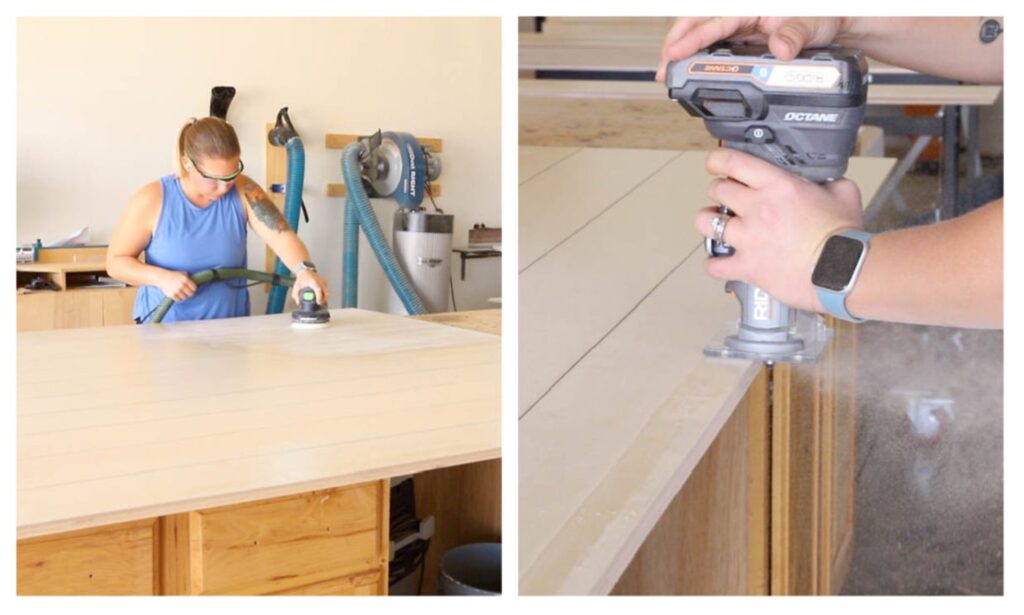
The plywood I purchased was prefinished, so I lightly sanded the surface with 220-grit sandpaper to scuff the finish and give the paint something to grab onto.
If you’re starting with regular unfinished plywood, you may not need this extra step.
A few of my shiplap strips extended slightly beyond the edge of the backing panel. I cleaned those up with a palm router and flush-trim bit so the edge of the panel was perfectly even.
Attaching the Back Panel
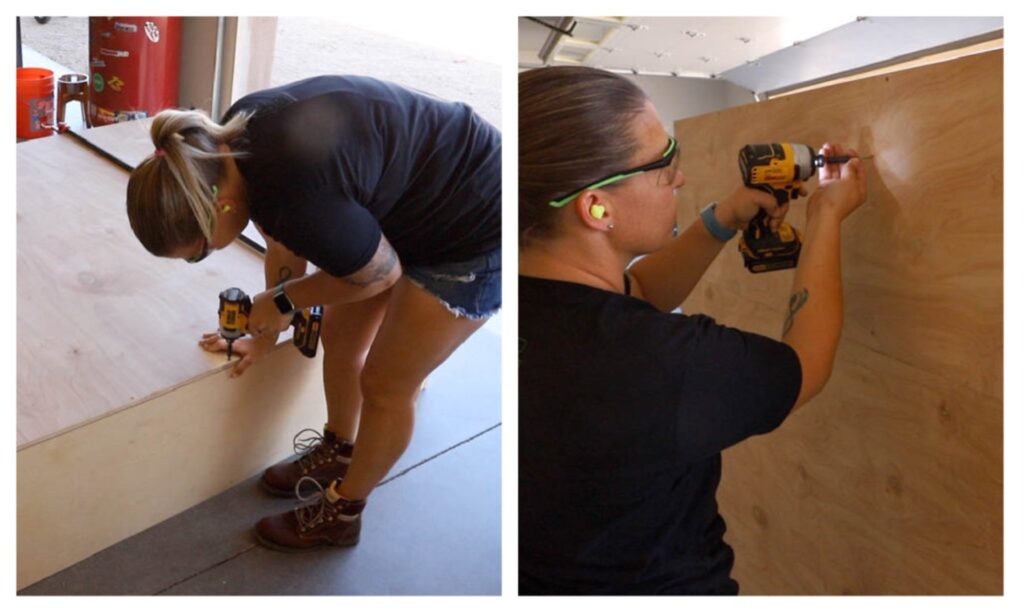
Once the faux shiplap panel was finished, I laid the upper cabinet face down on the floor.
I positioned the back panel over it, drilled countersunk pilot holes and secured the perimeter with 1 1/4-inch screws.
After the outside edges were attached, I stood the cabinet upright and measured the locations of the shelves and dividers so I could also secure the back panel through the center of the unit.
At this point, the main pieces of the mudroom were officially built.
Now I just had to get them into the house.
Easy, right?
Installing the Built-In Mudroom
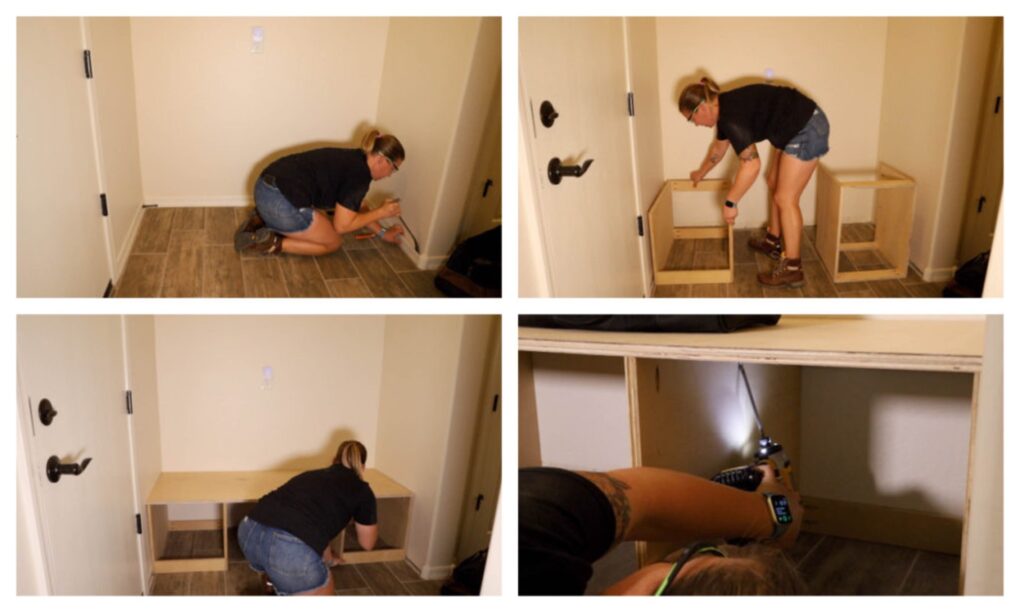
Before installation, I removed the existing baseboards from the nook.
The lower bases went in first. Once they were positioned correctly, I set the bench top in place and secured it from underneath using the pocket holes I had drilled earlier.
Then came the upper cabinet.
And this is where things got interesting.
I had built the cabinet to fit the nook almost perfectly. What I hadn’t accounted for was the trim around the nearby garage entry door.
There was simply no way to maneuver this giant cabinet around the door casing and into the opening.
So we removed the door trim.
Then the door.
Then the hinges.
There may have also been a few words spoken during this process that won’t be appearing in this tutorial.
Eventually, though, we got the upper cabinet into the nook.
Lesson learned: When you’re measuring for a large built-in, don’t just measure the finished opening. Think about the path the cabinet has to travel to actually get into that opening.
Filling Pocket Holes and Nail Holes
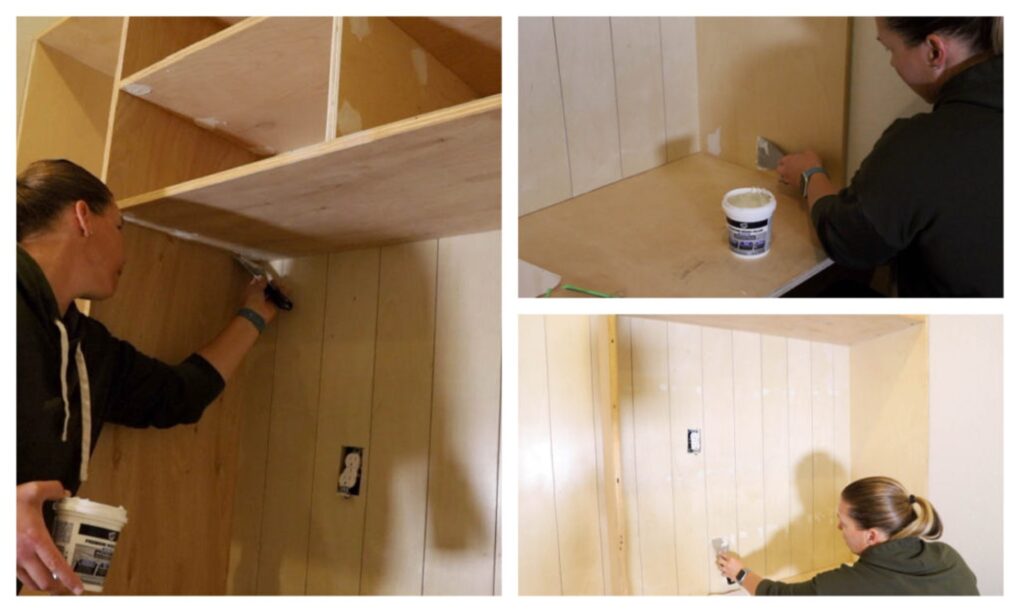
With the main unit installed, it was time to start making everything look like one seamless built-in.
I filled the pocket holes, screw holes and nail holes with DAP Premium Wood Filler.
For deep pocket holes, I usually need about two applications. I let the first layer dry, sand it smooth and then add another thin layer as needed.
I did this before installing the face frame on the upper cabinet, which made sanding everything much easier.
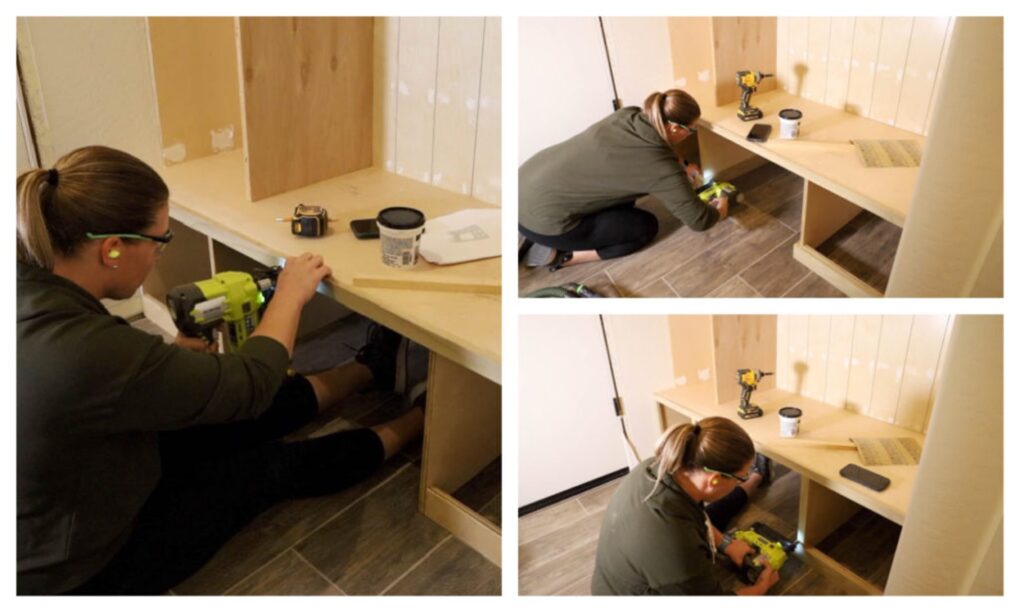
While the filler dried, I installed the face frame around the mudroom bench using 1 1/4-inch brad nails.
Once the upper cabinet was sanded smooth, I installed its face frame and filled the remaining nail holes.
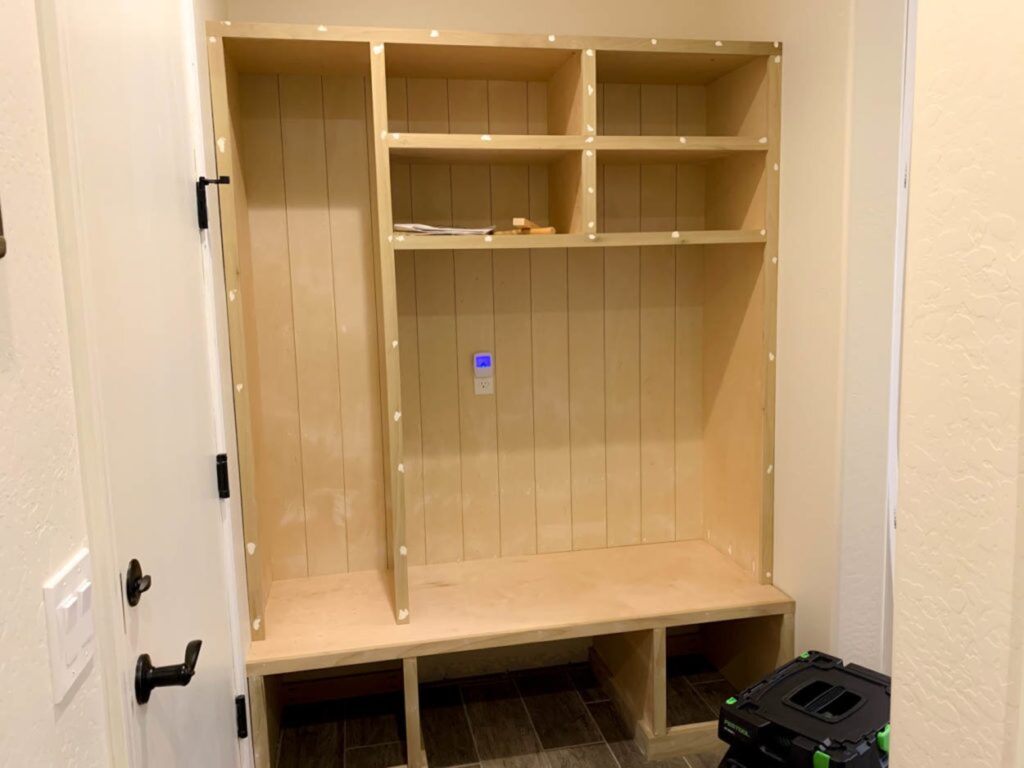
This is the stage when the project really starts transforming from plywood boxes into something that looks custom-built.
Caulking the Built-In
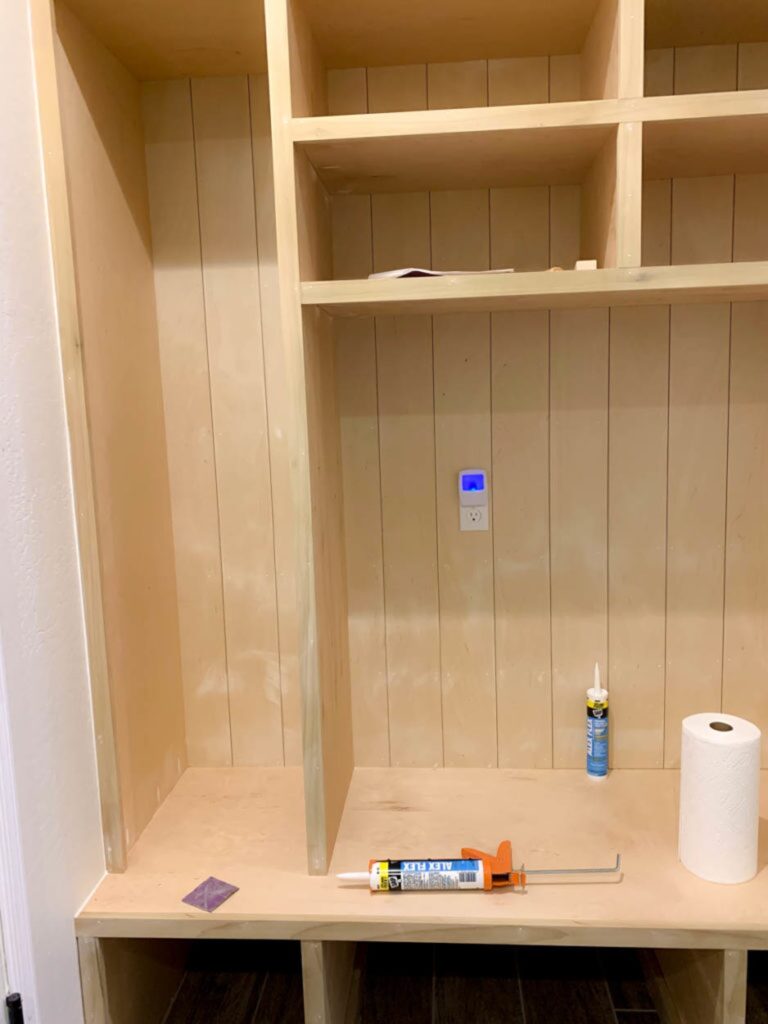
After all of the wood filler was dry and sanded, I caulked the seams with DAP ALEX FLEX.
I ran caulk along the edges of the built-in, around the trim and where the vertical panels met the bench top.
Caulking those small gaps makes a huge difference on a painted built-in. It visually connects all of the individual pieces and gives the finished project a much cleaner, seamless appearance.
Painting the Mudroom
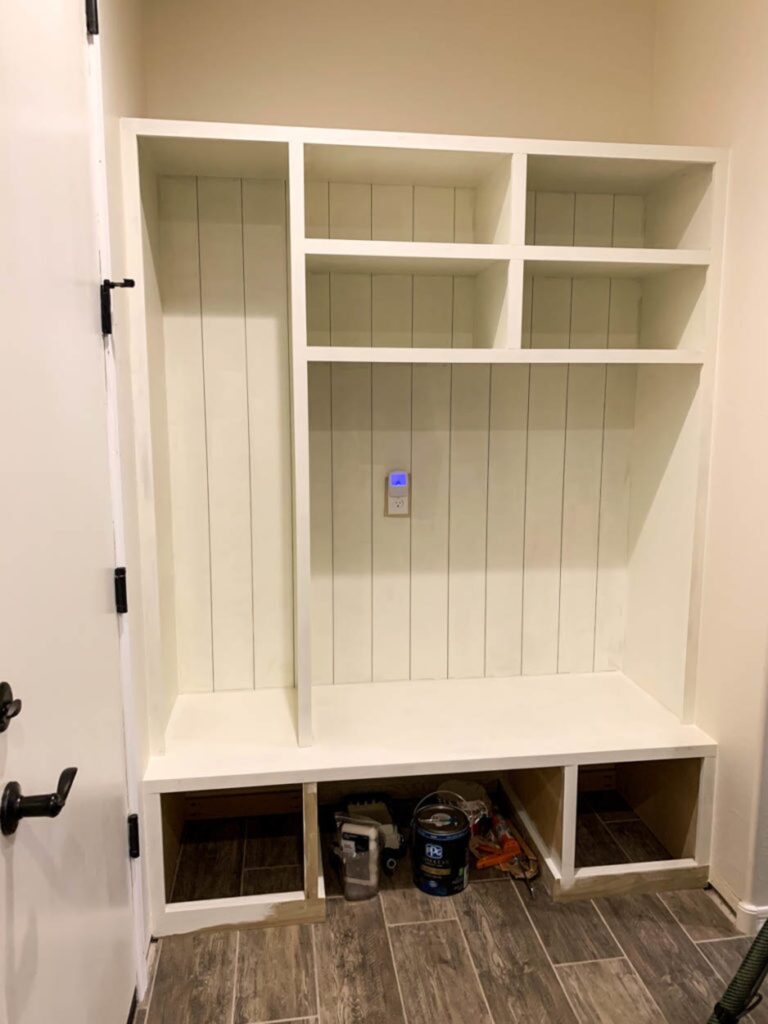
I painted the entire built-in to match the existing trim in my mom’s house.
The color is PPG Macaroon Cream, and it took three coats of paint to get the finish I wanted.
Once the paint was finished, I could finally move on to the drawers and cabinet door.
Or, more accurately, move on to rebuilding the drawers.
Building the Mudroom Drawers
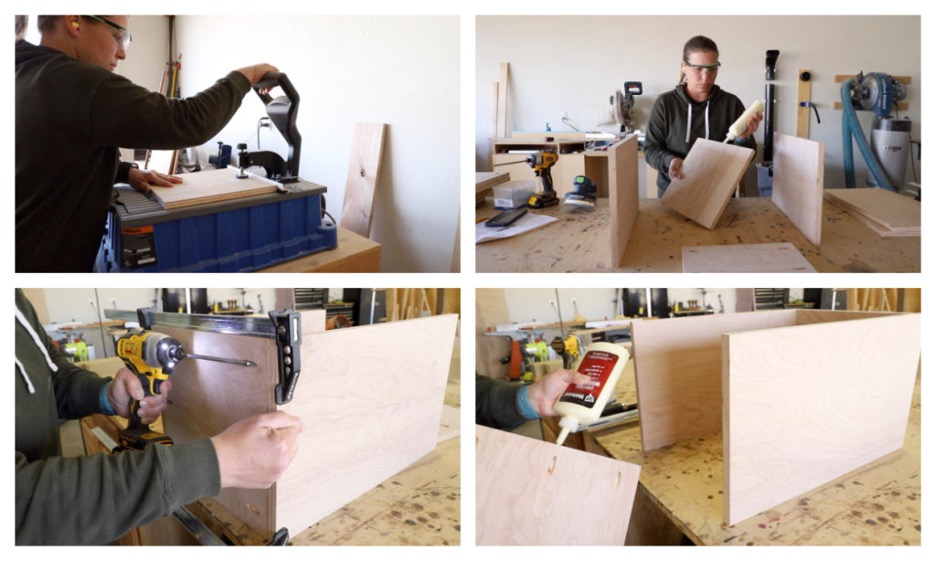
My original design didn’t include a face frame around the lower drawer openings.
Once I ran into the issue with the garage door trim, however, I had to make a few changes to the design.
That meant rebuilding the drawers slightly smaller and adding plywood shims inside the drawer openings so I had a flush surface for installing the drawer slides.
Not ideal, but that’s part of custom building sometimes.
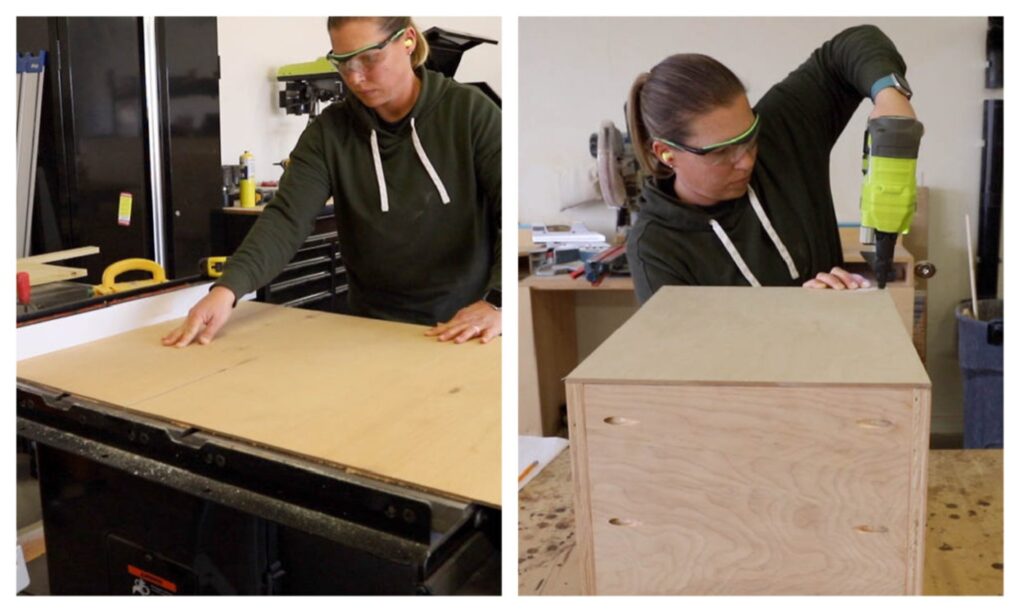
The drawer boxes are made from 3/4-inch plywood with 1/4-inch plywood bottoms.
I glued the bottoms in place and secured them with narrow crown staples. You could also use brad nails, but I like the extra bite I get from staples for drawer bottoms.
Building the Drawer Fronts
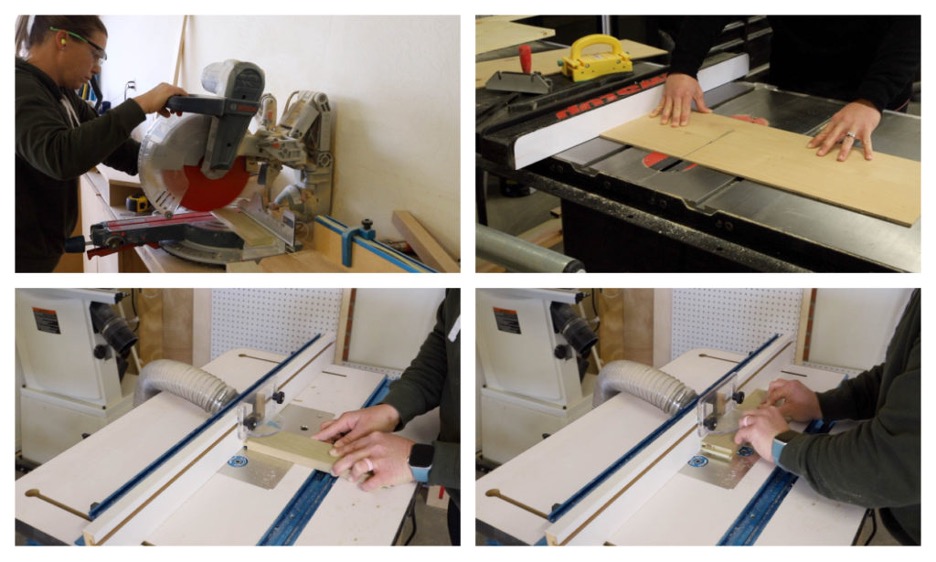
For the drawer fronts, I cut poplar rails and stiles along with 1/4-inch plywood panels.
I used a tongue-and-groove router bit to create the joinery for the frame.
You don’t need a huge router table to build drawer fronts this way. For years, I used a small benchtop RYOBI router table with the same type of bit for cabinet doors and drawer fronts.
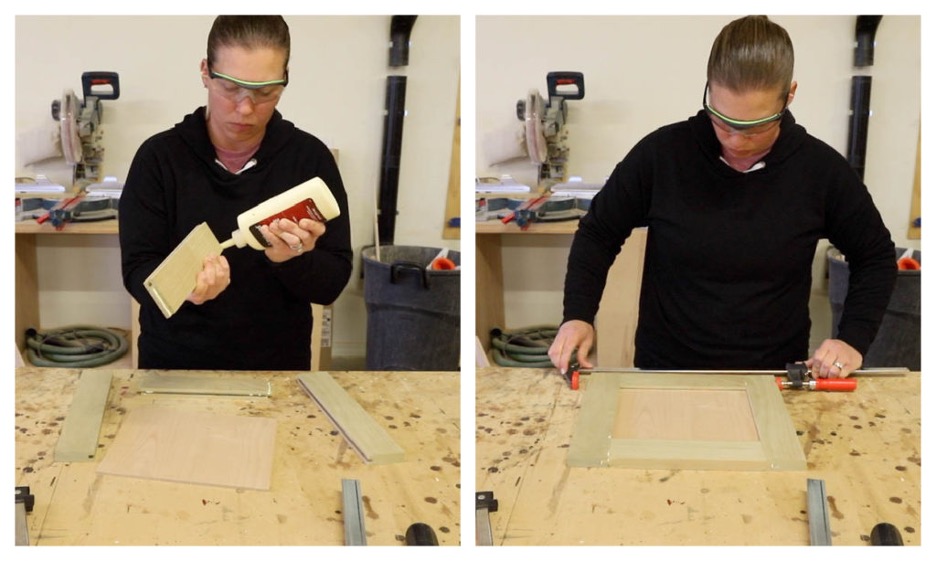
After routing all of the pieces, I glued and clamped the drawer fronts together and set them aside to dry.
Once they were dry, I sanded everything smooth.
There was a little bit of tearout from the router in a few areas, so I filled those spots with wood filler, sanded again and then painted the drawer fronts with three coats of paint to match the built-in.
Building the Cabinet Door
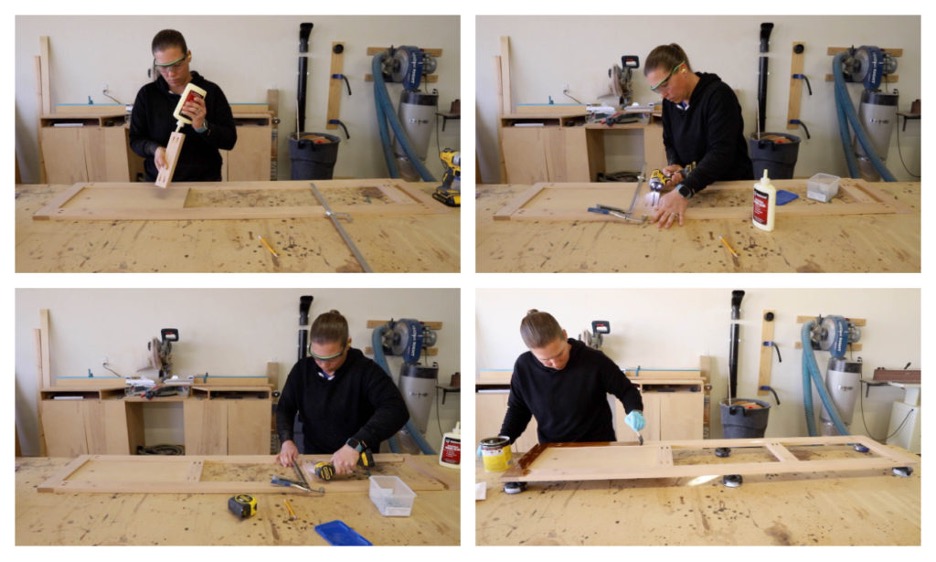
The tall cabinet door combines a traditional wood frame with a solid lower panel and wire mesh at the top.
I cut the rails and stiles to size and drilled pocket holes into the stiles and the two center rails.
I then routed a 3/8-inch-deep groove into the frame pieces that surround the lower plywood panel. This allows the panel to sit neatly inside the door frame.
I assembled everything with wood glue and 1 1/4-inch pocket screws.
Rather than painting the door to match the rest of the mudroom, I stained it with Golden Oak stain to bring some warm wood tone into the design.
Once the stain was dry, I protected it with several coats of Minwax Wipe-On Polyurethane in a satin sheen.
Adding Wire Mesh to the Door
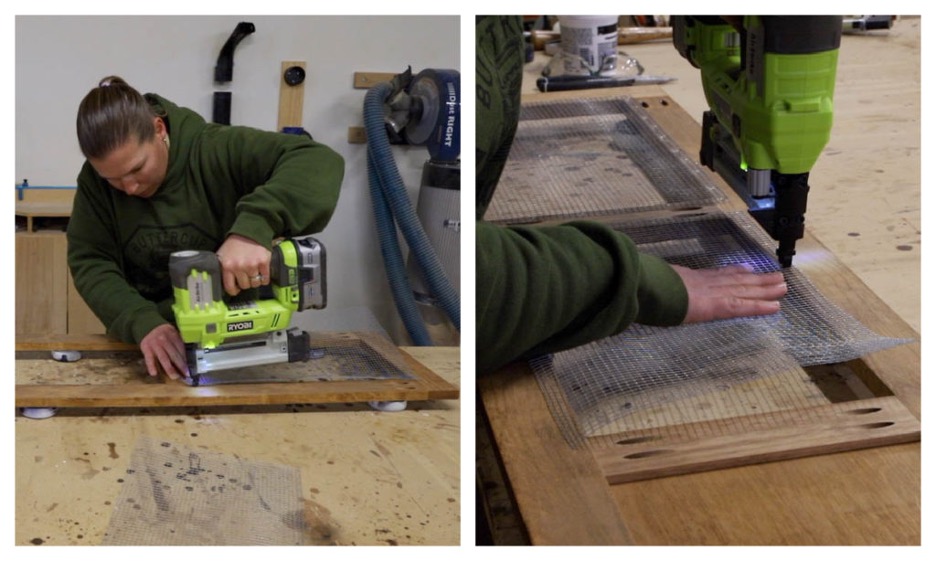
After the finish had dried completely, I cut the wire mesh approximately 3/4 inch larger than the opening on each side.
That overlap gave me enough material to secure the mesh to the back of the door with 3/4-inch narrow crown staples.
The combination of the warm wood door and wire mesh adds a little contrast to the otherwise painted mudroom and helps break up the large built-in.
Installing the Drawers and Cabinet Door
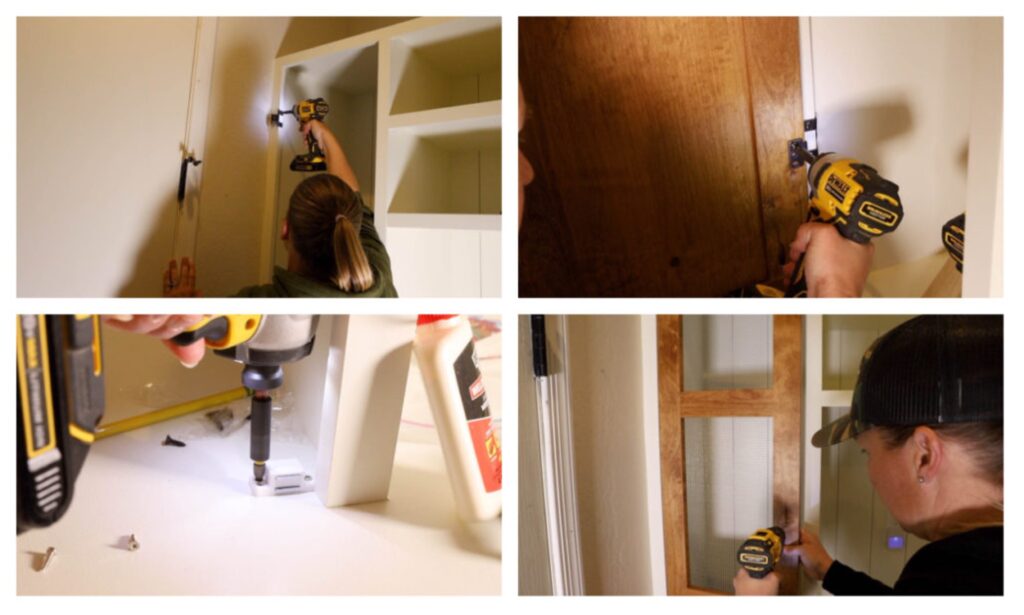
For the cabinet door, I used partial-wrap hinges along with magnetic catches at the top and bottom.
At the top of the cabinet opening, I added a small piece of 3/4-inch blocking flush with the lower edge of the face frame. That gave me somewhere to mount the upper magnetic catch.
Once the door was hung and aligned, I drilled the hole for the knob.
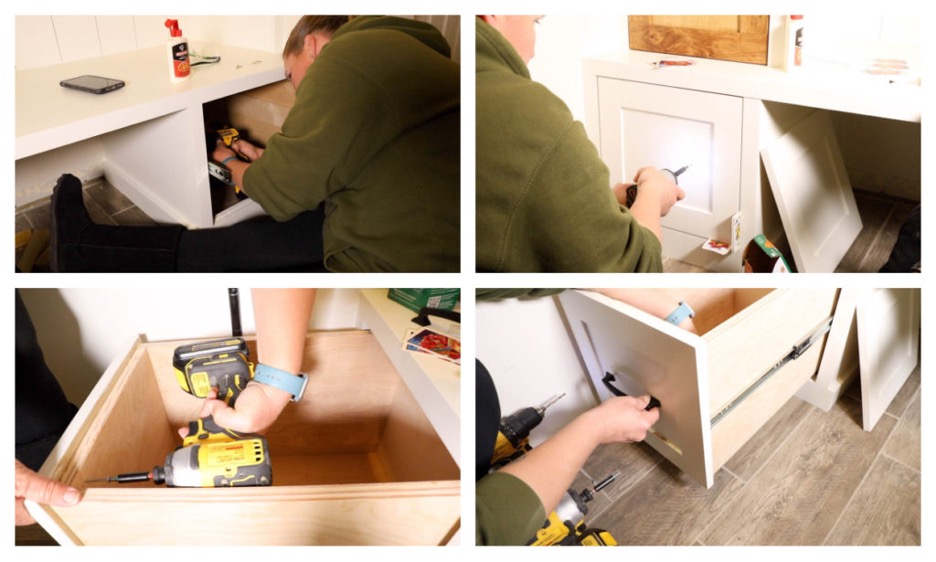
For the drawers, I installed 20-inch side-mount drawer slides.
Once again, my trusty stack of playing cards came in handy for setting consistent gaps around the drawer fronts.
With each drawer front positioned correctly, I temporarily drove 1 1/4-inch wood screws through the marked handle locations and into the drawer box.
Then I pulled the drawer out and permanently attached the drawer front from inside the box with screws at all four corners.
After the front was secure, I drilled the final holes for the drawer hardware.
Finishing the Mudroom
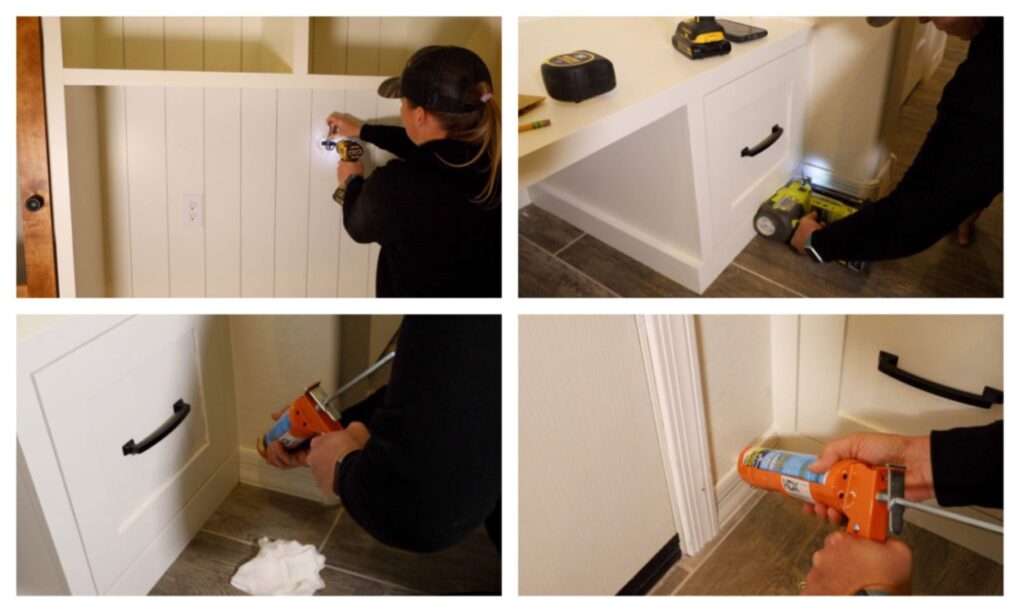
The last few details were what finally made the space functional.
I added hooks to the faux shiplap panel for jackets, bags and backpacks and installed additional hooks inside the tall cabinet for more hidden storage.
Then I reinstalled the baseboards I had removed during installation.
A final round of caulk and paint touchups finished everything off.
And after a few unexpected installation challenges, the custom mudroom was officially done.
Finished DIY Mudroom Built-In
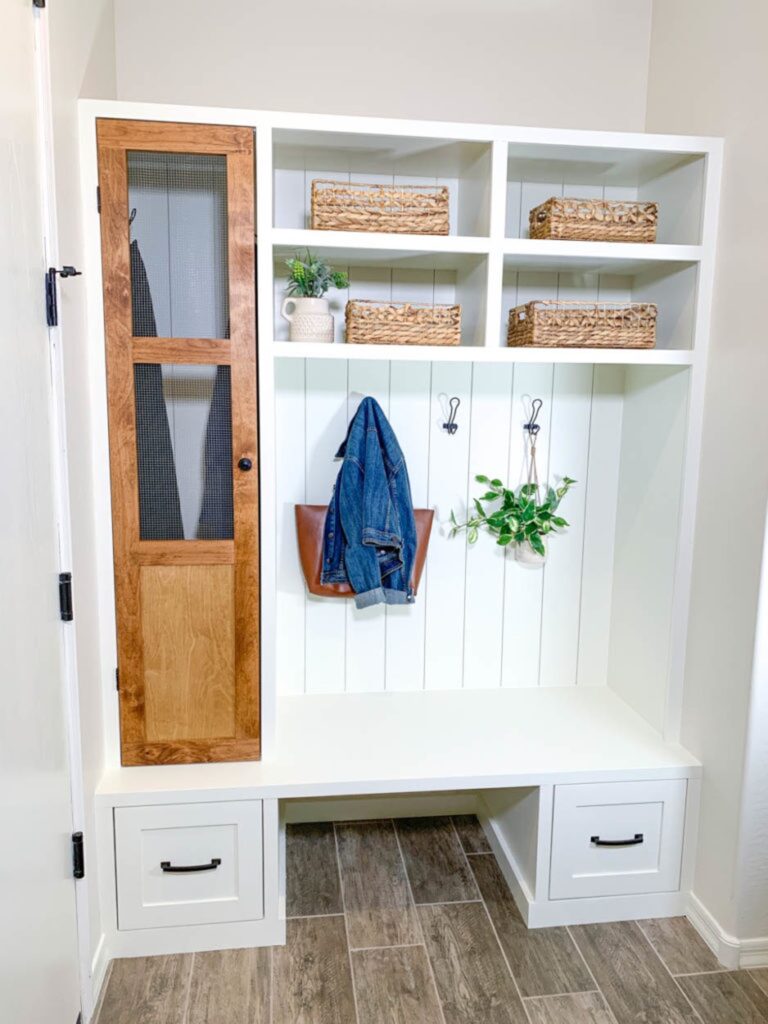
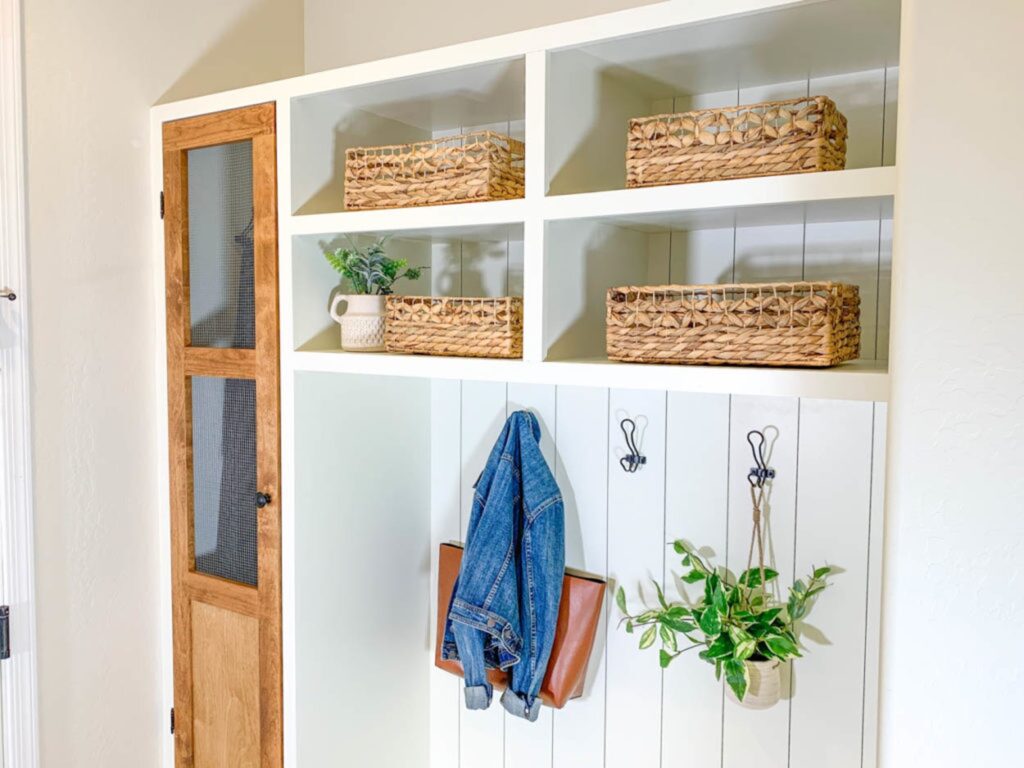
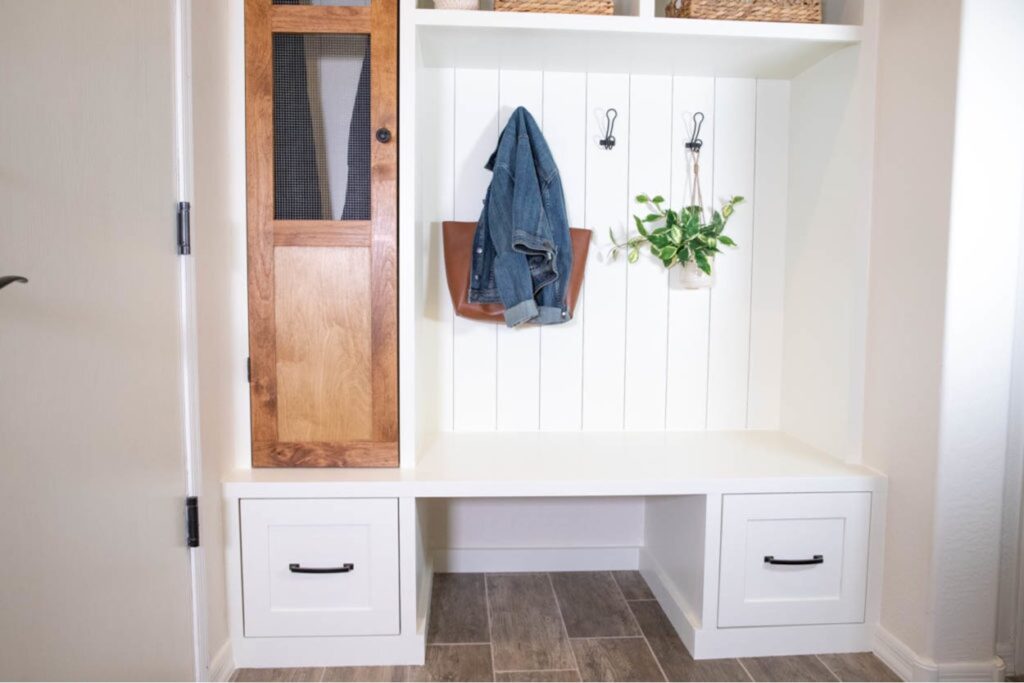
I am so happy with how this space turned out.
Before this project, the nook was basically wasted square footage. Now it has a built-in bench, large drawers, hooks, shelving, cubbies and hidden cabinet storage—all within the same footprint.
It’s a great example of how much function you can add to an awkward or unused space with a custom built-in.
And while this particular mudroom was designed specifically for my mom’s house, the basic design can easily be adapted for an entryway, garage entrance, laundry room or even a freestanding mudroom locker system.
DIY Mudroom Built-In FAQs
Can this mudroom be built as a freestanding unit?
Yes. Although I installed mine as a built-in, the same basic design can be built as a freestanding mudroom. You’ll simply need to finish any exposed plywood edges with trim or edge banding.
Do I need a table saw to build this mudroom?
No. A table saw makes breaking down plywood convenient, but you can also use a circular saw with a straightedge or cutting guide. A Kreg Rip-Cut or Accu-Cut are both options for cutting large sheet goods.
How did you make the faux shiplap?
I used 1/2-inch plywood for the main backing panel and strips of 1/4-inch plywood for the faux shiplap. The strips were spaced approximately 1/8 inch apart, then glued and secured with brad nails.
How do you make a painted built-in look seamless?
Careful sanding, face-frame trim, wood filler and paintable caulk make a huge difference. I filled all of the pocket holes and nail holes first, sanded everything smooth and then caulked the seams where the trim and panels met before painting.
What kind of storage does this mudroom have?
This mudroom includes two large drawers, open cubbies and shelving, hooks above the bench and additional hidden hanging storage inside the tall cabinet.
Build Your Own Custom Mudroom
If you’ve got an empty nook or awkward space that could use some extra storage, this DIY mudroom built-in is a great way to put that square footage to work.
You can build it as a permanent built-in or modify the design to create a freestanding mudroom storage unit.
[GET THE PRINTABLE DIY MUDROOM PLANS]
The plans include the measurements, cut list, supply list and step-by-step instructions to help you build your own.
You can also find more furniture and woodworking projects on my Printable Plans page.
Disclosure: I was provided product and/or compensation for this project. All ideas and opinions are 100% my own.