DIY Nightstand With Floating Top
Learn how to build a DIY nightstand with a faux floating top for around $100. This modern nightstand includes a storage drawer and pull-out tray, making it both stylish and functional for a bedroom or guest room.
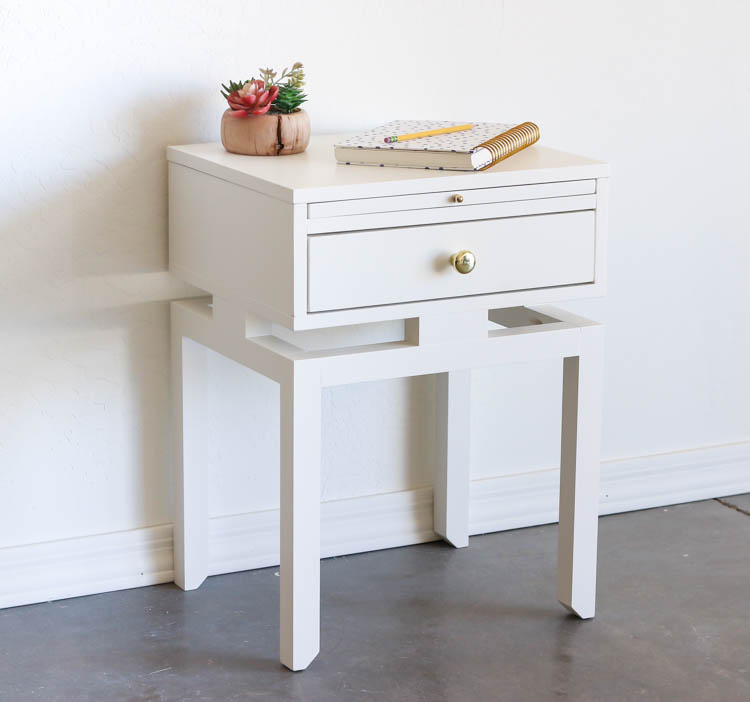
This DIY nightstand with a faux floating top is one of those projects that looks high-end without the expensive price tag. I originally built this nightstand back in 2018 for my youngest niece’s room, and I’m republishing the tutorial today with updated instructions to make it even easier to build.
The best part? You can still build this project for around $100 using plywood and basic lumber from your local home improvement store.
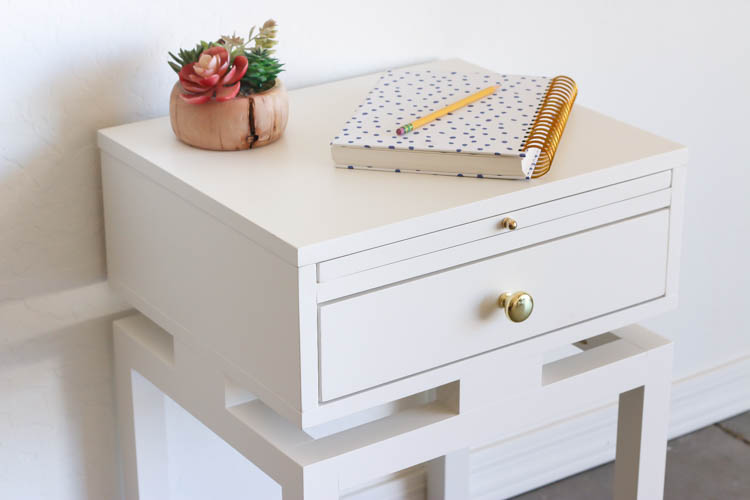
The faux floating top design, notched legs, and clean lines give this nightstand a light and modern look, while the storage drawer and pull-out tray add plenty of functionality. It’s a great DIY furniture project for a tween room, teen bedroom, guest room, or even a modern primary bedroom.
Be sure to download the printable plans before you get started!
How to Build a DIY Nightstand with a Faux Floating Top
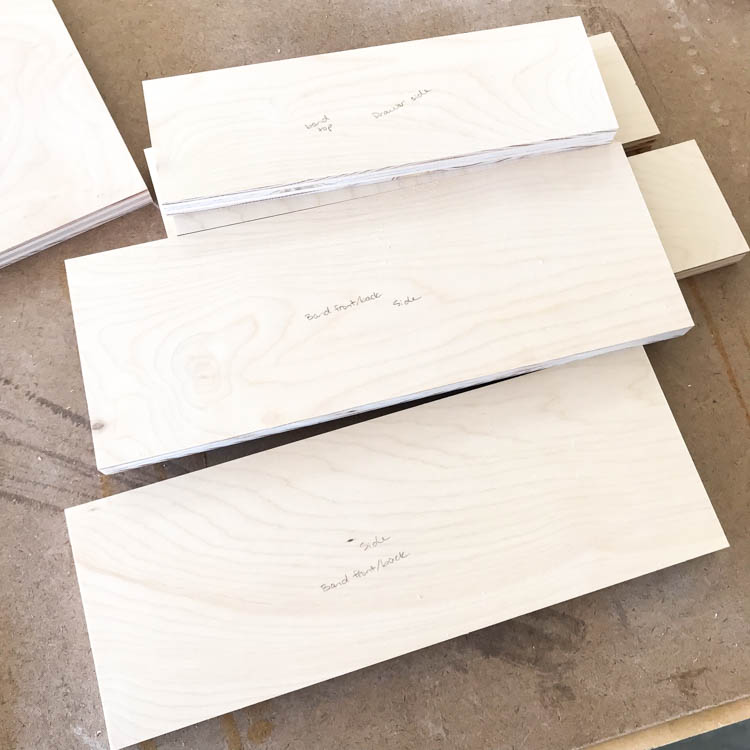
Step 1: Cut the Plywood Pieces
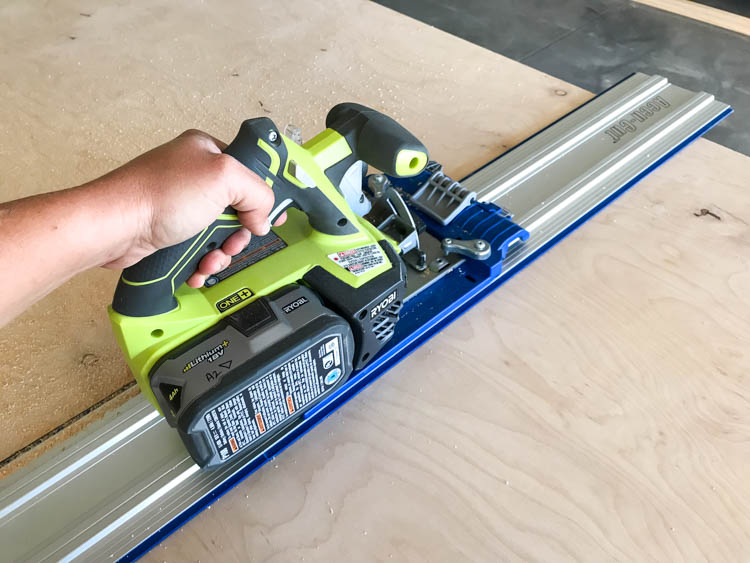
Cut all of the plywood pieces according to the printable plans. I highly recommend labeling each piece after cutting to keep the assembly process organized and help avoid mistakes later on.
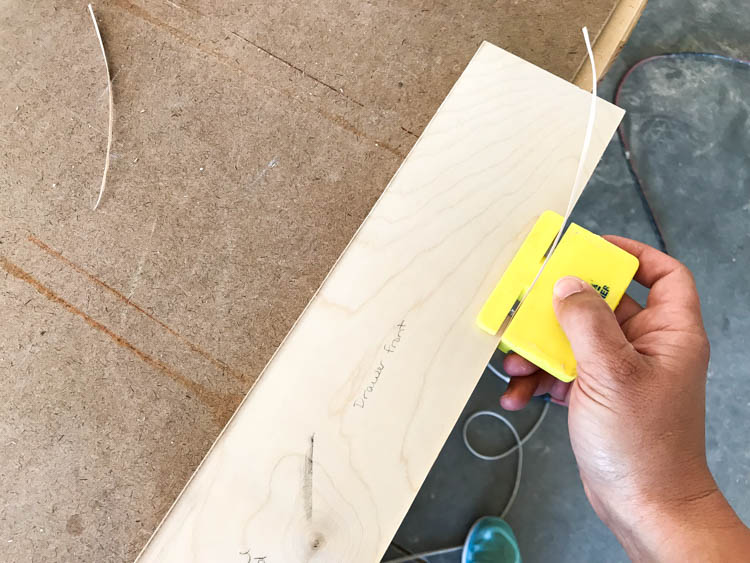
Step 2: Apply Veneer Edge Banding
Apply veneer edge banding to the plywood pieces as indicated in the plans. Once the banding has been applied, trim the excess and sand all of the pieces smooth with 220-grit sandpaper and an orbital sander.
Step 3: Notch the Legs
Measure and mark 3/4″ up from the bottom of each leg. Set your miter saw to a 45-degree angle and cut a notch on the inside edge of each leg for added detail and a more delicate furniture look.

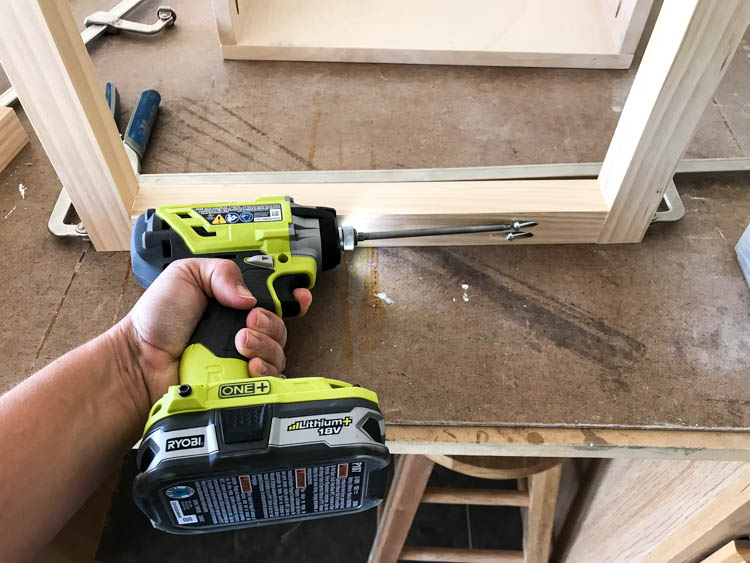
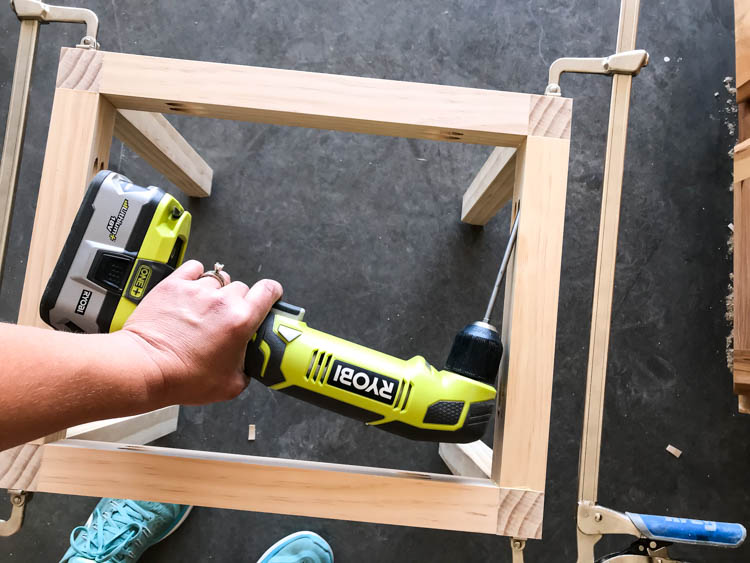
Step 4: Build the Nightstand Base
Drill 1 1/2″ pocket holes into the stretchers and assemble the base using 2 1/2″ pocket hole screws and wood glue. Make sure everything is square before fully tightening the screws.
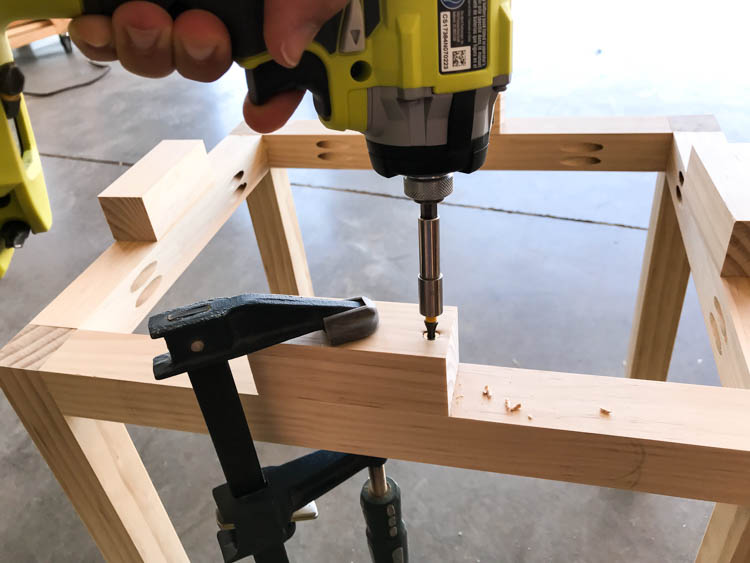
Step 5: Attach the Spacers
Center the 2×2 spacers on the front, back, and sides of the base. Attach them using wood glue and 2″ wood screws. Slightly countersink the screws so the nightstand top will sit flush over the spacers.
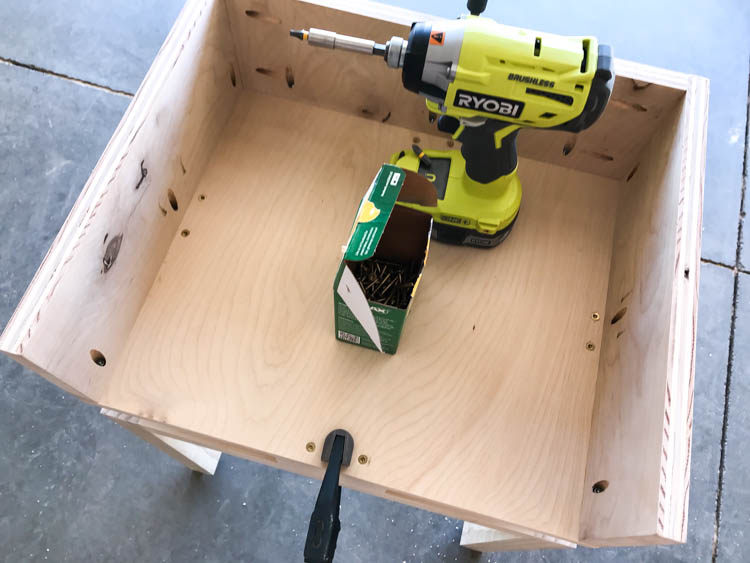
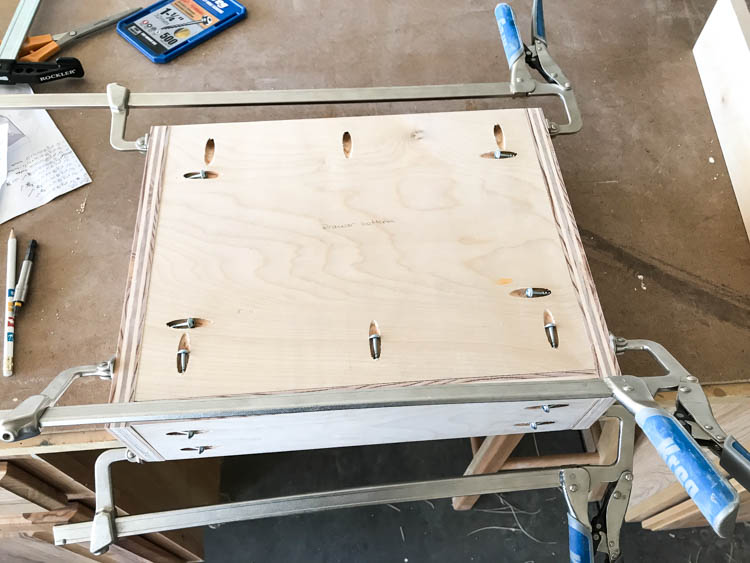
Step 6: Build the Nightstand Box
Drill 3/4″ pocket holes into the side and back pieces. Attach the back piece to the sides using wood glue and 1 1/4″ pocket hole screws.
Next, attach the assembled sides and back to the bottom panel using wood glue and pocket hole screws.
Once assembled, apply glue to the spacers on the base and position the nightstand box on top. Secure it with 1 1/4″ wood screws.
Step 7: Attach the Face Frame
Drill 3/4″ pocket holes into each end of the 1×2 face frame piece. Attach it flush with the front edges of the nightstand sides, positioning it 7/8″ down from the top edge.
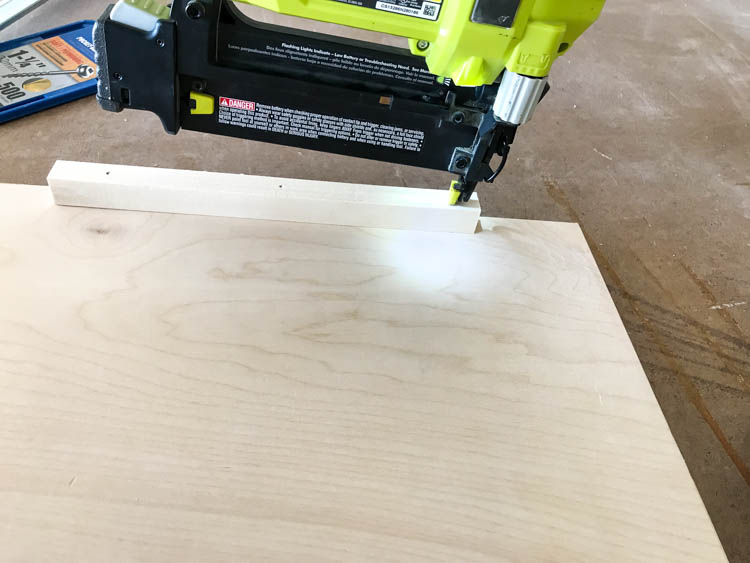
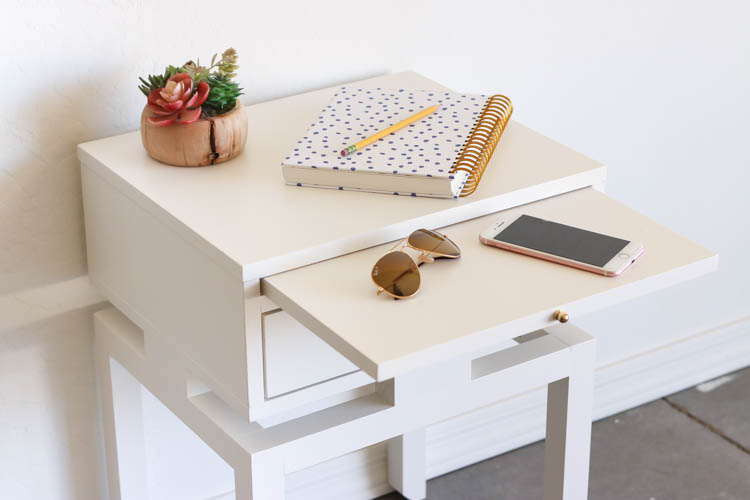
Step 8: Install the Tray Supports
Measure and mark 7/8″ down from the top on each side of the nightstand. Attach the dowel supports using wood glue and 1 1/4″ brad nails. These supports will hold the pull-out tray.
Step 9: Attach the Tray Stop
Secure the 3/4″ square dowel stop to the back of the tray using wood glue and 1 1/4″ brad nails. The stop should sit flush with the back edge of the tray.
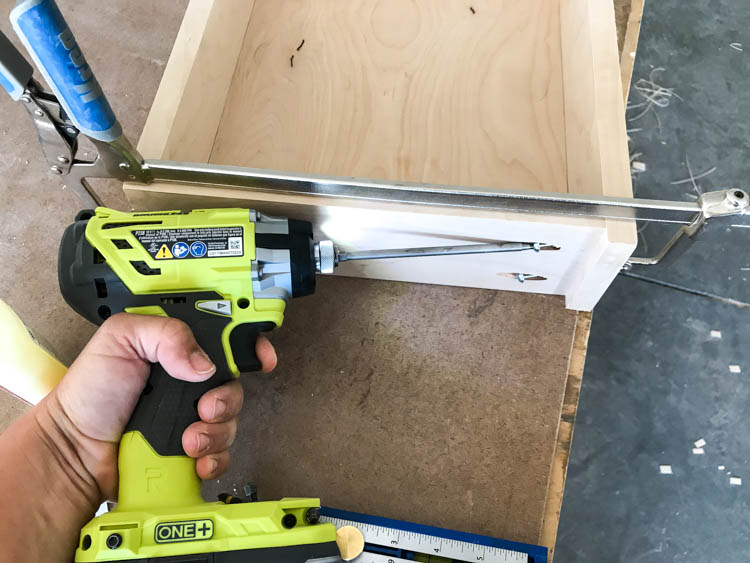
Step 10: Build the Drawer
Drill 3/4″ pocket holes into the drawer bottom, drawer sides, and drawer back according to the plans. Assemble the drawer using wood glue and 1 1/4″ pocket hole screws.
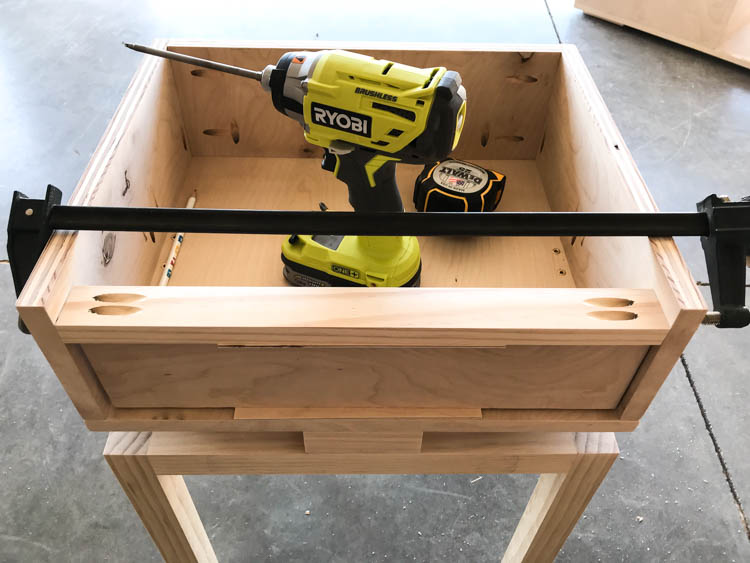
Step 11: Attach the Drawer Front
Center the drawer front so there is a 3/8″ overhang on both sides. Clamp it in place, then secure it with wood glue and 1 1/4″ screws from inside the drawer box.
Step 12: Paint or Stain the Nightstand
Before final assembly, paint or stain all of the nightstand pieces. Allow everything to dry completely before moving on to the final steps.
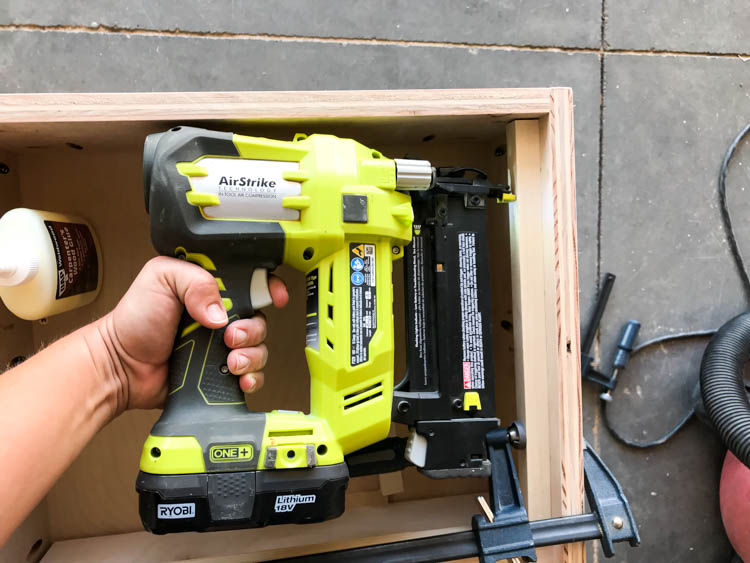
Step 13: Attach the Top
Place the pull-out tray into position first. Apply wood glue along the top edges of the sides and back, then position the top panel and clamp it in place. Secure the top using 1 1/4″ brad nails.

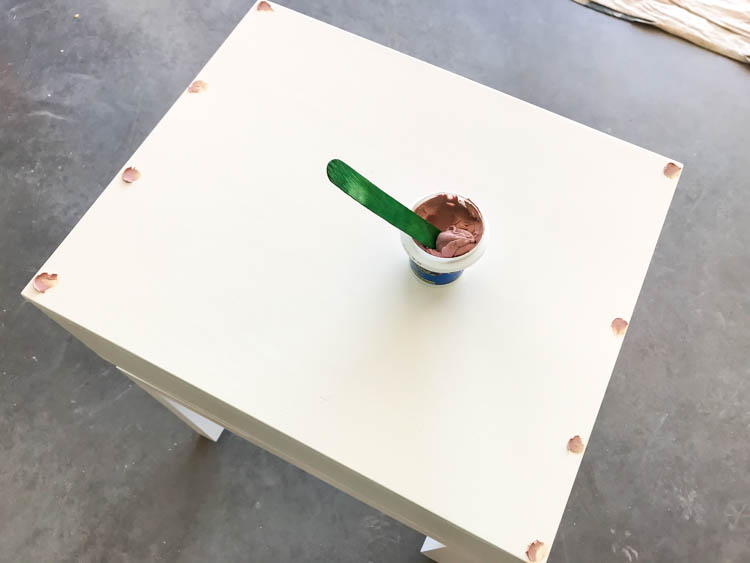
Step 14: Fill Nail Holes and Install the Drawer
Fill all nail holes with wood filler and allow it to dry completely. Sand smooth and touch up the finish as needed.
Install the drawer slides and slide the drawer into place to complete the nightstand.
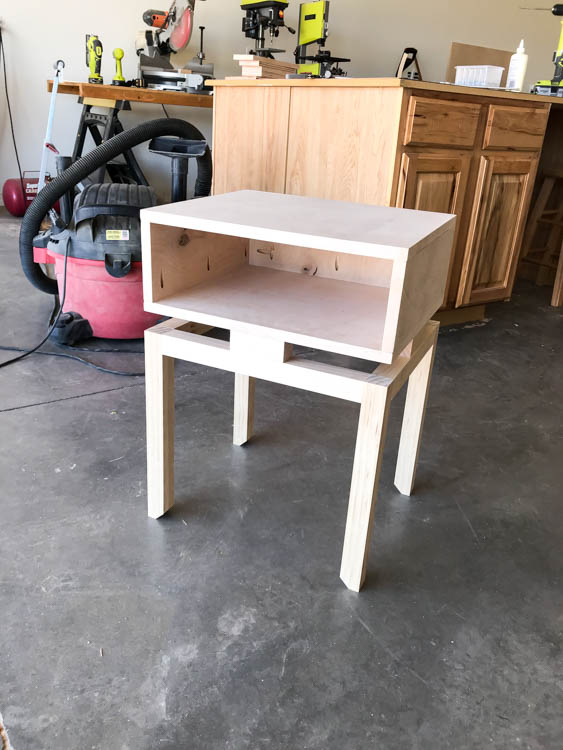
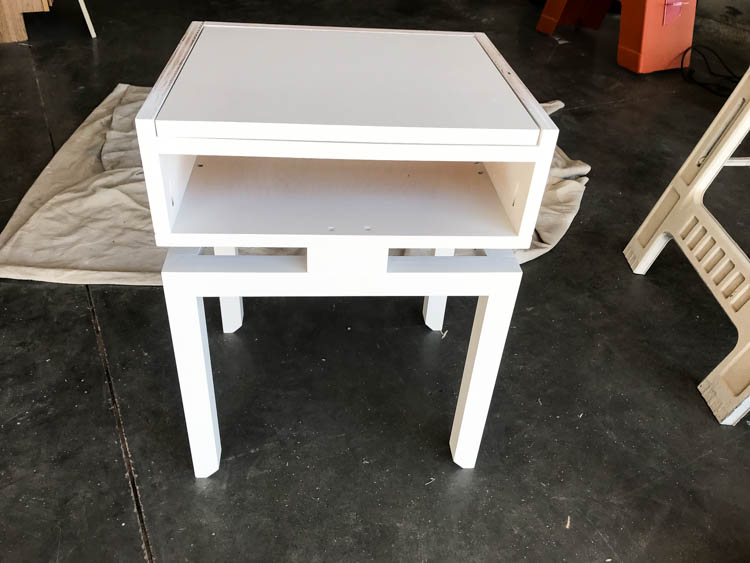
DIY Nightstand with Faux Floating Top
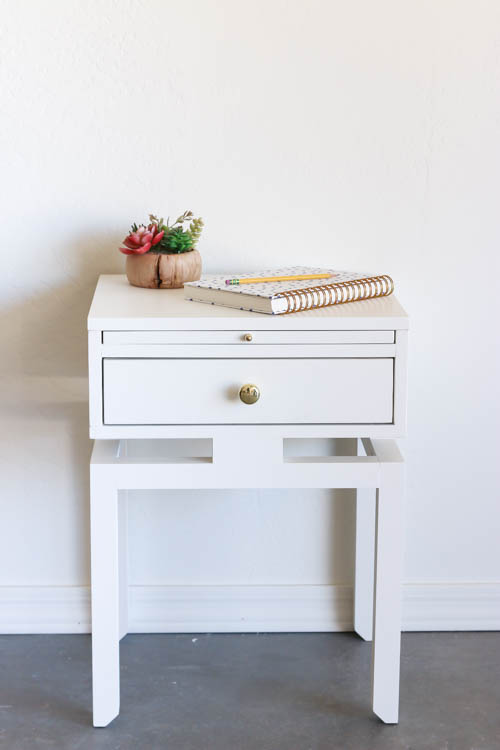
This DIY nightstand is a great beginner-to-intermediate woodworking project that combines modern style with practical storage. The faux floating top detail gives it a custom furniture look, while the pull-out tray and drawer make it functional for everyday use.
If you decide to build this project, be sure to download the printable plans. I always love seeing your finished builds, so feel free to tag me on social media or send me a photo of your project!