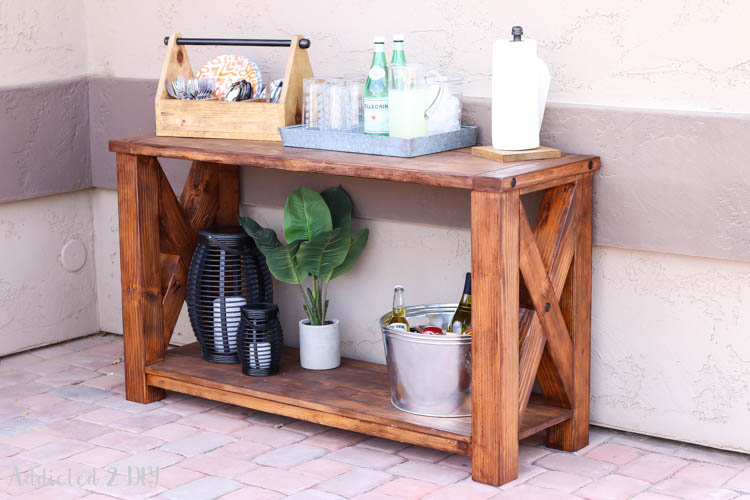
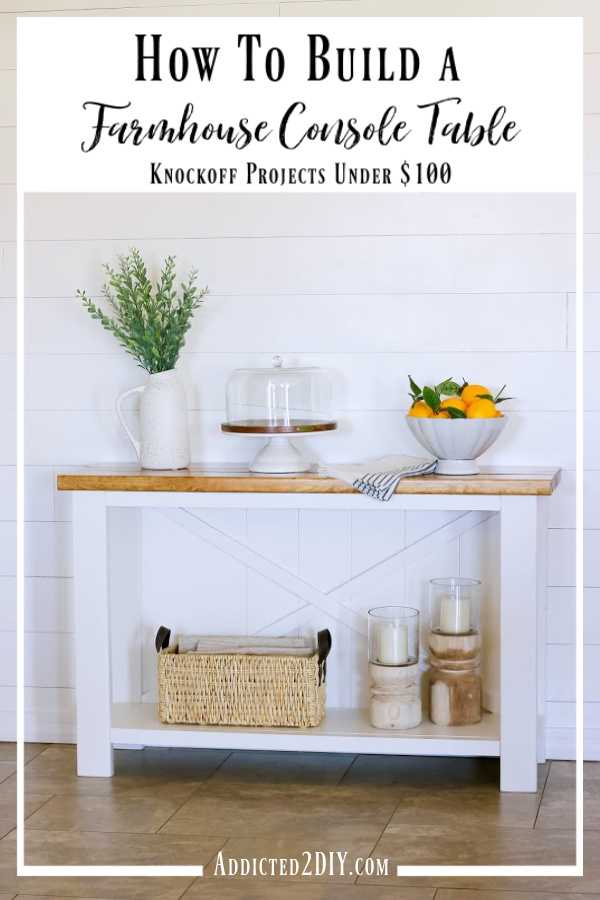
How To Build A Farmhouse Console Table
Looking for a budget-friendly console table you can build yourself? This step-by-step tutorial shows you exactly how to make a gorgeous console table for less than $100 — perfect for an entryway, hallway, or dining room. Customize it any way you like to truly fit your home decor.
Why Build Your Own Farmhouse Console Table?
Store-bought console tables can easily run $200–$500+. Building your own lets you:
- Save money — this build cost under $100 in lumber
- Customize the size to fit your exact space
- Choose your own finish — stain, paint, or a combination of both
- Learn a valuable skill you’ll use on future projects
This design was inspired by a piece from Pier 1 that I loved but couldn’t justify paying full price for. I recreated the rustic X-back style with simple, beginner-friendly joinery — no special skills required.
NOTE: This project was originally published in 2019. Wood prices have increased a bit since then so what originally cost around $40 to build is now around $60-$80 to build depending on what supplies and lumber you already have on hand.
Watch the YouTube Video
What You’ll Need
Tools
- Miter saw
- Kreg Jig (Kreg K4, Kreg K3, or Kreg Foreman all work)
- Drill
- Brad nailer
- Countersink drill bit
- Clamps
- Mallet
- 220-grit sandpaper
Materials
- 2×4 lumber (legs)
- 2×2 lumber (stretchers and aprons)
- 1×6 boards (back panel)
- 1×2 boards (X detail and rear apron)
- Plywood scrap (bottom shelf)
- Wood glue
- 2½” pocket screws
- 1¼” pocket screws
- 1¼” brad nails
- 2½” wood screws
- Wood filler (optional)
- Paint or stain of your choice
- Polyurethane (if staining)
Download the free printable plans for the full cut list and materials list with exact dimensions.
Step-by-Step Tutorial
Step 1: Cut Your Lumber
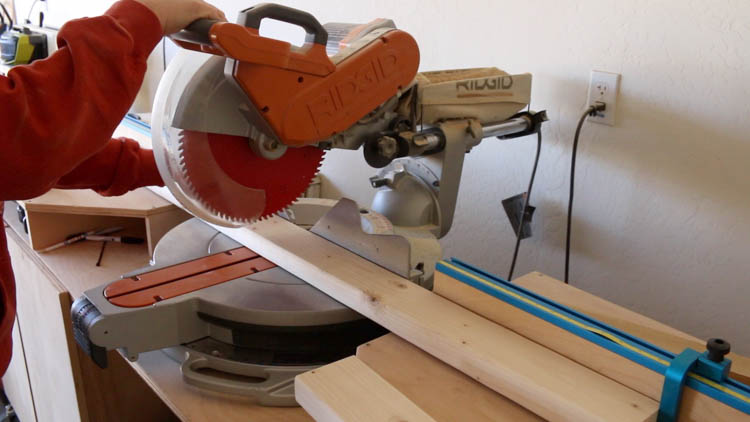
Start by cutting all lumber to size according to the printable plans. Set aside the 1×2 pieces for the X detail and the plywood for the bottom shelf — you’ll use those later.
Pro tip: Label your cut pieces as you go to avoid confusion during assembly.
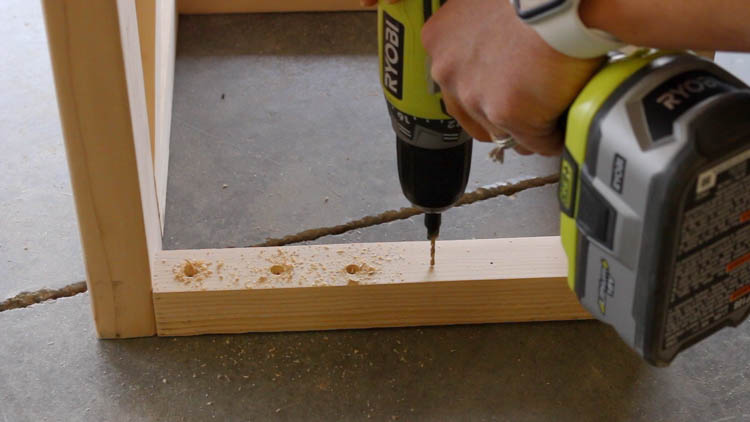
Step 2: Drill Your Pocket Holes
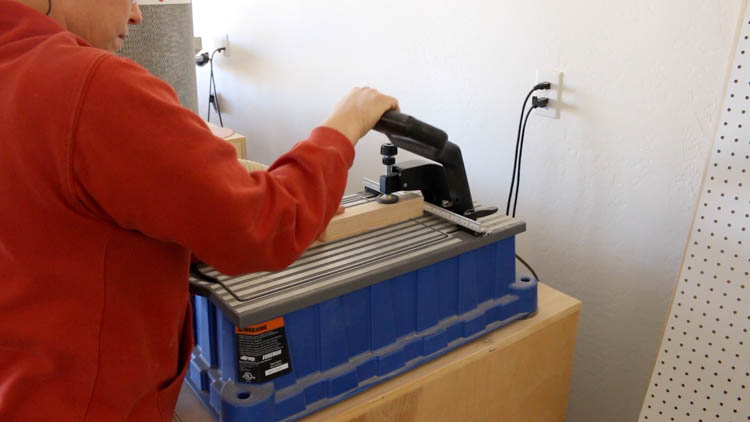
Using your Kreg Jig, drill all pocket holes before assembly. This is the most important prep step — doing it now saves a lot of awkward drilling later.
If you’re new to pocket hole joinery, the Kreg K4 is a great starter kit. The Kreg Foreman is an upgrade worth considering if you build furniture frequently.
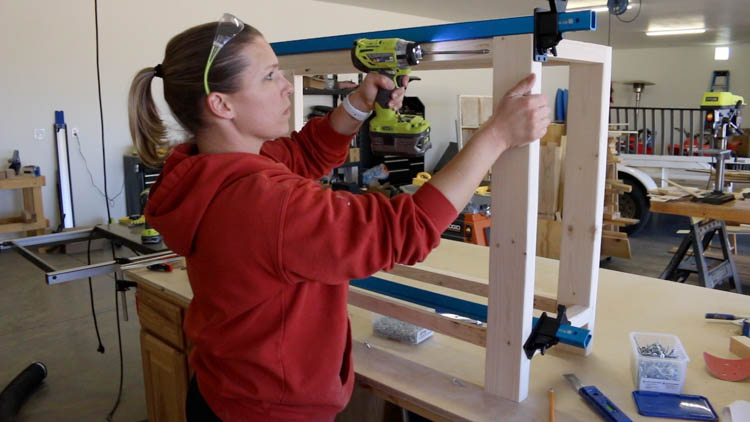
Step 3: Build the Side Frames
Drill 1½” pocket holes into each end of the 2×2 stretchers.
- Attach the top stretchers flush with the tops of the 2×4 legs using wood glue and 2½” pocket screws.
- Measure and mark 3½” up from the bottom of the legs and attach the lower stretchers at that mark.
- All stretchers should sit flush with the outside edges of the legs.
Repeat to build two identical side frames.
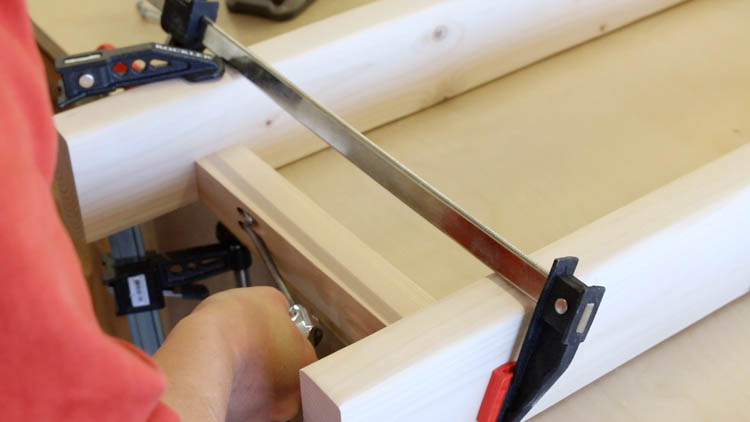
Step 4: Attach the Front Apron
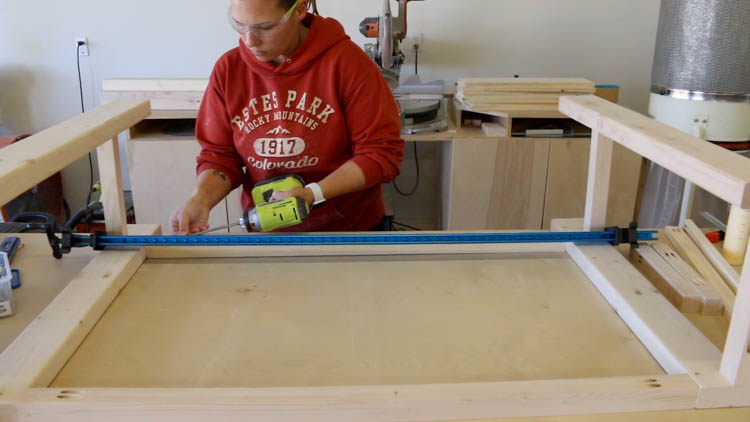
Drill 1½” pocket holes into the 2×2 front apron pieces. Attach them between the two side frames using wood glue and 2½” pocket screws, flush with the outside leg faces — the same way you attached the stretchers.
Step 5: Attach the Rear Apron
Drill ¾” pocket holes into the 1×2 rear apron pieces. Attach them to the back of the frame with wood glue and 1¼” pocket screws. These should sit flush with the inside face of the back legs.
Step 6: Mark the X Detail Pieces
Before attaching the back boards, measure and mark the 1×2 pieces that will form the decorative X on the back panel. It’s much easier to do this now while the back is still open.
(See the printable plans for the exact angle cuts and placement.)
Step 7: Install the Back 1×6 Boards
Apply wood glue to the 1×2 rear apron pieces, then fit the 1×6 boards into place. The last board may need a gentle tap with a mallet to seat fully. Attach the boards to the 1×2 aprons using 1¼” brad nails.
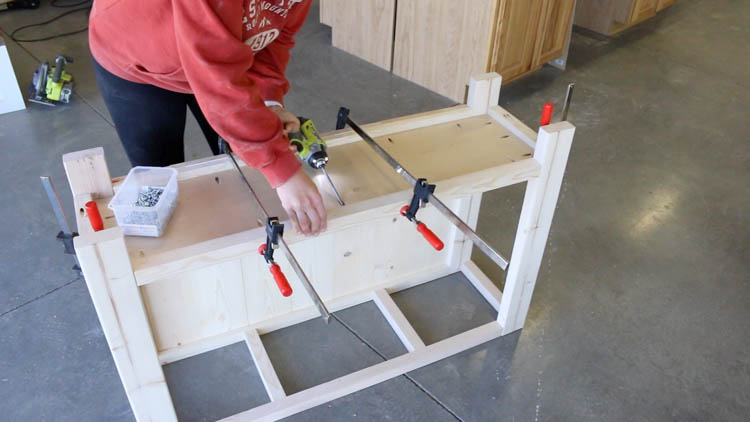
Step 8: Attach the Upper Stretchers
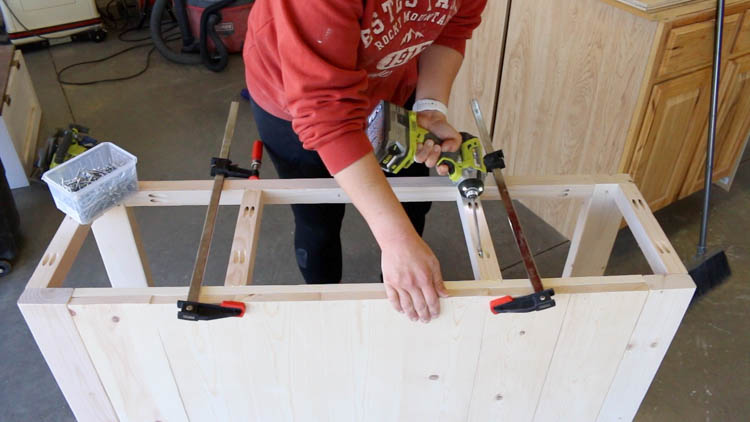
Drill 1½” pocket holes into the 2 remaining 2×2 stretchers. Refer to the printable plans for their exact placement, then attach using wood glue and 2½” pocket screws.
Step 9: Install the Bottom Shelf
Measure and cut your plywood shelf to fit. Drill ¾” pocket holes around all four edges of the plywood, then attach it flush with the top edge of the lower aprons and stretchers using wood glue and 1¼” pocket screws.
Step 10: Add the X Detail
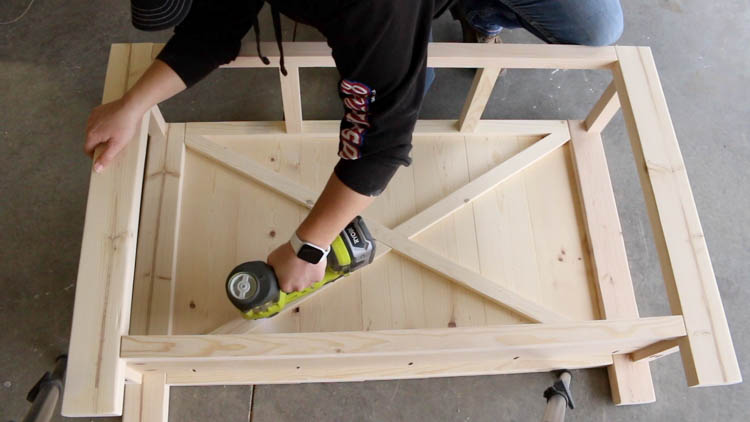
Glue the X pieces to the 1×6 back boards and secure with 1¼” brad nails. Fill nail holes with wood filler for a cleaner finish, or leave them for a more rustic look.
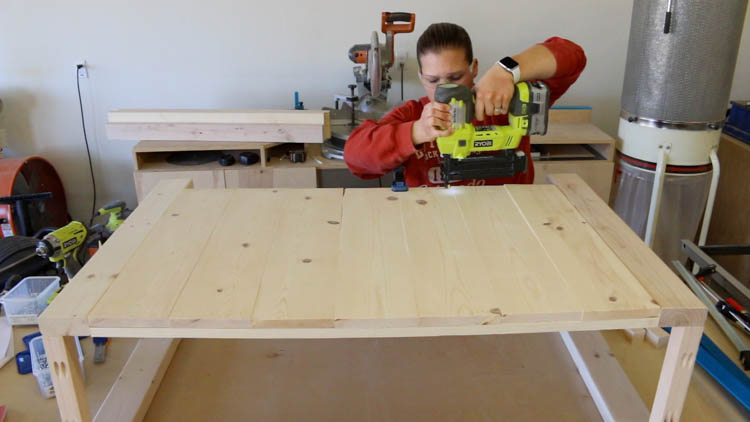
Step 11: Mark and Drill Pilot Holes for the Tabletop
Set the table upright and lay the tabletop boards in place. Use a pencil to mark on the underside of the 2×2 top stretchers where you want to attach each board. Drill two countersunk pilot holes per board through the stretchers from the inside.
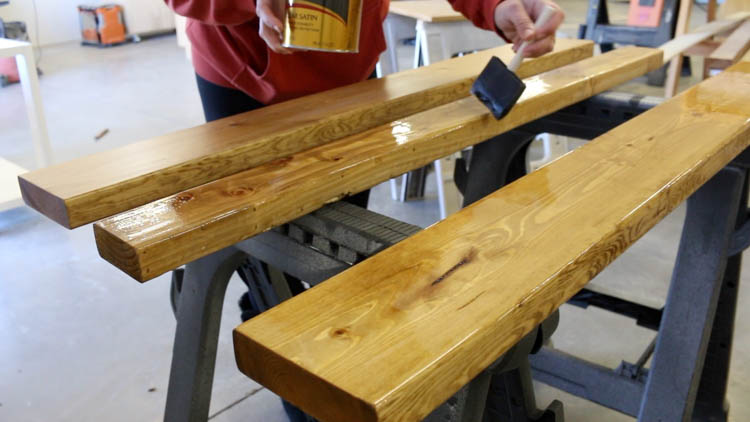
Step 12: Sand and Finish
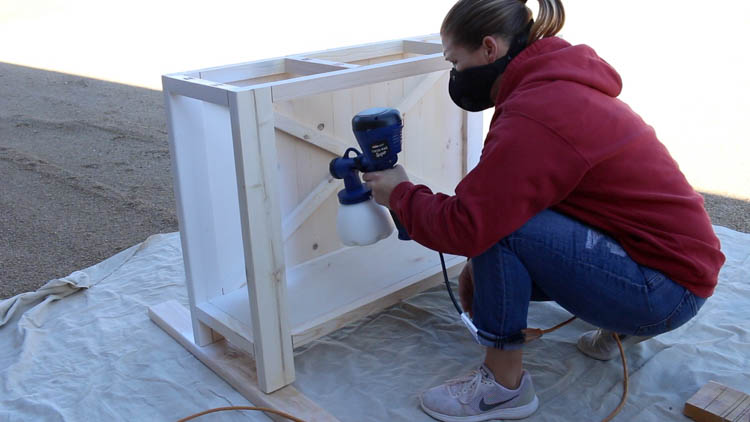
Sand all surfaces with 220-grit sandpaper. Then apply your chosen finish:
- Base: I used Behr paint + primer in Swiss Coffee for a clean, bright white
- Tabletop: Golden Oak stain followed by three coats of satin polyurethane for durability
Let everything dry completely before moving on.
Step 13: Attach the Tabletop
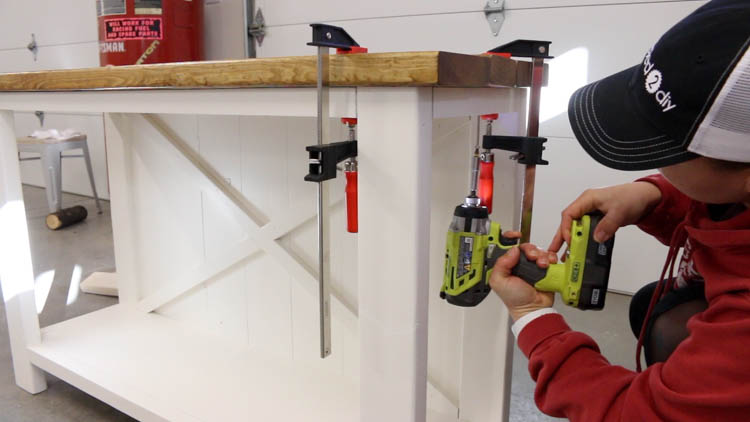
Clamp the tabletop boards firmly to the base and drive 2½” wood screws through all the pilot holes you drilled in Step 11. Remove clamps and inspect for any gaps or squeaks.
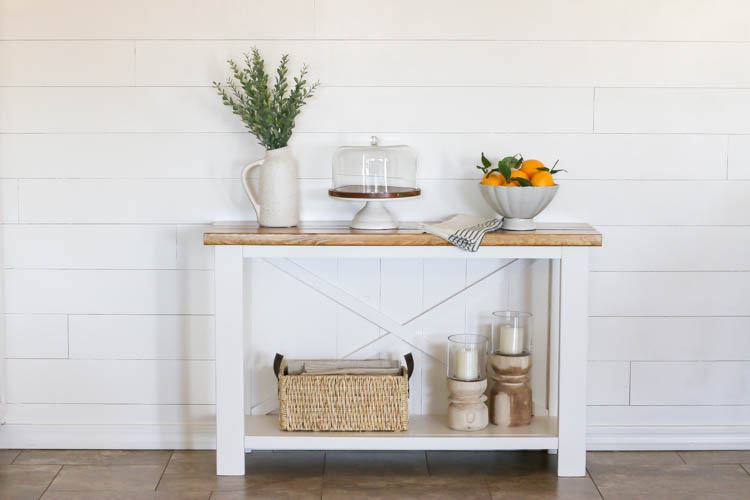
Finished Result
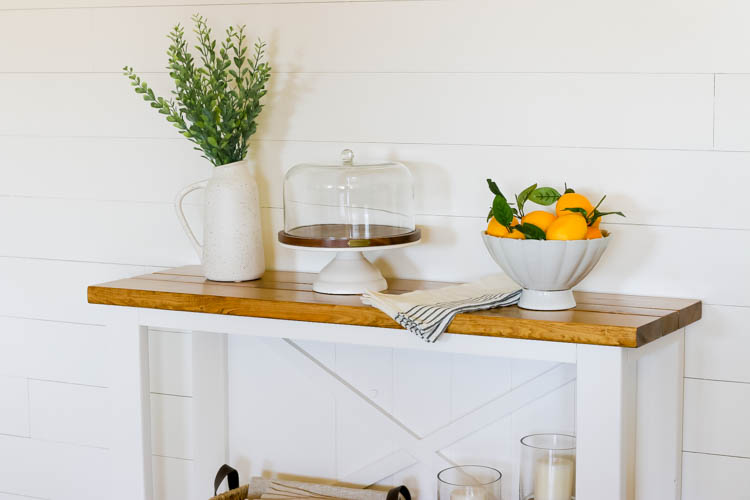
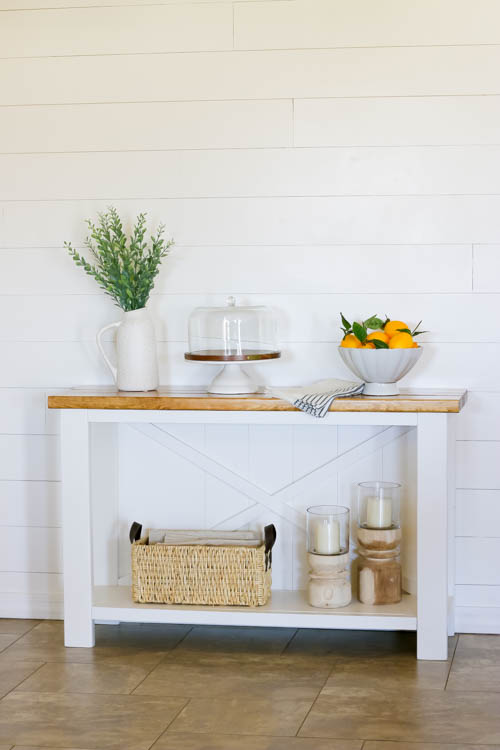
This DIY farmhouse console table came together beautifully — and for a fraction of the retail price. I styled mine in the dining room against a faux shiplap wall, and it looks like it belongs there.
Total lumber cost: ~$80 Time to build: 1–2 weekends Skill level: Beginner-friendly
Frequently Asked Questions
What size is this console table? The exact dimensions are included in the free printable plans. The design can be scaled up or down to fit your space.
Can I use different wood species? Yes. Pine is used here for affordability, but poplar, oak, or cedar all work well. Harder woods will take stain more evenly.
Do I need a Kreg Jig? Pocket hole joinery makes this project much easier, but you can substitute wood glue + dowels or wood glue + finish nails if you don’t have a Kreg Jig.
Can I paint the entire table instead of staining the top? Absolutely. A solid white or black finish looks just as beautiful and is even easier since you skip the staining step.