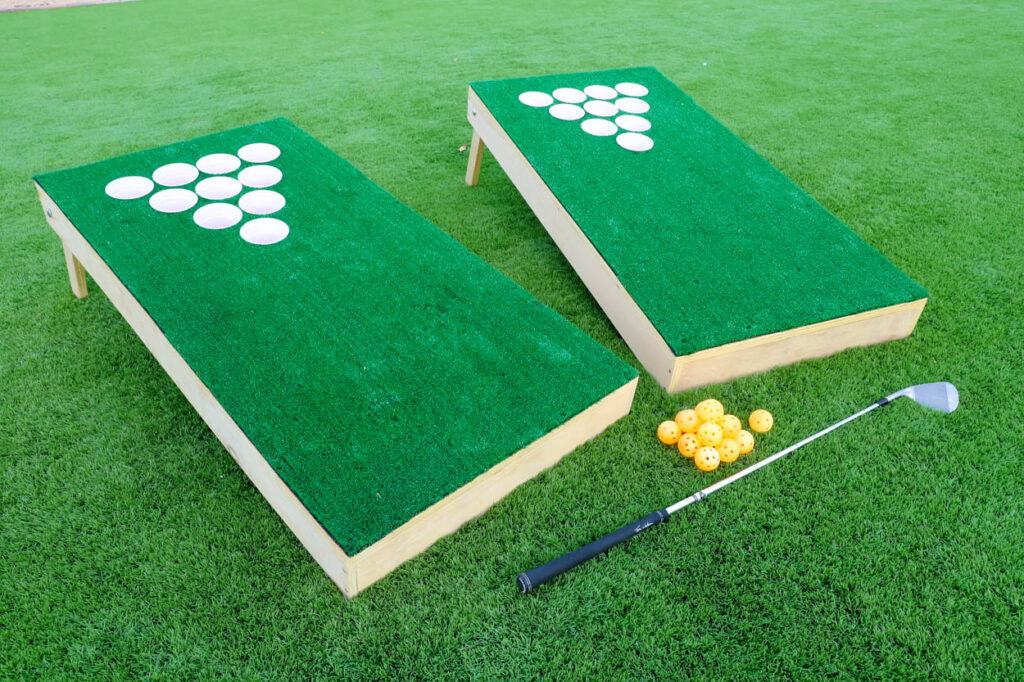
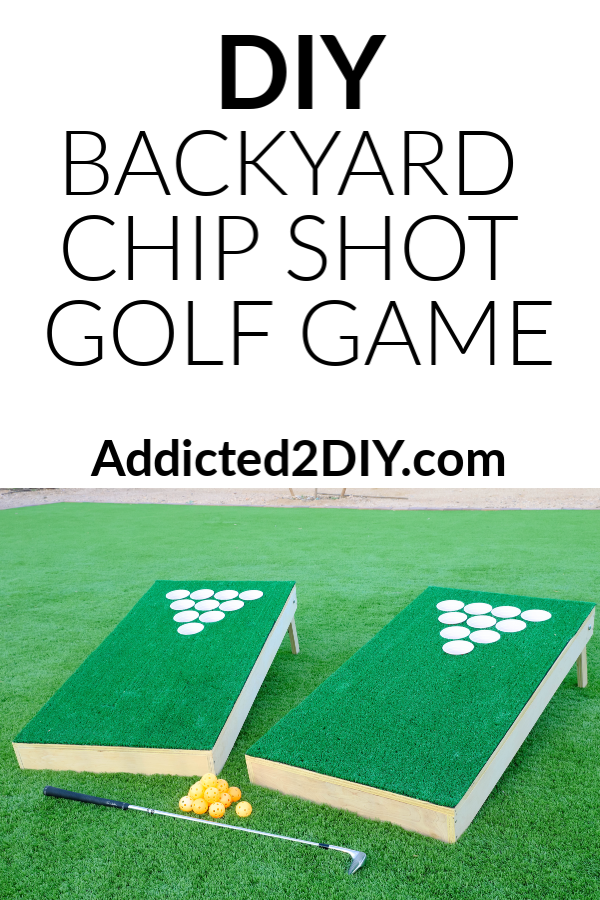
DIY Chip Shot Golf Game (Step-by-Step Tutorial + Printable Plans)
Looking for a fun backyard game you can build yourself? This DIY chip shot golf game is the perfect project for summer. It’s a combination of cornhole and golf that both kids and adults will love—and yes, you can even turn it into a fun “beer pong golf” version for the grown-ups.
Whether you’re hosting backyard BBQs or just looking for a new family activity, this build is simple, affordable, and a great way to use scrap wood.
Pro Tip: Small DIY upgrades like this are an easy way to create more fun and function in your outdoor space—no major renovation required.
Why You’ll Love This DIY Golf Game
- Great for all ages
- Easy beginner-friendly build
- Uses basic tools and materials
- Perfect for backyard entertaining
- Customizable size and layout
Watch the Full Video Tutorial
If you prefer video over written instructions, I’ve got you covered. You can watch the full build process on YouTube for a visual walkthrough.
Materials & Tools Needed
Materials:
- 3/4″ plywood (cut to 24″ x 48″)
- 1×4 boards
- Wood screws (1 1/4″)
- Carriage bolts, washers, and nylon lock nuts
- Astro turf
- DAP Weldwood Carpenter’s Glue
- DAP Contact Cement
Tools:
- Table saw or circular saw
- Drill + drill bits
- 3 1/2″ hole saw
- Jigsaw
- Staple gun
- Sander
How to Build a DIY Chip Shot Golf Game
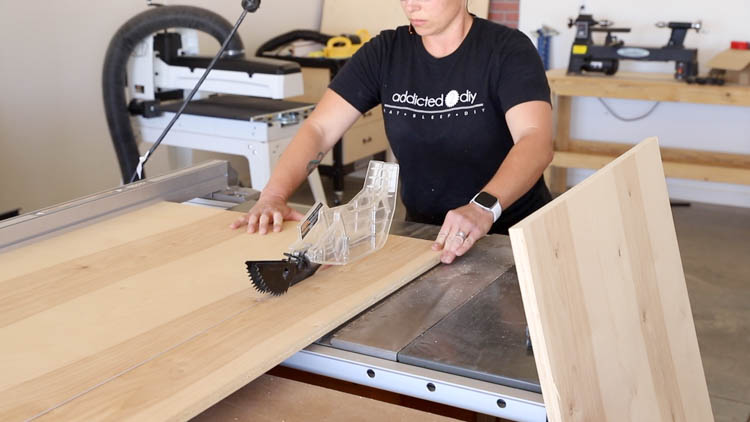
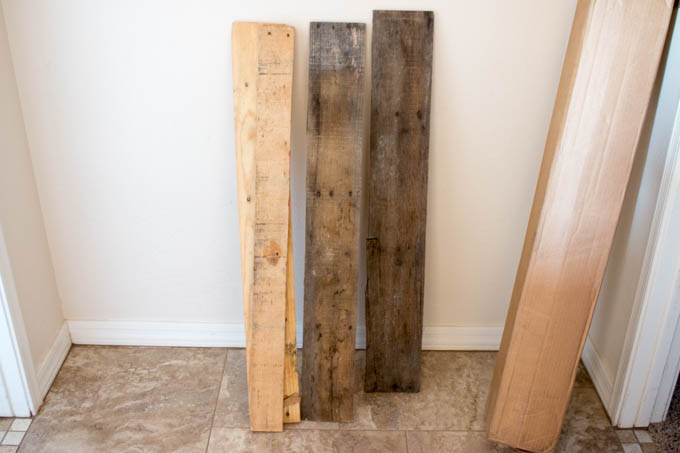
Step 1: Cut Your Wood to Size
Cut your plywood and 1×4 boards according to the dimensions in your printable plans.
If you have leftover plywood from previous projects, this is a great build to use it up.
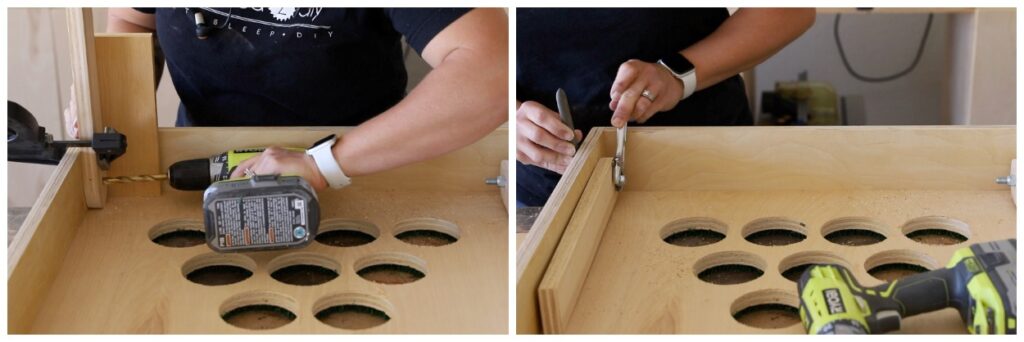
Step 2: Measure and Drill the Holes
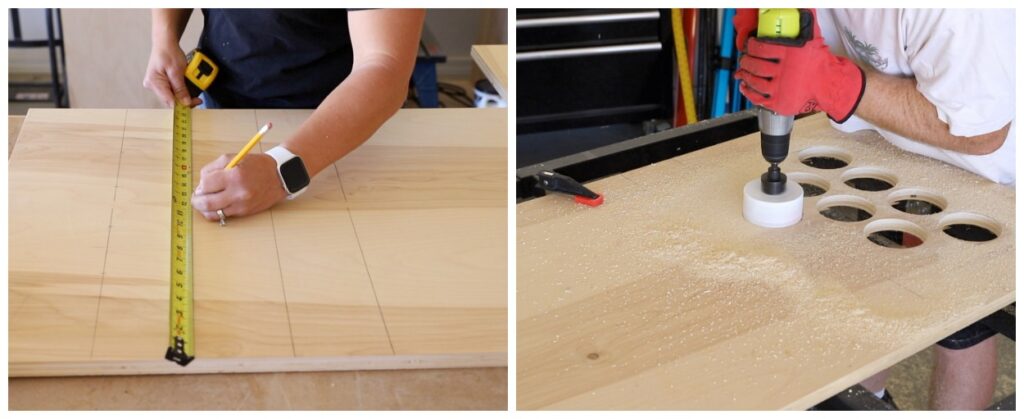
Mark hole locations on the top board:
- 4″ apart (on center)
- 4″ down from the top
Drill holes using a 3 1/2″ hole saw for clean, consistent cuts.
Avoid using a jigsaw here—it won’t give you clean circular holes.
Step 3: Build the Frame
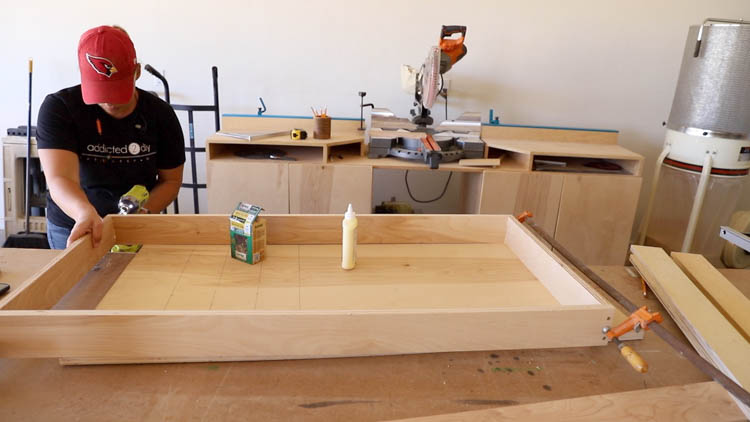
Create the frame using your 1×4 boards:
- Drill pilot holes into the ends
- Apply wood glue
- Secure with 1 1/4″ screws
This creates a sturdy base for your game board.
Step 4: Attach the Top Board
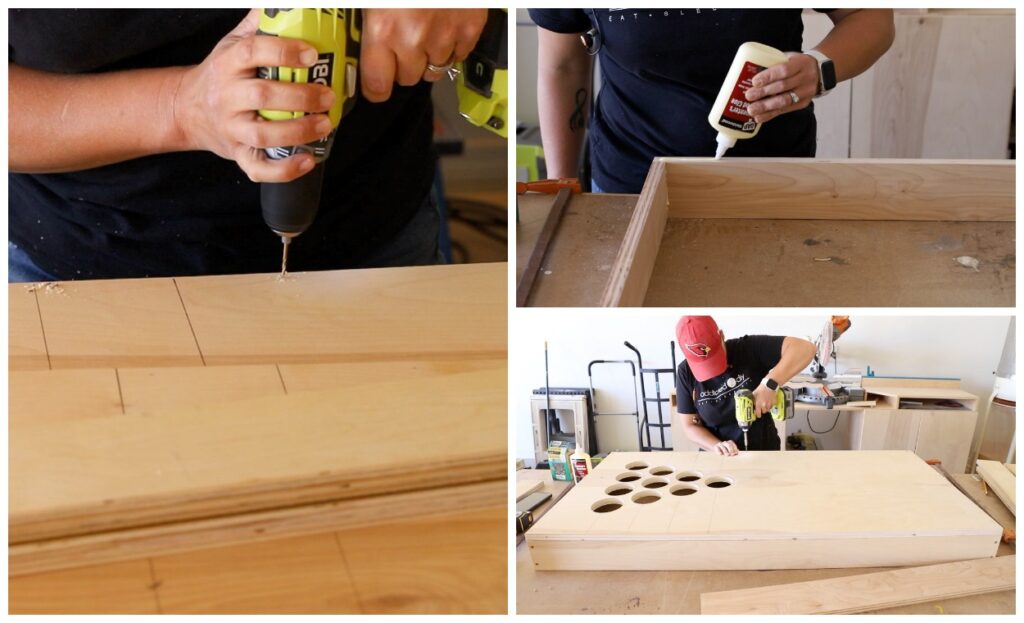
- Drill pilot holes around the perimeter
- Apply a bead of carpenter’s glue to the frame
- Attach the plywood top using screws
Step 5: Make the Folding Legs
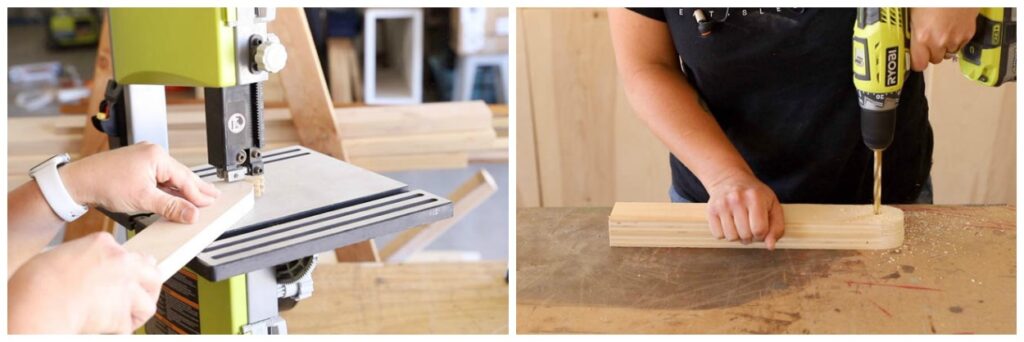
Round the tops of the legs so they can pivot smoothly.
- Mark the center point
- Drill a 3/8″ hole for carriage bolts
Step 6: Attach the Legs
Use a scrap spacer to position the legs correctly.
- Drill through the frame
- Insert carriage bolts
- Secure with washers and nylon lock nuts
Step 7: Cut the Leg Angles
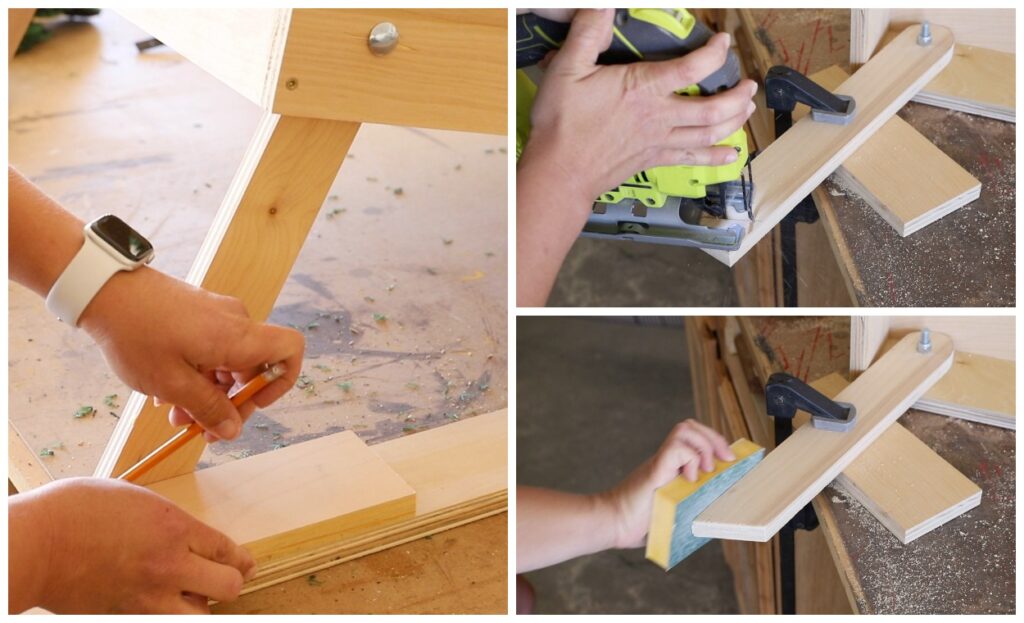
Stand the board upright and mark where the legs meet the ground.
- Remove the legs from the boards
- Cut along the angle using a jigsaw
- Sand edges smooth
Step 8: Apply the Turf
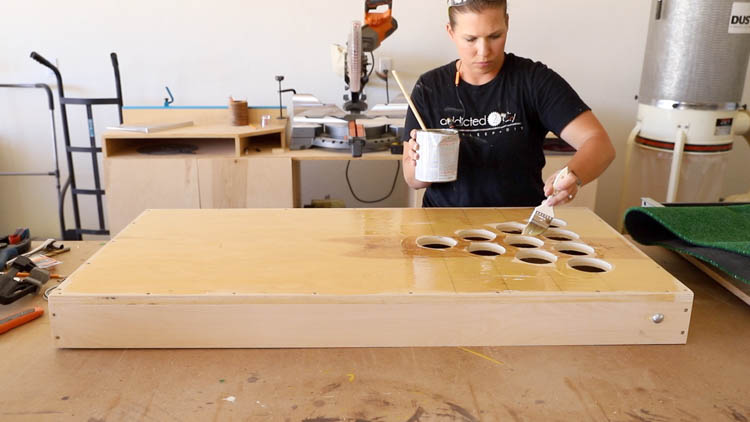
Apply a generous coat of
DAP Contact Cement
to the top surface.
Work in a well-ventilated area for this step.
This helps prevent bubbling and keeps the turf flat.
Step 9: Install the Astro Turf
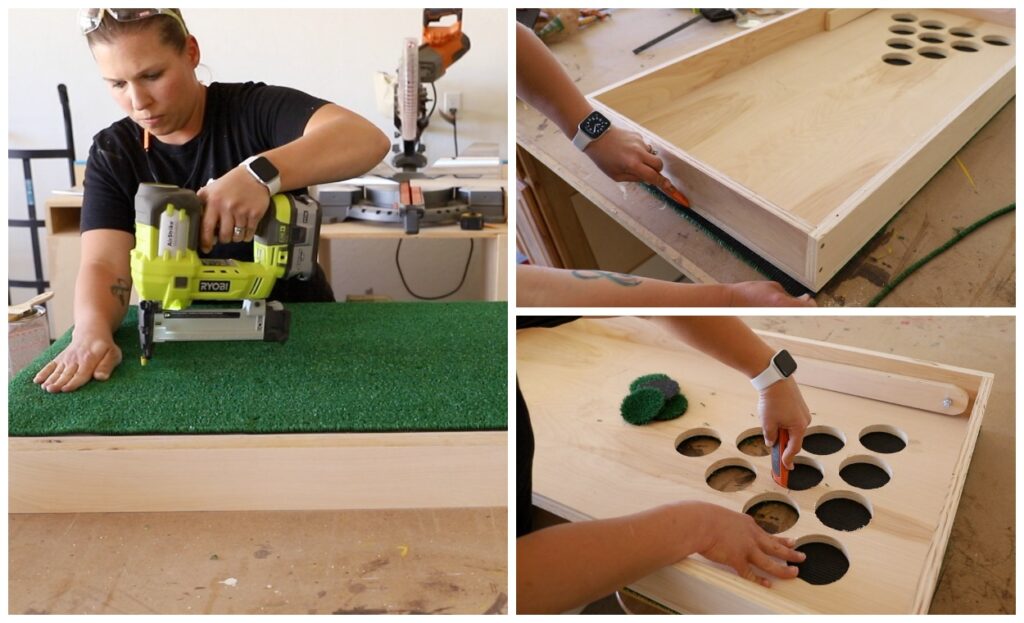
- Cut turf to size using the board as a template
- Staple from one end, smoothing as you go
- Trim excess
- Cut out holes for the cups
Optional: Add a Hitting Pad
You can create a separate hitting mat using plywood and turf so the game can be played anywhere—even on concrete.
How to Play Chip Shot Golf
Once your board is complete:
- Insert plastic cups into the holes
- Use plastic golf balls
- Set up your shooting distance
You can create your own scoring system or download the rules included in the printable plans.
Final Thoughts
This DIY chip shot golf game is one of those projects that gets used over and over again. It’s simple to build, easy to customize, and perfect for entertaining.
Whether you’re playing with your kids or hosting friends, it’s guaranteed to be a hit.
Printable Plans
Download the full plans, cut list, and game rules here:
Chip Shot Golf Game