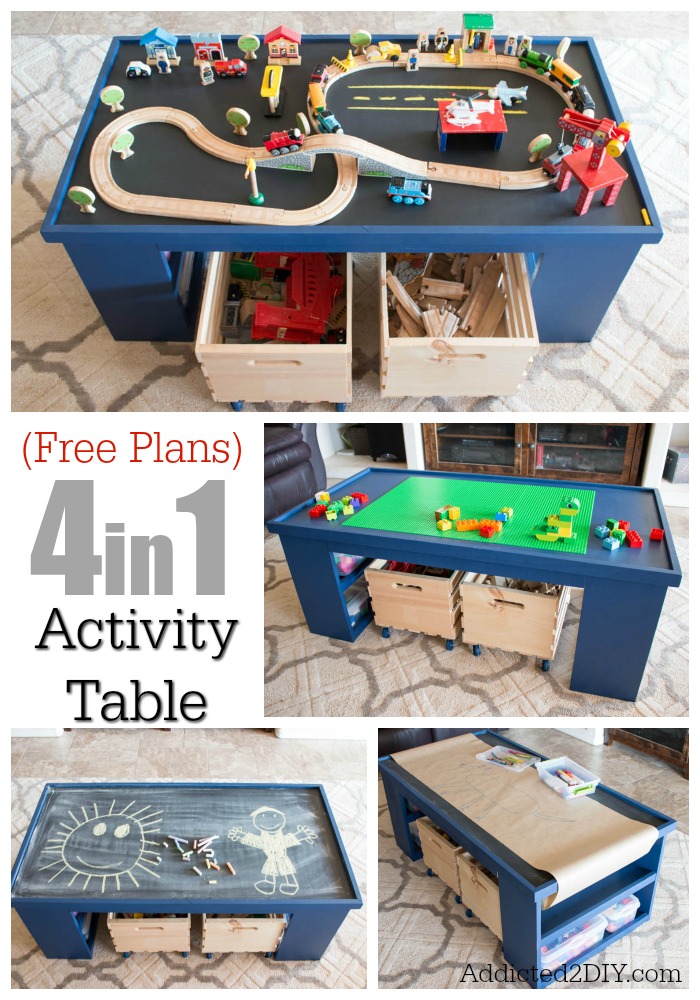
Hey there, everyone! School is out for summer in our house and I know it won’t be long before all of us would give our right arm for great ideas to keep the kiddos busy and not at each other’s throats during the long, hot months of summer. My boys barely wait to get in the car on the last day of school before I have to pull on my striped jersey and play referree. The struggle is real, people. If you’re one of those parents looking for a way to keep the kiddos occupied for hours, I’ve got just the project! The best part is that it is actually a super fast project that you can have done in a weekend! Last November, I shared the plans for this 4-in-1 activity table over on RYOBI Nation, and today I’m sharing it here on my blog! I built this for my three nephews as a late birthday/early Christmas present. It was a huge hit and my brother said it keeps them busy for hours. To get the materials and cut list, make sure you download the free printable building plans for this fun project!
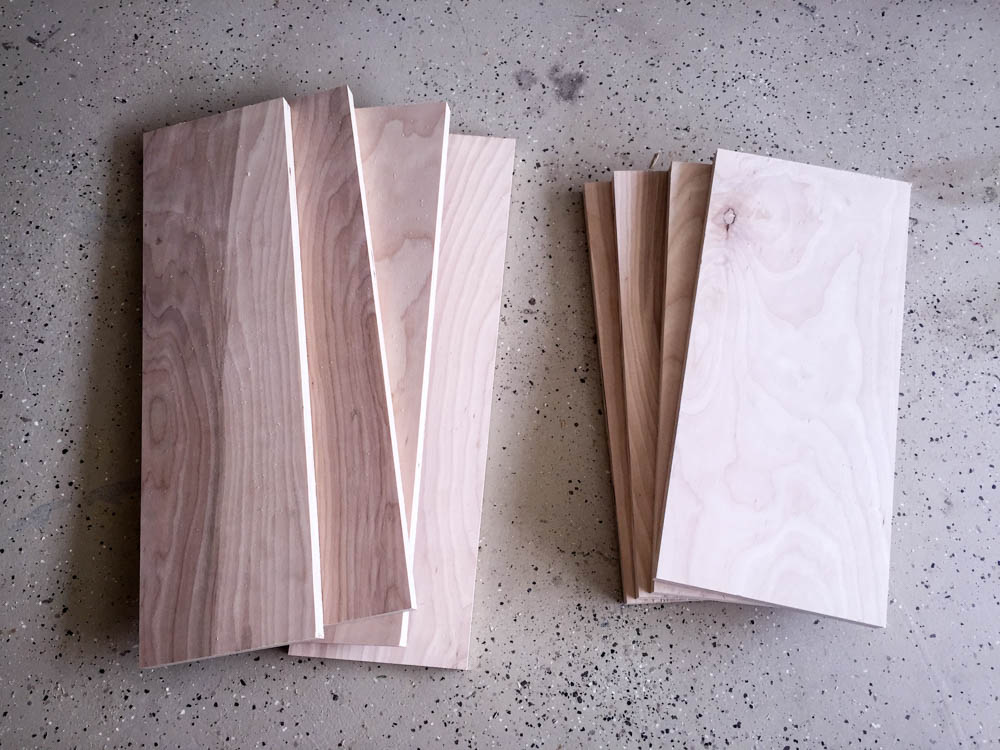
I started by cutting the plywood pieces for the base. I used 3/4″ birch veneer plywood from Home Depot.
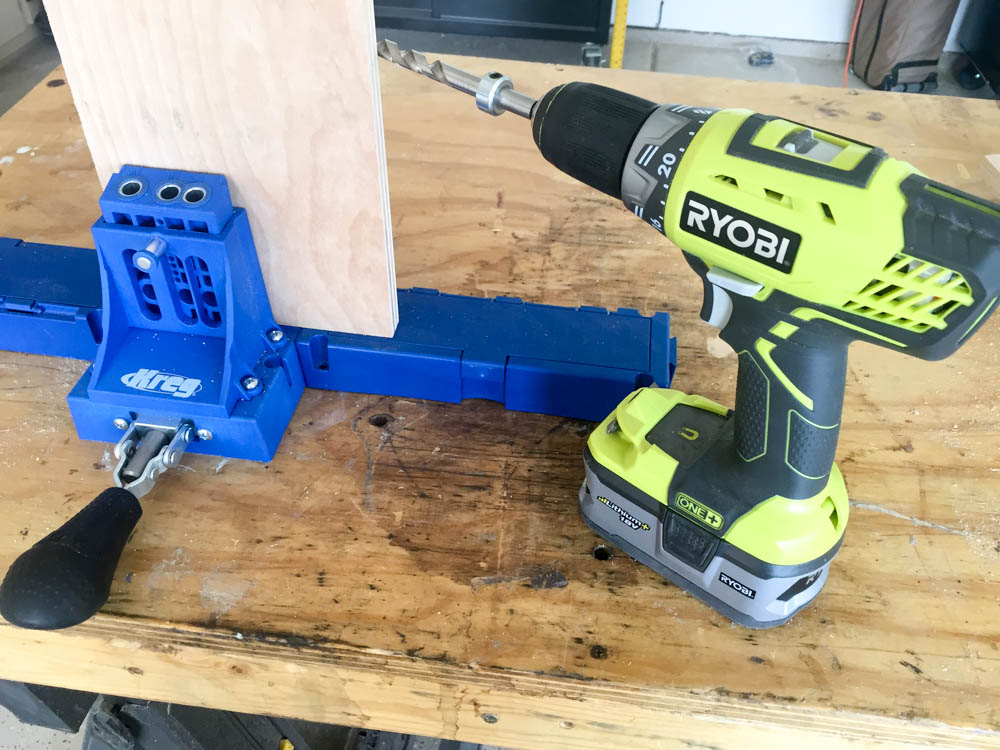
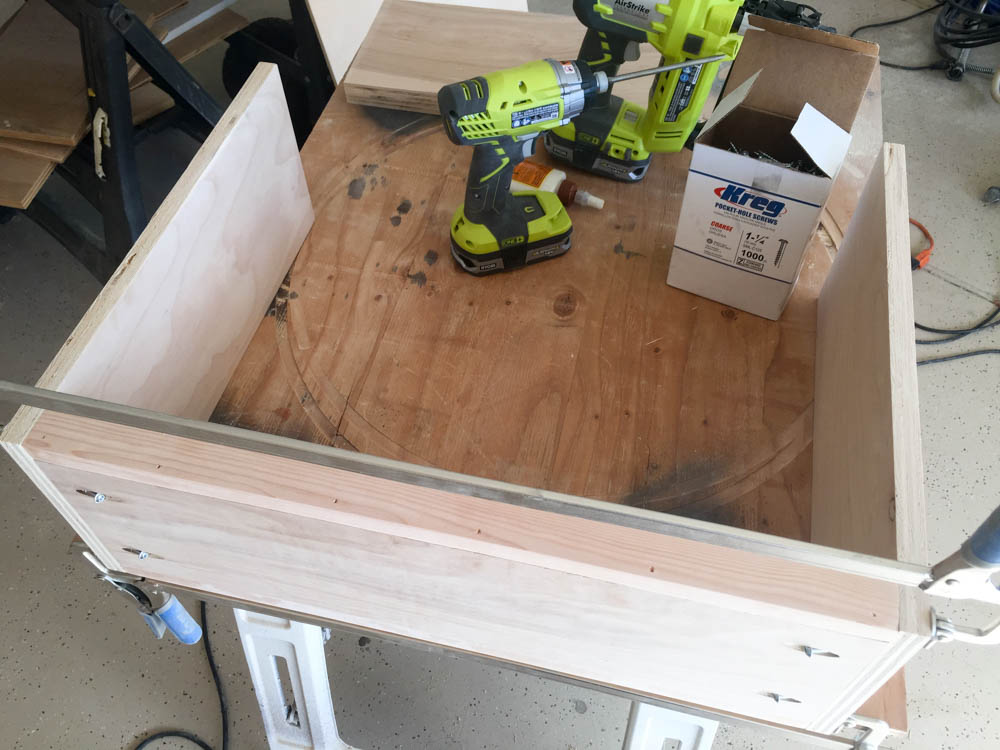
I used my Kreg Jig and drilled 3/4″ pocket holes into each end of the bottom and middle shelves.
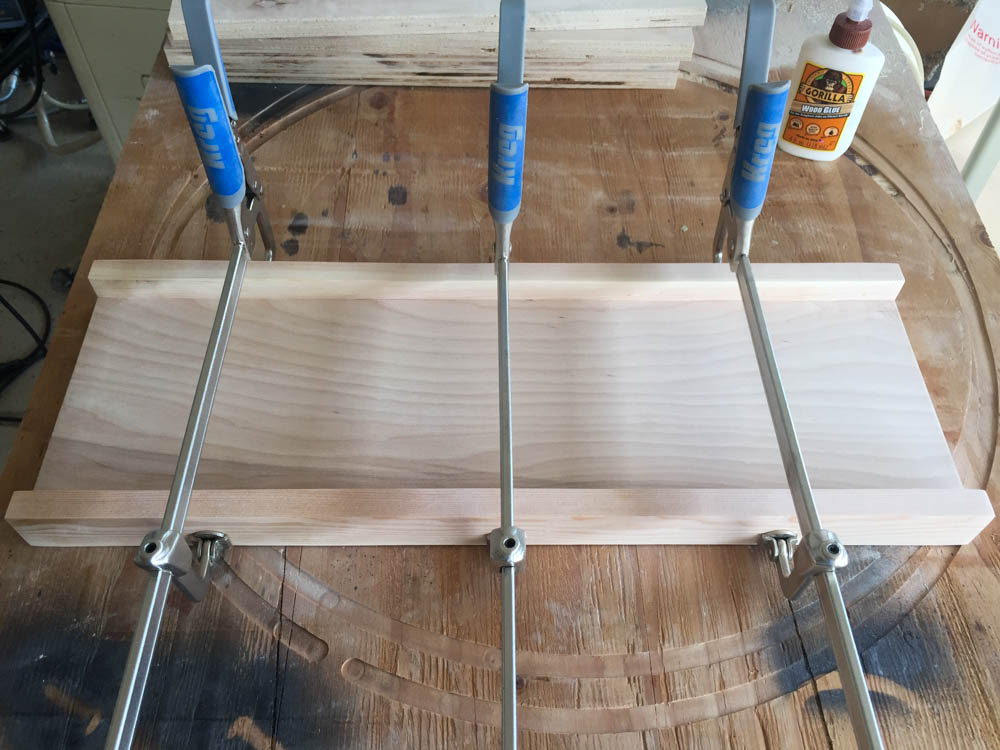
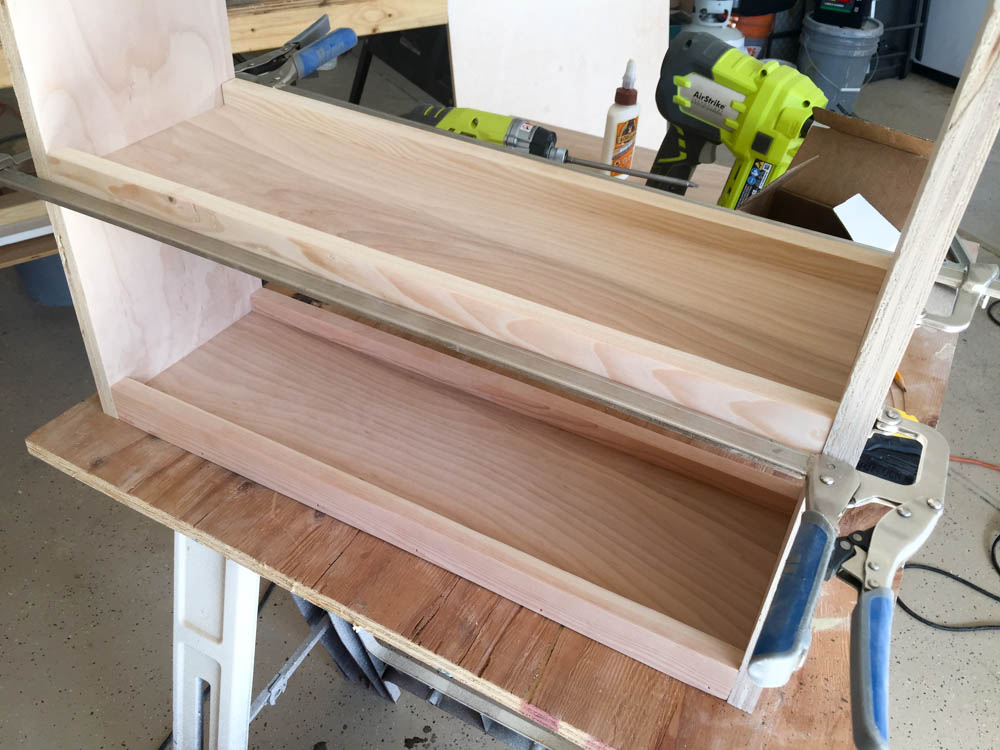
Glue and clamp the 1×2 pieces flush with the bottom of the shelves and attach with 1 1/4″ brad nails.
Attach the front and back vertical pieces to the shelves with wood glue and 1 1/4″ pocket screws.
Attach the middle shelf in the same way as the bottom shelf. There should be 7 1/4″ between the bottom of the middle shelf and the top of the 1×2 on the bottom shelf. Check for square when working on these steps.
Attach the 1×3 stretchers flush with the top of the base pieces using 1 1/4″ pocket screws. DO NOT glue these pieces. This way it is easy to disassemble the base if it needs to be moved around or, in my brother’s case, fit into the back of their SUV to take home to Nebraska.
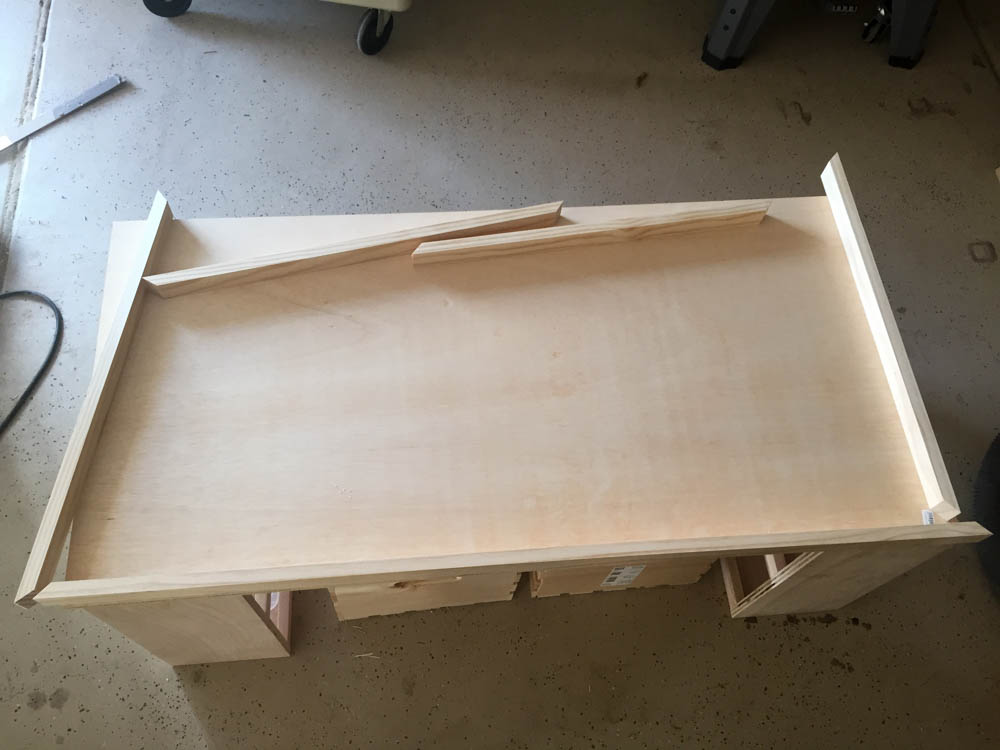
Once the stetchers are in place, center the 2′ x 4′ sheet of plywood over the base and cut the 1×2 trim to size. Glue and attach with 1 1/4″ brad nails.
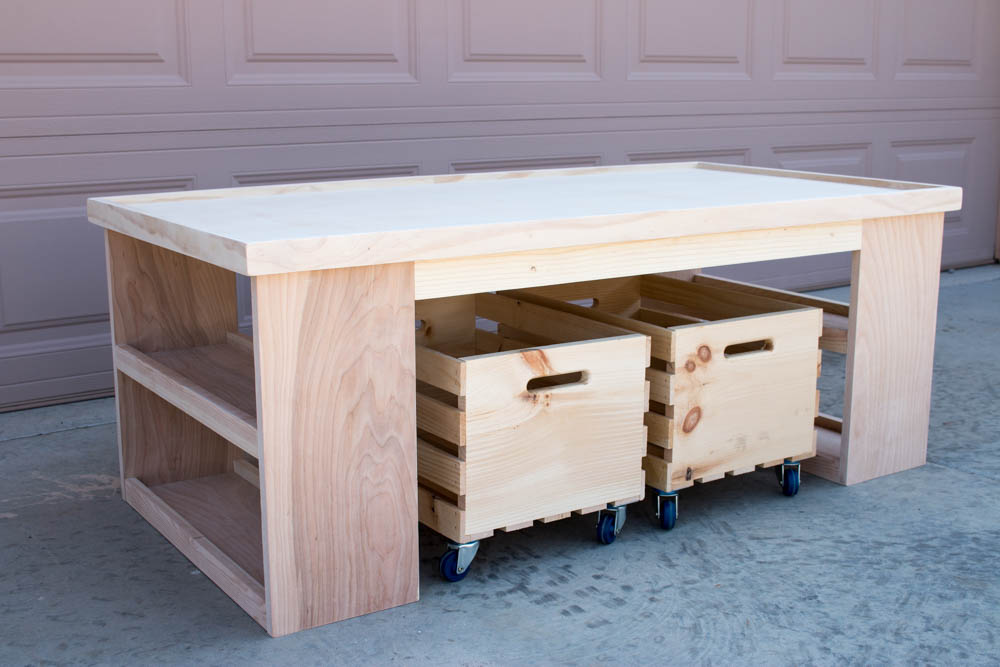
Once the entire table was built, I applied iron-on veneer edge banding onto any exposed edges of the plywood and sanded the entire table down. For more storage, I purchased crates from Home Depot and added casters to the bottoms of them. They’re perfect for storing train tracks or whatever else you need. I painted the entire table, then painted one side with chalk board paint.
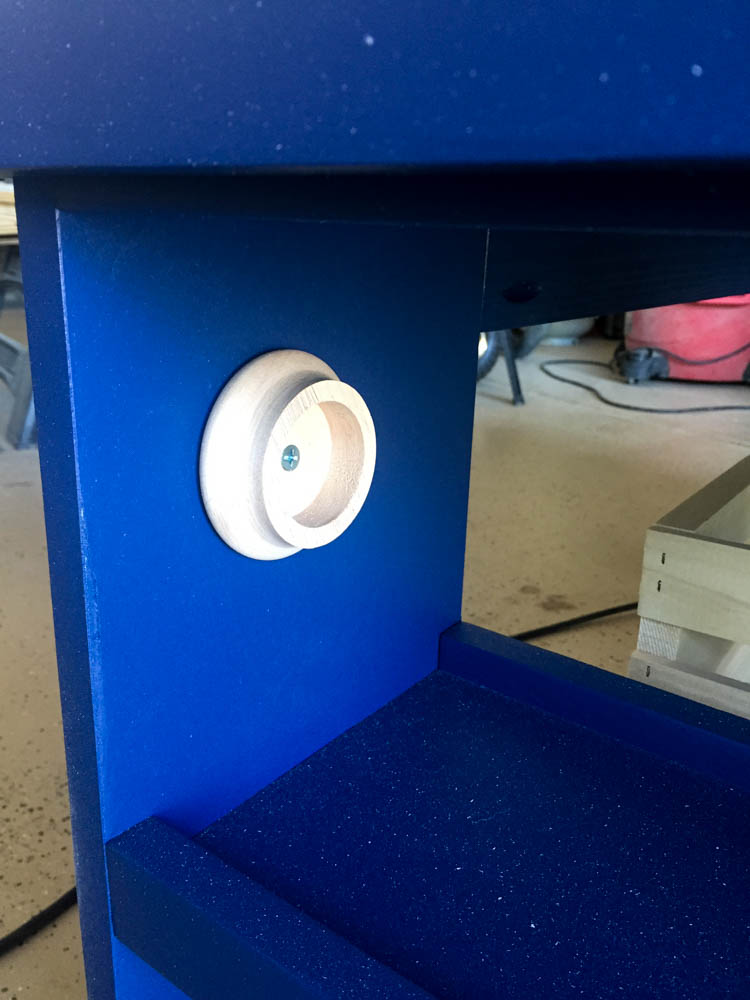
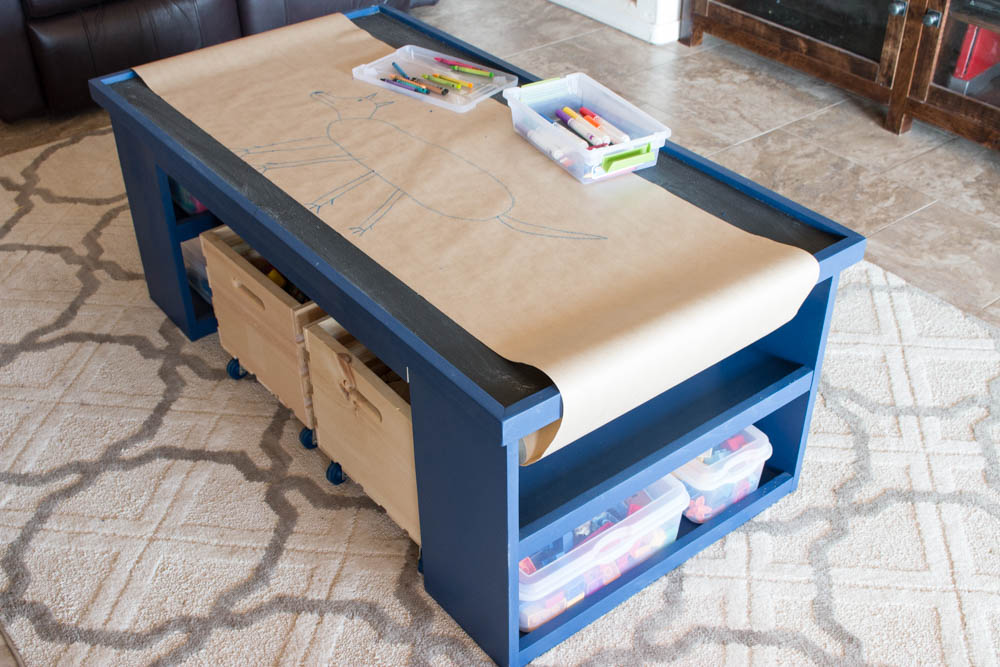
To hold a roll of drawing paper, I installed closet rod sockets on one end of the table and bought a roll of paper and used a 3/4″ dowel to hold it. I bought them after painting it, so I had to finish them by hand.
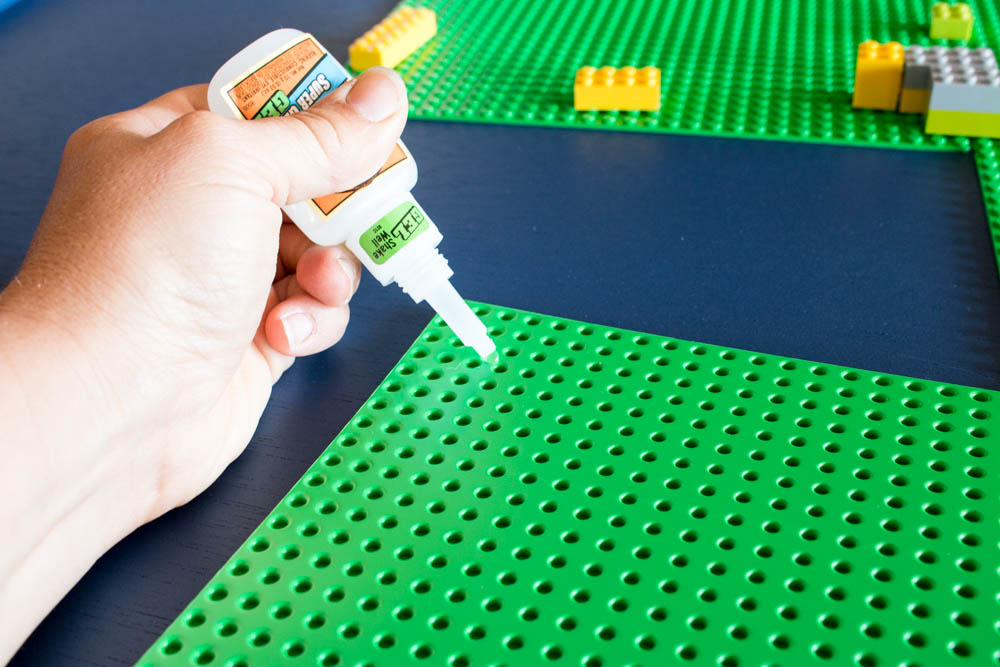
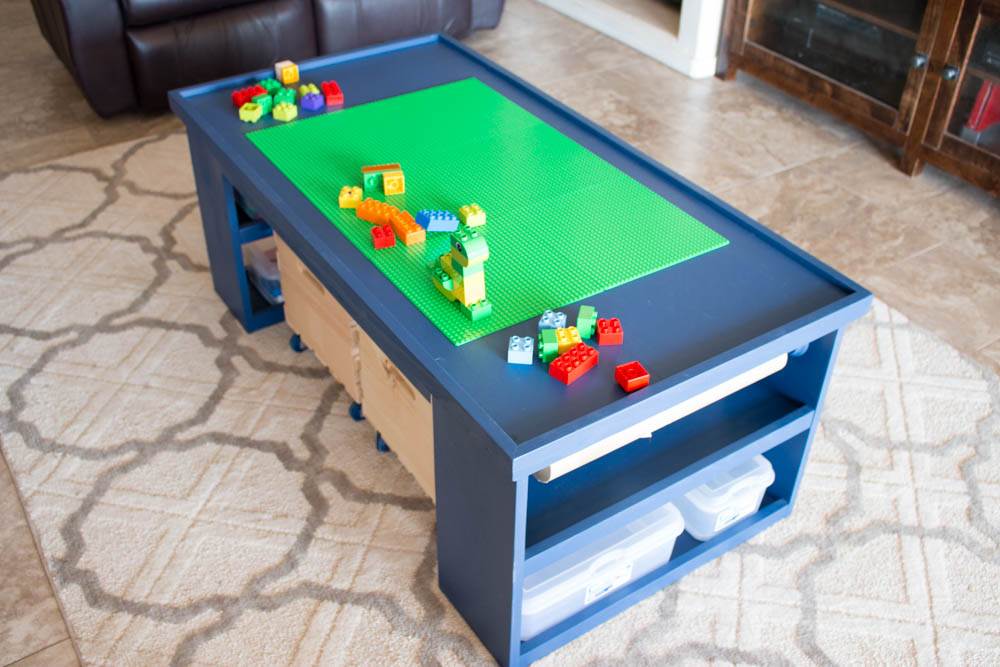
On the opposite side of the chalk board, I glued down six Lego base plates. One trick we learned when gluing base plates next to each other is to snap Lego bricks onto two at a time and then glue them down (see top of the above photo). If you glue the base plates down flush against each other, the spacing is actually too close and it’s hard to snap the bricks down on them.
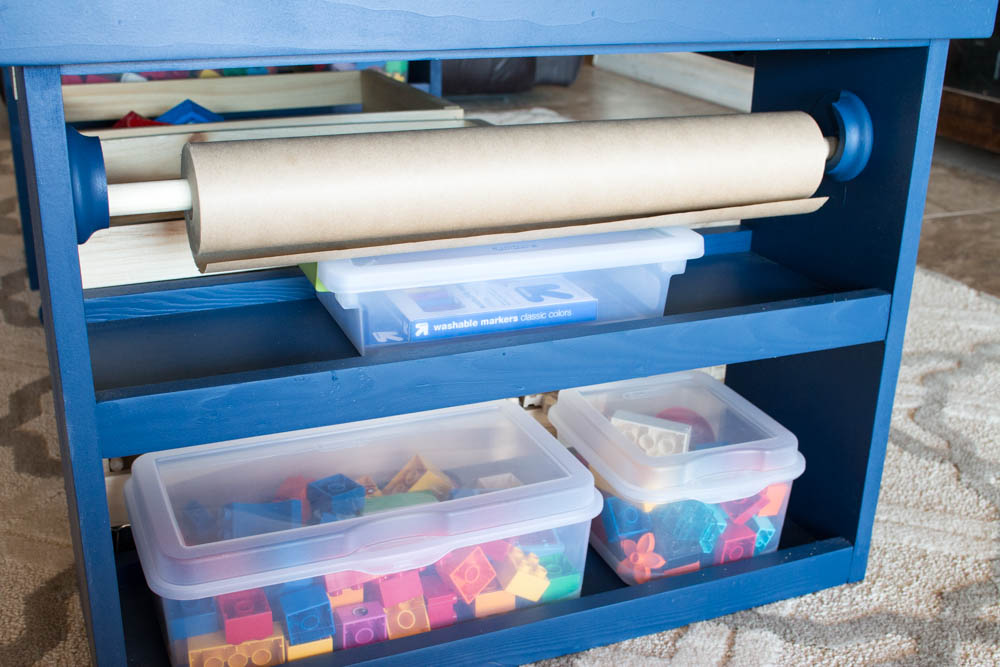
One side has a shelf to hold Lego bricks, paper and crayons. The other side has more storage for Lego bricks or other toys.
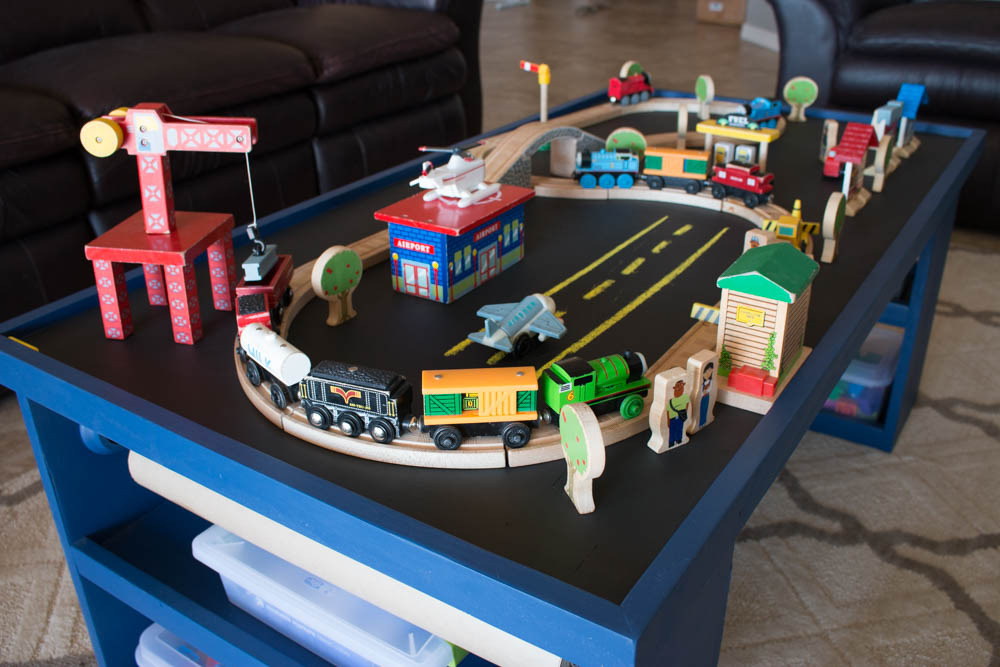
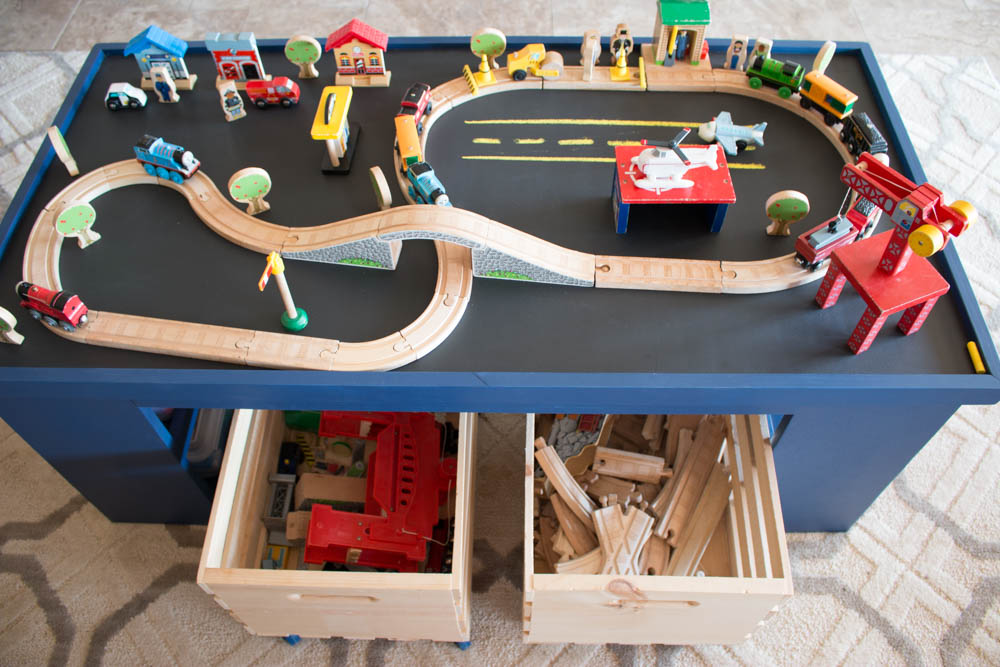
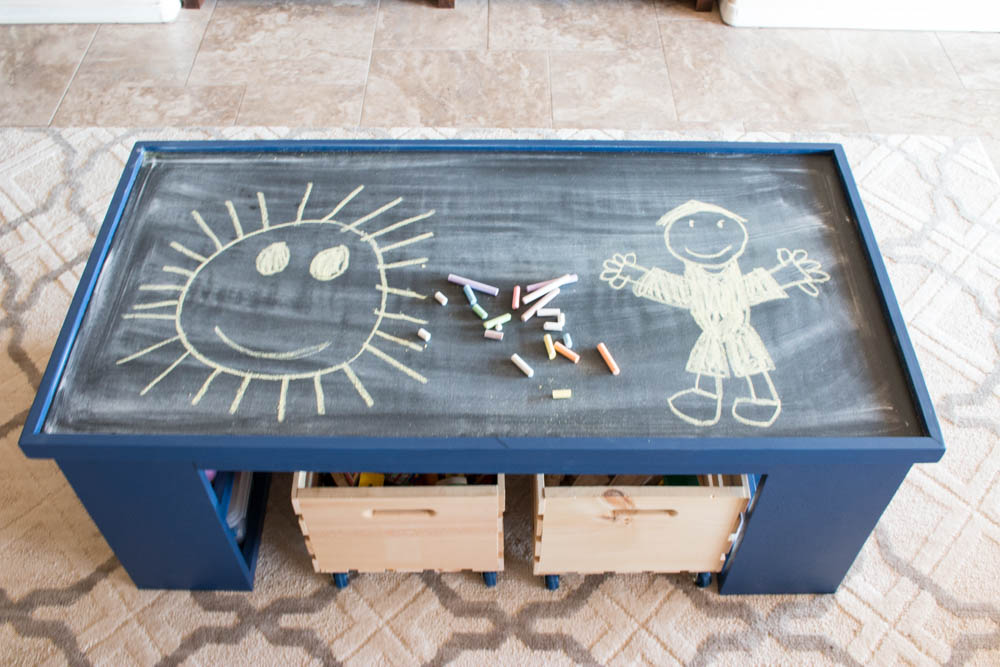
The chalkboard side is perfect for setting up creative train tracks and the kids can draw roads, trees, or whatever they like!
The crates underneath have plenty of room to hold large amounts of train tracks and cars.
This table is jam packed with ways to for the kids to keep busy and enjoy themselves. The tabletop is light enough that it can be easily flipped over for the fun to continue! Even my boys who were 7 and 9 when I built it spent hours playing with it. The fact that it can be taken apart means that it can be easily moved around or put away when the extra space is needed. It’s such a quick project to build and definitely a great way to keep the kiddos busy over the summer months. Don’t forget to download the FREE plans to build your own!
If you build one, I’d love to see it! Make sure you tag me on social media or email pics and you could be featured in my reader spotlight! Happy building!
DISCLOSURE: This post contains affiliate links for your convenience. If you purchase an item from one of these links, I will earn a small commission at not extra cost to you. Please see my disclosure statement for more information.

What if you don’t have a kreg jig?
You can easily modify the build. When you clamp the bottom and middle shelves in place, drill 1/8″ pilot holes into the face of the vertical base pieces and then attach with 1 1/2″ wood screws. You can countersink the screws a little and then use wood filler to cover the screw heads. Once you paint over it, you’ll never know they were there. For the stretchers going between the base pieces, you will use the same method. Drill 1/8″ pilot holes and then attach with 1 1/2″ screws. You’ll want to leave those screws as they are though, in case you want to be able to take it apart later to move around. Good luck with your build!
For some reason it won’t let me click on either link to download the plans and supply list for this. Could you send it to me? Thank you
That’s so strange. Here is the link to the plans. I will also email you a PDF copy. http://addicted2diy.com/wp-content/uploads/2016/05/DIY-4-in-1-activity-table-plans.pdf
Hi! Nice idea! Children grow up fast.. what about the hight of the table? is it possible to change it? make the table higher?
regards
Olga
Hi Olga,
Yes, you can modify the plans to make it higher if you like. Another option is to build another set of the base shelves and stack them securely to make a higher table.
Love this! Thank you for providing free plans! How much was the total cost to build this?
Hi Jenna, it was a while ago, but I want to say it was in the neighborhood of $100 to build it:)
I’m curious where you purchased the bins to fit on the shelves. Thanks!
I purchased them from Home Depot:)
Thank you!
Where did you get your paper? And what size was it
I bought a roll of it from Home Depot. It was in the paint department. I think the roll was 18″ long.
HI, love this table and am planning on building for my toddler as a Christmas gift. I don’t understand how the tabletop flips. Is the 2×4 plywood piece not secured down? Are the 1x2s nailed in the center, not flush on one side? I see a lip on the chalkboard side and LEGO side. thanks for clearing up my confusion!
Hi! The table top just sits on top of the base. It is not attached. That is what allows you to flip it. For the 1×2 trim, I centered the plywood on the face of it so that there would be a lip on each side. This holds it in place when it is sitting on the base. Hopefully I answered all of your questions, but don’t hesitate to ask if you have more. I’d love to see photos of your finished project!
So do you think the crates underneath are strong enough to hold a child? I was thinking that adding a padded lid would allow you to have seats with built in storage but not sure if it would be durable enough. Thank you so much for sharing the plans!!! I am going to attempt to make this in a few weeks for my daughter’s Christmas present 🙂
I’m sure she will love it! If you’d like to turn them into rolling stools, I might cut 1/2″ plywood to the bottom dimensions and attach it to add a little more strength. I’d love to see photos once you have built it!
It will not let me download the free plans. Could you email them to me? Would like to make this for my Great Grandson for Christmas. He is Autistic and would love it.
Hi Elzada,
Here is a link for the plans! https://addicted2diy.com/wp-content/uploads/2016/05/DIY-4-in-1-activity-table-plans.pdf
Please let me know if you have any issues with the link. I’m sure your grandson would love this table!
Katie
Hi there planning on building this for my sons birthday, i am a little concerned it may not be big enough. I also need to concert to CMs this may be an issue?
Wow! Awesome project! I love the idea!