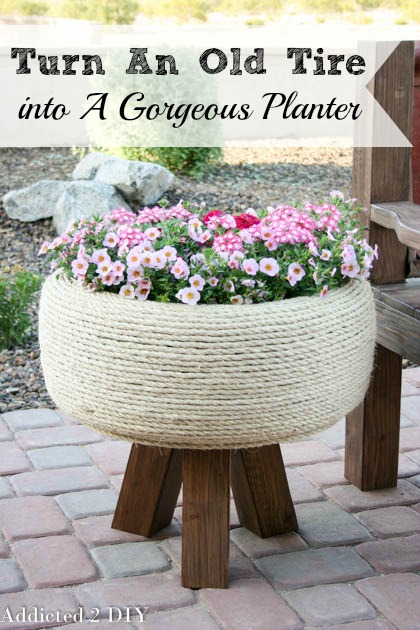
Here’s what you’ll need to make this tire planter:
- 1 old tire
- 1 – 4×4 board cut to 3 – 12″ long pieces with 15 degree angles at each end. The long side and short side of the angles should measure 12″.
- approx 200′ of 3/8″ sisal rope (or less if you have a bigger diameter)
- weatherproof stain
- 2″ pocket hole screws
- Kreg Jig or angle brackets
- 2″ bolts and nuts
- 3/4″ plywood or end of wood spool
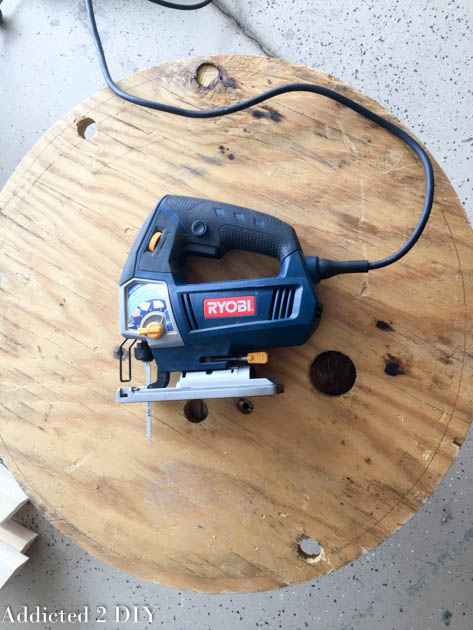
- jigsaw with scroll blade
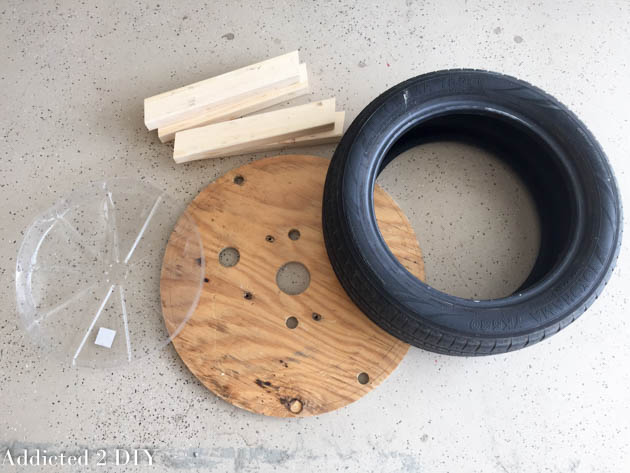
I grabbed all of my materials to figure out how I was going to build the planter. I started to use 1×3 wood for the legs, but they just didn’t have enough substance to them, so I grabbed a 4×4 from my scrap pile and cut three legs from it. I happened to have some wooden spools leftover from another project, so I stole the end off of one of them to make the base for my planter. I also bought a plastic planter tray to keep the wood from being wet constantly from the flowers.
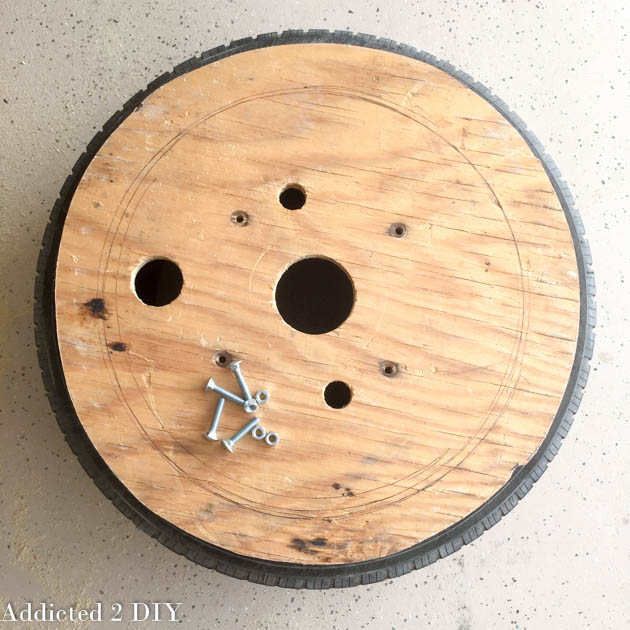
I lined up my spool on my tire and traced around the tire to get the proper diameter for the base. I wanted the diameter to be about an inch smaller than the tire all of the way around. If you don’t have a wood spool, you can easily do this with a piece of plywood.
I grabbed some nuts and bolts from our hardware stash and figured out where I wanted to drill my holes.
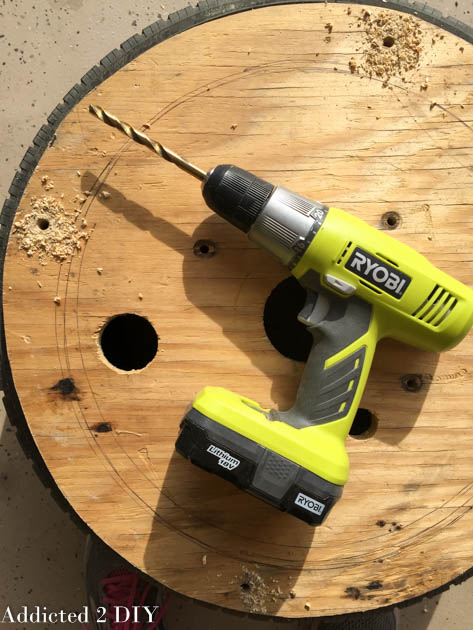
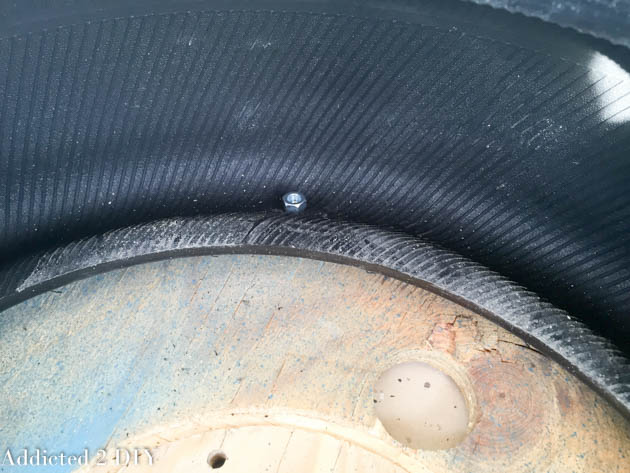
Using a 3/8″ drill bit, I drilled four holes through the plywood and into the sidewall of the tire. I pushed my bolts through and flipped the tire.
It was a little tough to get to the bolts to attach the nuts, but I found that standing on the inside of the sidewall pushed the end of the bolt through enough.
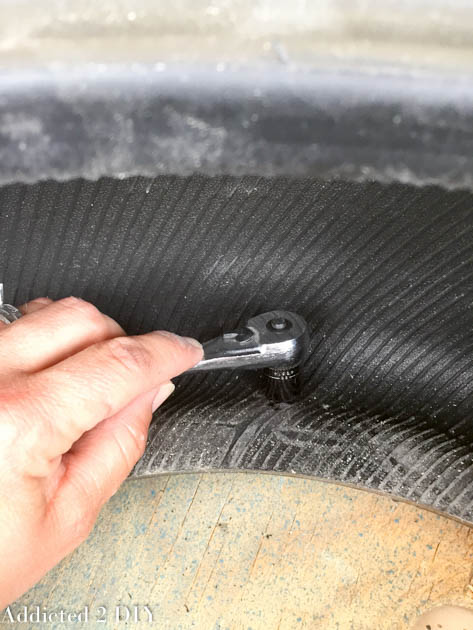
Then I ratcheted all of them tight.
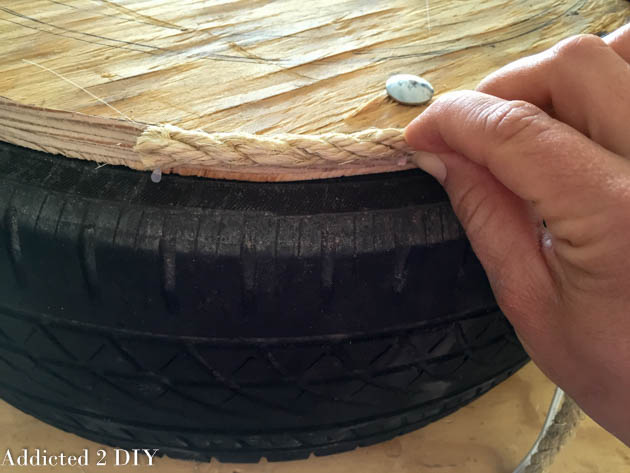
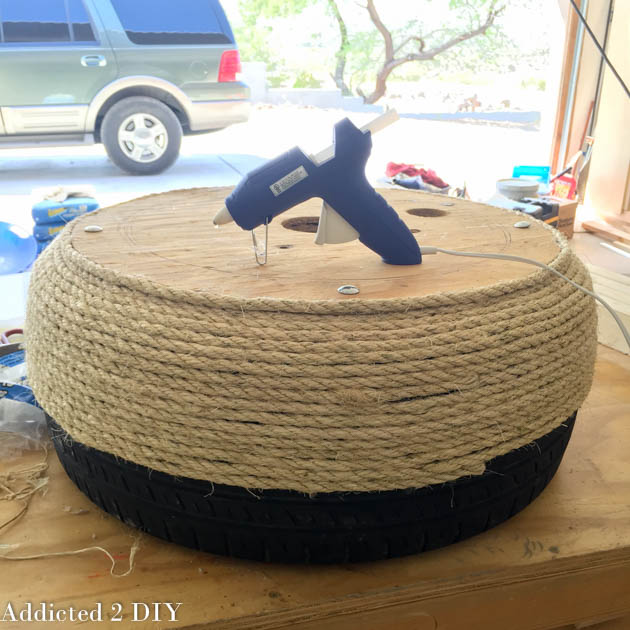
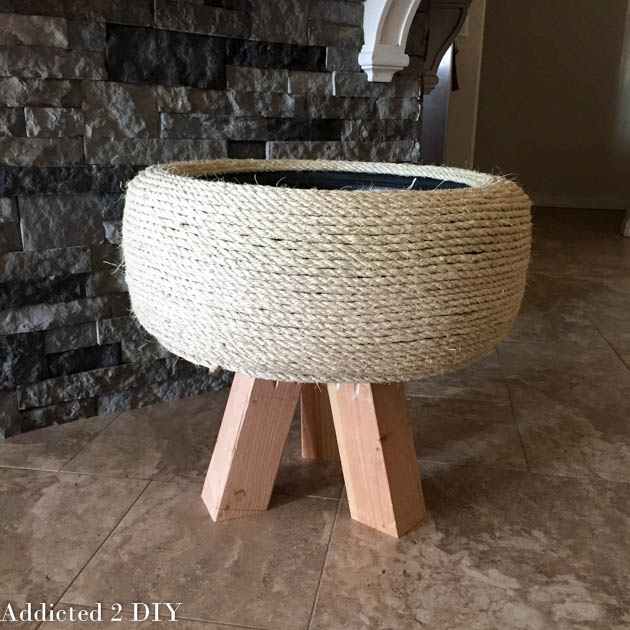
Next it was time to attach the rope. I used my hot glue gun and some super glue and started gluing the rope on from the bottom edge of the wood base. I alternated the super glue and the hot glue to ensure good adhesion onto the tire. The super glue gives the rope a permanent hold to the tire, and the hot glue holds everything in place while that dries.
I kept working my way around the tire, trying to keep the rope tightly wrapped. This step takes a little bit of time, so I ended up taking the tire into the house and finishing it up while I watched TV.
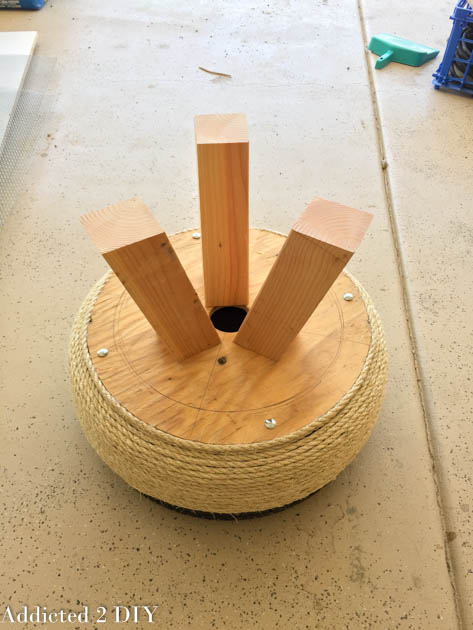
Figuring out where to attach the legs was tricky. I’d never built anything with only three legs before. I ended up finding the center point and positioning the legs in a triangle at the center, then marking the positions with a pen so I could place them after drilling holes.
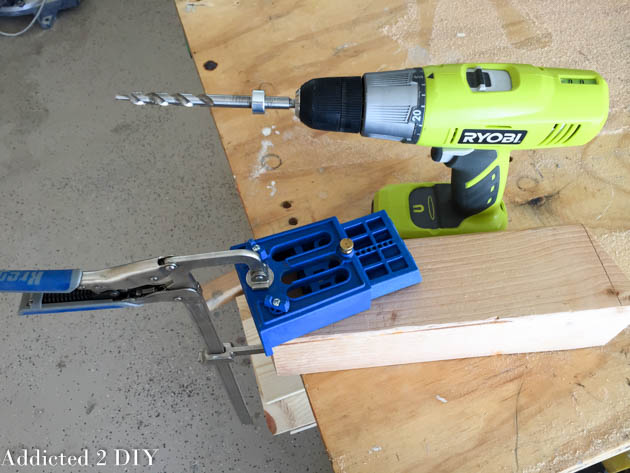
I needed this base to be really strong to hold the weight of the tire and the flowers I put in it. I drilled 1 1/2″ pocket holes into two sides of my 4×4 legs.
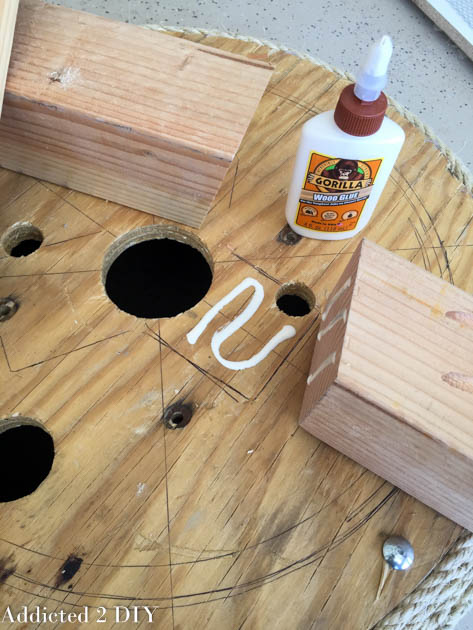
I glued up the legs and then attached them to the wood bottom using 2″ pocket screws. If you don’t have a Kreg Jig, you can also use angle braces.
Once the legs were attached and all of the rope was glued on, I sanded the legs and applied weatherproofing stain. I didn’t take a picture of this step, but I used Behr tintable weatherproofing stain in Padre Brown. A sample sized can is really all you need.
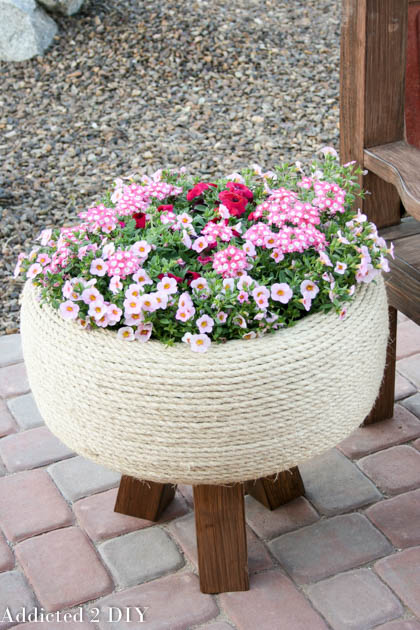
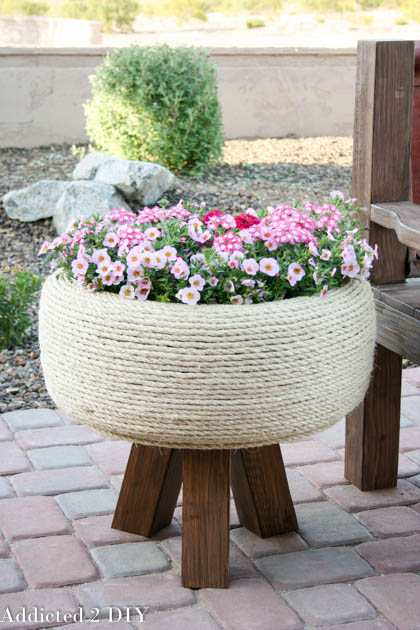
I bought a pot of mixed flowers from my local home improvement store and it fit perfectly inside the tire. I love the idea of flowers, but I’ve also thought about making more for fresh herbs or strawberries! The height is perfect to keep the bunnies around our house from eating everything.
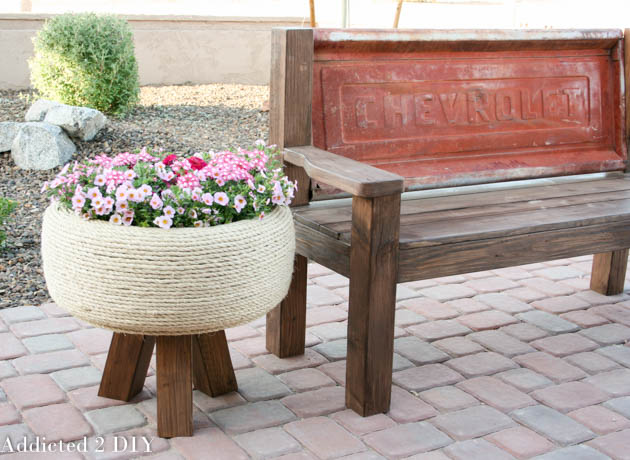
I absolutely love how the tire planter turned out! I had struggled with different ways to build this for weeks, but the rope idea finally popped into my head and it came out better than I could have imagined. Truth be told, my husband hated the idea of me doing a project with a tire, but once he saw the finished planter he really likes it! To keep up with the upcycling spirit, I also built a tailgate bench using an old ’55 Chevy tailgate that I’ve had lying around. I knew it would be the perfect compliment to the tire planter! I’ve also shared the step-by-step tutorial for that project.
Have you ever created any projects from recycled tires? I’d love it if you shared them! It’s always fun to see what others can come up with. If you’re looking to build this project or others with tires, definitely head to your local tire shop. They’d be happy to help you turn old tires into new creations! You can even check out how I recycled old tires for Christmas!

This is so cute Katie! There was some old tires someone put by the dumpster in our alley and my DIY mind went to hmmm what can I make from an old tire…now I know.
I made this and hot glue melts outside. My rope fell off
Katie, this turned out freaking amazing!!! I especially love it next to that tailgate bench, what an creative outdoor space! Pinned 🙂
Katie @ Upcycled Treasures recently posted…Garage Organization: Part 1
Thanks so much, Katie! I really want to build some more for gardening:)
What a cool idea! This definitely goes on my to-do list next weekend. Who would’ve thought that this was made of an old tire, Great post!
Hi! I was concerned how the Hot glue would hold up to weather and rain. Can you tell me if it seems to be ok?? I love this and I have a bunch of old tires out back!
Actually, I literally just discovered tonight that some of the hot glue on the top didn’t hold as well. That could have been my fault as it was towards the end of the tire and I was getting tired;). I am thinking of using Gorilla glue to fix it.
Great idea for a flower planter, but I would hesitate to grow food in one of these without researching it a bit. Toxic chemicals and such????
I would probably use a pot/bowl inside of it to grow veggies:)
Can you tell me what size tire??? From the pictures it looks small. But on another note I love love love this I will be making one thanks for sharing.
It’s about 24″ across. The inside diameter is about 16″.
i absolutely love this! I was wondering where you got the 200 feet of sisle rope? I’m going to try and build this but after reading your comment on the hot glue,I think I will use contractor grade glue instead. Thanks for a wonderful post! I also am making seats for the kids to sit on , without the legs. I’m anxious to get started!
I got mine at Home Depot, but after the fact, I found it cheaper at Harbor Freight.
Looks very interesting .
We live in a very rural setting and would fit in nicely.
Thank you.
I would love to make these, I am too old now but maybe I an get my granddaughter interested.
correcting my email I had just posted. I left the c out.
Thank you Loretta
This is absolutely gorgeous! Looks like something from a high end store like Pottery Barn.
Thanks so much, Julia!
Pretty great timing for me to find this project, I JUST had to buy new tires and I’ve got the old ones laying around waiting to be used. Such a great idea! I will definitely be turning at least one of them into this amazing planter.
Emily recently posted…Our Favourite Summer DIY Projects
That IS perfect timing! I will probably do the same and make some as gifts when I need my tires replaced:)
Absolutely fabulous. Have added this to my seemingly endless list of things I want to make. I think 3 or 4 of these planted up with a selection of herbs, out on the decking perhaps? and what a gift for someone, brilliant!
I painted two tires put a 5 gallon bucket down the middle and planted my flowerI also painted a tire and hung off the gate with flowers it
I love that idea, Connie! That definitely has me inspired! I wanted to find ways to use tires in my garden and the 5 gallon buckets would be perfect for smaller herbs, etc. Plus stacking them like that keeps the bunnies away:)
The tire/rope planter is a great recycle project. You could also add a larger circle if wood on too for outdoor coffee table.
I forgot to say, as you wrap rope around wood and tire, anchor it with some screws here and there to keep the rope on longer.
Brilliant idea!! I’m not real sure how it happened, but we ended up with a good amount of tires on our property. I’ve been trying to figure out what I can do with them
Thank you LaDonna! This planter would definitely be a great idea for them. You can also search my Christmas ornaments from old tires post too! Those were super fun to decorate the yard with this past year:)
This looks like something I could do. Thanks for all the detailed instructions. Great job!!
Thank you Rox! I’d love to see a pic if you build one for yourself:)
This is absolutely gorgeous! I’m blown away!! Excellent job! I’m definitely going to try this project out. I’ve got two tires sitting in my backyard. Thank you for sharing this!
Thank you Cara! It’s such a fun way to reuse an old tire and people always look twice to notice it’s even a tire!
Very clever, what angle did you cut the legs?
I believe I cut them at 15 degrees. Thank you!
Wow! Love this so much. Very unique!
I’ve been thinking about how to make a foot rest to go on my patio. This is a great idea. Instead of flowers put padding and cover another wooden end and there ya go! A foot rest!
I think that would be perfect!
That is awesome, Katie! The rope really makes this unique!
If you put this outside, are you concerned about the rope lasting more than a couple of seasons? Maybe spray it down with clear coat?
Also, with it being sisal rope, I wonder how well it would take paint? Say, for example, someone had blue furniture and wanted to match it??
Just a few thoughts to keep you up at night!!!
I think it would take paint just fine. I have heard of people putting a sealing coat on theirs. If it is out in the elements, it will definitely change color over time. If it is under a covered patio and not exposed to rain, it should last you for a long time.
Just came across your blog. This is an amazing idea that I would love to try. I see covering the top and turning it into some kind of table. Thank you for getting my creative juices running.