Learn the easiest way to refinish furniture. Using a paint sprayer, you can have a virtually brand new piece of furniture in no time at all.
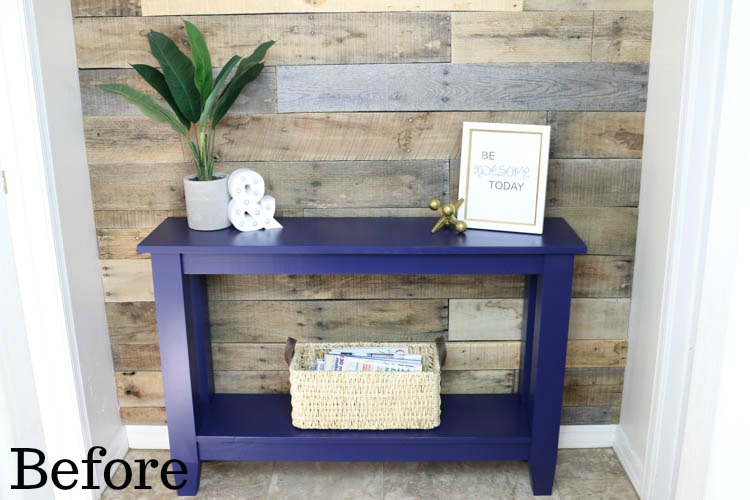
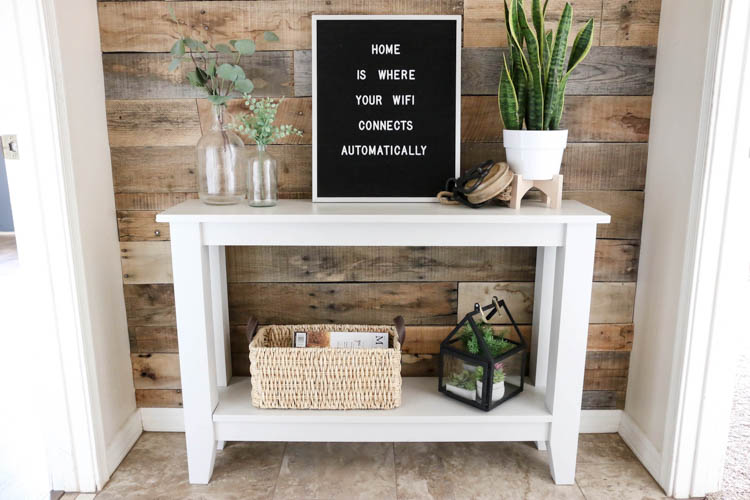
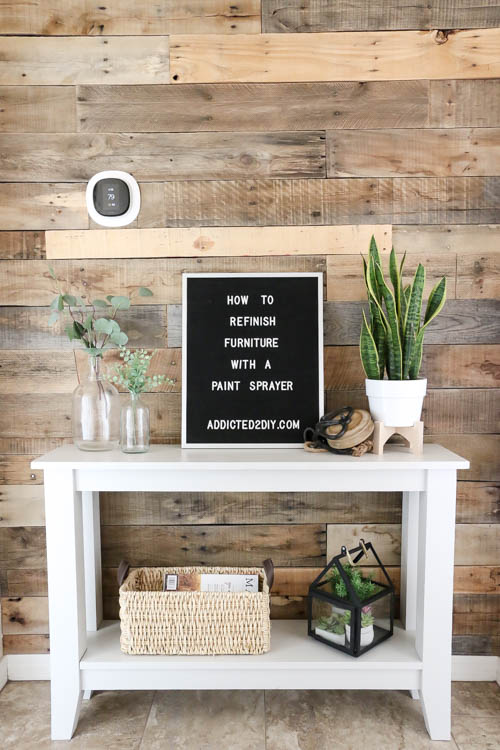
A few years ago, I installed a pallet wall and also built this narrow hall table to go between my boys’ bedrooms. I loved that it added that little extra something to this space, but I really just wasn’t loving the color. It didn’t go with anything else in our house and I knew that something needed to change. I loved the overall look of the table, so I didn’t want to get rid of it. I decided the best thing to do would be to refinish it with a fresh new paint color.
I’m partnering with HomeRight today to show you the easiest way to refinish furniture using the Finish Max Super. It’s my favorite painting tool and one that I use on a ton of different types of projects. Oh! And I’m giving one away to one lucky reader! Be sure to stick around until the end of this post and enter to win!
Below, you’ll find all of the steps you’ll need to refinish your own furniture project.
Supplies
You’ll need to gather together a few supplies for this project.
- Large Dropcloth
- 220 grit sanding block or sandpaper
- cloth to wipe project down
- Large spray shelter
- Paint Sprayer
- blocks to elevate your project off the ground (such as Bench Cookies)
Prep your work surface
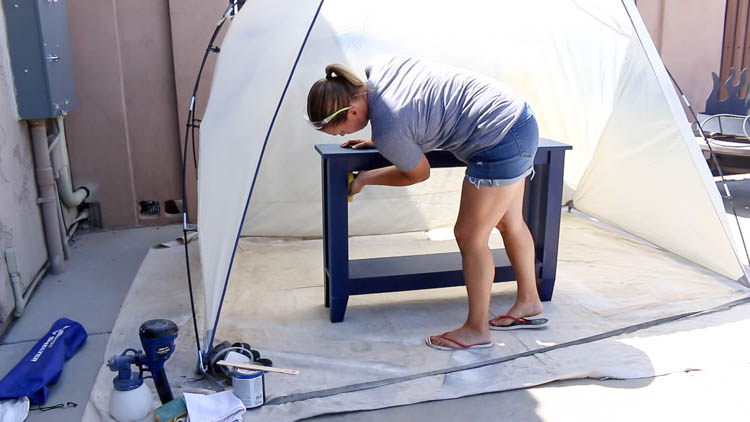
Before painting, you’ll need to prep your work surface. Lightly sand down the entire piece with 220 grit sandpaper. You don’t need to remove all of the paint. Just scuff the surface so the new paint has something to stick to. Once you’re done, wipe it down with a damp cloth to remove any excess paint dust.
Fill The Paint Sprayer
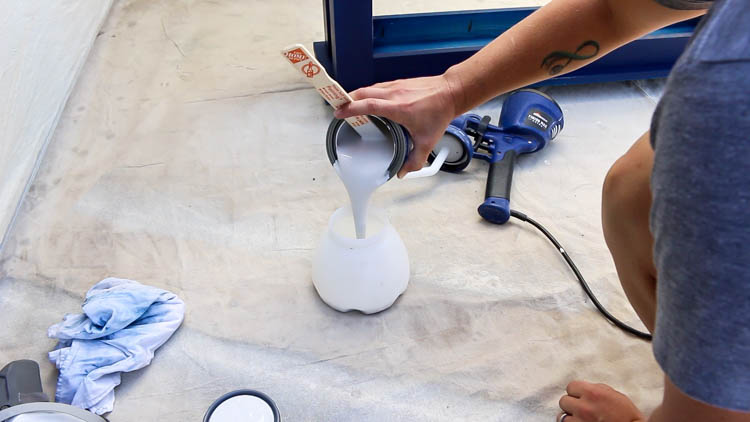
Fill your paint sprayer with paint. The HomeRight Finish Max Super requires little to no diluting of your paint. Some paints are thicker than others (think pudding consistency), so be sure to test how your sprayer operates with the different types of paint and spray tip combinations. You may find that you’ll need to dilute your paint a little if it is fairly thick straight from the can. I used PPG paint and it didn’t need to be diluted at all. The color I chose is Repose Gray. It’s a Sherwin Williams color that I had color matched at Home Depot.
Begin Painting
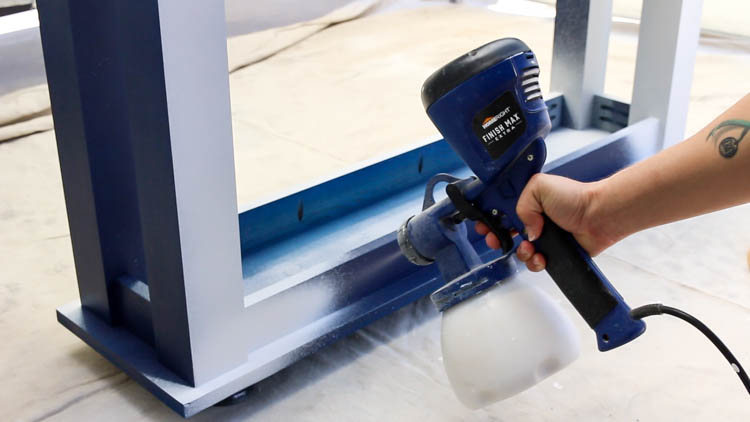
Begin painting your furniture piece. For this project, I decided it would be easiest to flip the project over and paint the underside and legs first. The key to painting with a sprayer is to use multiple, light coats of paint. You don’t want to put too much on too fast or your paint will drip and will need to be touched up with a brush.
Finishing your project
With this being a furniture refinishing project, you won’t necessarily need to sand between coats of paint. When painting unfinished wood, the paint soaks into the wood and raises the grain, which creates a rough surface. Don’t worry, it wasn’t faulty sanding on your part. It just happens, especially with softer woods. In between coats of paint, you’ll want to let it thoroughly dry, then lightly sand the project with 220 or 320 grit sandpaper. On average, it takes about 3 coats of paint for me to be satisfied with the coverage. For this project, I used two coats of paint and did not find it necessary to sand in between coats.
I love the new paint color on this table! It looks like a brand new table! It’s always amazing to see how just a few coats of paint can transform something. Now it fits right in with the rest of the house and even my husband says he likes the new color better! Be sure to check out the HomeRight Finish Max Super paint sprayer and also pin this post for later so you can come back to it when you’re ready to refinish furniture of your own!
Giveaway Time
Now for the giveaway! One lucky winner will receive a HomeRight Finish Max Super to use on their own painting and finishing projects. Just follow the Rafflecopter entry form below. This giveaway is open to U.S. Residents ages 18 and older. Void in Alaska and Hawaii. Winner will be chosen at random and contacted via email to claim their prize. Winner has 48 hours to claim their prize or a new winner will be selected at random. Thanks and good luck!
DISCLOSURE: I was provided product and/or compensation for this post. All opinions and ideas are 100% my own.




Really nice change. It’s amazing how something so simple,like changing the color gives a whole different feel to an area. Love it
Thank you, Gail!