Painting furniture can sometimes be a daunting task. Especially when the furniture has spindles (like a rocking chair). This post shows you the best way to paint furniture, including spindles, to get a beautiful result every time.
Why Paint Furniture?
Sometimes you love a piece of furniture as is. Sometimes you love the furniture, but the finish just isn’t doing it for you. Thankfully, a few simple coats of paint can easily change that and you can end up with a piece that fits your style perfectly. I’m partnering with HomeRight today to show you the best way to paint furniture and achieve a clean, smooth finish you’ll love. I’m also giving away a HomeRight Finish Max Super paint sprayer at the end of this post, so stick around!
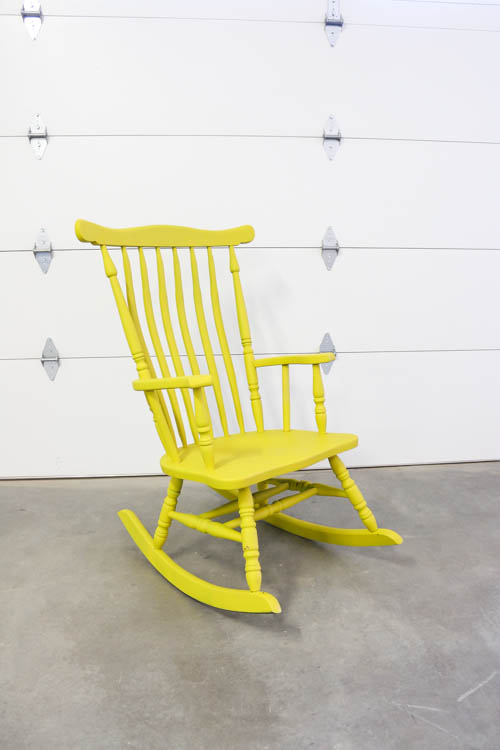
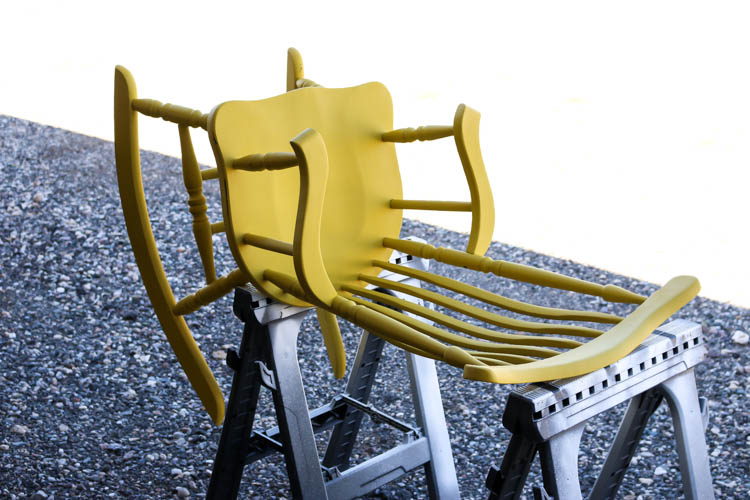
I bought this rocking chair several years ago and it’s had its fair share of colors over the years. I first painted it white, then decided I liked it better black. All of that was done by hand and it took FOREVER. Especially painting the spindles. A year later, I decided to experiment with color and painted it this bright chartreuse color. Thankfully, I had a HomeRight paint sprayer by then, but after a while, I realized that the bright color just wasn’t my style.
How To Paint Furniture
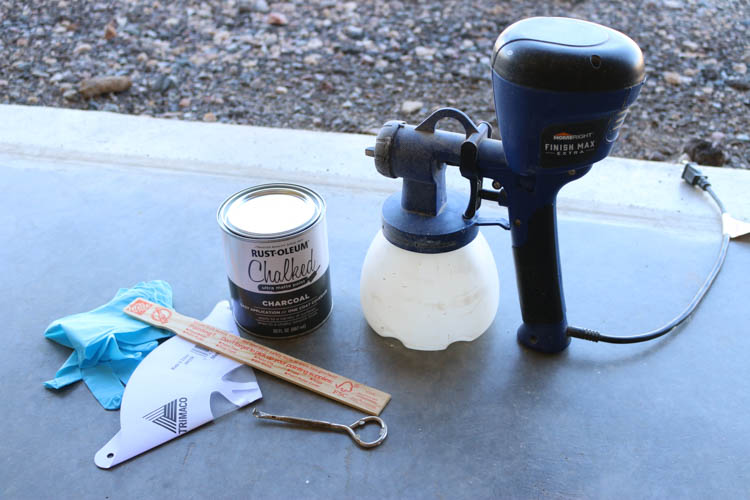
When painting furniture, you want to choose a paint that is best suited for the task at hand. You can use a regular latex paint (which I did with my hall table), but you will need to prep the entire surface before hand by lightly sanding it. With all of the spindles on this rocking chair, I was not about to go through all of that. I love using chalk paint on furniture, because it takes little to no prep work. I found this Rustoleum chalk paint at Home Depot, but you can use any type you like. The HomeRight Finish Max Super, requires little to no watering down of the paint, but this was fairly thick, so I did add a little water to it to thin the paint a bit.
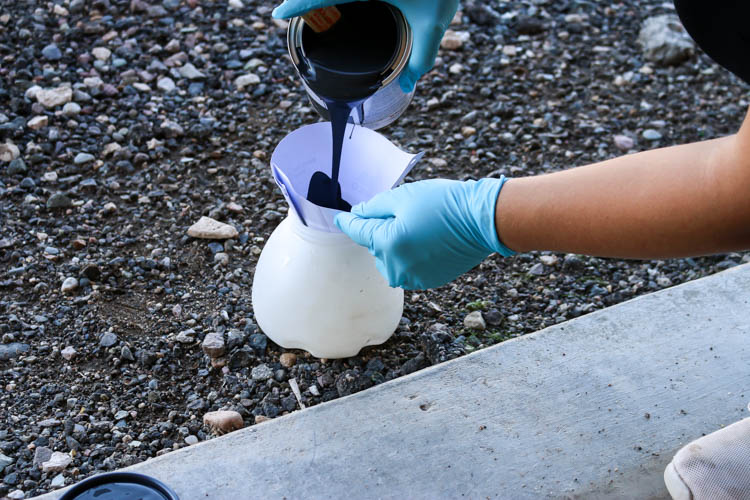
Before getting started, you want to strain any clumps out of your paint. Even if it’s a brand new can, there is a good chance there could be a few in there and you don’t want them plugging up your paint sprayer.
Getting Ready To Paint
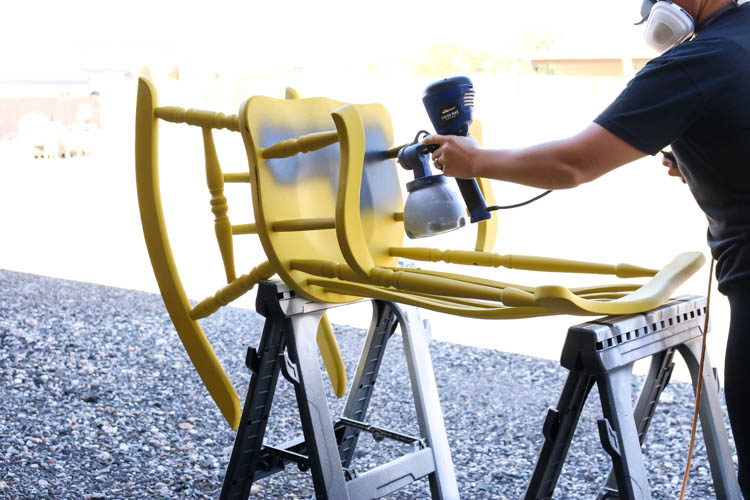
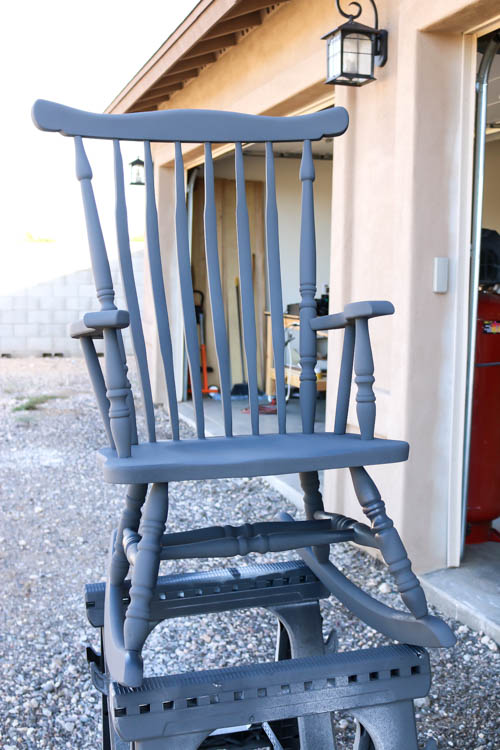
Set up your painting area. I set up some sawhorses outside in the dirt and laid the rocking chair down on them. You’ll want to wear a respirator and safety glasses as well. If you don’t have an open area to paint, HomeRight also has an amazing spray shelter in three different sizes that is perfect for your painting jobs.
Painting Furniture With Chalk Paint
Once my paint sprayer was ready to go, I began painting the chair. You’ll want to maintain even coats of paint across the furniture to avoid any drips. Hold the paint sprayer about 6-10 inches away from the furniture piece and set the spray pattern either vertical or horizontal (depending on the direction you are painting). Overlap the rows of paint to make sure you get even coverage.
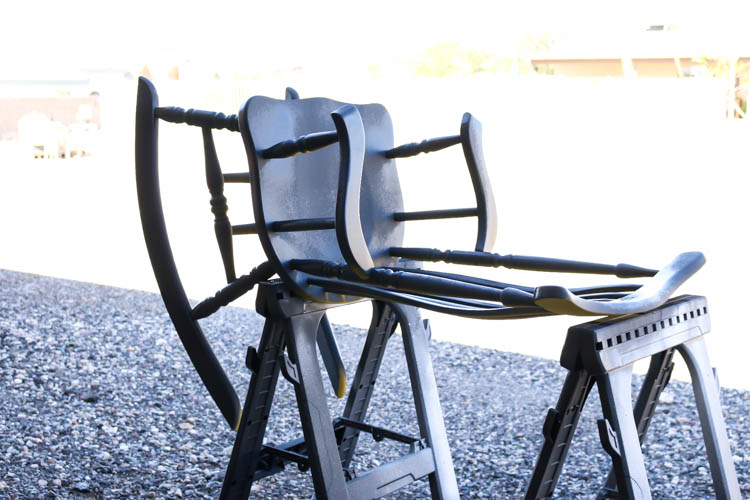
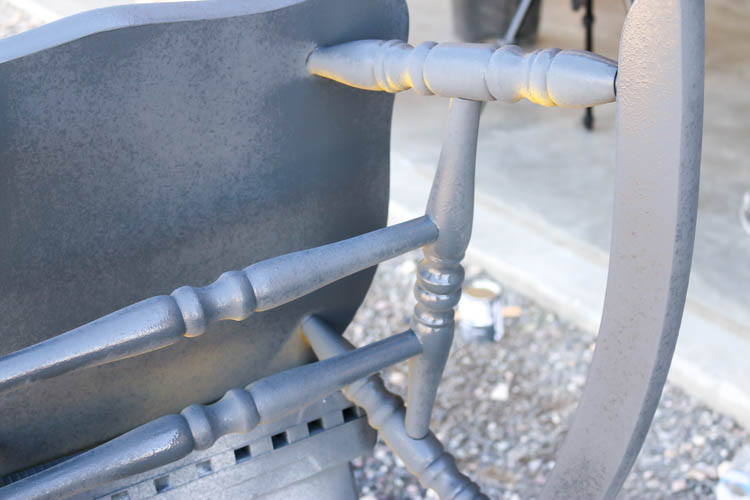
I painted all of the areas I could with the chair in this position and let it dry. The chalk paint dries to a matte finish. While it’s drying, check to see if there are areas you may have missed that you can hit with the paint sprayer before turning the project over. Painting spindles is so much easier with the paint sprayer, because you get an even coat.
Once the paint was dry, I stood the rocking chair up on the saw horses and painted the remaining areas. Be careful when moving your furniture piece after just painting it. You don’t want to scratch any of the fresh paint off. Most areas of the rocking chair only required one coat of the chalk paint. Some areas I hit a little lighter, so I went back over them. I let it dry completely before sealing it.
Sealing Chalk Paint
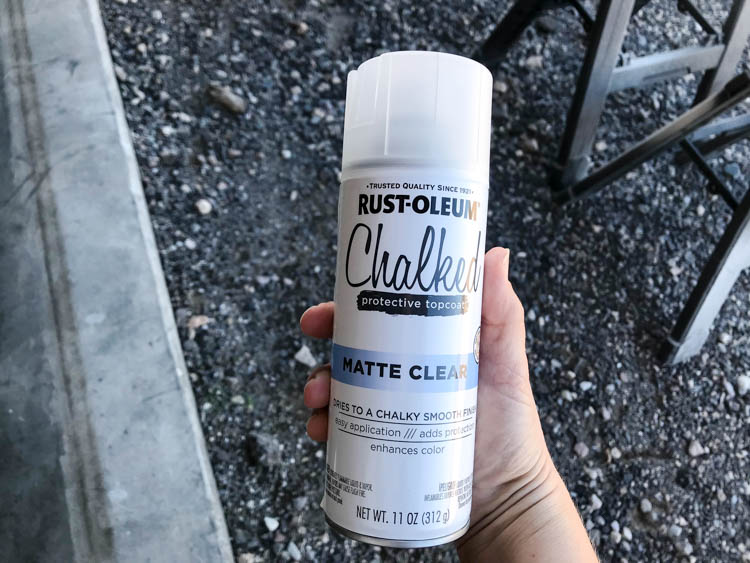
When you’re painting with a latex paint, you don’t need to seal it with anything afterwards. With chalk paint; however, you want to seal it with a topcoat specifically for chalk paint (there are waxes and other topcoats available). Using a polycrylic is okay on dark colors, but it can cause discoloration (yellowing) over time on lighter colors. I chose to use Rustoleum’s protective top coat to seal the chalk paint on this chair. They offer it in both a spray can, as well as quart sized cans that you can brush on or (probably) use in a paint sprayer. I chose to try out the spray can. The can didn’t say how much coverage you’ll get with a single can, but I bought two and used about 1 1/2 cans of it.
The label says that it dries to a matte finish; however, I’d really call it more of a satin finish. You’ll have a slight sheen to it, which was totally fine with me. Like with the paint sprayer, I sprayed it on in even coats, overlapping the previous coats to even out the finish. I let the topcoat dry overnight before bringing the chair back into the house.
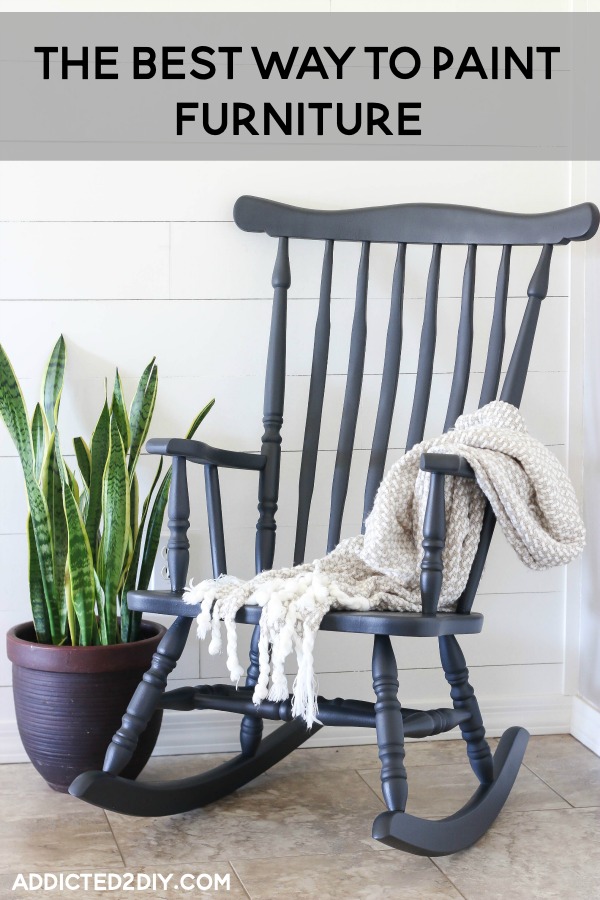
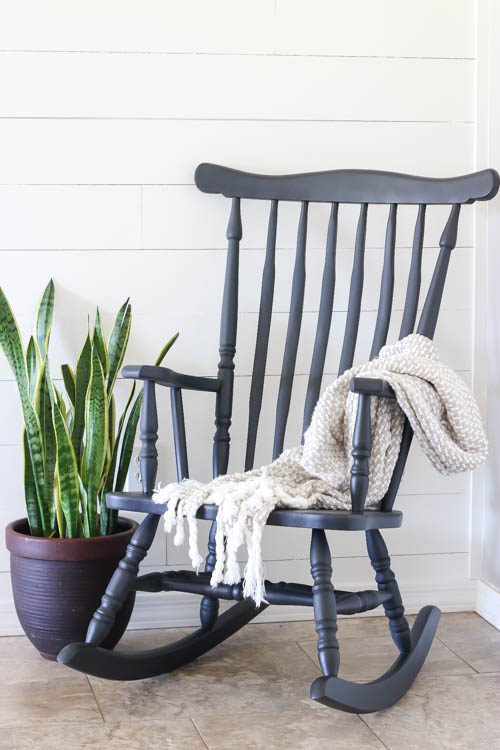
This color for the rocking chair definitely suits my style better and hopefully gives you a good idea on how to paint furniture and and what types of paint you can use. Plus, with the HomeRight Finish Max Super paint sprayer, I was done in no time at all. The longest part of each of these projects is waiting on the paint to dry. Do you have any furniture pieces you’ve been dying to paint, but have been holding back on doing so? Why not give it a shot! I’ve lost count of the number of things I’ve painted or stained with mine and it has made a world of difference in the finish and efficiency when painting projects.
Now for the giveaway I promised! One lucky reader will win a HomeRight Finish Max Super. This sprayer is amazing and I use it for so many different finishes. It works great with paint, stain, polycrylic, and so much more! Just use the entry form below to enter to win! This giveaway is open to U.S. residents ages 18 and over. Void in Alaska and Hawaii. The winner of this giveaway will be chosen at random and notified via email. The winner will have 48 hours to respond to the email or a new winner will be randomly chosen. Thanks for entering and good luck!
DISCLOSURE: I was provided product and/or compensation for this post. All opinions and ideas are 100% my own.


We recently purchased an old rocking chair and came across this article on how to paint it. I would have never thought you would not need to seal the latex paint job but it makes perfect sense. Having now done it on our project now it has turned out great. Thanks a ton.