Learn how to build a DIY noodle board using this easy to follow tutorial. This noodle board can be built using scrap wood you have on hand, or purchase the wood of your choice and customize it any way you like!
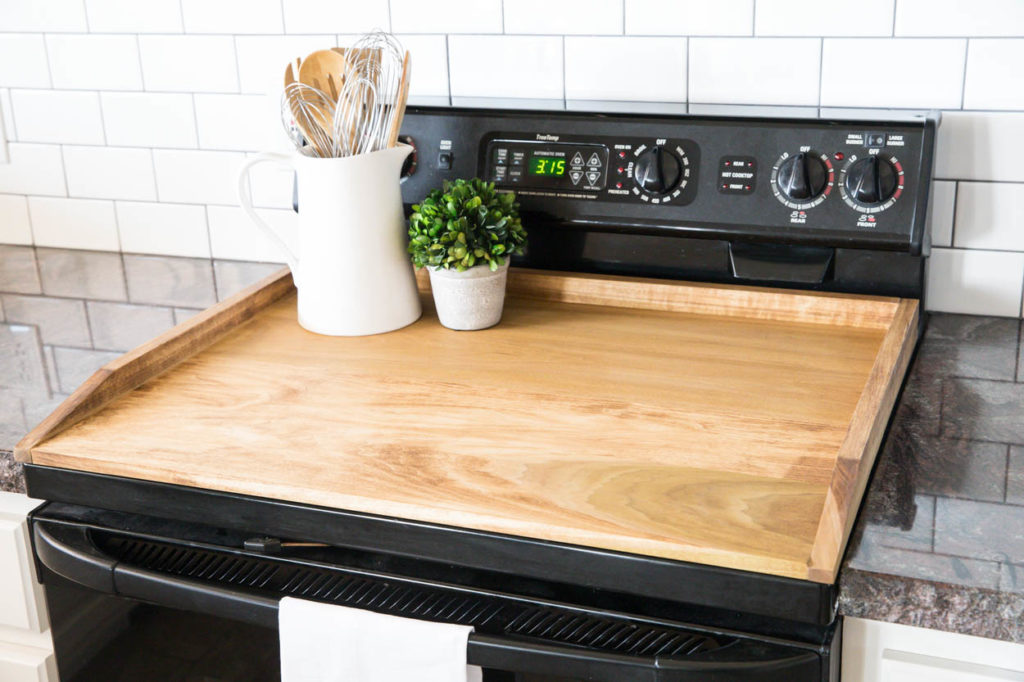
It’s time once again for another monthly DIY challenge! This month’s challenge was for participants to dig through their scrap wood pile in order to create their project. The rules were pretty simple. Scrap wood only; however, fasteners, hardware, and finishes are allowed. I decided to build a DIY noodle board. For those of you wondering what a noodle board is, don’t worry. I had to Google it, too. After getting a few requests for a tutorial, I knew this would be perfect to use up my scrap wood to build!
Make sure you scroll to the end to see what everyone else made from their scrap wood! I’m pretty certain you’ll be amazed and inspired!
Watch The YouTube Tutorial
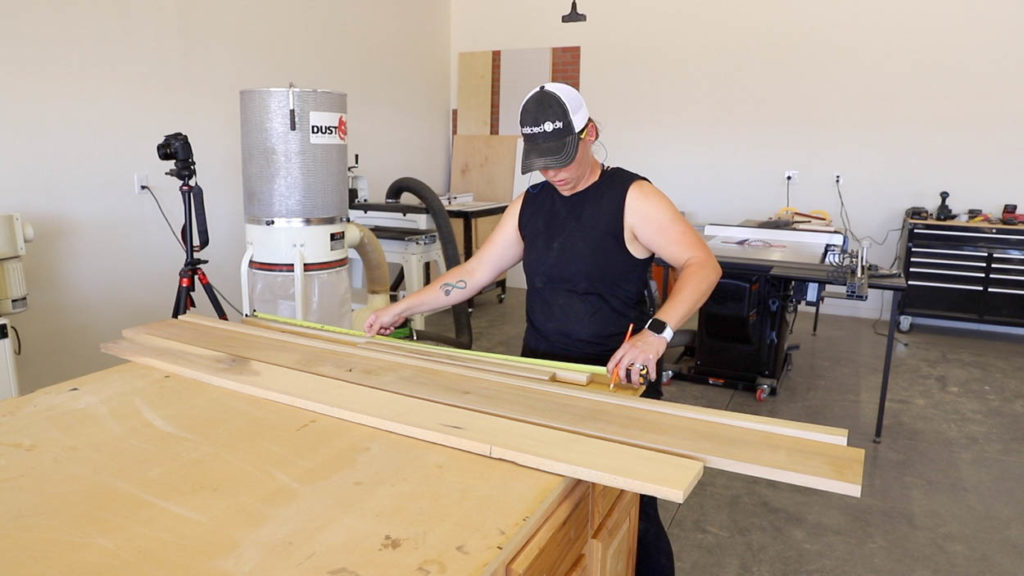
My scrap wood pile is large, but pretty mixed. Thankfully, after some digging, I found several remnants of poplar that were left over from projects I’d built over the last couple of years.
What Is A Noodle Board?
There’s a lot of different ideas of what a noodle board actually is. Some say that it was used to roll out the dough and cut noodles “back in the day.” Others say it’s used for kneading bread or pastry dough. Some want to use a noodle board as a stovetop cover to hide unsightly burners. It’s especially useful if you’re short on counter space and need a little extra room when hosting large gatherings, etc. Obviously, if you are using a noodle board or stovetop cover for things like making pasta or pie dough, you’ll want to use a hardwood like maple, but you’ll also want to use a food safe finish on the wood. If you’re using it as an extension of your countertop and do not plan to prepare any types of dough on it, then you can use any type of wood you like. You can also finish it any way you like (paint, stain, stenciled, etc.)
What You’ll Need
This noodle board is built using the standard dimensions of a freestanding range. The finished dimensions will be 30″ wide and 22 3/4″ deep. I made mine 1/2″ shorter, making one of the boards 5″ wide, rather than the standard 5 1/2″ of a 1×6 board. If you have a table saw and wish to do the same, you can rip 1/2″ off of your 1×6 board.
Materials needed:
- 2 – 1×6 boards @ 6′ long
- 1 – 1×2 board @ 8′ long
- 1 1/4″ pin (or brad) nails
- wood glue
- 220 grit sandpaper
- nail gun
- orbital sander
Cut List:
- 4 – 1×6 boards @ 28 1/2″ long
- 2 – 1×2 boards @ 22 3/4″ long
- 1 – 1×2 board @ 28 1/2″ long
How To Build A Noodle Board
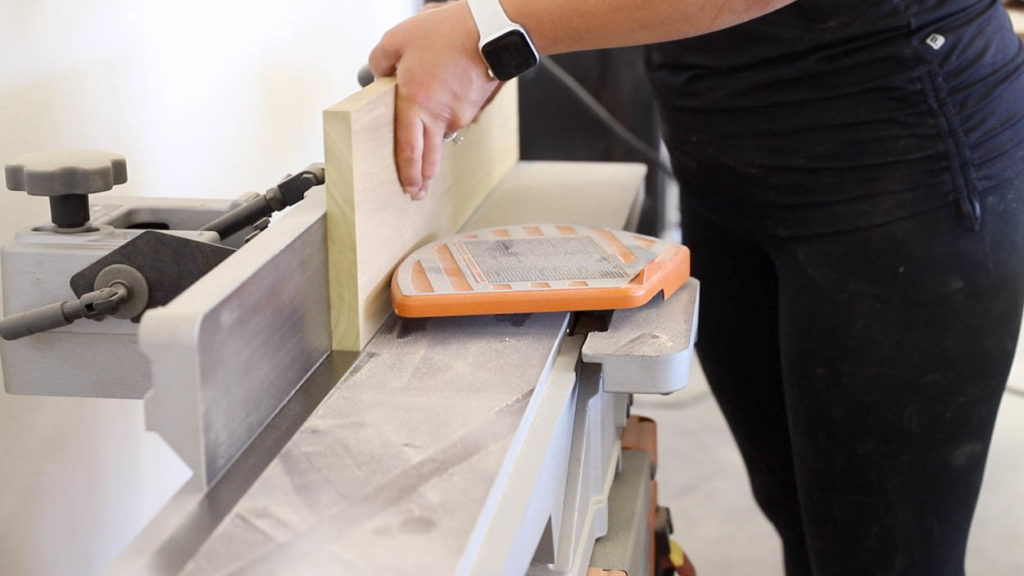
I wanted this noodle board project to be something that could be built either utilizing scrap wood, or purchasing dimensional lumber. It’s a perfect project for beginners and it uses only a few tools. That being said, my wood was in pretty rough shape after sitting in my shop for the past few years. It took quite a few hours of joining, planing and sanding in order to get it flat enough and straight enough to use. Obviously you won’t run into that problem if you’re building this using dimensional lumber.
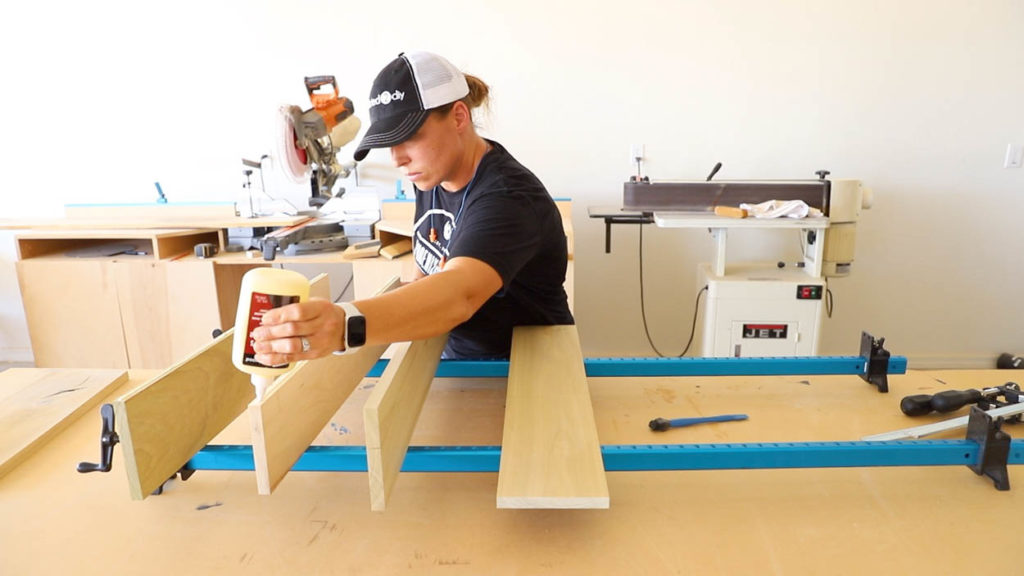
Once I had my boards flattened out and cut down to size, it was time to glue them up. I added glue to the edges and brushed it with a silicone brush to make sure the entire edge was covered in glue.
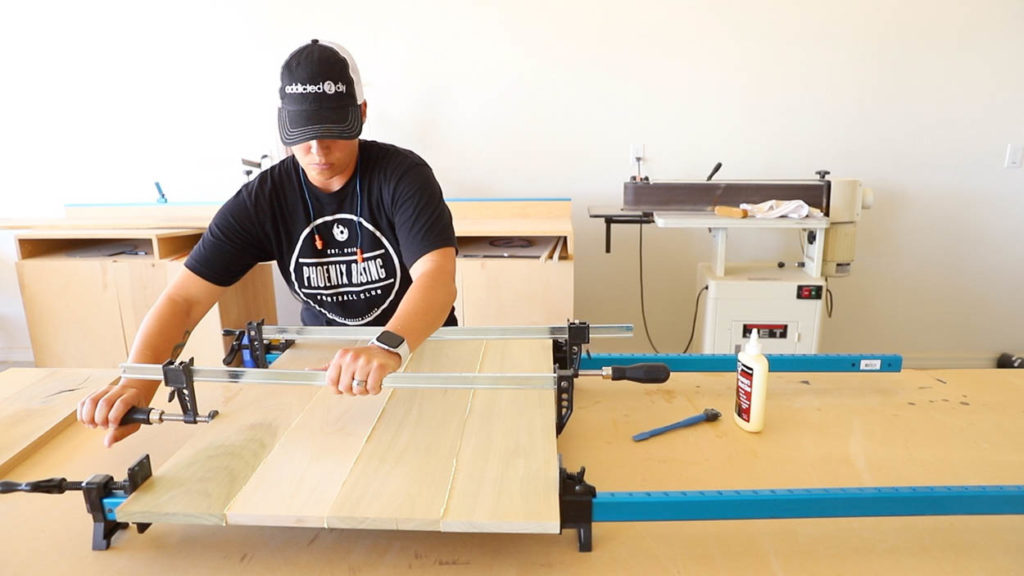
Once the edges were glued up, I clamped them all together and let the glue dry overnight.
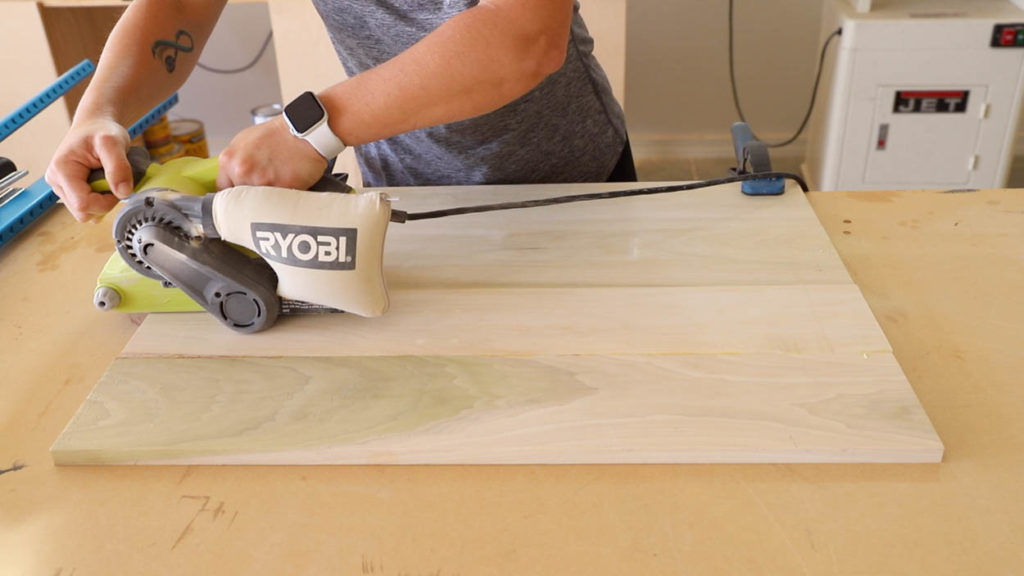
Once the glue was dry, I took the board out of the clamps and sanded it down with my belt sander and 80 grit sandpaper. Once I was finished with the belt sander, I sanded the entire piece down on both sides to 220 grit.
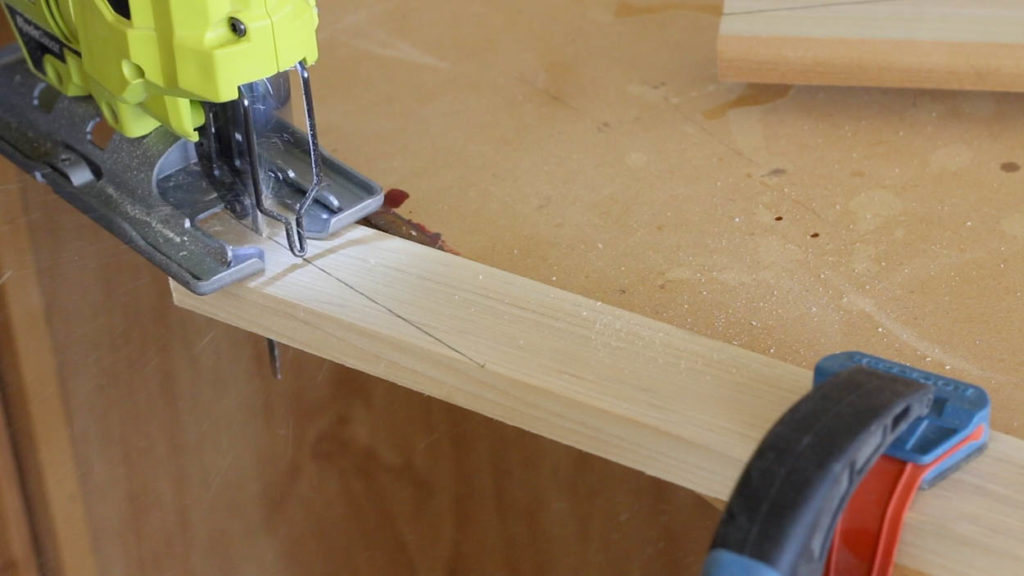
This step is totally optional, but I wanted the sides to slope down to be flush with the front edge of the stovetop cover. I held the sides up to the bottom board, flush with the front edge and made a mark where the side met the top face of the bottom board. I also measured 5″ in and drew a straight line to connect those points. I cut the angles with my jigsaw.
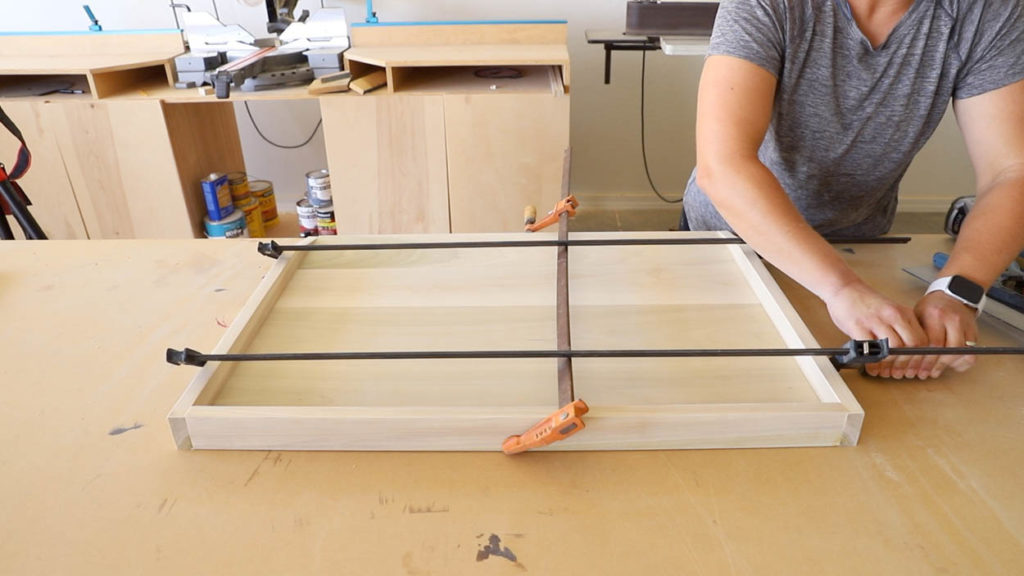
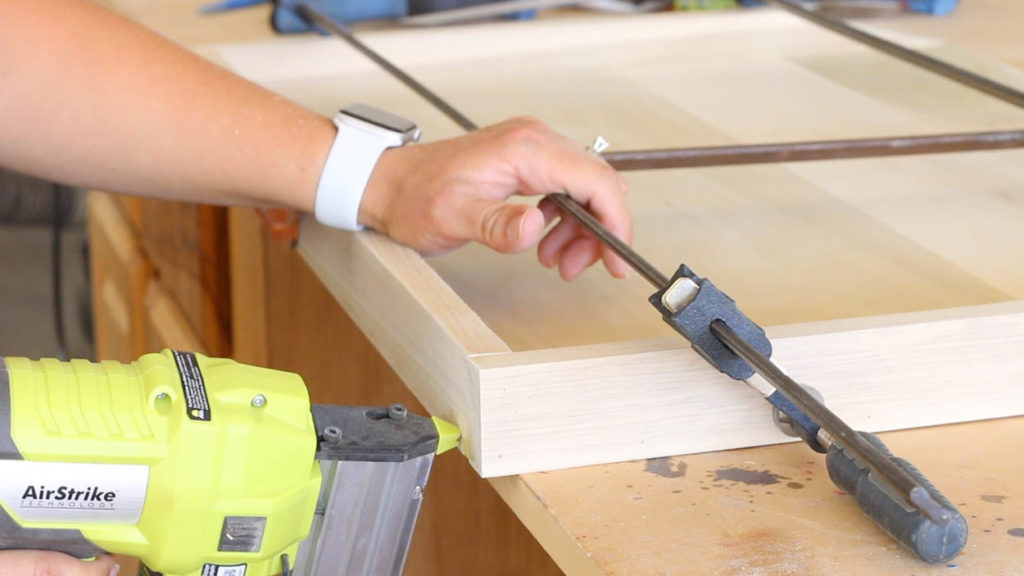
Once the sides were cut and sanded down, I attached them with wood glue and 1 1/4″ pin nails. You can also use 18ga brad nails (or even wood screws) for this step if you do not have a pin nailer.
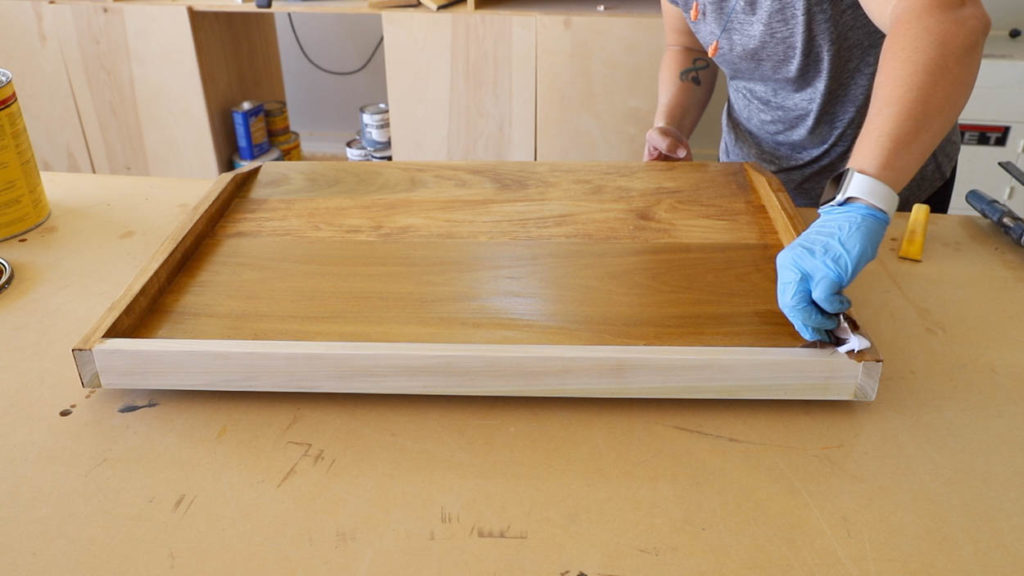
I stained the entire piece in golden oak stain by Minwax.
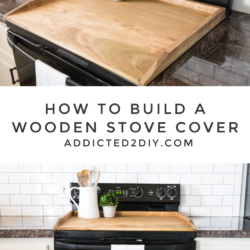
DIY Wooden Stovetop Cover (aka Noodle Board)
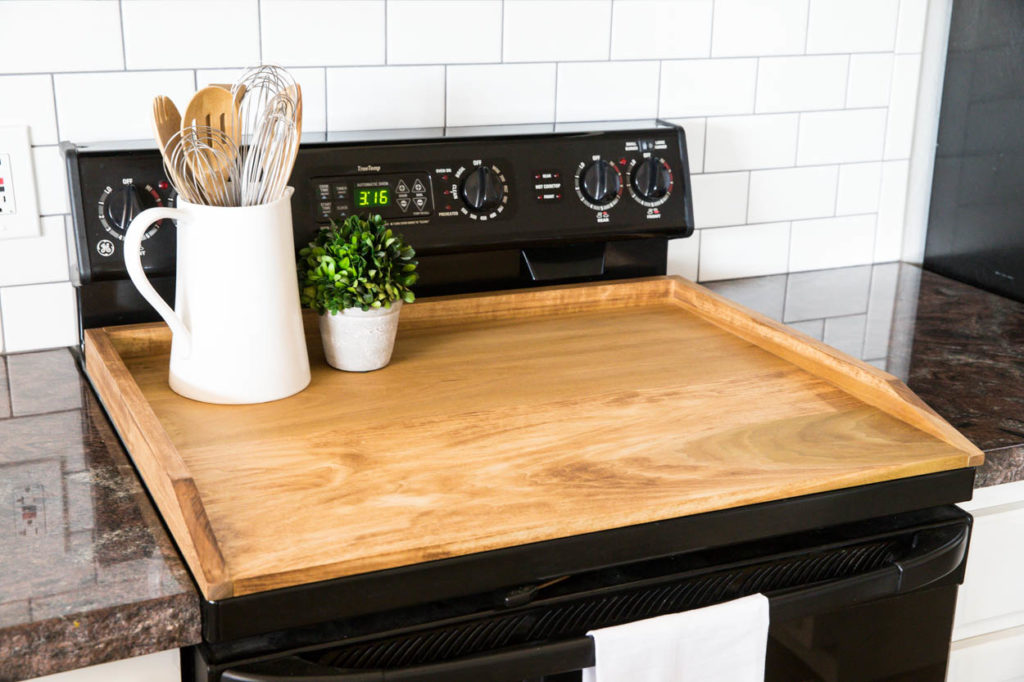
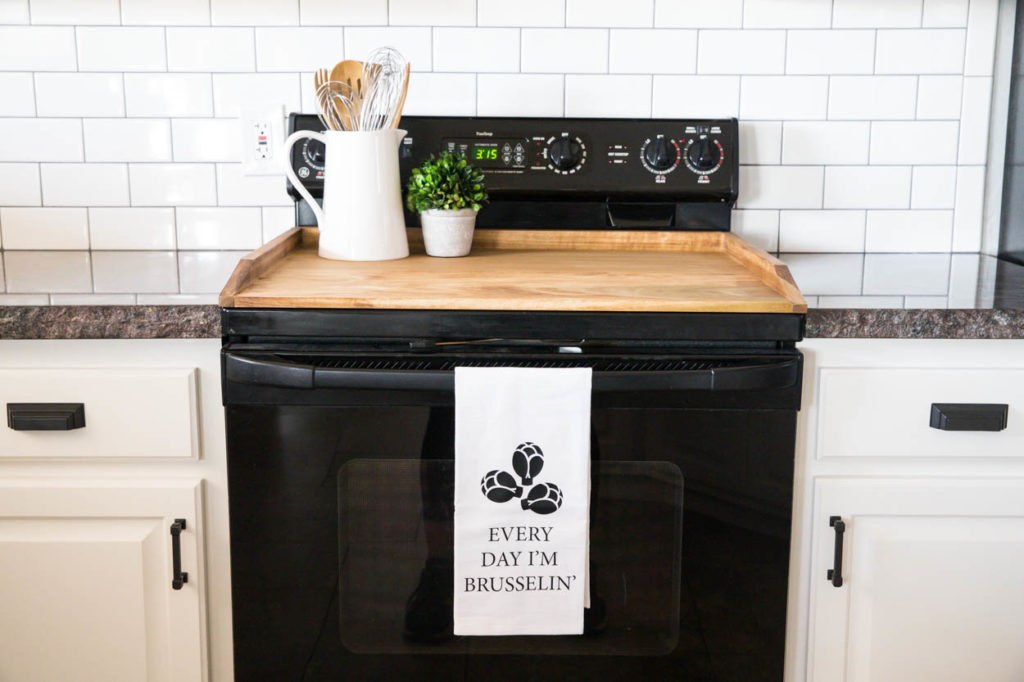
While I certainly have no shortage of counter space, I do love the idea of hiding my cooktop with a stovetop cover. The warm tones of the wood definitely break up the darkness of my granite and black range. I imagine it will also be handy as a large tray to carry things outside when we are entertaining outdoors as well!
Be sure to visit the other sites listed below to see what they created for their scrap wood challenge projects!

I love it, Katie! Plus you taught me something new today because I had no idea what a noodle board was! Lol! It’s beautiful!
Cara recently posted…DIY Scrap Wood Outdoor Planter
Katie this is gorgeous and now I need one! I love projects with purpose and this not only uses up scraps but it’s 100% useful in the kitchen too.
Jaime Costiglio recently posted…Scrap Wood Wall Installation
I’m right there with Cara, I had no idea what a noodle board was. Now I need one! 😀 More counter space and hiding that range top are top priorities. 👌
I definitely could have used one of these in an old apartment when I had no counter space! I love the way the warm wood tone works with the white subway tile!!
Angie Wilson recently posted…Cherry Wood Soap Dish
I had no idea! but I can also see this being used to make and roll out noodles, or pie crust, or pastry. Because I have a small galley kitchen, and used to have cats… I use a full size sheet pan to roll out pie crust. But it’s an awkward size, and the edges get in the way. (But knowing it’s pristine and clean makes it work it.) Like the size and no lip on the front, but lips in the back to contain the flour.
Yes, exactly! I bet this would work great for you in your kitchen!
Love it! I have a kind of silly question, though – what do you do with it when you need to use the stove?
Lol! I just take the noodle board off and set it aside. I have room next to the cabinets in my dining room and I just lean it against those out of the way.
Do you seal them so they are good safe? If so what do you use?
Thank you!
I didn’t seal this one; however, you could seal it with a food safe sealer. I would avoid staining it if planning to use it for food prep.
You said you had to flatten your wood, how do you do that exactly as my boards are stored out doors under cover but still get warped from the humid FL air.
I used my planer to flatten the boards out.