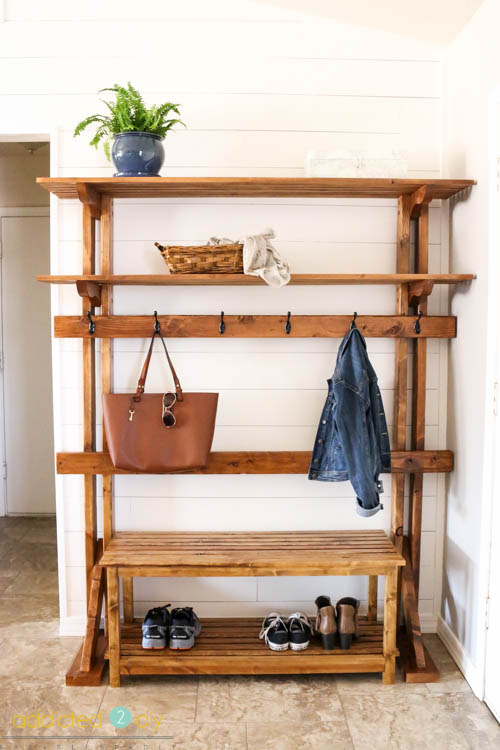
Hey guys! Recently I shared with you all the plans for my Pottery Barn-Inspired Rustic Hall Tree. I seriously can’t even begin to tell you how much I love the new look of my entryway thanks to this project. Today, I’m going to share with you the plans and tutorial for the coordinating rustic bench. It’s a quick and easy build, though the sanding does get a bit tedious with all of those slats. The best part is that it’s such an inexpensive project. You just need 4 2x3s and some 1x2s. So for about $20, you have a beautiful bench to go with your hall tree. Before we get started, don’t forget to download the printable plans for this project. It includes the full list of materials you’ll need, as well as the cut list.
Let’s get started!
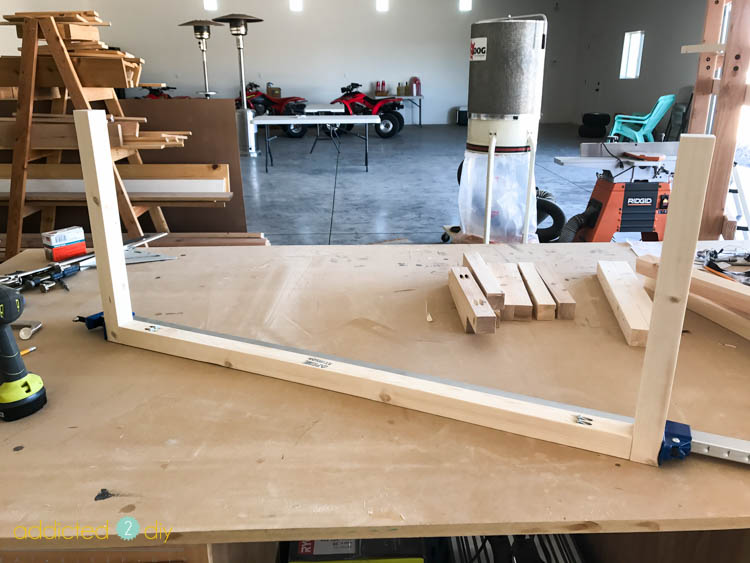
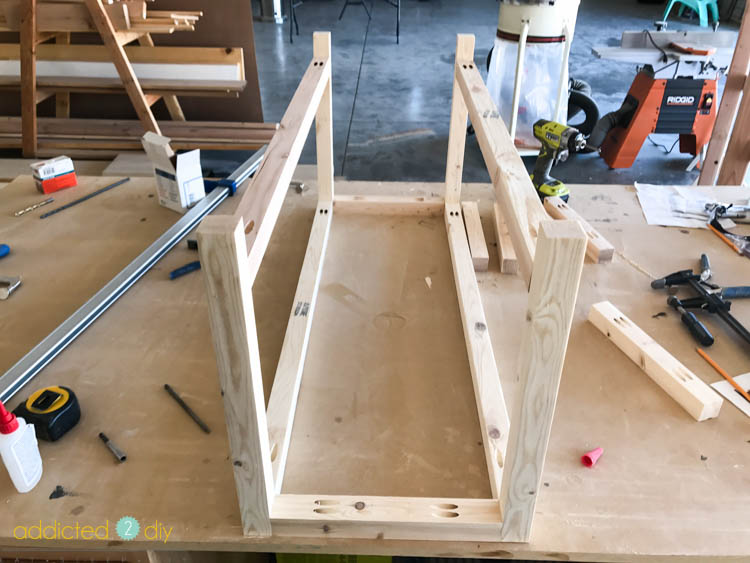
Before beginning the assembly, I ripped all of my 2x3s down to 2x2s. This ensured everything had nice square edges. I drilled 1 1/2″ pocket holes into the aprons and stretchers. To begin assembly, I attached the 38″ aprons to the legs using wood glue and 2 1/2″ pocket screws.
For the bottom aprons, you’ll want to measure and mark 2″ up from the bottoms of the legs. Attach to the legs with wood glue and 2 1/2″ wood screws.
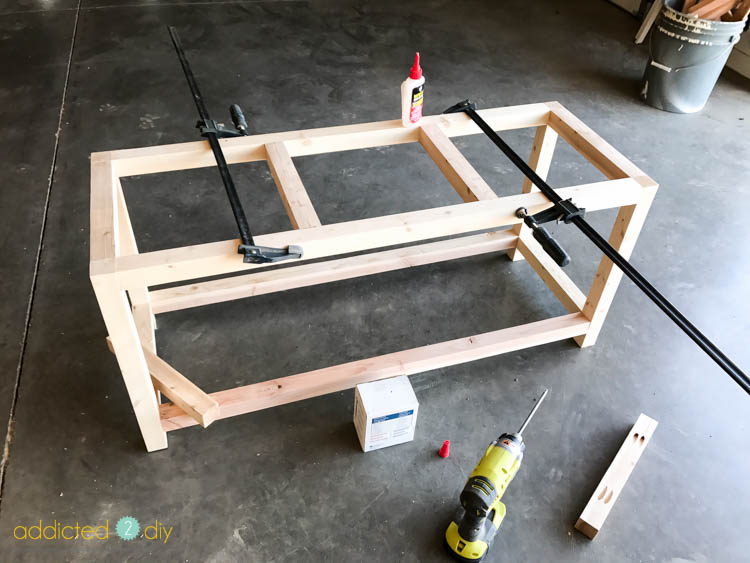
Attach the stretchers to the ends in the same way as the aprons.
Once the bench frame is assembled, sand it down with 220 grit sandpaper.
Evenly space the 2×2 supports, attaching them with wood glue and 2 1/2″ pocket screws.
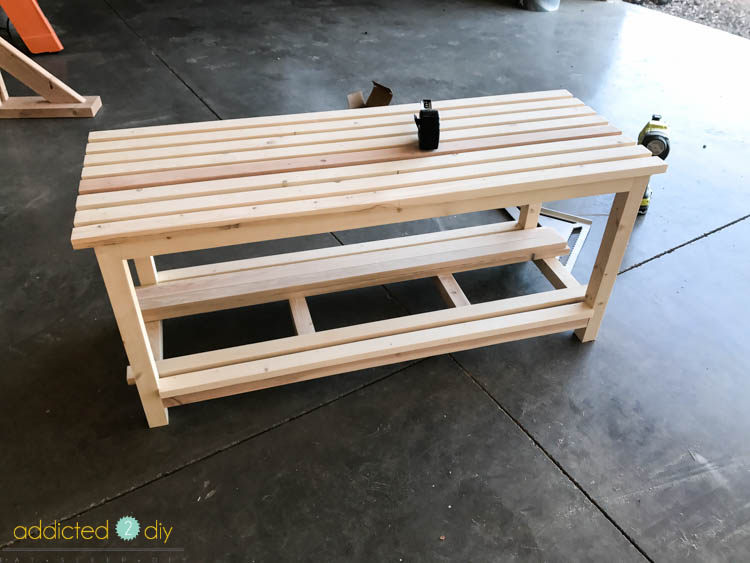
Sand down the 1×2 slats and evenly space over the top and bottom of the bench, creating a 3/8″ overhang on the front and back. The slats should be spaced approximately 1/2″ apart.
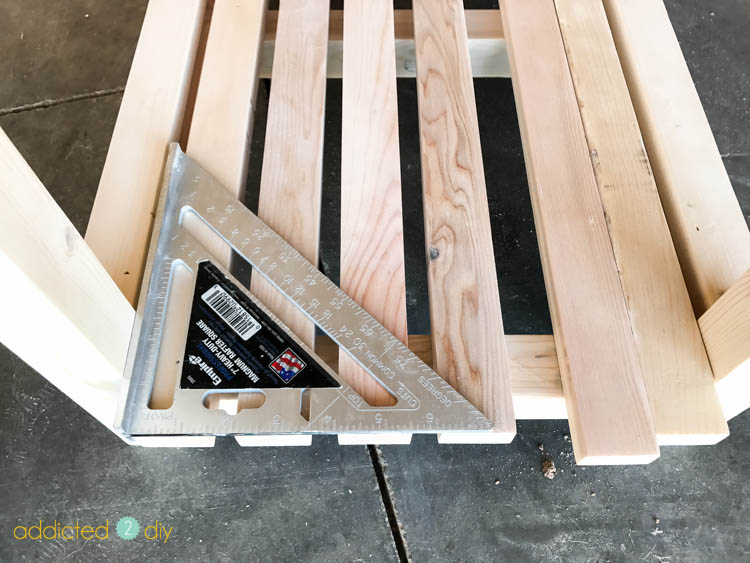
Use a speed square to make sure the slats are aligned and spaced appropriately. Nail into place with 1 1/4″ brad nails.
Sand the entire project down again and stain or paint in desired color. After loving the layered look of my x panel coffee table and side table, I went with the same look again on this. It didn’t take the stain exactly like the first projects, but I still love the warm look of it. I used Minwax Golden Oak, followed by Weathered Oak, then Special Walnut. I finished the bench off with three coats of polycrylic. I used my HomeRight Finish Max (affiliate link) for all of the finishing steps, which made this process go WAY faster than doing it by hand.
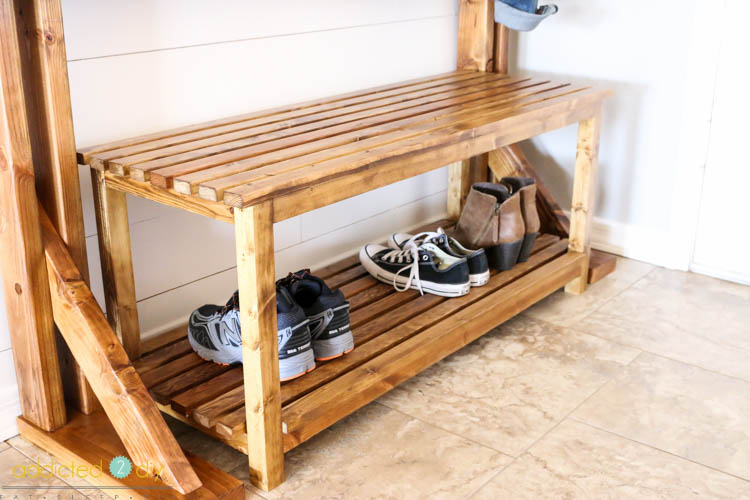
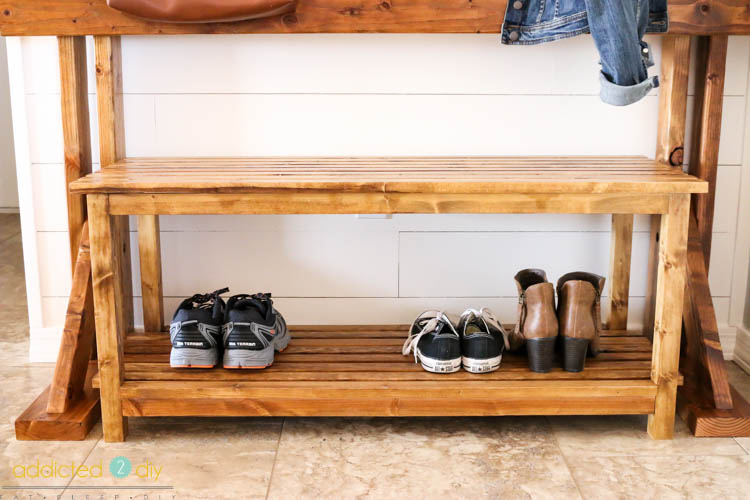
The finished bench completes the look with the hall tree and serves as a perfect place to sit and put on shoes, or store them. My youngest has been asking for a shoe cubby for a few months now, and he was pretty happy with how this turned out. He immediately sat down on it and placed his shoes on the bottom shelf. Everyone has commented on how much they love it, but if it gets his seal of approval, I know for sure it’s a winner! Don’t forget to check out the tutorial for the rustic hall tree and also download the plans for the bench so you can build your own!




Hiya,
Thanks for the great post. Question about the sprayer you recommend… How do you clean it? Some of reviews seem contrary and just wonder how you find it/care for it longer term.
Thanks!
The cleaning process depends on whether you’re using a water based or oil based product. I use water to clean up after paint and polycrylic. For stains, I use mineral spirits.
Hi! Katie. An AMAZING project as always, I will do my best and make one following your instructions soon. I was wondering how long did it take to complete the project from start to finish?
Thank you! It actually takes very little time to build this bench. I’d say just a few hours.
Amazing bench! Did you use some kind of stain to give the wood that finish?
quick question the cut list has 10 2×2 12″ long but i only count 8 in the diagrams?
You’re right. That’s a typo. I went and double checked the actual bench and I have 8. Sorry about that!