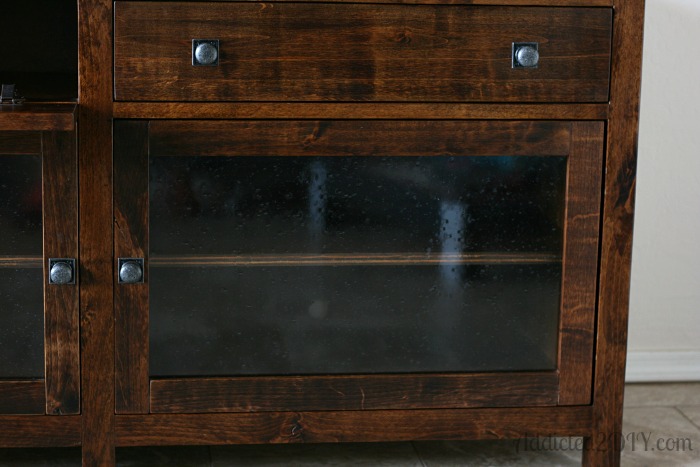
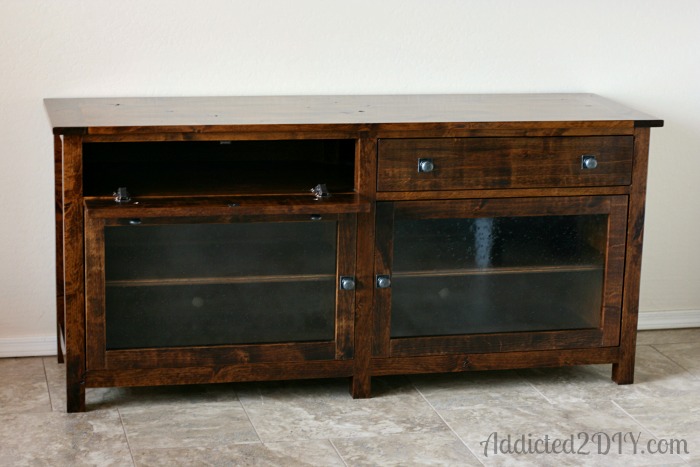
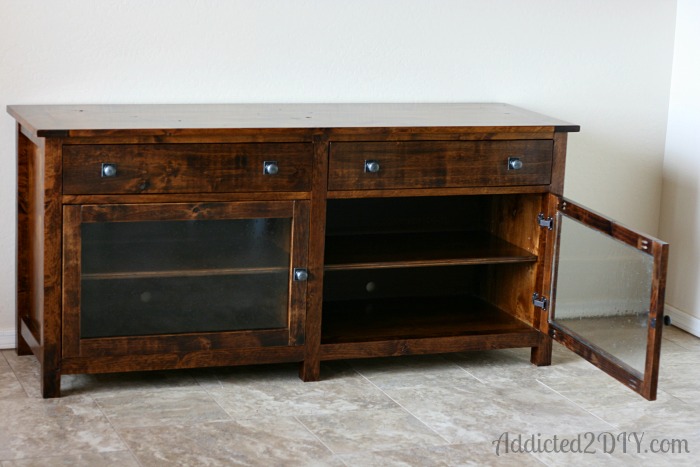
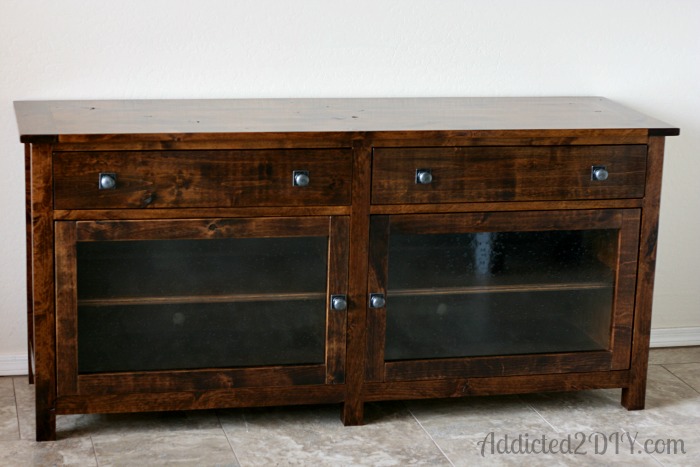
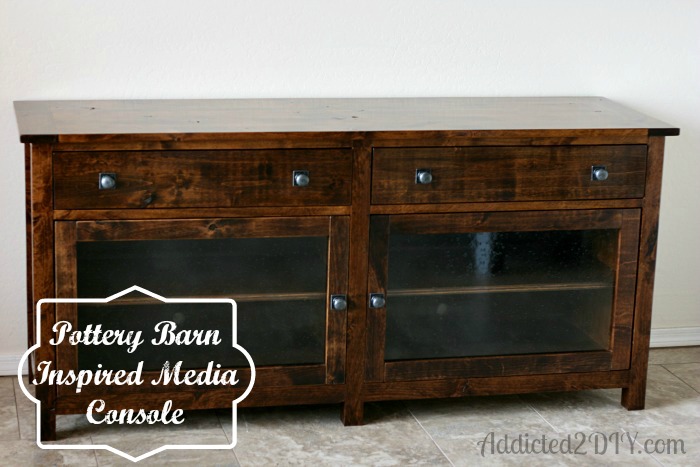
I am beyond excited to share our new media console with you today. I have been wanting to build this for over a year and a half. The second I saw the Benchwright TV Stand in the Pottery Barn catalog, I fell in love with it. The best part is that Ana White already had plans for it on her website! It had been a while since my husband and built a project together, so it was fun to finally get to work together on something again:)
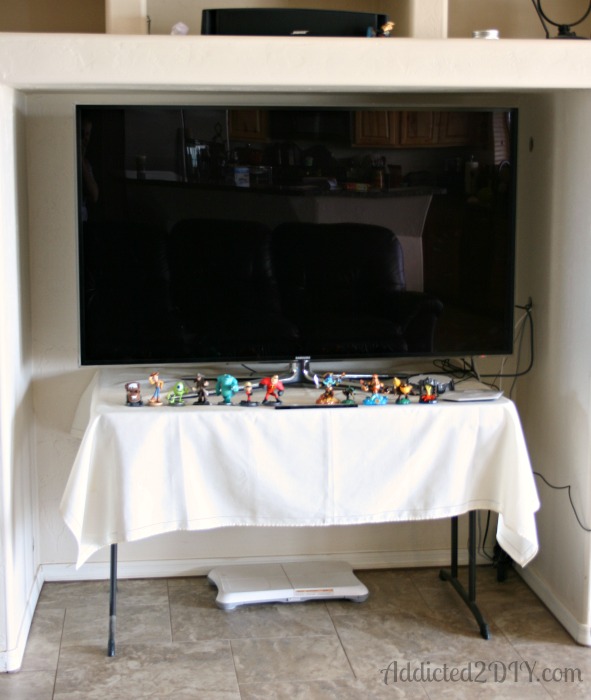
Part of the reason I’m so excited to show off our new media console, is because we’ve been living with THIS for the past year and a half. I call this look the “high-tech redneck.” Classy, huh? The tablecloth really dresses it up. We used to have a rear projection big screen TV, which fit perfectly in this space. We had been wanting a new flatscreen for a while, but we don’t take large purchases lightly. We do A LOT of research before we shell out any cash for anything like this. When the Best Buy a mile from our house decided to shut its doors, we lucked out and found the exact TV we wanted on clearance! Unfortunately, we didn’t have anything to put our fancy new TV on, so this is how it sat. My husband had other projects in mind before he wanted to build this console, so it was put on the back burner for a while. Now I am so proud to say that the folding table is out and the console is in!
You can find the exact plans here; however, we modified ours a bit and made it bigger. We decided to make it the same dimensions as the Pottery Barn version. That size fit better into our media center opening and didn’t leave very much space on either side.
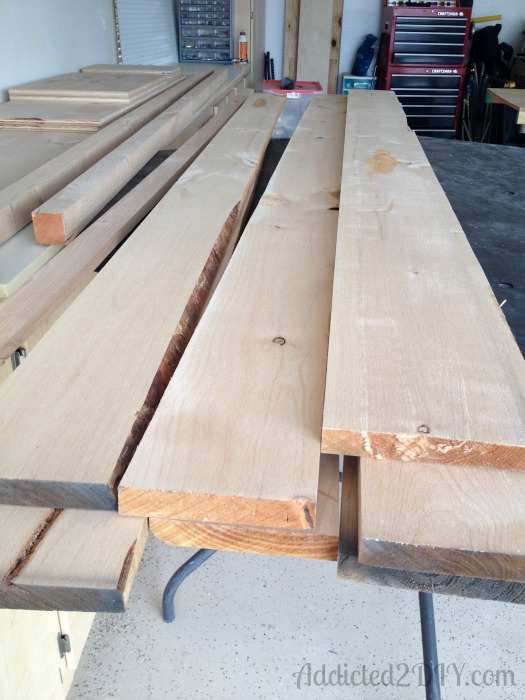
Another thing we did differently from the original plans was to use true to size lumber. We purchased some beautiful knotty alder boards and plywod from our local Woodworkers Source. The cost was either comparable or cheaper than buying the select pine from Home Depot or Lowes. Of course, this meant a lot of forethought with our measurements and cuts. Everything had to be changed up to factor in the larger lumber dimensions as well as the larger dimensions of the finished console.
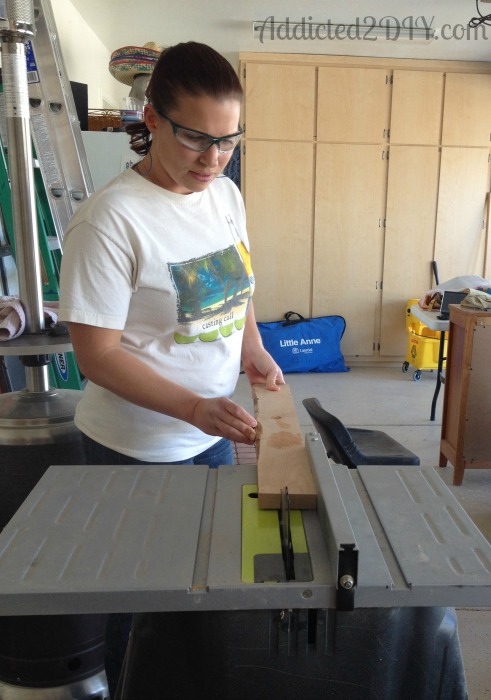
We also had to rip the boards down to the dimensions needed. It was extra work, but for us it was totally worth it in the end.
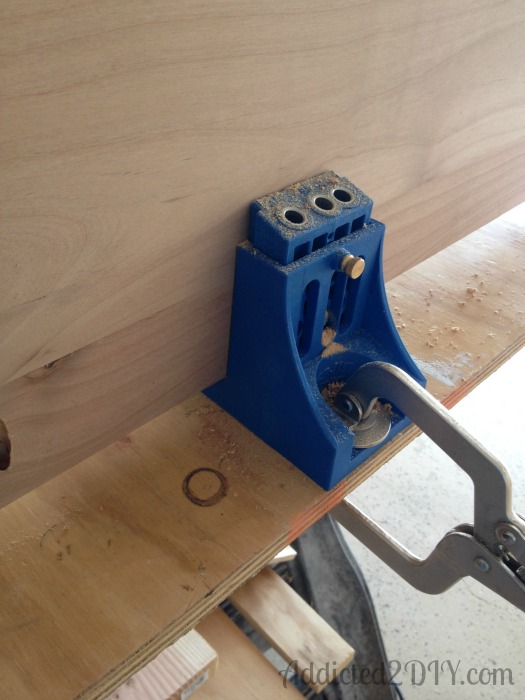
The first thing we did was drill the pocket holes with the Kreg Jig.
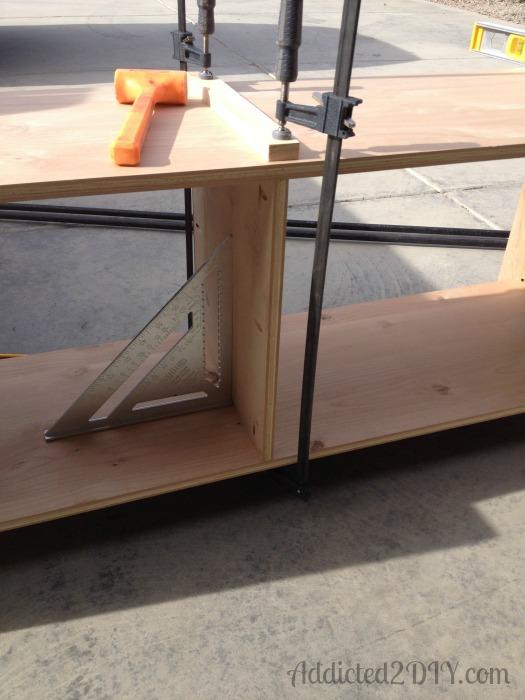
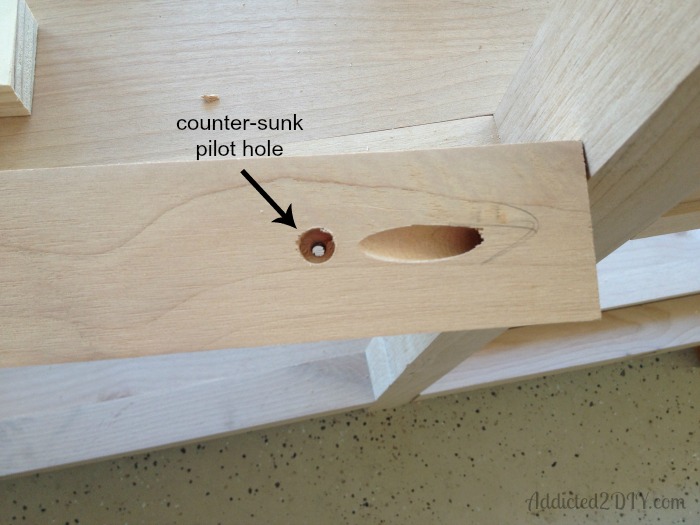
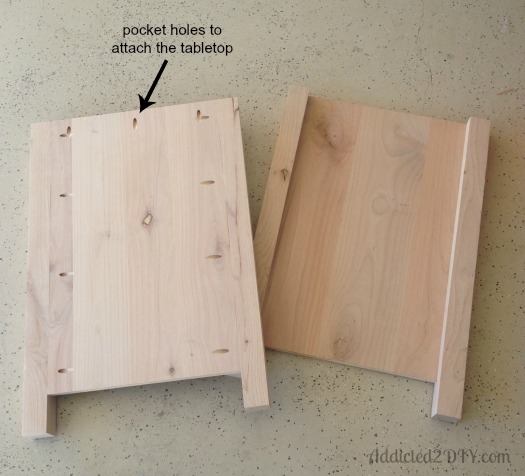
For the sides, we glued and clamped the legs to the plywood and then used 1 1/4″ pocket screws to attach them. The plans don’t show it, but you’ll notice we also drilled pocket holes going up on the plywood. This way we have a way to attach the top when we’re finished.
We clamped and glued the trim pieces to the sides and then used our nail gun and 1 1/4″ finish nails to attach them from the inside. This way the nail holes were hidden.
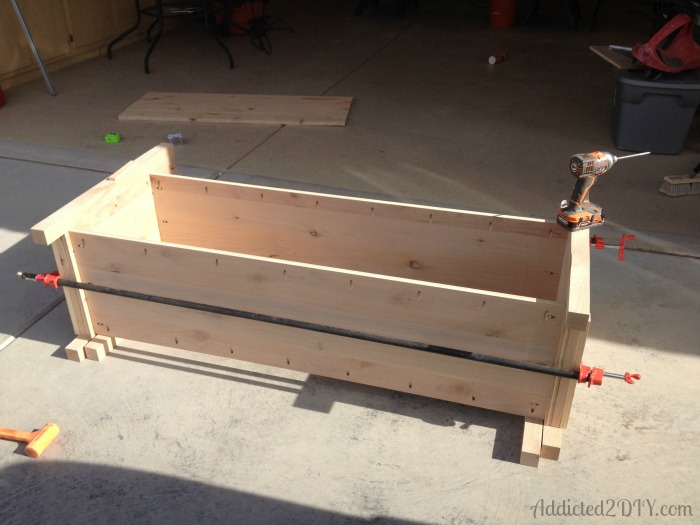
The next step was to assemble the body of the console. It’s basically a plywood box that is trimmed out.
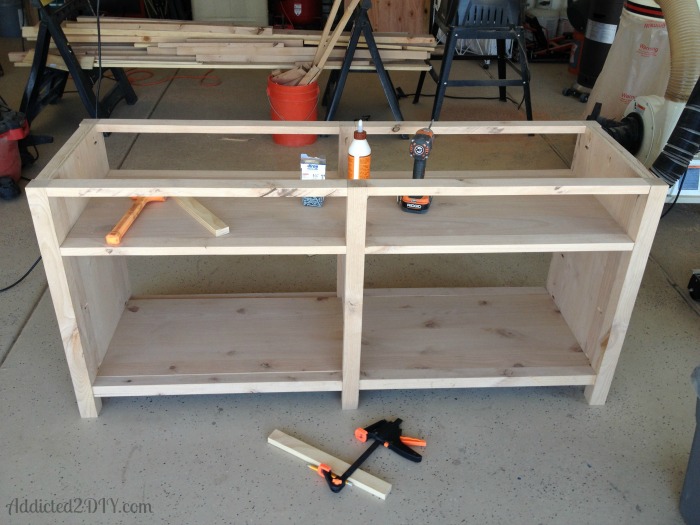
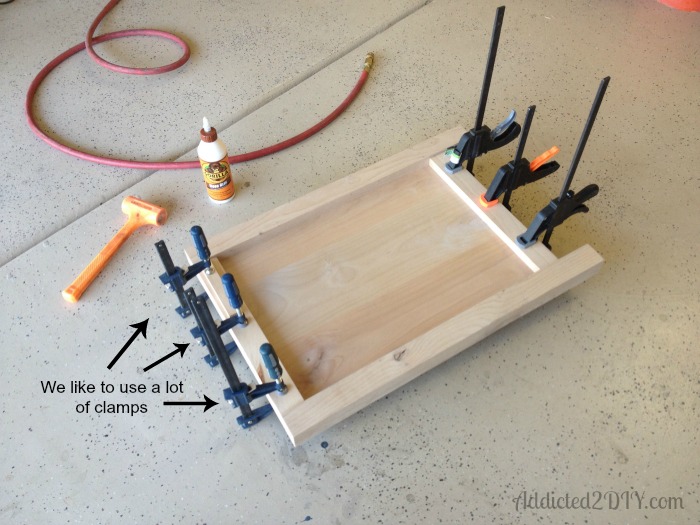
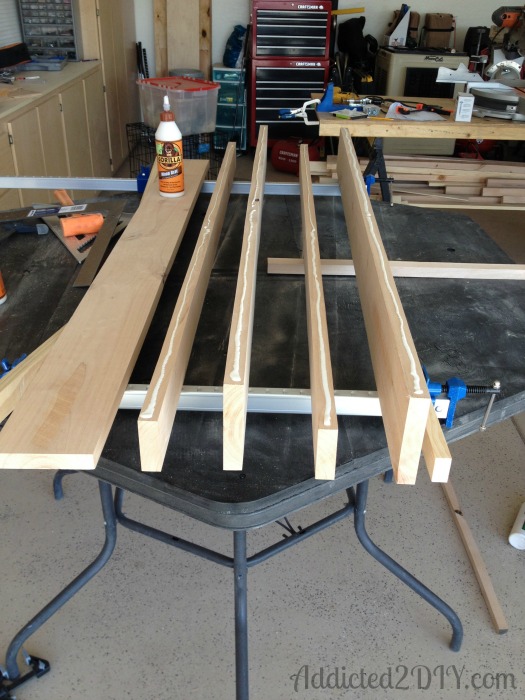
For the tabletop, we also modified the plans. We went with glued boards and breadboard ends, rather than a framed piece of plywood. We glued the pieces much like I did when I built this butcher block island top.
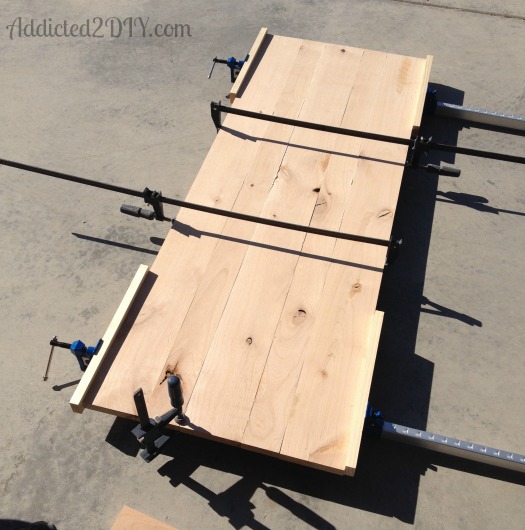
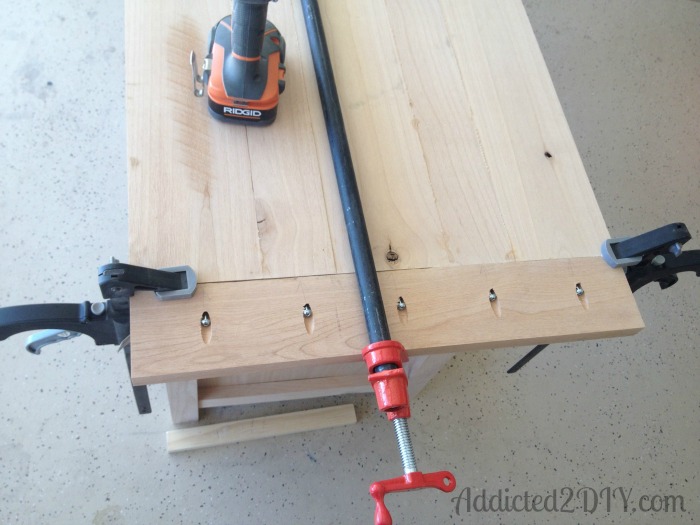
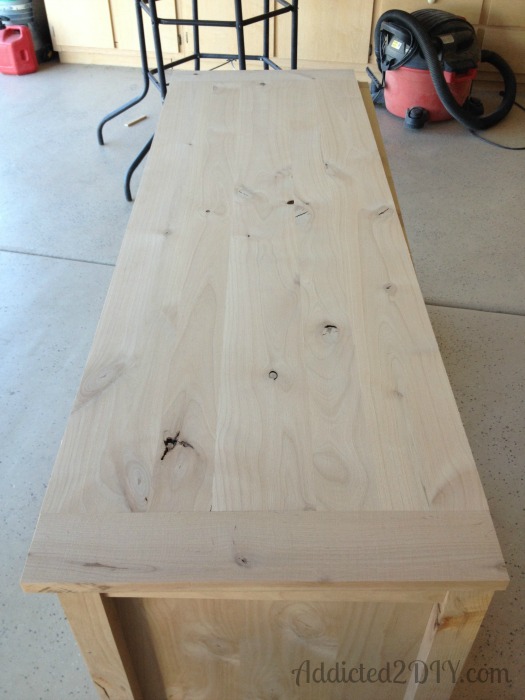
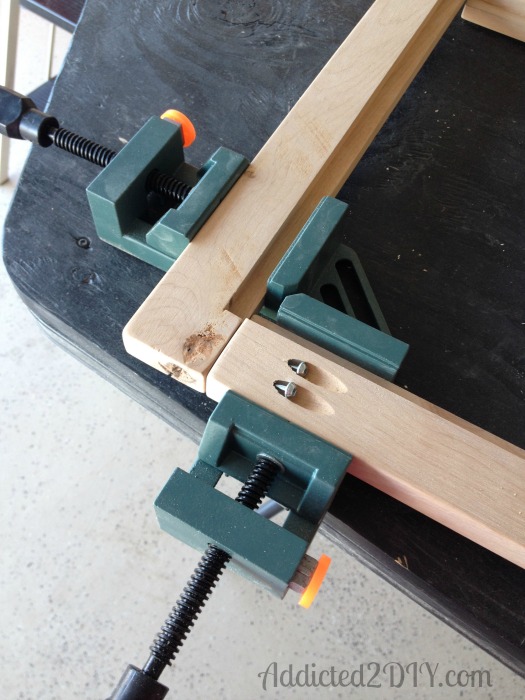
and 1 1/4″ pocket hole screws. We also cut the pieces for the flip down doors.
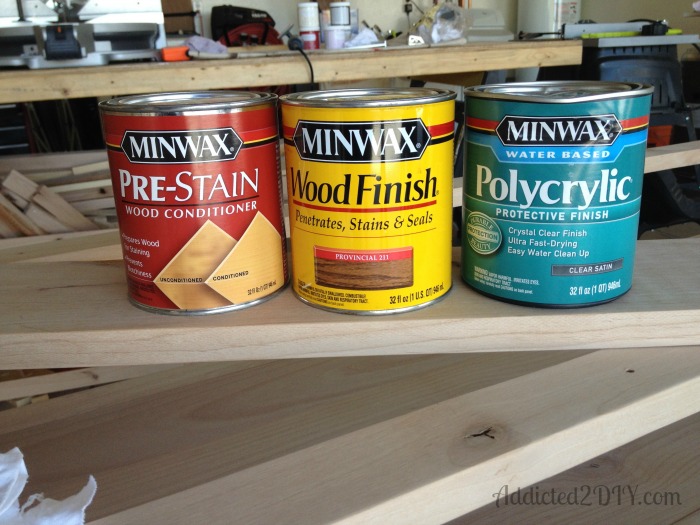
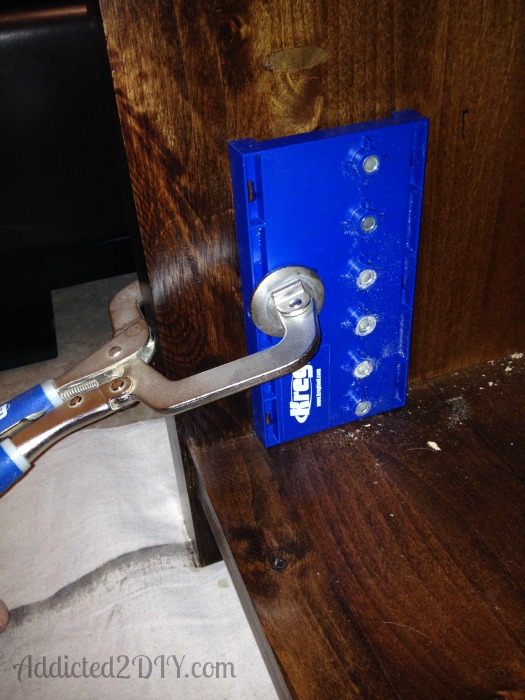
. After we were done, he was thoroughly impressed with how nice the holes looked. We’re definitely glad we purchased it. For the holes, we sat it flush with the bottom of the console and drilled a hole into the top hole. We then used the locating pin and moved the jig up and used that as our guide for the next three holes. The holes came out perfectly!
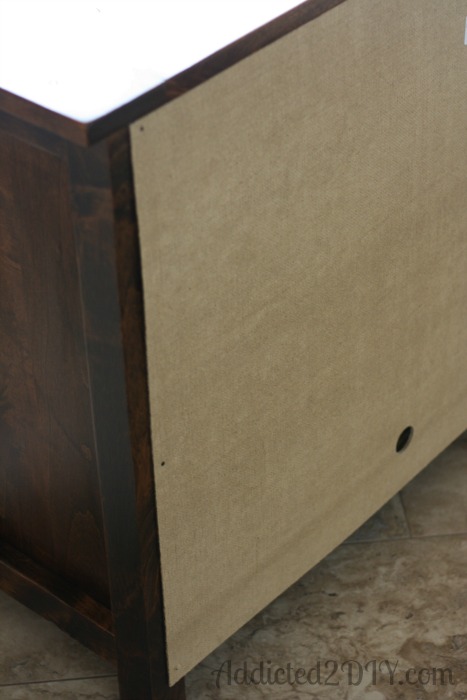
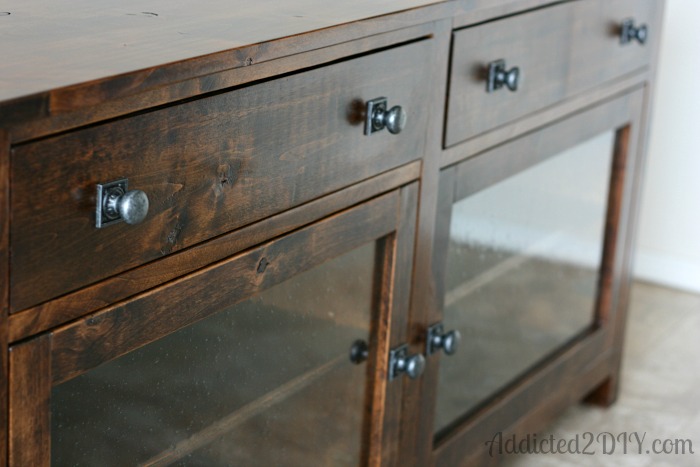
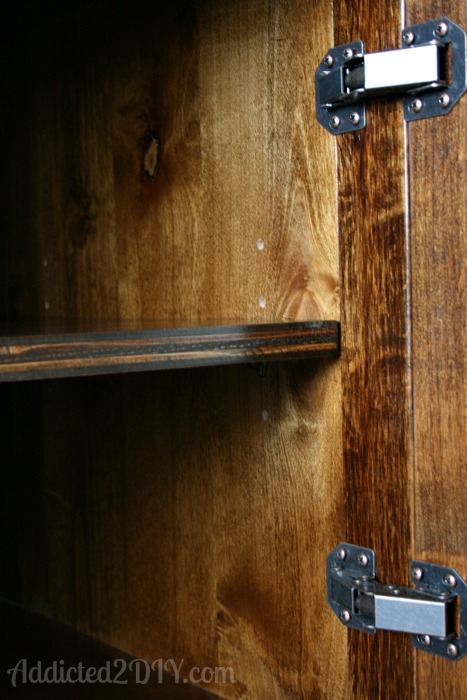
Don’t forget you can get the full plans and instructions from Ana White here.
~Katie
{this post contains affiliate links, which at no additional cost to you, I will receive a commission on products purchased from some of the links}
You can find me linking up over at these parties:
Remodelaholic, Tatertots and Jello, Whipperberry, Put A Bird On It, DIY Showoff, The Hankful House

WOW Katie! This is amazing. You should be SUPER proud of yourself. This absolutely looks like your purchased it from PB. I love it!
Tasha @ Designer Trapped in a Lawyer’s Body recently posted…St. Patrick’s Day Wreath Tutorial {and two announcements!}
Thanks Tasha! I am so happy with how it turned out. I have looked at the one at Pottery Barn before and just loved it.
This is so gorgeous! The stain is perfect, the glass is perfect, the knobs are perfect! Amazing job!!!
Melissa @ A Prudent Life recently posted…Clearance Lamp Customization – Craft Room Project #4
Thanks Melissa:) I am so happy with it. I can’t wait until we get everything rewired and put in it so I can share what it looks like with the TV:)
So so gorgeous! I love the glass, and I am definitely inspired!
Krissy Buck recently posted…Finally a Bedroom Reveal
Thanks Krissy!
WOW!!! You are so incredible!! I love this 🙂 What an amazing job!
Angela (Life in Velvet) recently posted…Creme de Menthe Brownies
Thanks so much, Angela!
Wow Katie! That is gorgeous! Such talent!
Bette @ somerset lane recently posted…RECIPE: Italian Wedding Soup
Thank you so much Bette!
This is amazing and so much better than your before, lol. You guys are like Kreg jig pros!
Amanda Michelle recently posted…Restoring a Vintage Desk Chair
Thanks Amanda! Yes, it is definitely an improvement;) I love my Kreg Jig. It was the best Mother’s Day gift ever!
Wow! This is incredible. Great job guys. I love bubbled glass, I think the doors are my favorite part!
Thanks so much, Allison! I love the glass too. I had a vision when I was choosing it and I’m so glad that it worked out!
Umm this is so amazing I’m actually speechless! LOOOOVE it! Pinned 🙂
Katie @ Upcycled Treasures recently posted…DIY Gilded Wood Shim Wall Art & A Giveaway!
Thanks Katie!!!
Your DIY skills never cease to amaze me! This is stunning!! So glad to see it at our party!! XO
Christy@Confessions of a Serial Do-it-Yourselfer recently posted…Get Your DIY on June: Knockoff Projects
Thanks so much Christy! I’m so glad to finally be rid of that folding table! 😉
Stopping back by to let you know I chose this as one of my features! You can see it tomorrow 🙂
Christy@Confessions of a Serial Do-it-Yourselfer recently posted…“Bar Chair” Redo for my New Kitchen
Thank you so much, Christy! I can’t wait to check out the other features as well! Thanks for hosting this awesome series:)
Love this! Great job!! Where did you get your knobs? Thanks!