Hey everyone! Are you getting excited for Halloween next month? Next to Christmas, it’s my boys’ favorite holiday. I’m sure you can guess why;) What kid doesn’t love the opportunity to binge on candy for a night?
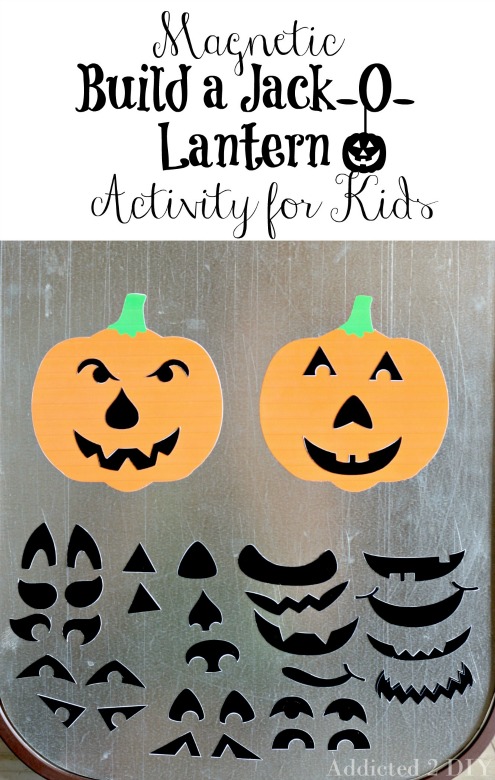
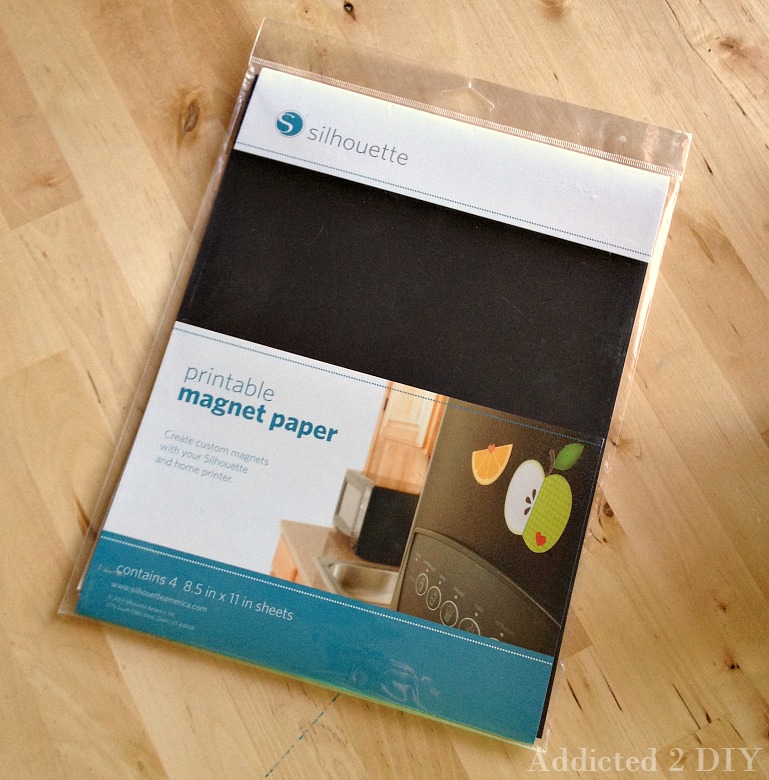
If you follow me on Instagram, you know that I just recently got a Silhouette Cameo. I absolutely love this machine! I’m still learning how to use all of the features, but every day I discover something new that makes creating projects so much easier and allows me to create more than I ever have before. Today, I’m going to show you how I made this fun build a Jack-O-Lantern activity using Silhouette’s Printable Magnet Paper. This stuff is awesome! You can create your own custom magnets using your home printer and then cut them out any way you like! Since Halloween will be here before we know it, and my boys love Jack-O-Lanterns, I thought this would be a fun way for them to create their own custom Halloween decorations.
I started by downloading the cut files from the Silhouette Online Store. Below are the files I purchased. You obviously don’t have to purchase as many files as I did. These are just what I thought my boys would like.
Build a Jack-O-Lantern Eyes (2)
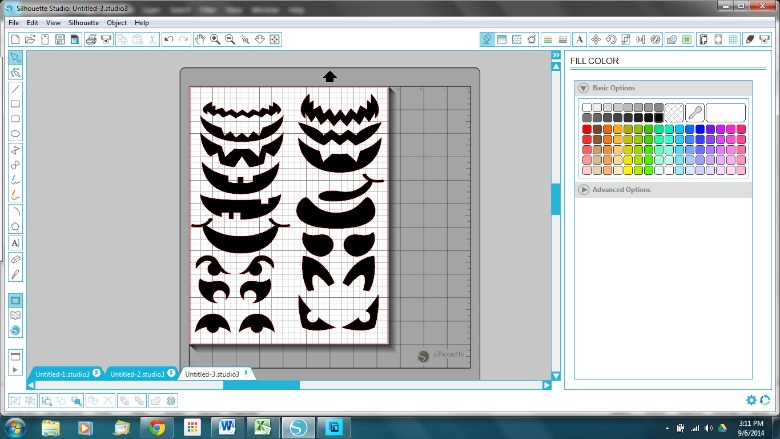
Build a Jack-O-Lantern Mouths (2)
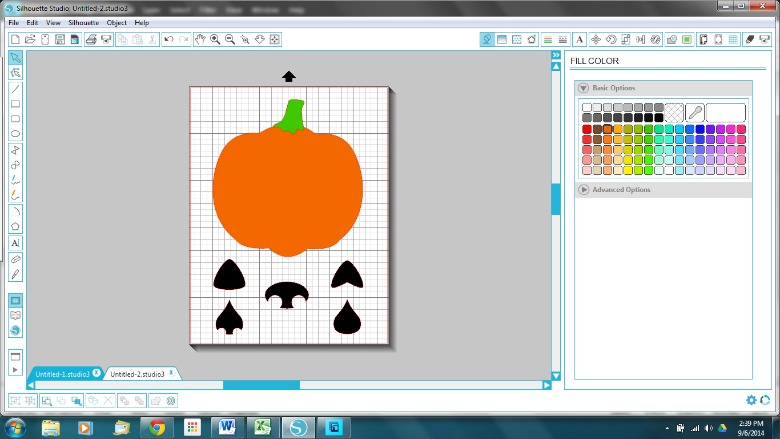
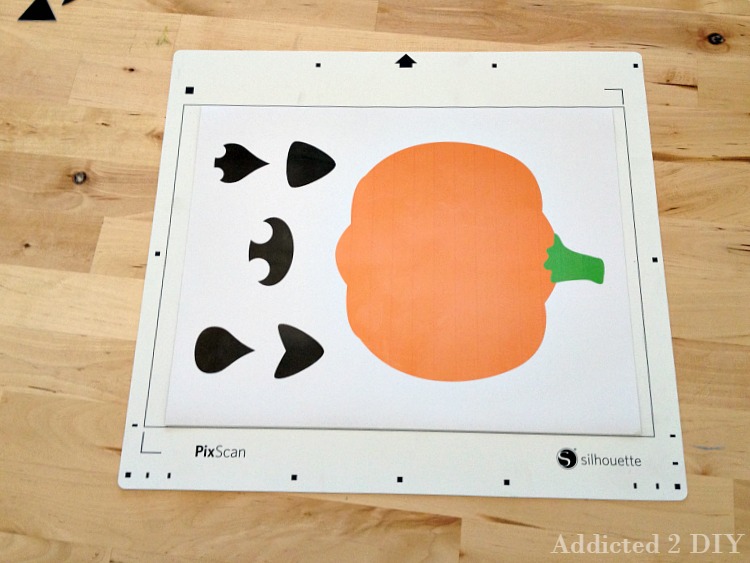
Since I was printing these shapes out first, I sized my cutting area at 8 1/2 x 11″. The pumpkin shape is split into two pieces (the stem and the pumpkin), so selected the image and ungroupd them. I then placed the stem where I wanted it on the pumpkin and then grouped them back together. I used the color fill feature and chose my colors for the stem and pumpkin. For the noses, the eyes, and the mouths, I sized them proportionately over the pumpkin, and moved them to fit into the blank space in my cut area. I used the color feature again to make them black. I created two pumpkin files; one for each of my boys.
There are two ways that you can design your files. You can add registration marks to your images prior to printing, or you can use the new PixScan mat. If you use the registration marks feature, you will have to fit your images into the space inside the box that will appear on your page. The PixScan mat will allow you to use as much of your page (in this case, the magnetic sheet) as you can because the registration marks are on the actual mat. I’ll be sharing with you a simple tutorial for using the PixScan feature tomorrow. Trust me, once you use this feature, you’re going to find ways to use it all of the time! Side note: Those lines on the pumpkin are not supposed to be there. My printer obviously needs some settings adjusted.
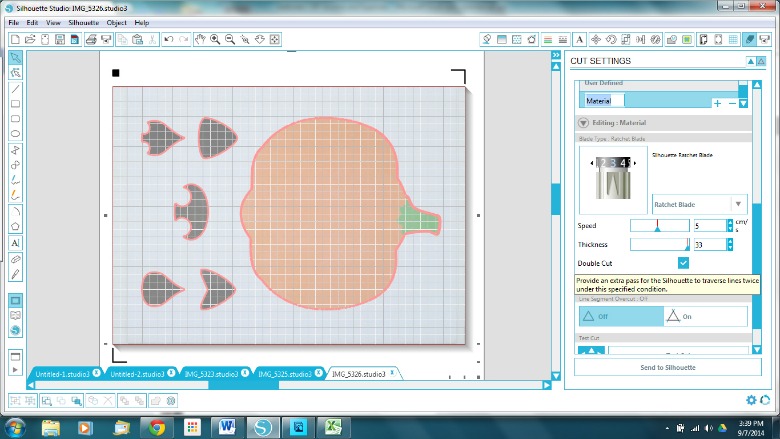
Like always, you want to set your cut settings to fit the type of material that you are cutting. For the printable magnet sheets, I found that I needed to check the “Double Cut” box in order for the blade to cut completely through the magnet sheets. After I cut all of the images out, I just peeled them up and let my boys have at it. My 6 year old hovered during the entire project, making sure I didn’t get distracted and further delay his Jack-O-Lantern building fun. At one point, I asked him to go ask daddy if he needed me to help him doing some yard work outside and his response was “I don’t think that’s possible. You still have to finish the pumpkins.” That kid is a stinker sometimes!
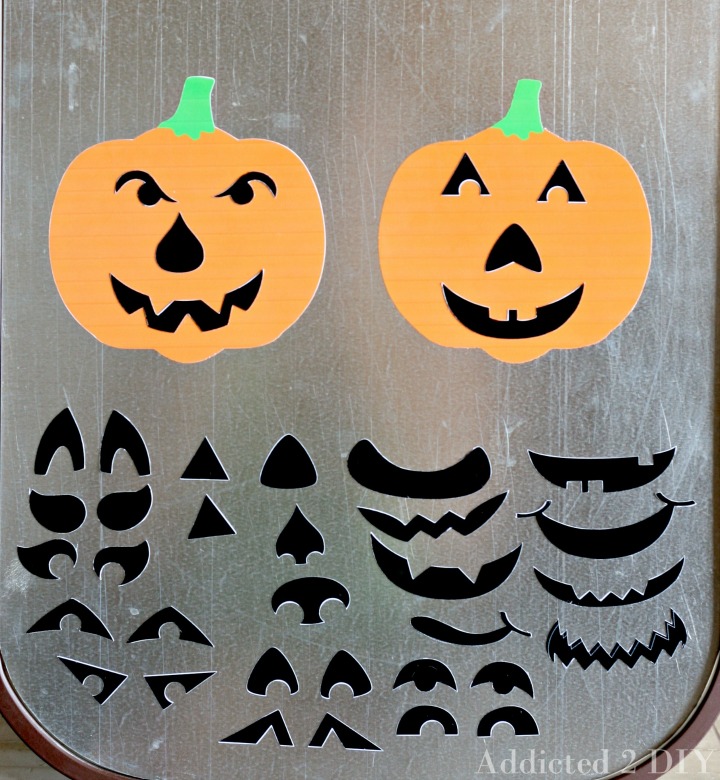
Once all of the shapes were cut out, my boys got their chance to play. They had so much fun changing up the pumpkins from happy, to scary, to silly, to scared. I’m thinking these will be a fun fridge decoration that they can change up whenever they want. I had a lot of fun making these and discovering new ways that I can use my Silhouette Cameo. I was even texting one of my friends (a fellow Silhouette owner) and telling her how awesome the PixScan feature was! I can’t wait to create more projects for around the house. These Jack-O-Lanterns were even giving me ideas for future holidays, so be on the lookout for more fun magnetic projects from me in the future!
DISCLOSURE: Silhouette America provided a machine and materials for this project; however, all opinions and ideas are 100% my own.

This would be a great therapy exercise for kids that struggle reading emotions! And they are adorable!
Melissa @ A Prudent Life recently posted…Beginner’s Guide to Furniture Refinishing {Plus a HomeRight Giveaway!}
That’s very true. I hadn’t thought of that:)