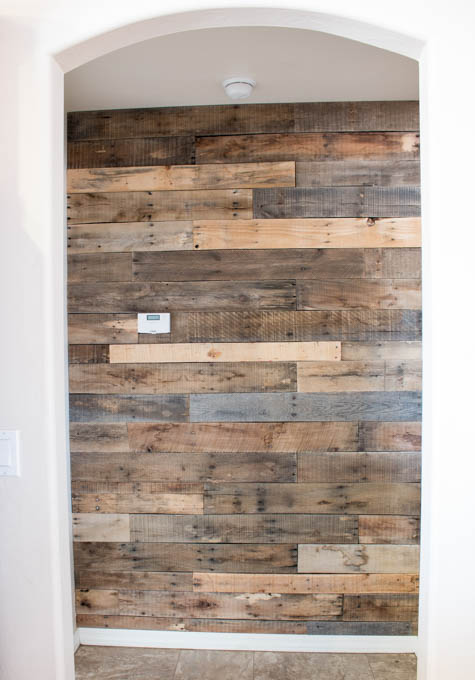
How to Install a Pallet Wall (Easy Step-by-Step Guide)
Adding a pallet wall is one of the easiest ways to bring warmth, texture, and character into your home. Whether you’re updating a hallway, bedroom, or accent wall, this project can be completed in a weekend with minimal tools.
In this tutorial, I’ll walk you through exactly how to install a pallet wall the easy way—without having to break down pallets yourself.
Originally published September 12, 2015 — Updated for 2026 with improved step-by-step instructions and current best practices.
Why Choose a Pallet Wall?
A pallet wall:
- Adds instant visual interest and dimension
- Is budget-friendly compared to other wall treatments
- Works with farmhouse, rustic, and modern styles
- Can be completed in a day
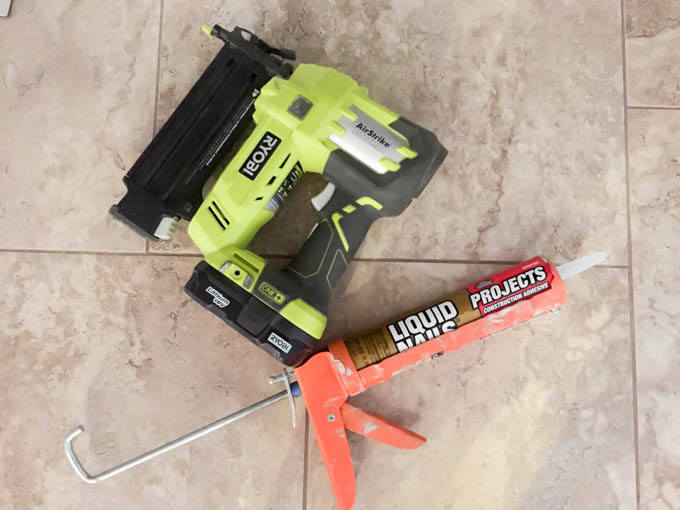
Materials & Tools Needed
- Pre-cut pallet boards (or reclaimed wood)
- Construction adhesive (Liquid Nails or similar)
- Brad nailer + 1 1/4” brad nails
- Miter saw or circular saw
- Level
- Tape measure
- Stud finder (recommended)
- Sandpaper (220 grit)
- Paint (dark color for wall base)
Step 1: Prep the Pallet Boards
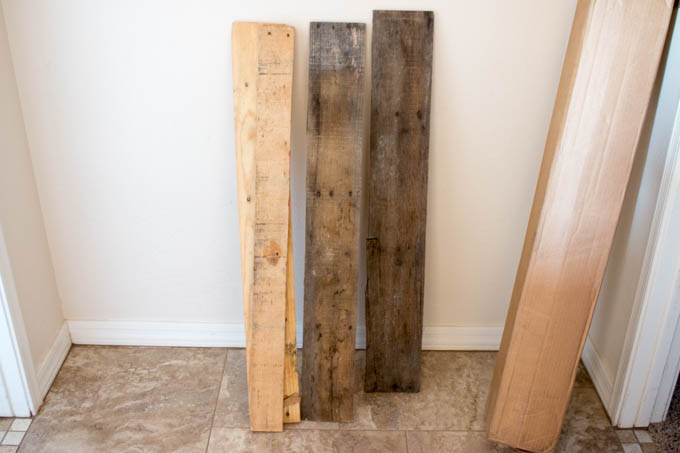
Before installation, sand all pallet boards using 220-grit sandpaper (if needed).
This removes:
- Rough edges
- Splinters
- Dirt or debris
This step is especially important for high-traffic areas or homes with kids.
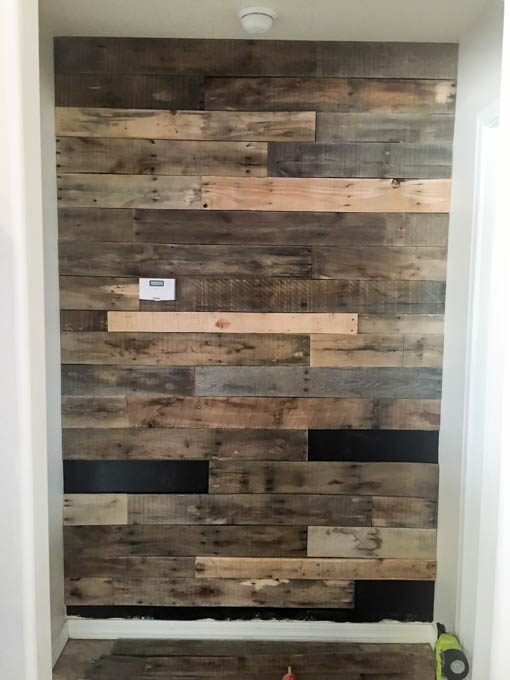
Step 2: Paint the Wall Behind the Boards
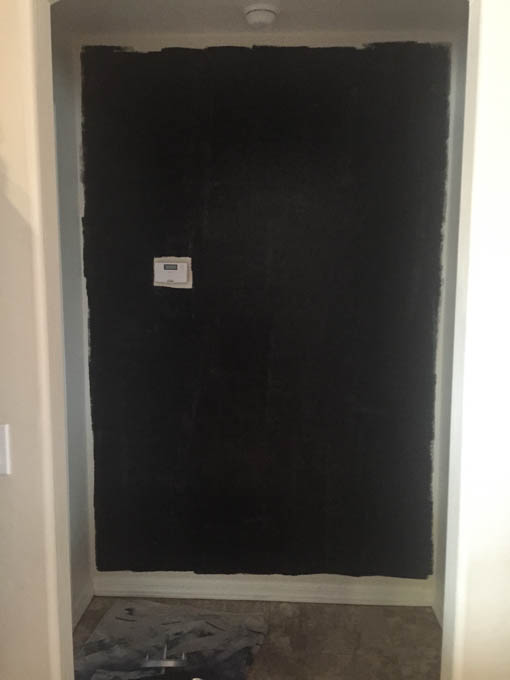
Paint the wall where the pallet boards will be installed using a dark color (black or deep brown works best).
Why this matters:
- Pallet boards are not perfectly uniform
- Small gaps will naturally occur
- A dark background hides those gaps and creates depth
You only need one quick coat—perfection isn’t necessary here.
Step 3: Plan Your Layout
Measure your wall and determine how many boards you’ll need.
Tips:
- Mix board widths and tones for a natural look
- Avoid repeating patterns
- Decide if you want to keep or remove baseboards
Step 4: Start Installation at the Top
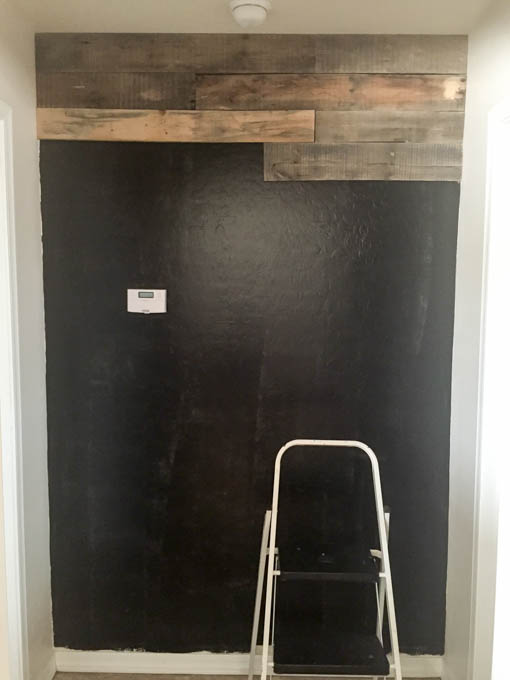
Begin installing boards at the ceiling and work your way down.
Why start at the top?
- Any smaller cut pieces will end up at the bottom
- This keeps the most visible area looking clean
Step 5: Attach the Boards
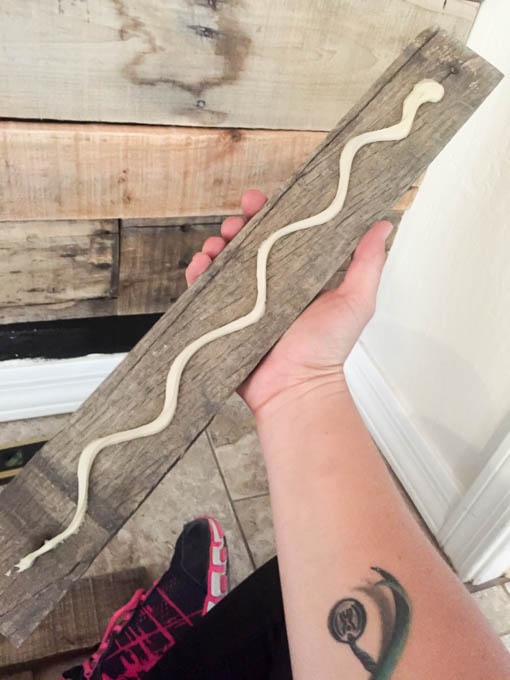
Apply construction adhesive to the back of each board, then secure it with a brad nailer.
- Use shorter nails (1 1/4”) to avoid hitting plumbing or wiring
- Nails act as temporary support while adhesive dries
⚠️ Note: This is a semi-permanent installation method. Removing the boards later will likely damage drywall.
Step 6: Stagger and Randomize the Pattern
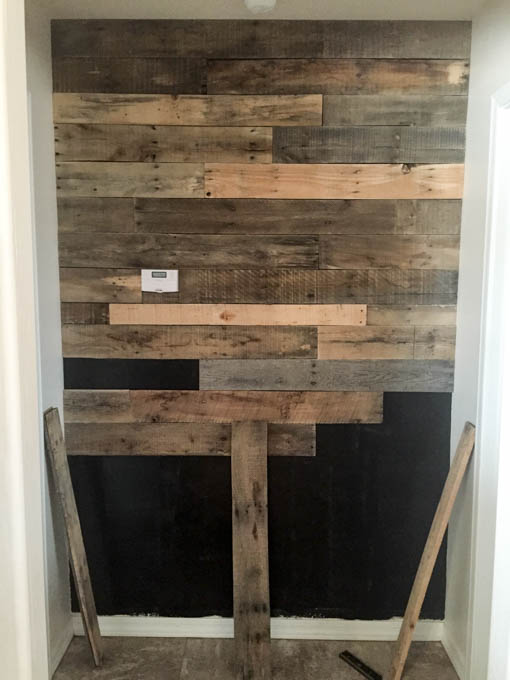
As you work down the wall:
- Alternate board lengths and widths
- Mix colors and textures evenly
- Avoid lining up seams
This creates that classic, rustic pallet wall look.
Step 7: Make Necessary Cuts

You’ll likely need to:
- Rip boards to fit smaller gaps
- Cut around outlets, switches, or thermostats
A miter saw or circular saw works best for clean cuts.
Step 8: Check for Level Periodically
You don’t need to check every board, but occasionally use a level to make sure your rows stay straight.
Small adjustments along the way prevent bigger issues later.
Step 9: Finish the Bottom Row
The final row will likely require cutting boards lengthwise to fit.
- Measure carefully
- Keep spacing consistent
- Install just like the rest of the boards
Step 10: Final Touches
Once installation is complete:
- Fill any nail holes if desired
- Lightly sand rough spots
- Clean off dust and debris
Optional:
- Seal the wood with a clear coat for durability
Project Notes & Tips
- This project can be completed in one day, though spreading it over two days (paint + install) is easier
- Pre-cut pallet boards save significant time and effort
- Keep extra boards on hand for mistakes or future repairs
Final Thoughts
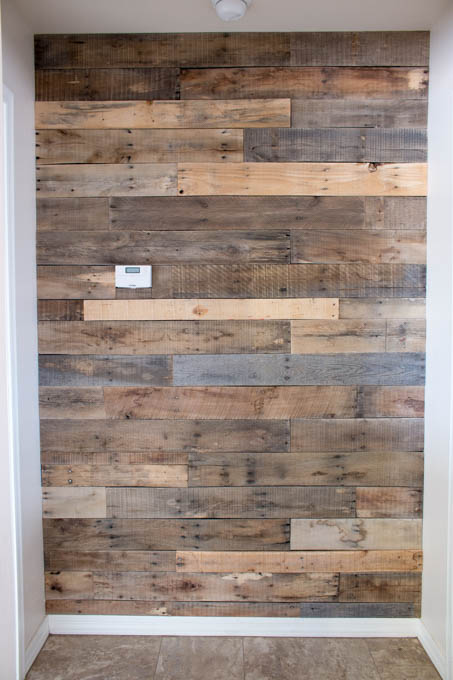
This pallet wall completely transforms a space by adding texture, warmth, and visual interest. It’s a simple DIY project that delivers a high-end look without a high-end cost.
If you’re looking for an easy weekend project that makes a big impact, this is it.