Learn how to build a barn door using my step by step process as a guide as you design and customize your barn door for your own home and doorway needs.
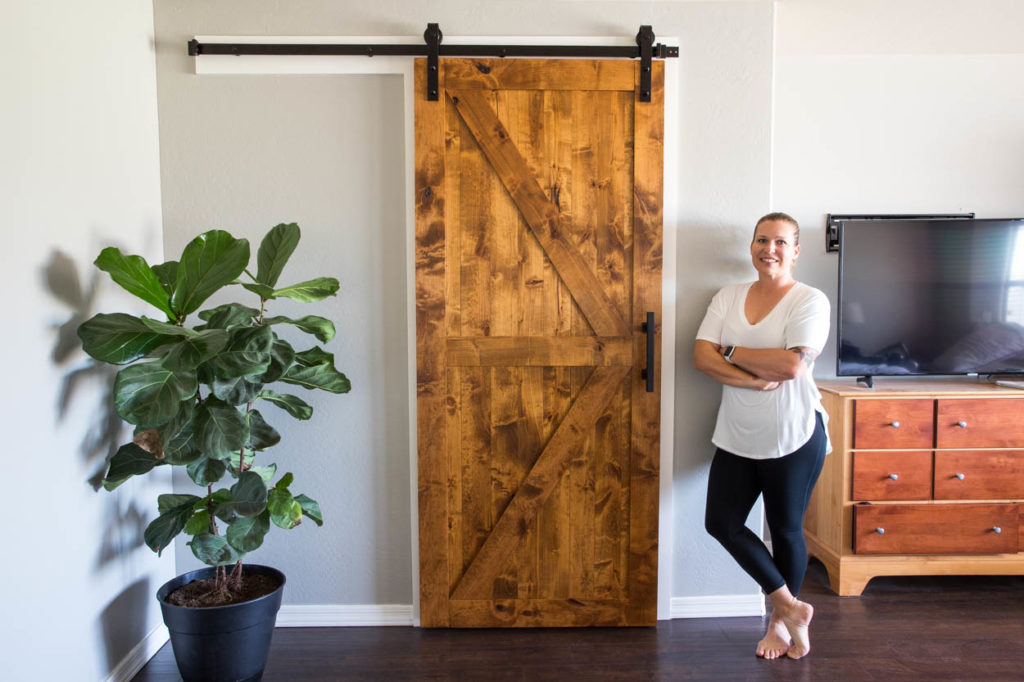
A year ago, we began remodeling our bedroom. We walled off the opening between our bathroom and bedroom and put in a doorway, but never actually got to the point of building the door. You may be starting to see a common theme here with me. It’s a marathon, not a sprint. Right???
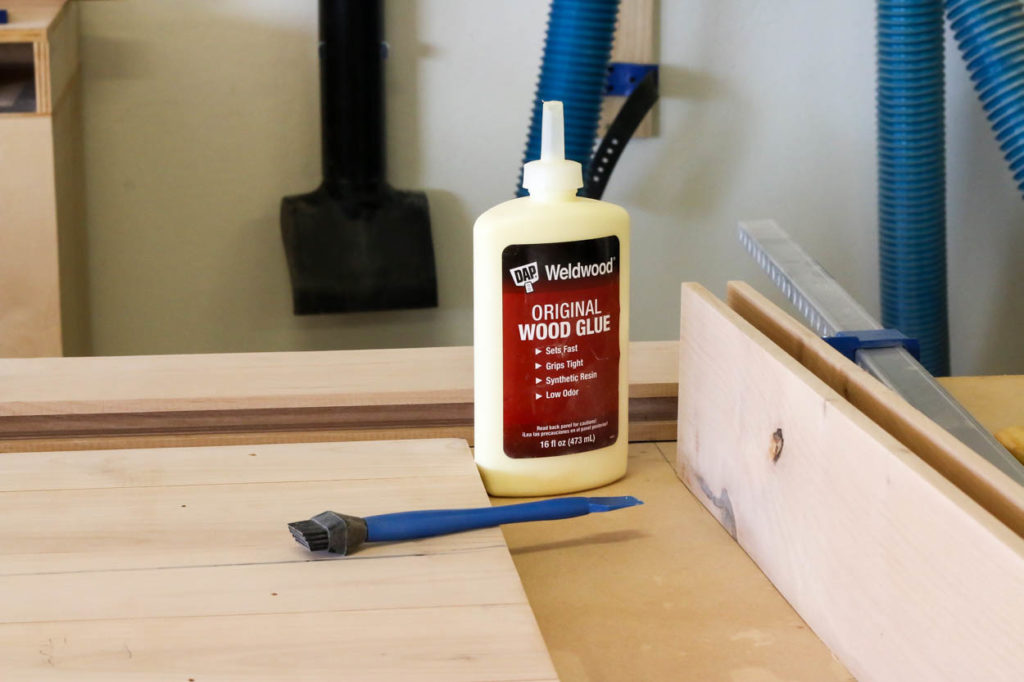
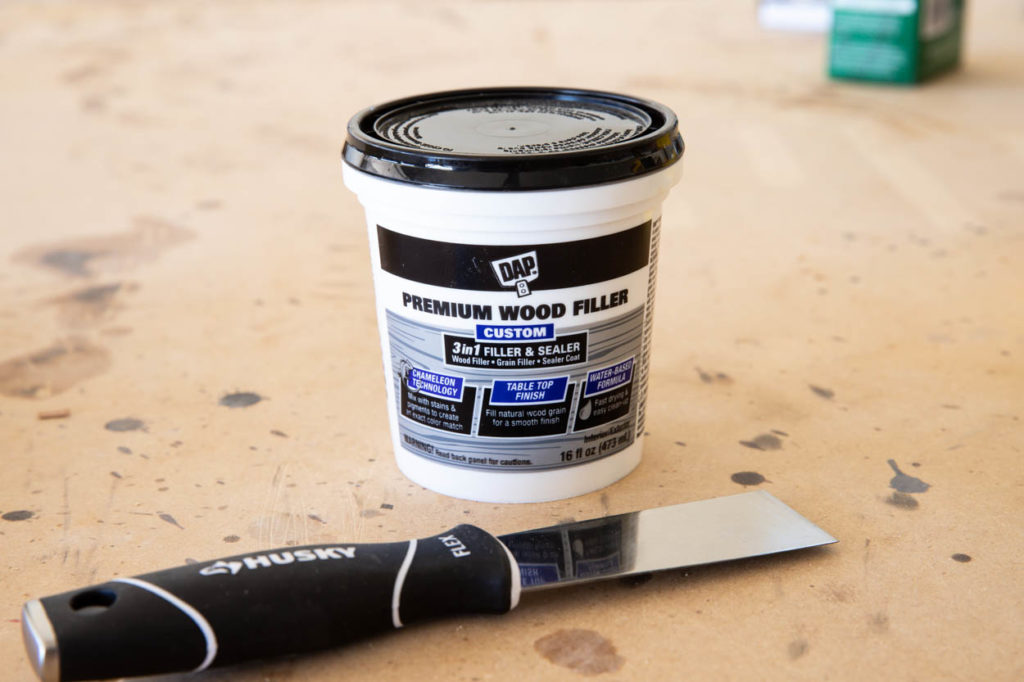
I’m partnering with my good friends over at DAP Products to show you how I built this custom barn door to close off our bathroom. I’m going to be using several DAP products for this, including Weldwood Wood Glue, new Premium Wood Filler, and Alex Flex sealant for molding and trim.
There are so many different barn door designs and methods for building them. I chose probably one of the more advanced methods, because I wanted to give myself a challenge and try techniques that were new to me. This door is also built based on a completely custom size, taking into account the height and width of the doorway we built, as well as the 6′ length of the barn door hardware. My goal with this post is to show you what I did, what I learned, and what products I used. I have not included precise measurements to 100% replicate this project, because everyone’s doorway and assembly method is different.
Watch The Video:
I’ve put together a YouTube video of this entire process to help you along the way as well as this step by step photo tutorial if videos aren’t your speed.
Step 1:
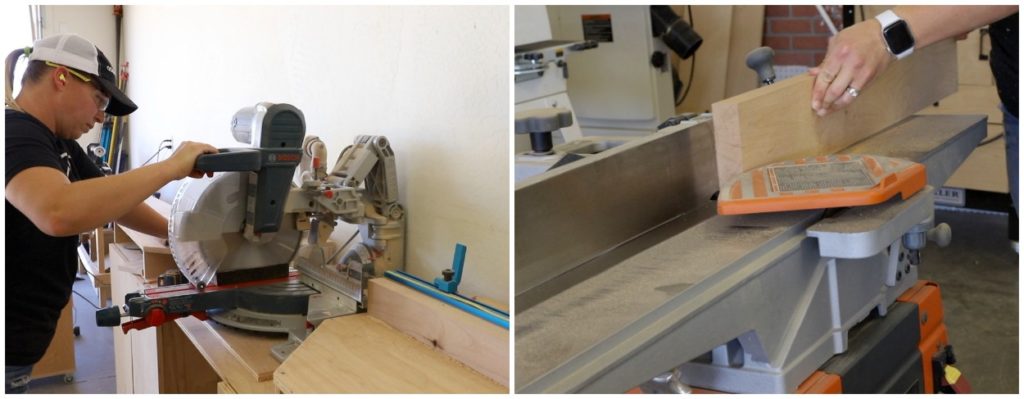
I used knotty alder for this barn door and cut down 6/4 boards to size, ripped them down to width on my table saw (approx 4 5/8″), then ran them through my joiner to make sure the edges were completely flat at down to a final width of 4 1/2″. I set the rails and stiles aside and got to work on the door panel.
Step 2:
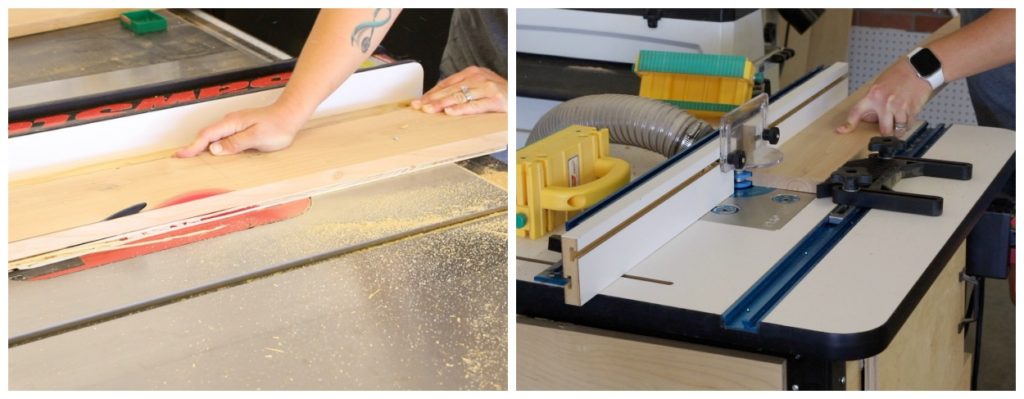
For the door panel, I cut a straight line on my 4/4 knotty alder boards, then ripped them down, making them as wide as I could. The boards were not all the same width so I had to make sure they were wide enough to give me the proper door panel width I needed. I also ran these boards through my planer to make them 3/4″ thick.
When the boards were ripped down, I took them over to my router table, fitted with my tongue and groove router bit and routed the grooves and shoulders in all of the boards.
Step 3:
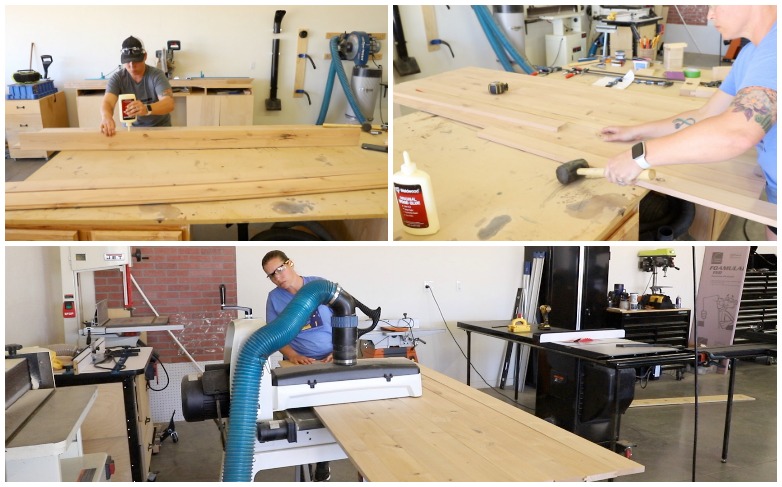
With the boards finished at the router, I moved on to assembling the panel. I glued up all of the joints to make sure the panel held together strong, using a mallet to knock them together, then clamping the panel and letting the glue cure.
When the glue was cured, I ran the entire panel through my drum sander. Truth be told, I didn’t have my router bit set up 100% exact, so the grooves in my boards were off a bit and resulted in an uneven surface. If the bit is exact, then I likely could have gotten away with just using my orbital sander to sand the whole panel down.
The panel started out at 3/4″ thick. After sanding them to flatten out the boards, the end result was 5/8″ thick. Let’s just say that mistakes were made and I really should have slowed down during the whole process.
Step 4:
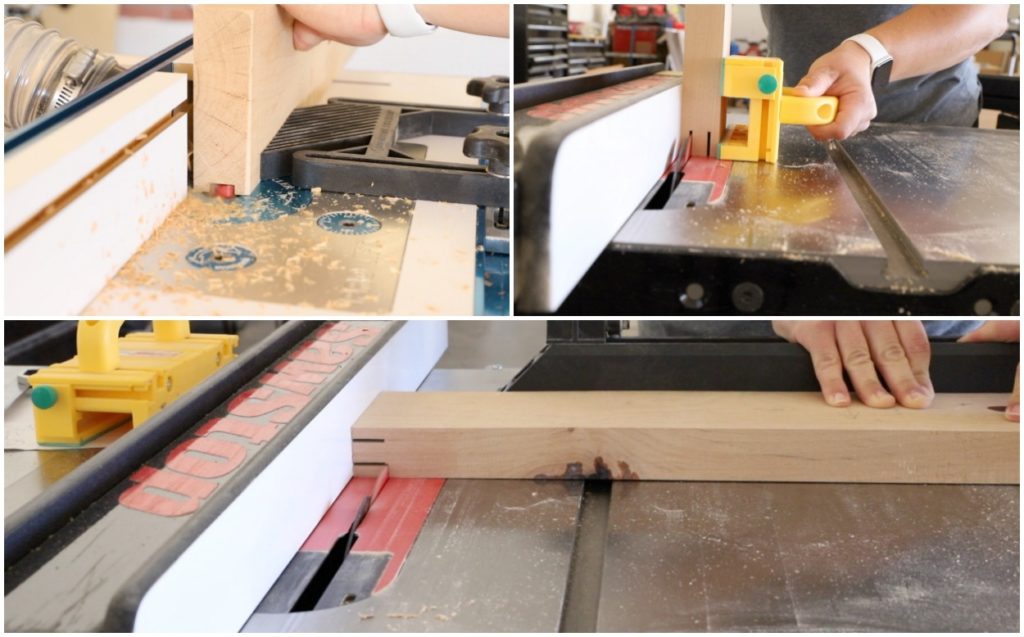
With the panel being 5/8″ thick, I ordered a 5/8″ straight bit off of Amazon and fit it into my router table to rout the grooves in the rails and stiles of the door frame. The groove is 1″ deep, but taking a 5/8″ x 1″ groove out in one pass is dangerous and can result in the wood burning, the bit breaking, or I’m sure a few other scenarios I wouldn’t want to think about. The safest bet is to take it 1/4″ at a time.
I ran each of the pieces for the rails and stiles through the router, then adjusted the height and ran it again, repeating these steps until all of the grooves were 1″ deep.
Next, I moved on to cutting the tenons in the rails. Those are the top and bottom pieces of the frame, for those of you wondering what I’m talking about. Don’t worry. I have to Google it every time to remember which is which.
I did a lot of calculations and test cuts to figure out the blade height and fence position for the tenons. To do this, you have to take into account the exact thickness of your wood, the 1/8″ kerf from the blade (thickness), and the width of your groove. It wasn’t easy and it still didn’t end up perfect, but everything still held together nicely when assembly time came.
Step 5:
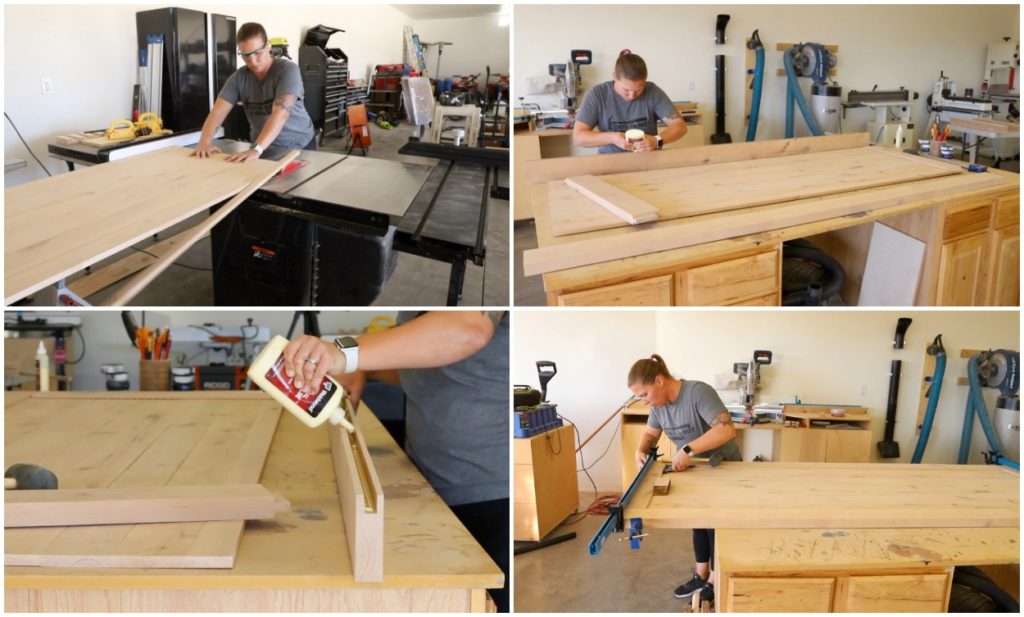
With the rails and stiles ready to go, I cut the panel down to size and it was time to glue the whole thing together. I will say that I did a dry run of the whole assembly prior to glue. This helped me to make sure I didn’t need to make any adjustments along the way.
I added glue to all of the grooves and began fitting all of the pieces together, using a rubber mallet as persuasion. With everything in place, I loosely attached bar clamps and then made sure all of my joints were flush and square. I did this with both a speed square and also measured diagonally with a tape measure. When doing this, if your diagonal measurements from opposite corners are the same, your project is then square.
With everything said and done, my door was not only square and flush, but also the EXACT dimensions I needed it to be. So, while the process wasn’t 100% perfect, the end result pretty much was:)
Step 6:
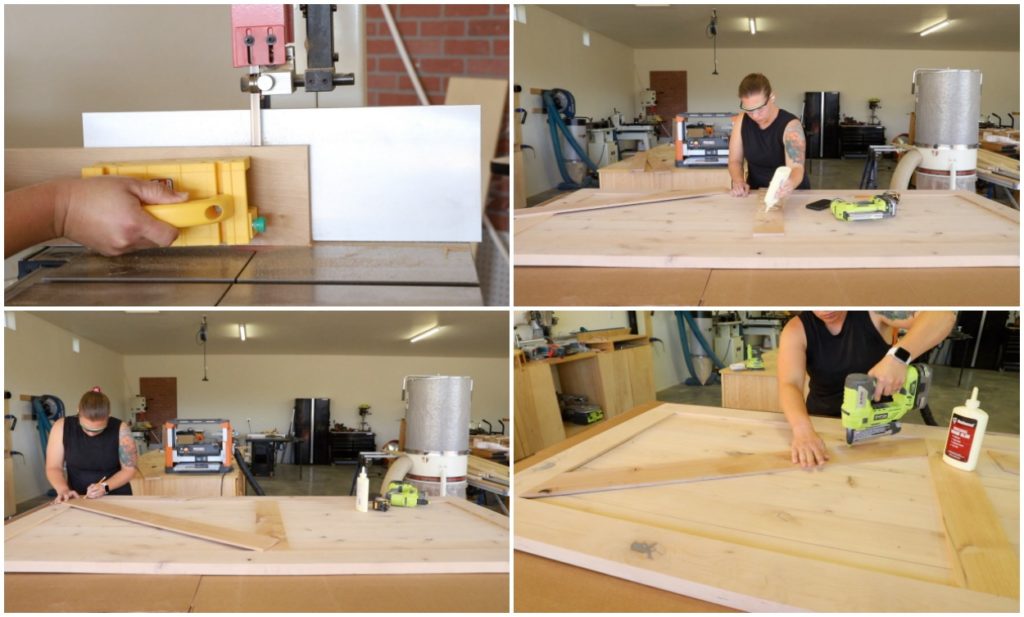
Like I mentioned before, there are a ton of different design looks you can go with for a barn door. I chose what I’m considering to be a more traditional look.
I cut some more alder down to 4 1/2″ wide and then took it to my bandsaw to resaw it down to about 7/16″ to 1/2″ thick. I ran all of the boards through my planer to get them down to a uniform thickness so that they would sit flush inside the frame of the door, then cut them down to size.
I started with the middle portion of the trim boards, centering it inside the door frame, them gluing and nailing it down with 3/4″ pin nails.
For the angled boards, I set them exactly in place, then made marks on each side of the board to determine the angle I would need to cut. I connected those marks with my speed square and a pencil, then figured out and cut the angles on my miter saw.
I fit those boards into place, then glued and nailed them down, following all of these same steps for the other side of the door.
Step 7:
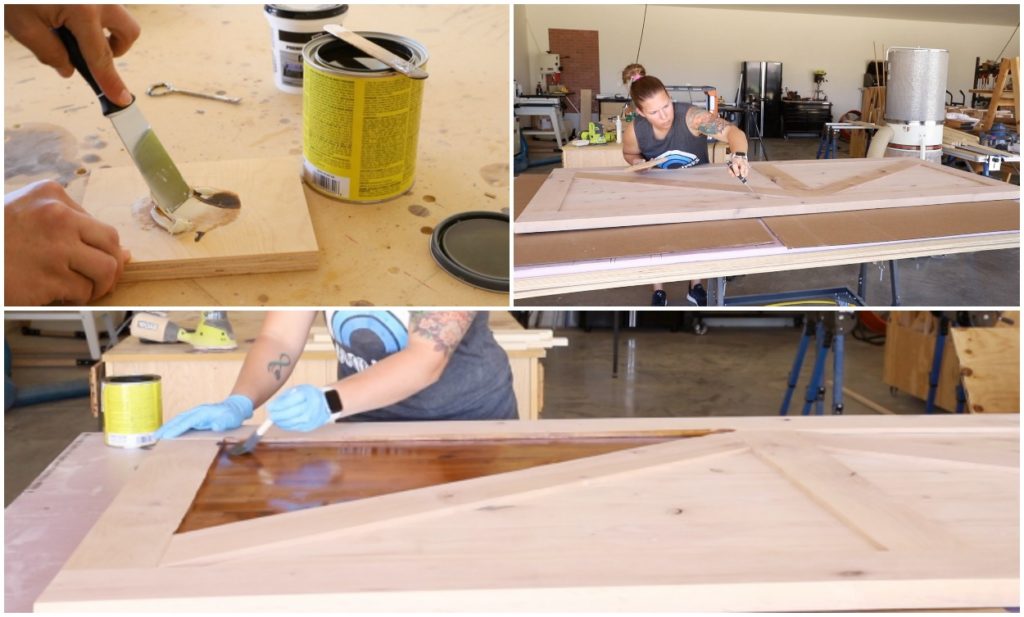
I had quite a few screw holes to fill in the boards that made up the panel (from attaching them to my straight line “jig”), so I mixed up some DAP Premium wood filler with my stain. The chameleon technology in the wood filler meant that it would very closely resemble the door color once it was stained.
I applied the wood filler to the door and then sanded it all down once it was dry. I stained the door with golden oak stain and was so pleasantly surprised when I saw how beautifully the wood filler took the stain. You can still see the areas I filled if you look for them, but it’s important to remember that it’s a wood filler not a wood replacement. So the filled holes blend in perfectly.
After the stain was dry on the door, I added three coats of wipe on polyurethane to both sides of the door, sanding in between each coat with 220 grit sandpaper.
Step 8:
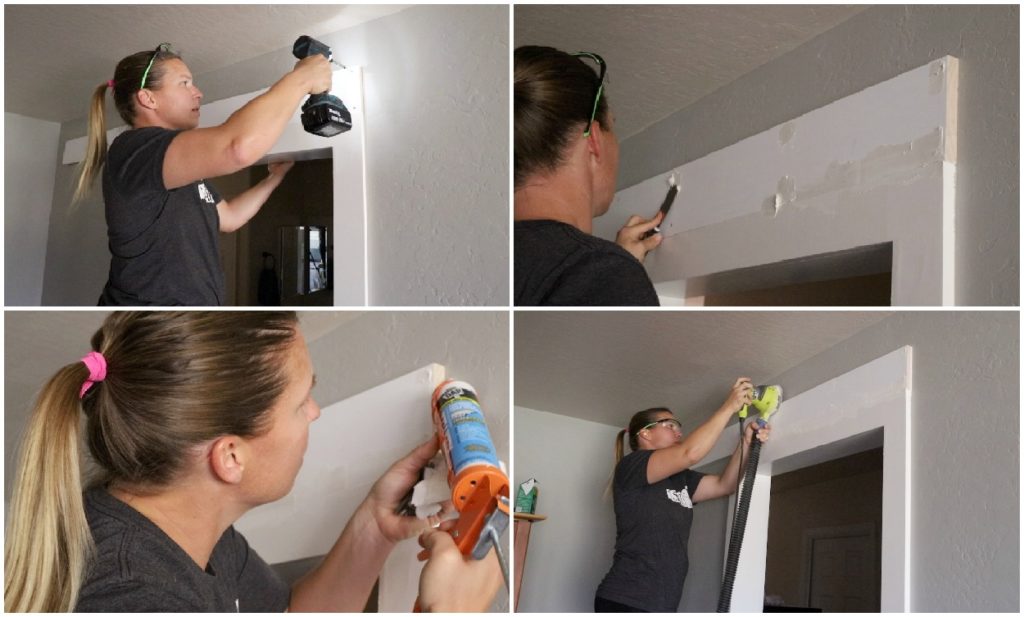
During all of this, I also prepped the doorway for the new door and hardware. I installed a 1×6 pre-primed pine board as a header above the door trim and attached it to the studs with 2 1/2″ wood screws. I sunk the screws in a bit so I could fill them later with wood filler, and also used it to feather in the seam between the doorway trim and header.
I followed that by caulking around the header with Alex Flex sealant for molding and trim, then sanded the header down once the wood filler had dried.
Step 9:
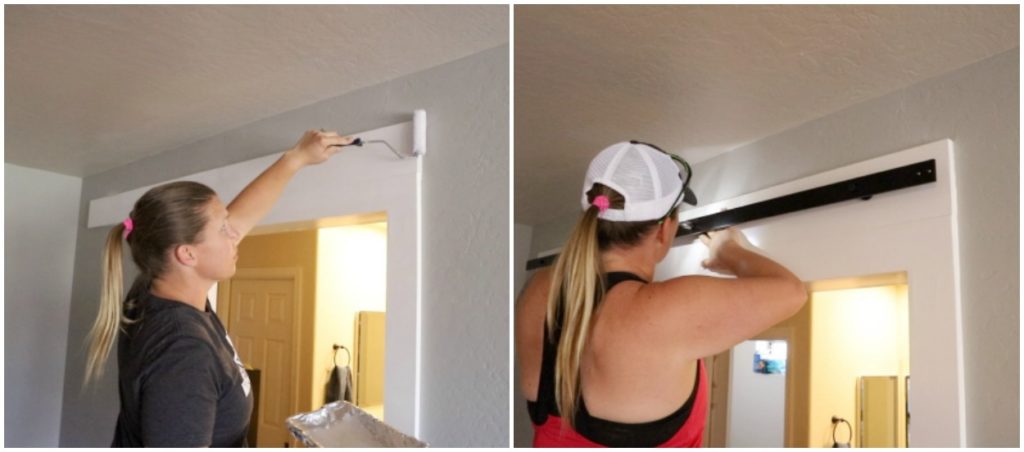
I painted the header with two coats of paint and let it dry overnight, then installed the barn door hardware using the manufacturers instructions that came with the hardware. You’ll want to study these instructions from the very start as they help you to determine the exact height of your door.
Step 10:
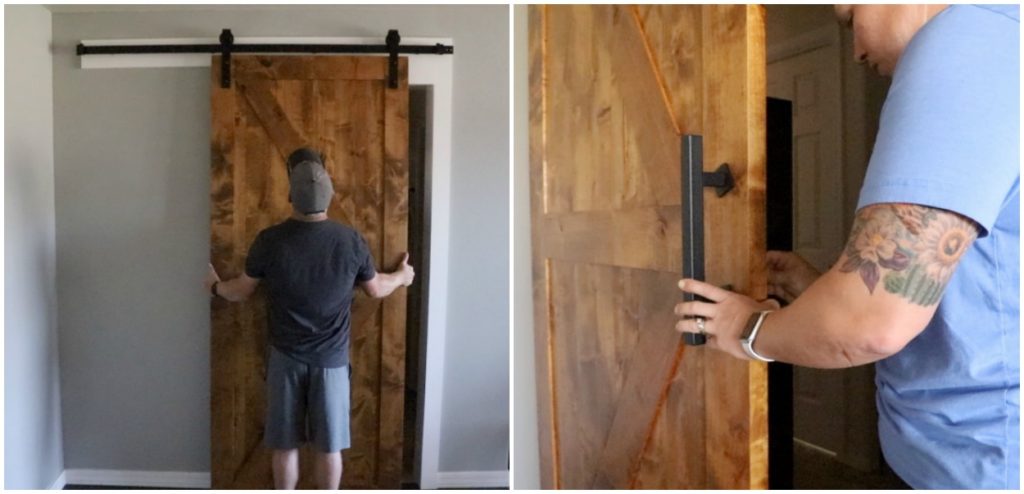
My husband hung the door on the track and I breathed a huge sigh of relief when it fit exactly as planned. I had ordered a handle kit off of Amazon and installed that on the door and it was finished. The only thing missing is the door guide at the bottom. For that, I need to route a groove for the guide to fit in and prevent the door from swinging. I didn’t have a proper bit for that, so I’ll be ordering one and will work on that next.
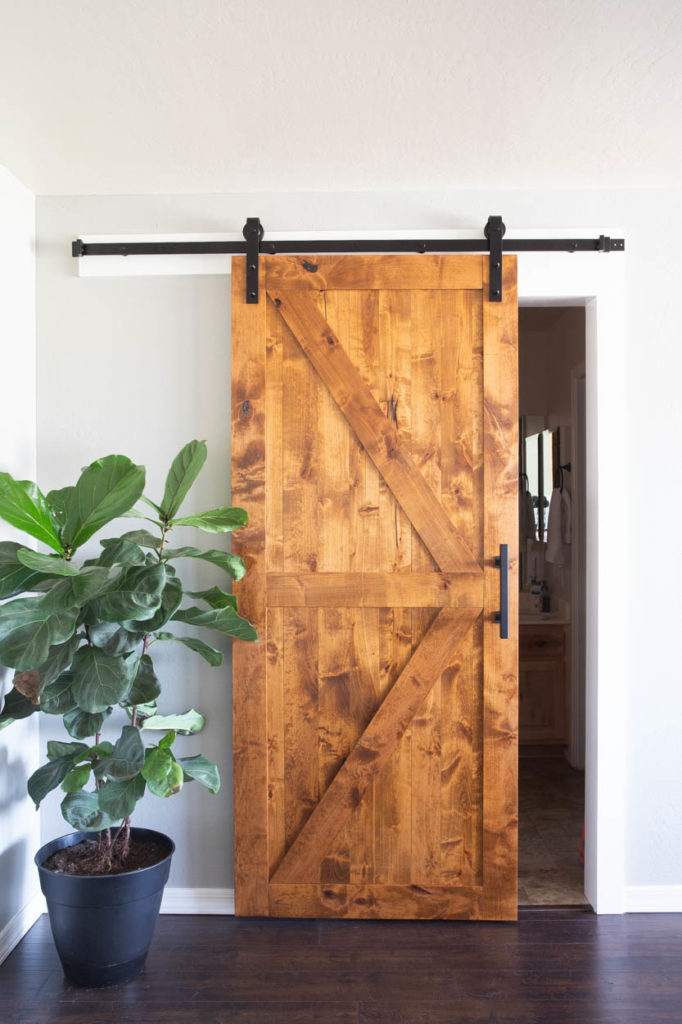
In the meantime, I am going to just keep staring at how gorgeous this door looks in our bedroom and how nice it is to finally have some separation between the bedroom and bathroom. That being said, my husband and I are both still a little nervous that we’re going to forget one night and go crashing into it;) After living here for 10 years and not having any sort of door, I’m sure it will take a bit of getting used to.
Another huge thanks to my friends at DAP Products for partnering with me on this project and video. Hopefully these tips will help you along the way if a barn door project is in your future.
DISCLOSURE: I was provided product and/or compensation for this post. All opinions and ideas are 100% my own.

Leave a Reply