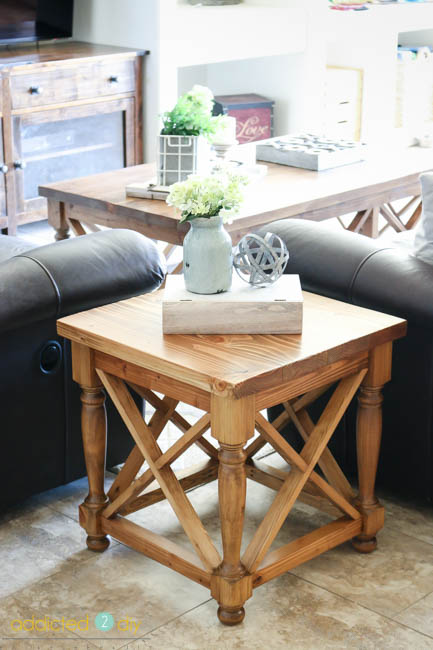
Hey there, everyone! Last week I shared the plans for my DIY X Panel Coffee Table and today I’m sharing the plans for its little sidekick, this DIY X Panel side table. I’ve been wanting a furniture set in our great room for so long. Especially side tables. The room just felt so stark without it and we might have even brought spools in the house last year to use as side tables when friends came over to watch NFL playoff games. Don’t judge. I know I can’t be the only one:)
I have to give a huge shout out to Osborne Wood Products for providing the legs for this beautiful table. I chose the Heritage End Table legs for this project in knotty pine. I have also included affiliate links to some of the products I used. Should you purchase an item from one of these links, I will receive a small commission at no extra cost to you.
Before beginning this project, make sure you download and read the printable project plans as well as this entire tutorial. The shopping list and the cut list for this project are located at the beginning of the printable plans. Let’s get started, shall we?
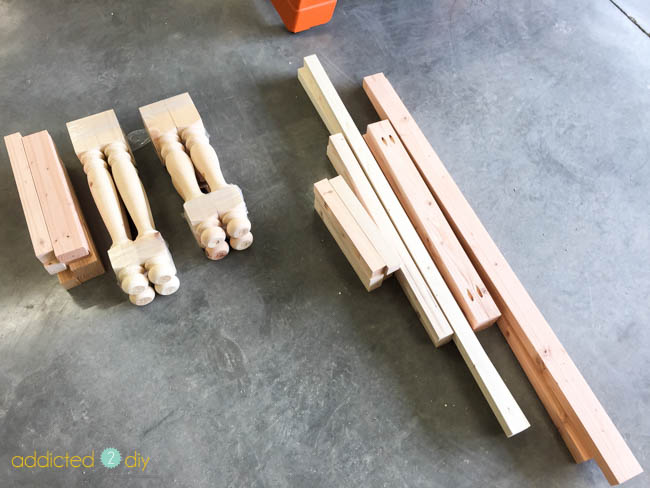
As I mentioned with the coffee table tutorial, I wanted square edges on all of my lumber, so I purchased oversized boards and ripped them down on my table saw. 2x4s became 2x3s, 2x3s became 2x2s, etc.
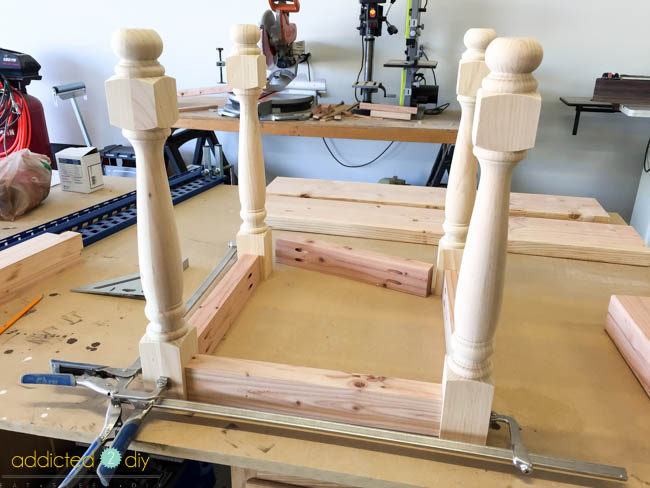
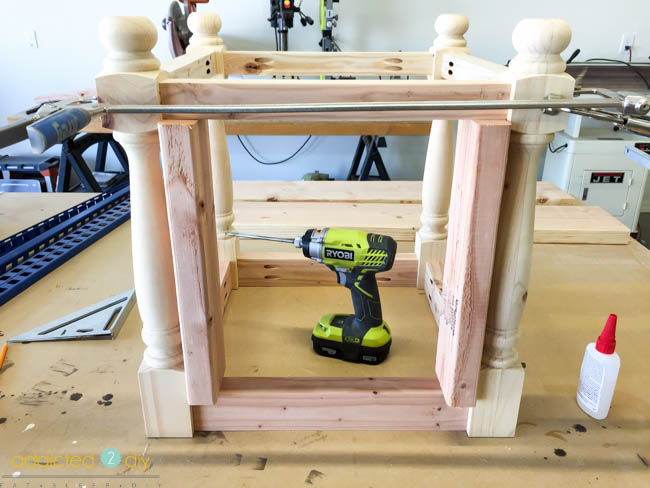
I precut and predrilled all of my wood pieces for the frame of the side table before I started assembling. I also found it much easier to sand all of the pieces down before I assembled it. Set the table legs upside down on a smooth, flat surface to begin the assembly. If your surface isn’t flat, you’ll know it when you flip your table over and you end up with a rocking horse;)
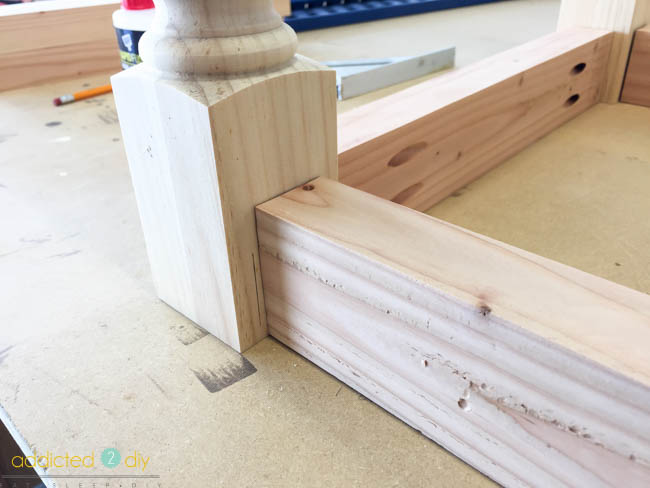
Mark 1/2″ in from the outside edges of the legs. This is where you’ll line up the apron pieces.
Glue and clamp the top portion of the frame together, then attach the apron pieces to the legs with 2 1/2″ pocket screws.
To attach the stretcher pieces on the lower portion of the legs, you’ll again mark 1/2″ in from the edges of the legs. Cut 14 1/2″ scrap pieces of wood to act as spacers to hold the stretcher pieces in place. Glue and clamp the stretchers, then attach with 2 1/2″ pocket screws.
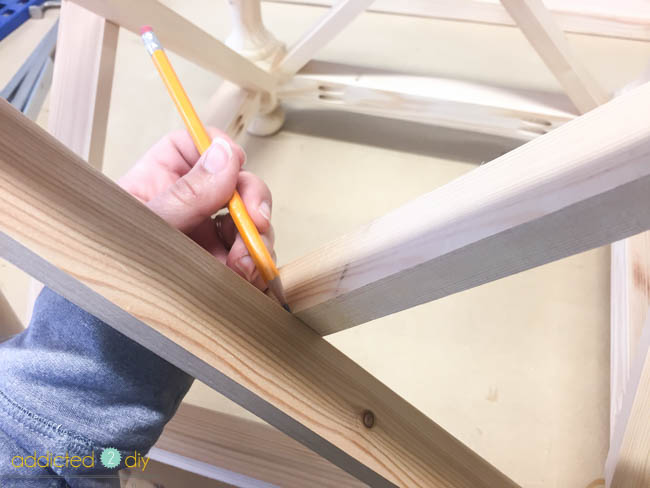
To measure the X Pieces, set a 1×2 against the side of the table and make a mark on the inside face of the board to determine the angle and the length of the piece. Figure out the angle on your miter saw by lining up the blade with the pencil mark. In this case, the angles were about 45 degrees. Use the first piece you cut as a template for the 7 remaining pieces, making sure to dry fit everything for a proper fit. For the other portion of the X, place one of the long pieces perpendicular to the first piece. Mark the inside face in the center to determine the length and angle of the cuts. In this case, the angle was approximately 3 degrees.
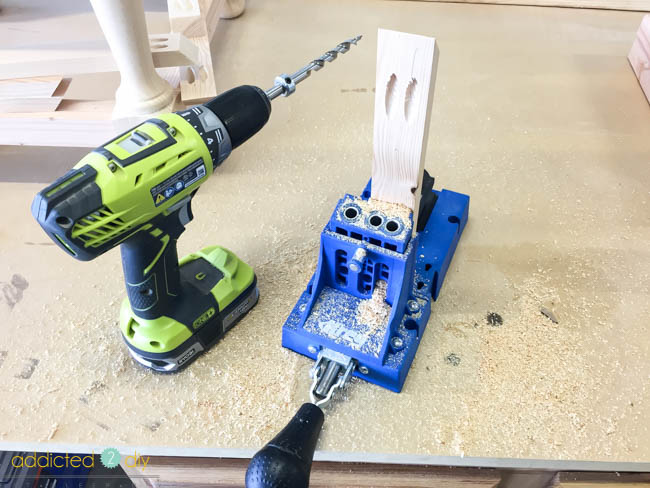
Dry fit all of your X pieces to ensure a proper fit. Using a pencil, mark the underside of each of the X pieces where the pocket holes will be drilled. This prevents any mistakes where holes are drilled on the wrong side and are more visible.
When drilling holes in the X pieces, set the stop collar on the drill bit to 3/4″ thickness. Set the Kreg Jig to 1″ thickness to drill the 45 degree angles. For the 3 degree angles, set the thickness at 3/4″.
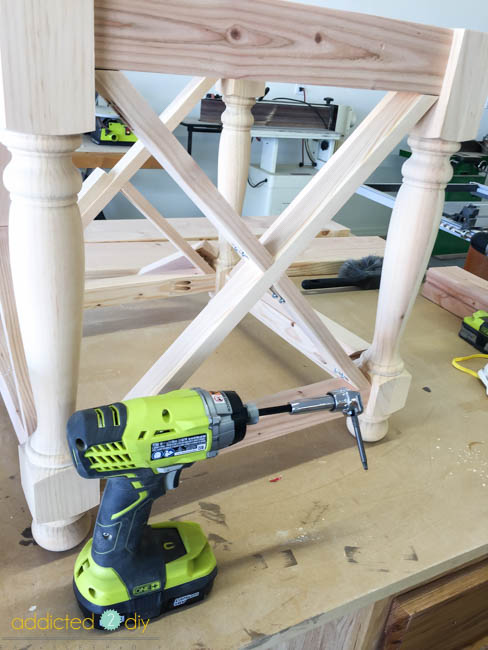
For the Xs, you’ll want to use a small right angle driver or offset adapter. Fully attach the long portion of the X with 1 1/4″ pocket screws. For the smaller portions, partially drive in all of the screws to hold them into place and then alternate between upper and lower portions to drive the screws in fully.
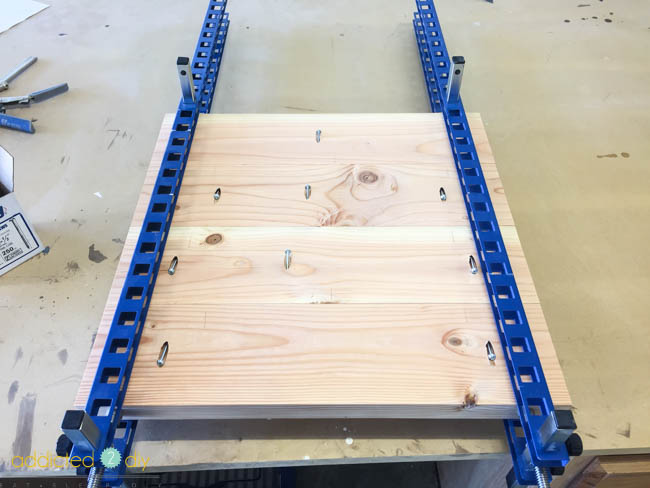
For the top, drill pocket holes into the boards to attach them together. Glue the edges and clamp together, then use 2 1/2″ pocket screws to attach the boards together.
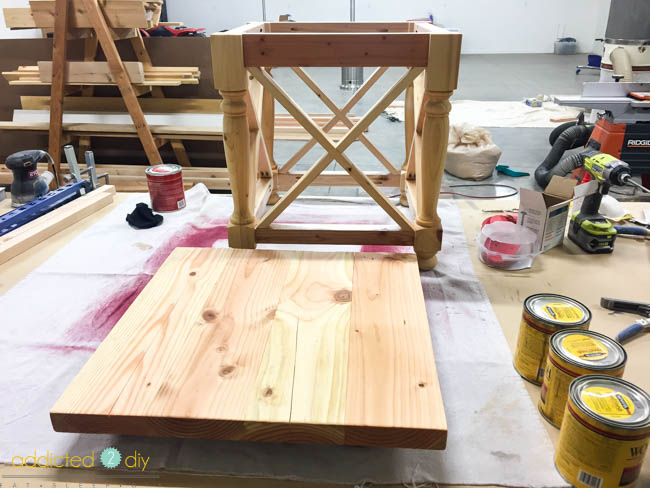
To finish off the side table, I brushed on a coat of wood conditioner and let it soak in for about 15 minutes. I then layered stain colors, starting with Golden Oak, Weathered Oak, then a thin layer of Special Walnut.
The top is attached with desktop fasteners which sit flush with the top of the aprons. To do this, use a 3/4″ forstner or spade bit, then drill holes approximately 1/8″ deep, or until the fasteners sit flush. Attach the fasteners with 1 1/4″ wood screws. Center the top onto the base, making sure the overhang on each side is equal. Reach through the Xs and attach the top with 1 1/4″ wood screws through the open hole in the desktop fasteners.
Once the top is attached, finish with a coat of polycrylic. I found the easiest way to do this is with my HomeRight Finish Max. Between the turned legs and all those Xs, it saved me HOURS of work with a brush. No need to dilute the polycrylic. Just use it straight from the can.
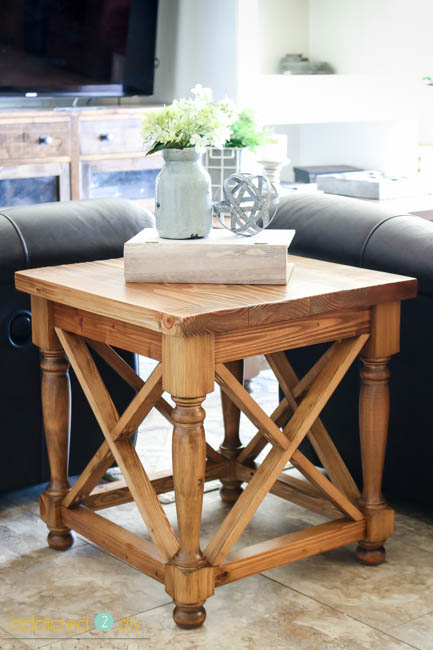
I can’t even begin to tell you how much I love having actual furniture (not spools) in my great room now! The room feels so much more warm and inviting now. Can you envision these babies in your living room? Make sure you download the printable plans so you can build your own! If you do build them, don’t be shy. Share them with me and I’d love to feature you on Instagram and Facebook! Don’t forget to pin this project for later!




This is amazing! It will not just test your creativity but your patience as well. Nice project to try with your loved ones, since I think you’ll need extra hand especially on using the tools. Hope you could also share some safety precautions. Lookin forward to that.
All that is made of wood looks cool. This table is very nice. It’s mobile and can be used like a chair.