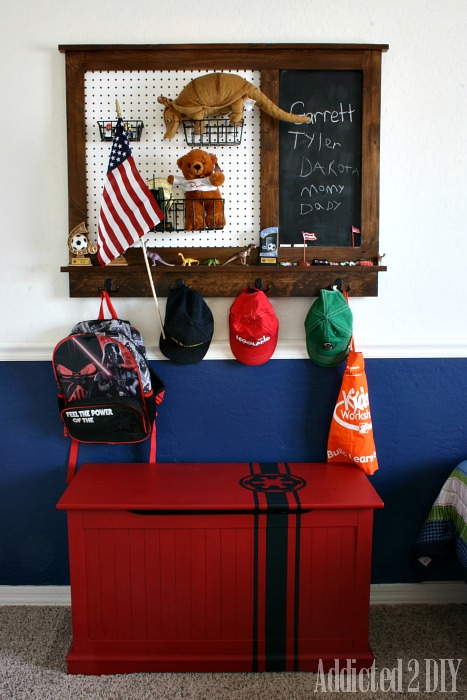
A couple of years ago, I came up with the idea to build pegboard organizers for my boys’ rooms. Frankly, I was getting tired of their hats being thrown everywhere and not having a place to put some of their little toys and knickknacks, so I built one for each of their rooms. I shared the tutorial for building the organizer, but at the time, I had absolutely no clue how to draw up plans. A lot has changed in the past two years and now I’ve created a printable set of plans to make building one of these pegboards even easier!
Before you get started, download the plans to get the full materials list and cut list for this project. Below are the step-by-step instructions. I’ve included affiliate links to some of the products I used, for your convenience.
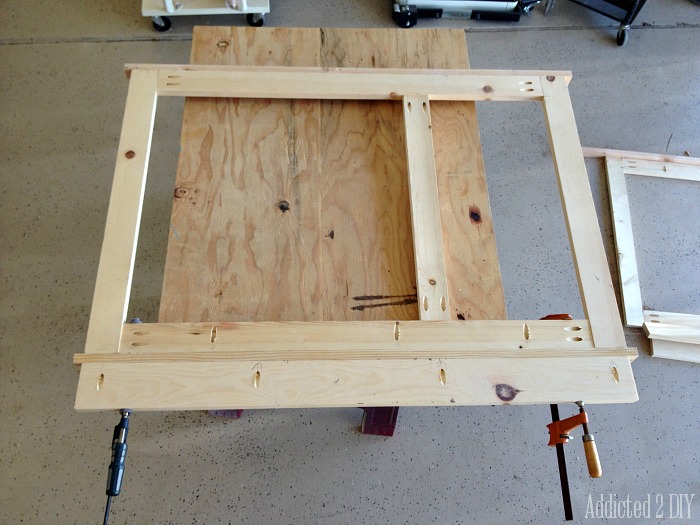
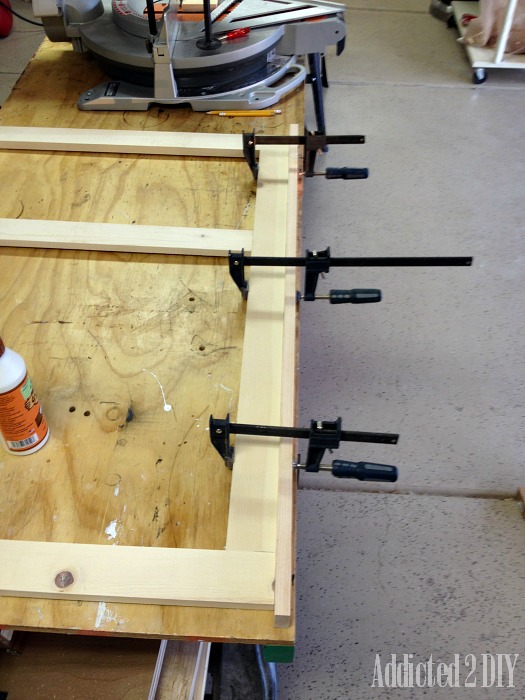
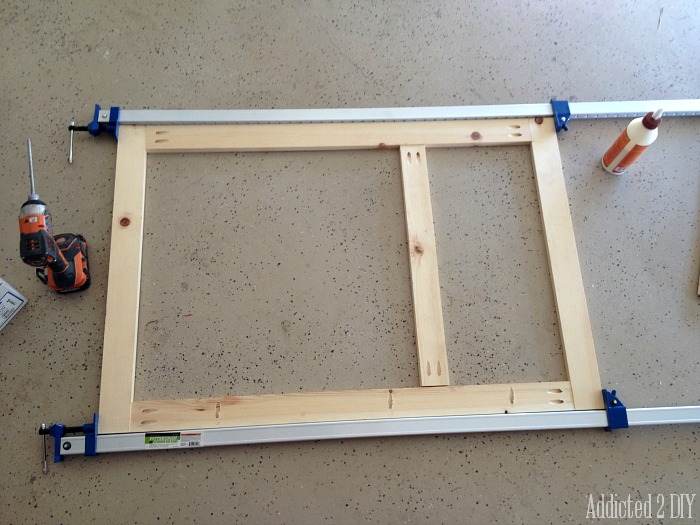
STEP 1: Build the frame of the pegboard. Cut the frame pieces to size, per the plans. For the center divider, measure the distance and cut to size. Drill 3/4″ pocket holes into each end of the top and bottom pieces of the frame, as well as the center divider. Also drill pocket holes going downward on the bottom piece of the frame. Attach the frame together with wood glue and 1 1/4″ pocket screws.
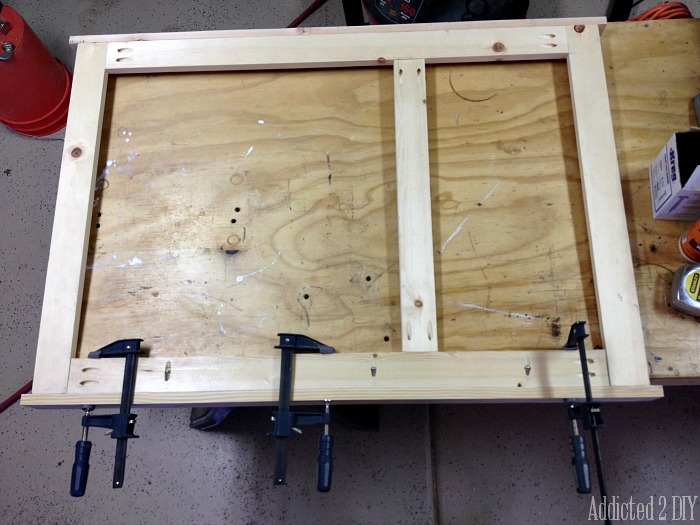
STEP 2: Attach the bottom shelf of the pegboard with wood glue and attach with 1 1/4″ pocket screws. There should be a 3/4″ overhang on each side.
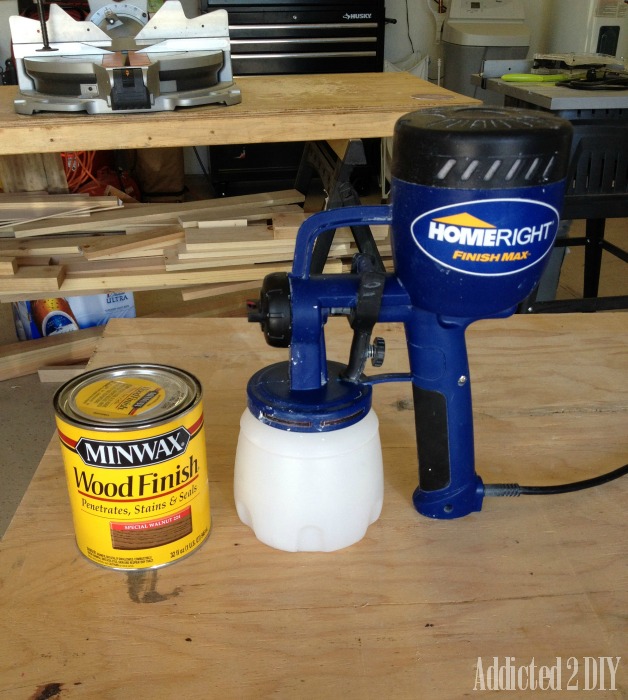
STEP 5: Finish as desired. I stained both of the frames with my paint sprayer, which was super quick and easy. I then brushed on a few coats of polyurethane.
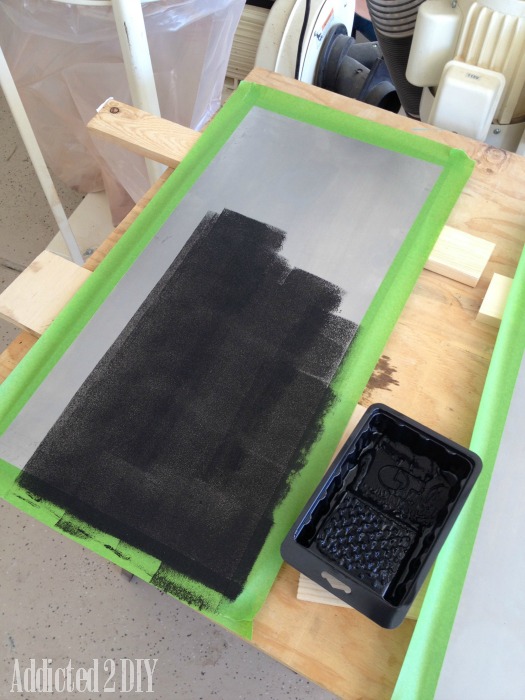
STEP 6: While I waited for the polyurethane to dry, I worked on the magnetic chalkboard. I taped off a 1/2″ border on the sheet metal and then rolled on two coats of chalkboard paint.
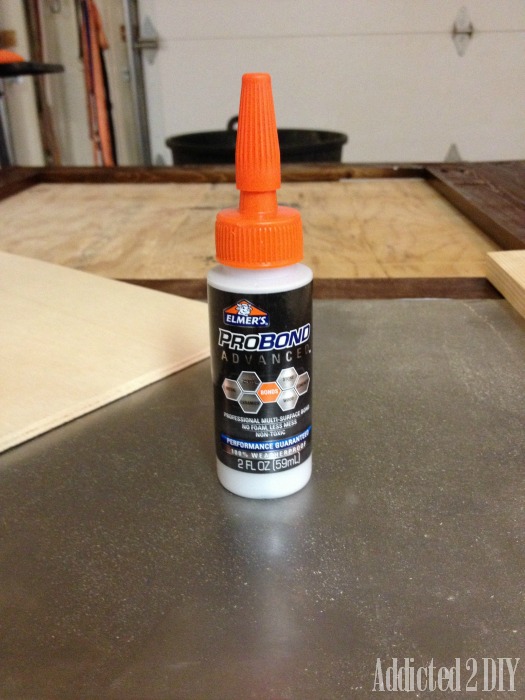
STEP 7: Once the chalkboard paint was dry, I centered the sheet metal over the smaller side of the pegboard frame and glued it in place with Elmer’s ProBond. I weighed down the edges with scraps of wood and let it dry overnight.
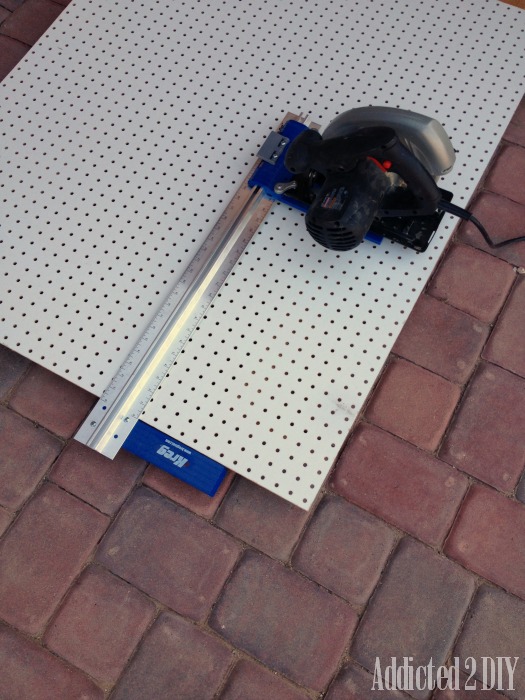
STEP 8: You can purchase a 2′ x 2′ square of pegboard, but I happened to have some leftover from another project, so I cut down my pieces using my Kreg Rip-Cut. I centered the pegboard pieces over the backs of the frames and attached them with wood glue and 5/8″ brad nails.
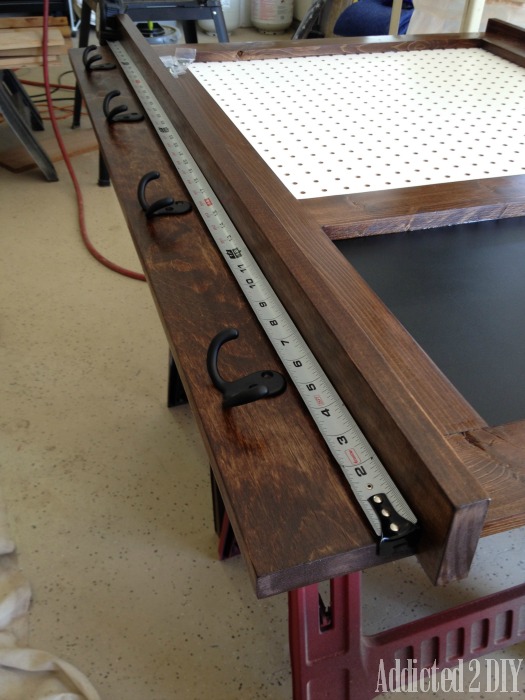
STEP 9: Evenly space the coat hooks on the 1×4 backing piece and attach them with 1/2″ screws.
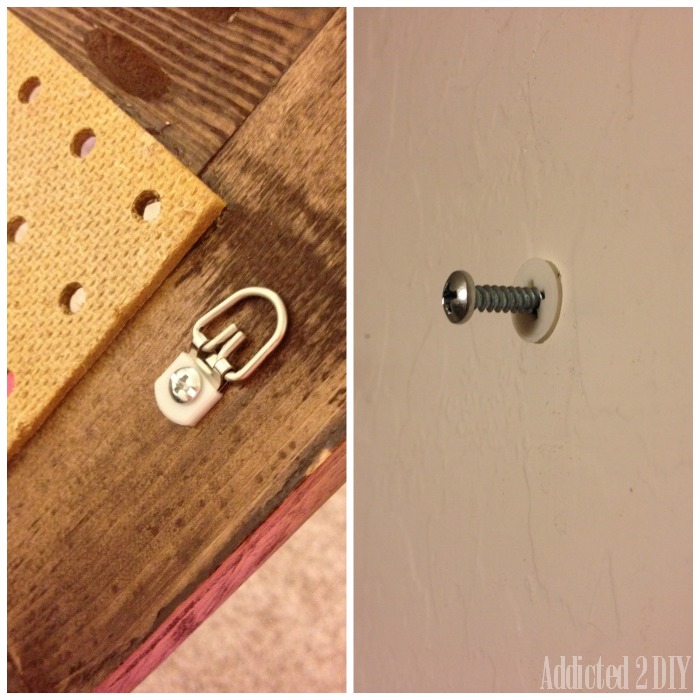
To hang the pegboards onto the boys’ walls, I attached D-ring hangers to the backs of the pegboards on each top corner. I measured 4 inches down for the top to make sure they were in identical spots. To attach them to the wall I used drywall anchors (because God forbid we ever find a stud when we need one) and 1 3/4″ screws. The longer screws will stick out from the wall by about 1/2″ and will give the necessary gap needed to hang hooks and baskets from the pegboard.
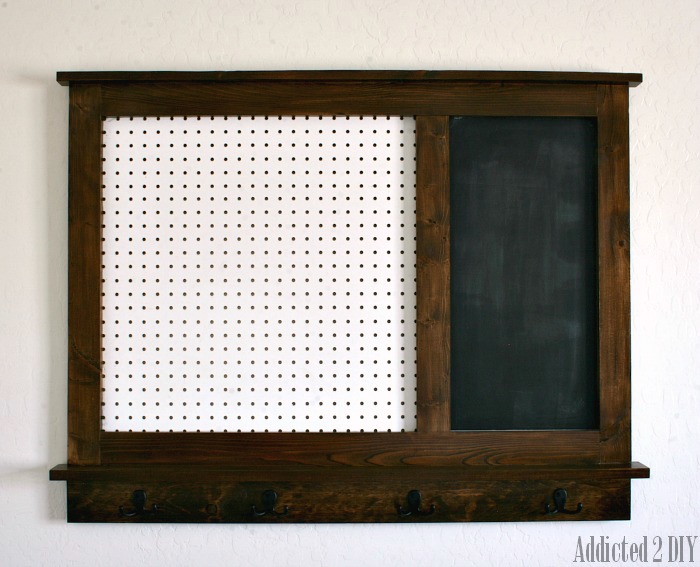
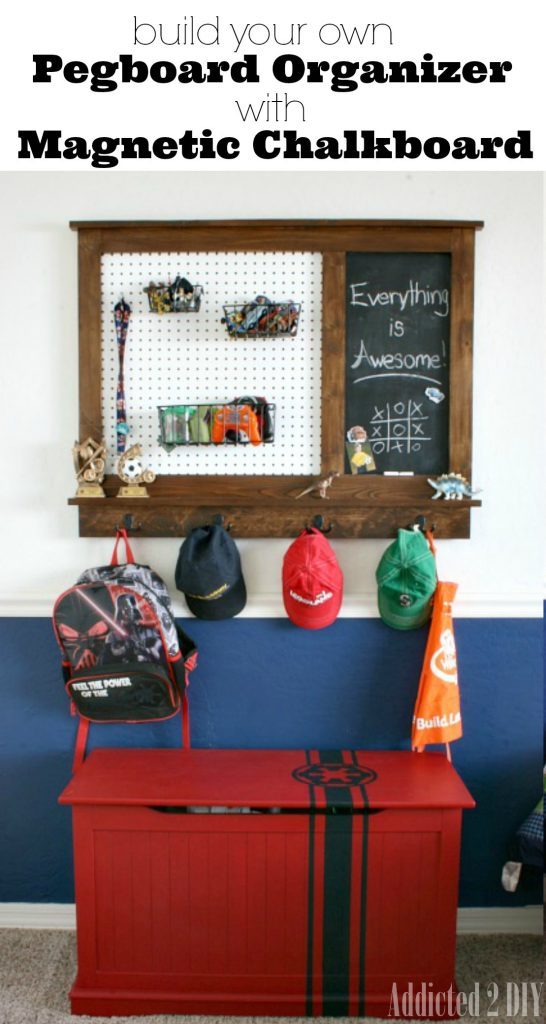
My boys love having theirs in their rooms. They are able to keep their sunglasses, hats, headphones, etc. all in one place. The chalkboards are a great place for them to doodle and they usually like to change up their drawings based on the seasons. My youngest, though, still has a bear decked out in a Santa hat and gifts on his. He doesn’t like change very much, so he refuses to erase it. This project is definitely an easy weekend project. The most time consuming part is waiting on the paint or glue to dry. Don’t forget to download the free printable plans to build your own. If you do build one, I’d love to see it! Tag me on social media using the hashtag #addicted2diy or email me with pictures. I’d love to feature your project!

Leave a Reply