This DIY nightstand with a faux floating top is a gorgeous project you can build for under $100. Perfect for a tween or teen girl’s room!
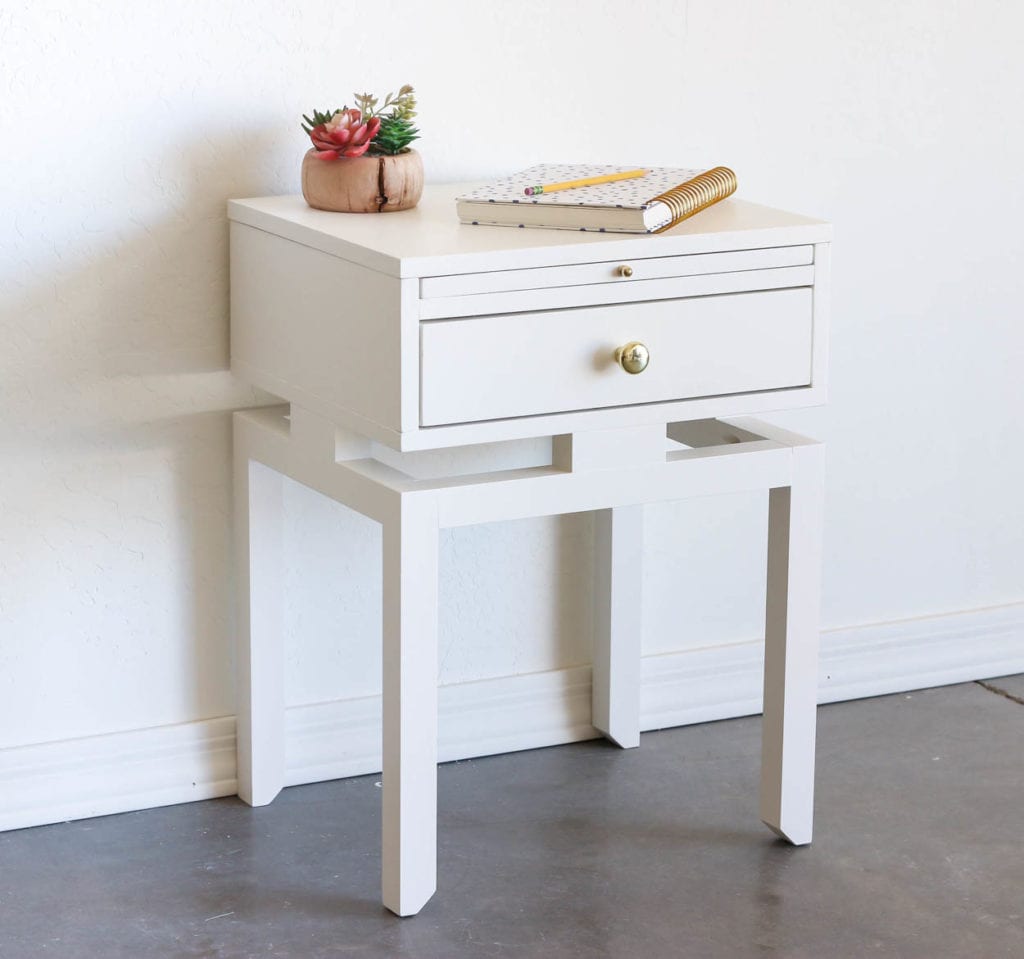
Being a boy mom, getting to build anything even remotely feminine is not really in the cards for me. My boys have VERY strong opinions about just about everything. Including my projects! That doesn’t mean I always listen to them, though:)
Lucky for me, I have nieces! I built this beautiful Anthropologie-inspired “floating” top nightstand for my youngest niece and it fit in perfectly with her room decor. Best part? I built it for under $100!
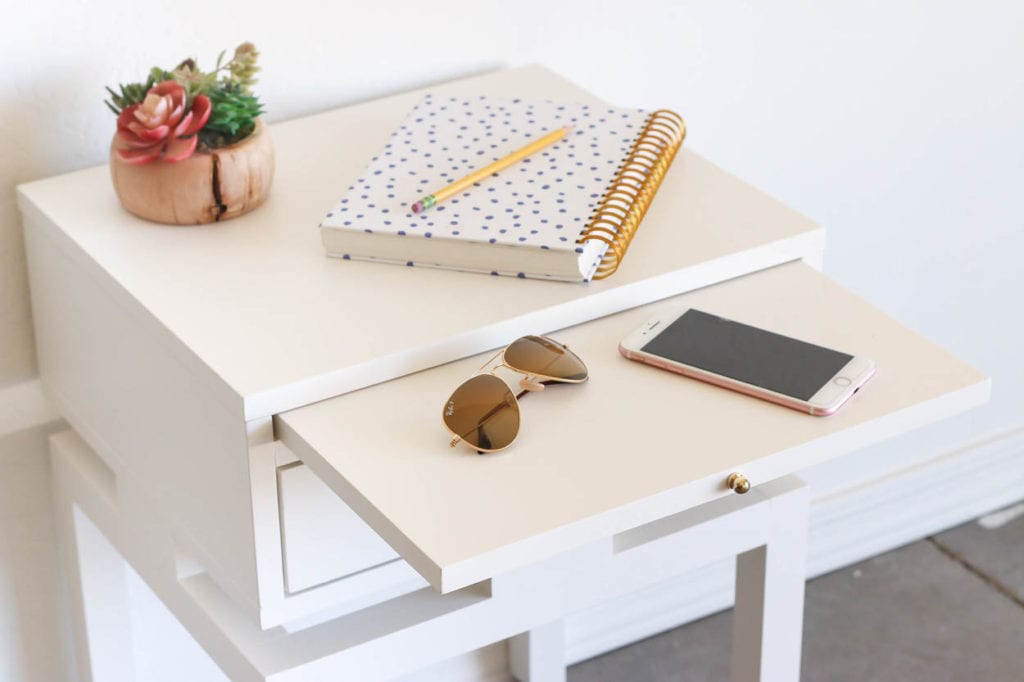
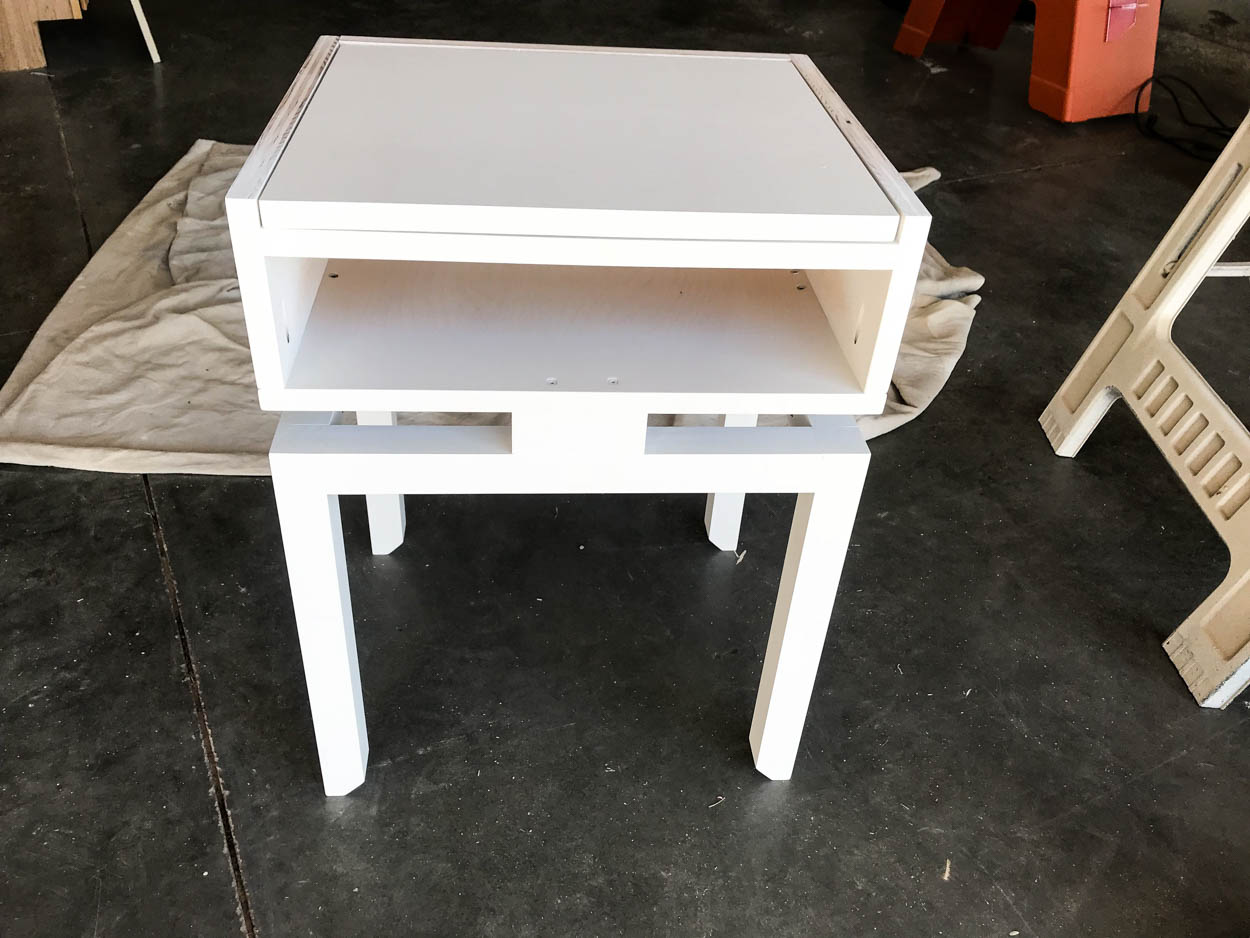
With it’s storage drawer and pull out tray, it’s got a lot to offer! The “floating” top and notched legs give this DIY nightstand a little more of a delicate look, which I absolutely love.
Keep reading to see the step by step photo tutorial and also make sure you download the printable plans!
How to build a DIY Nightstand with a floating top
- Cut the plywood pieces
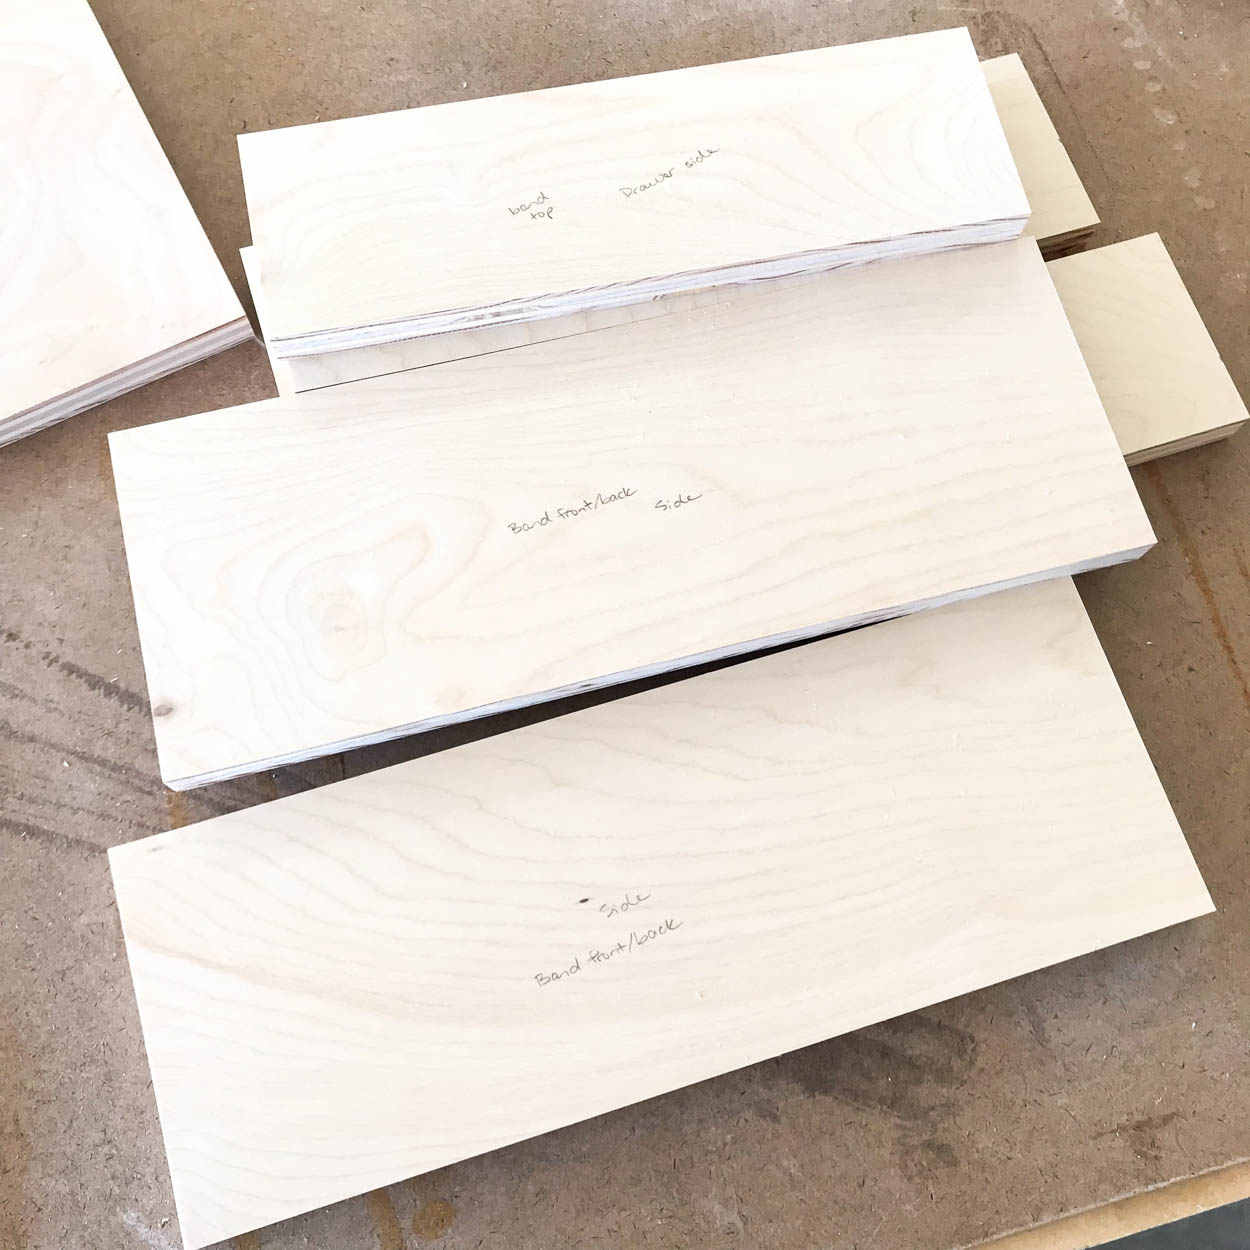
Cut all of the plywood pieces to size. I recommend labeling the pieces so you know what goes where. It saves you time and helps to avoid mistakes!
- Apply veneer banding
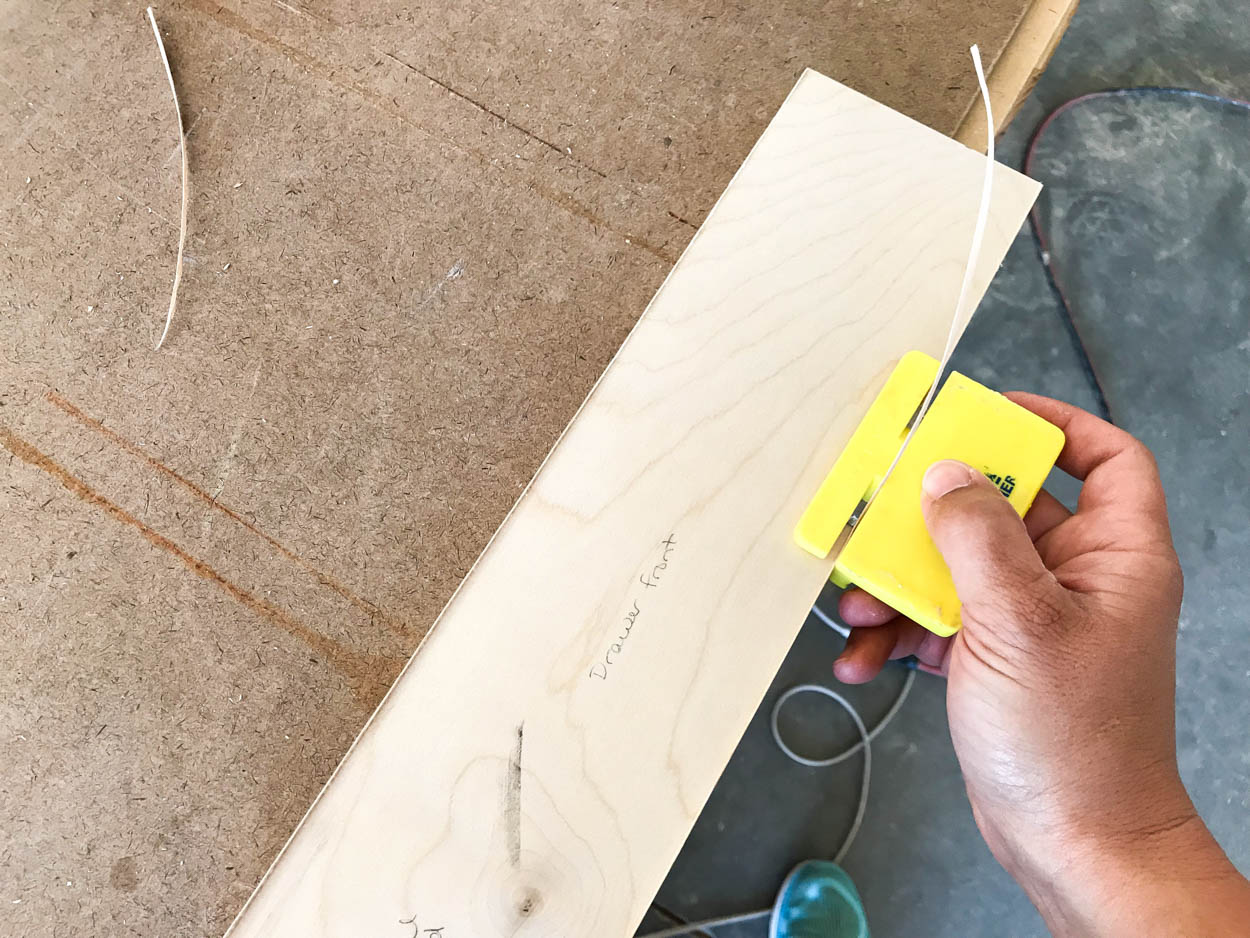
Apply veneer edge banding to all of the pieces, per the printable plans. Trim the edge banding and sand all of the plywood pieces with 220 grit sandpaper and an orbital sander.
- Notch the bottom of the legs
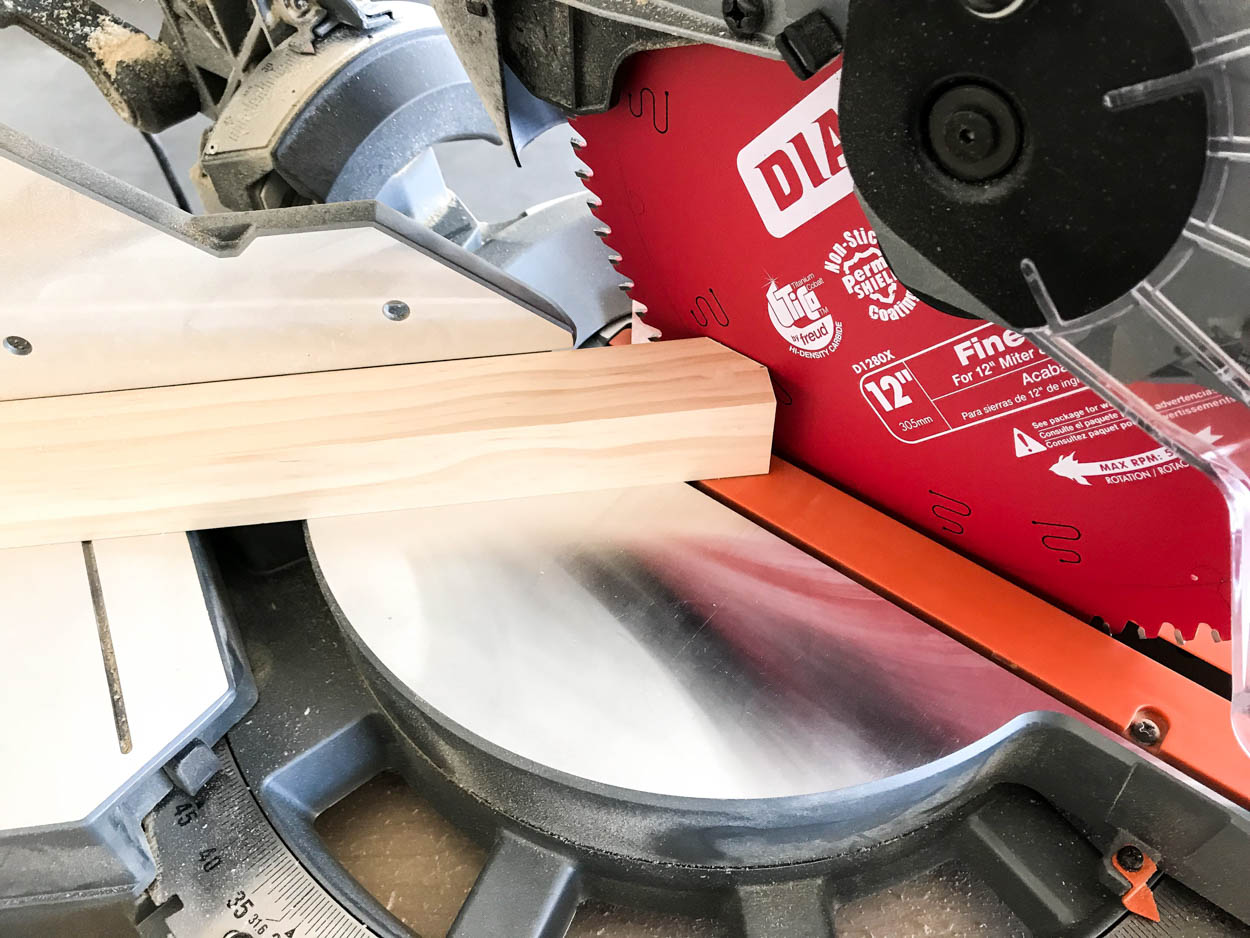
Mark 3/4” in from the bottom end of each of the legs. Set your miter saw to a 45 degree angle and cut a notch into the inside edge of each leg (if desired).
- Build the nightstand base
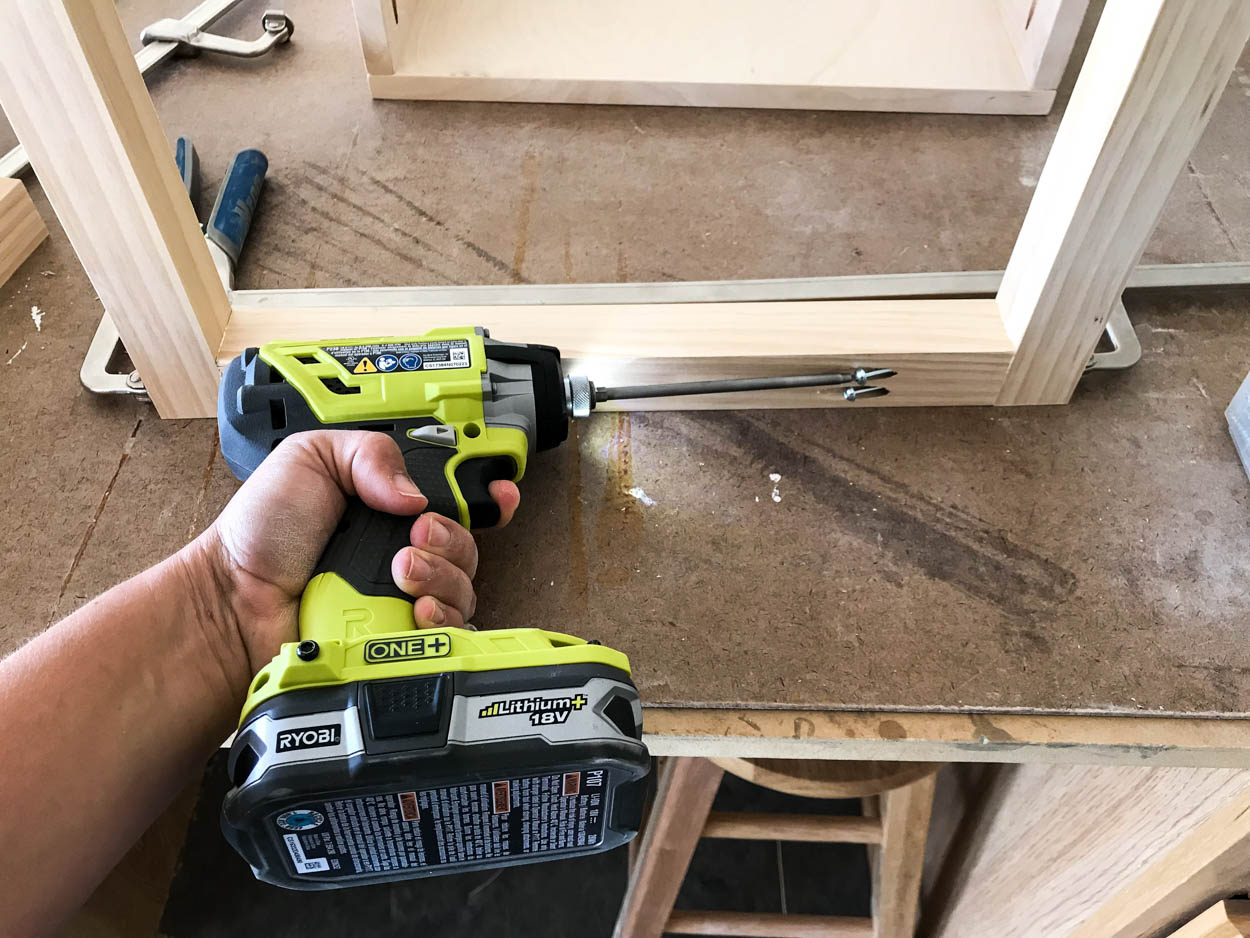
Build the base of the nightstand. Drill 1 1/2″ pocket holes into each of the stretchers and attach to the legs with 2 1/2″ pocket screws.
- Attach the spacers
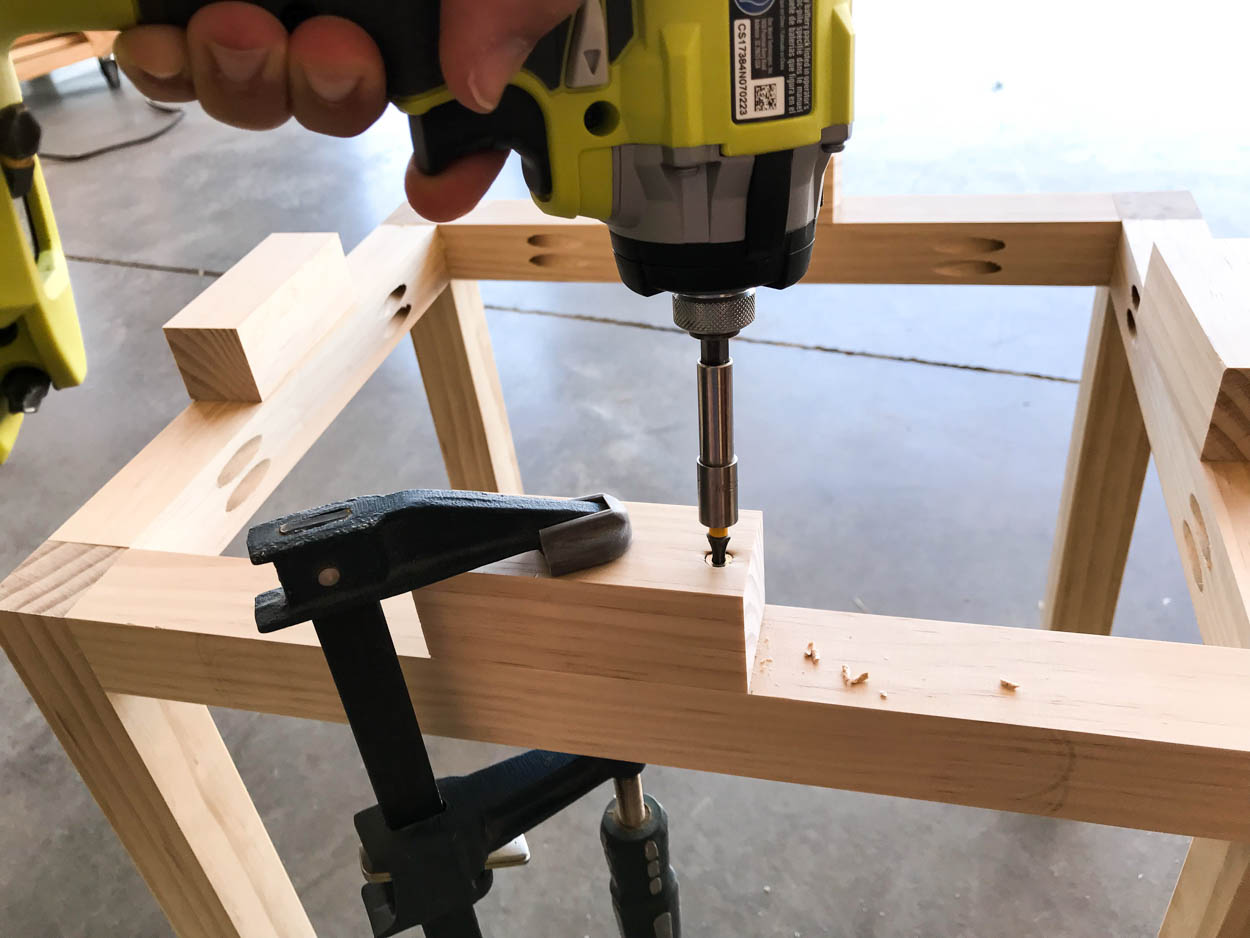
Center the 2×2 spacers on the front, back and sides of the base. Attach with wood glue and 2” wood screws, slightly countersunk into the wood to allow the top of the nightstand to sit flush on the spacers.
- Build the top of the nightstand
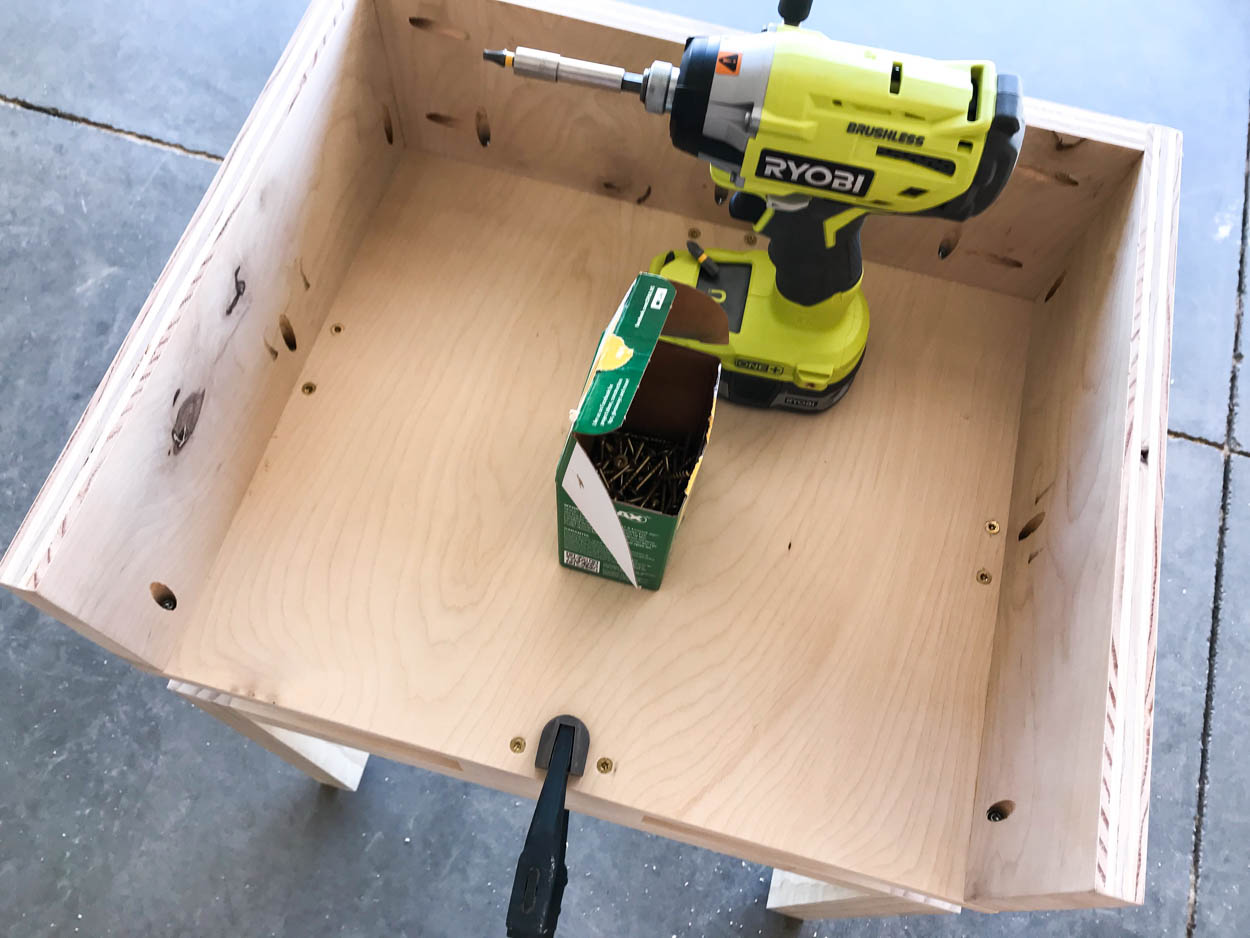
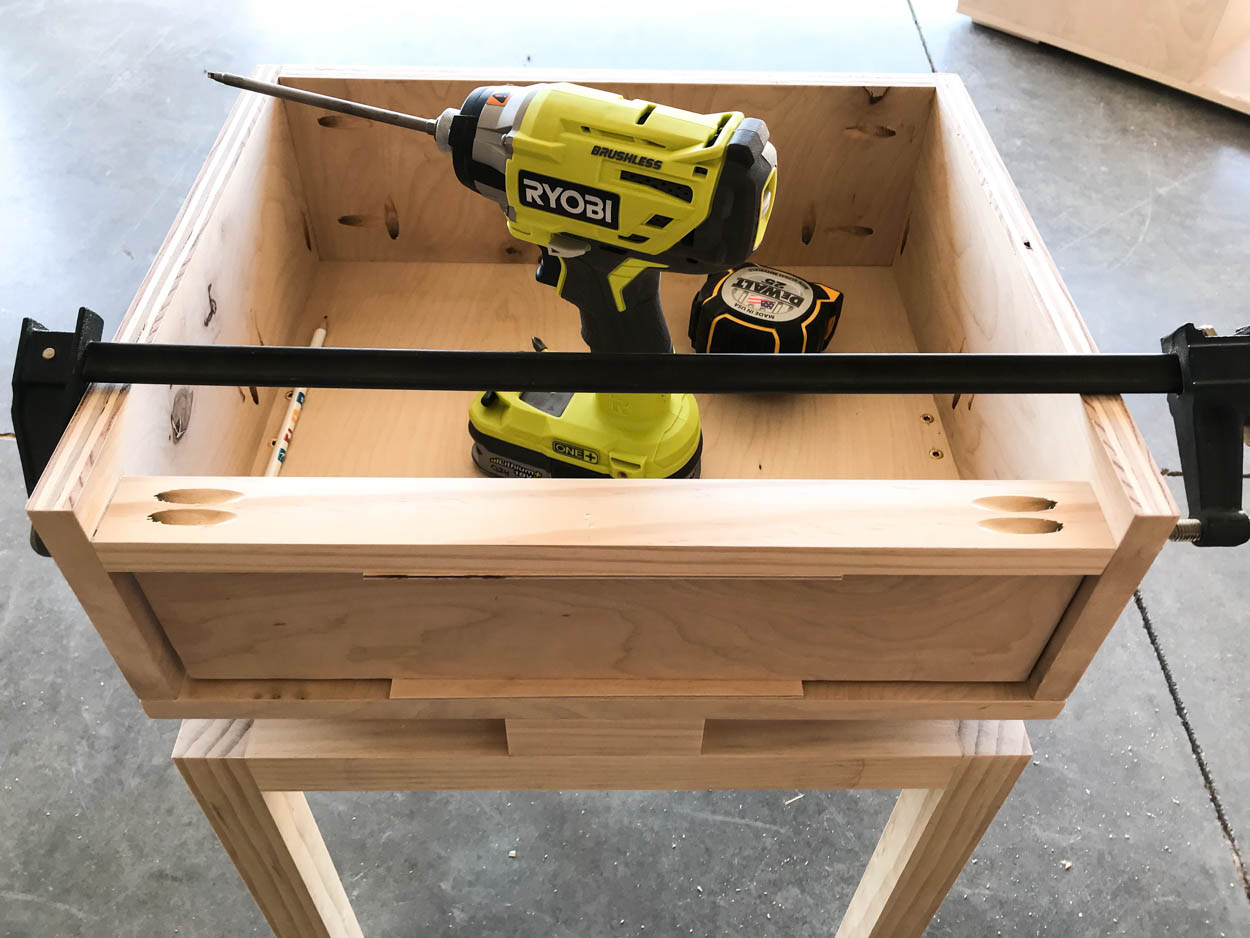
Drill 3/4” pocket holes into the bottom edge of the side pieces and the bottom edge and ends of the back pieces. Apply a bead of wood glue to the ends of the back piece, clamp and attach to the sides with 1 1/4” pocket screws. Apply a bead of wood glue along the bottom edges of the side and back pieces. Clamp to the bottom panel and attach with 1 1/4” pocket screws. Apply glue to the spacers and line up the bottom panel of the nightstand over the base. Clamp in place and attach with 1 1/4” wood screws into the spacers.
- Attach face frame
Drill 3/4” pocket holes into each end of the 1×2 face frame piece. Attach flush with the front edges of the sides, 7/8” down from the top.
- Attach supports for the tray
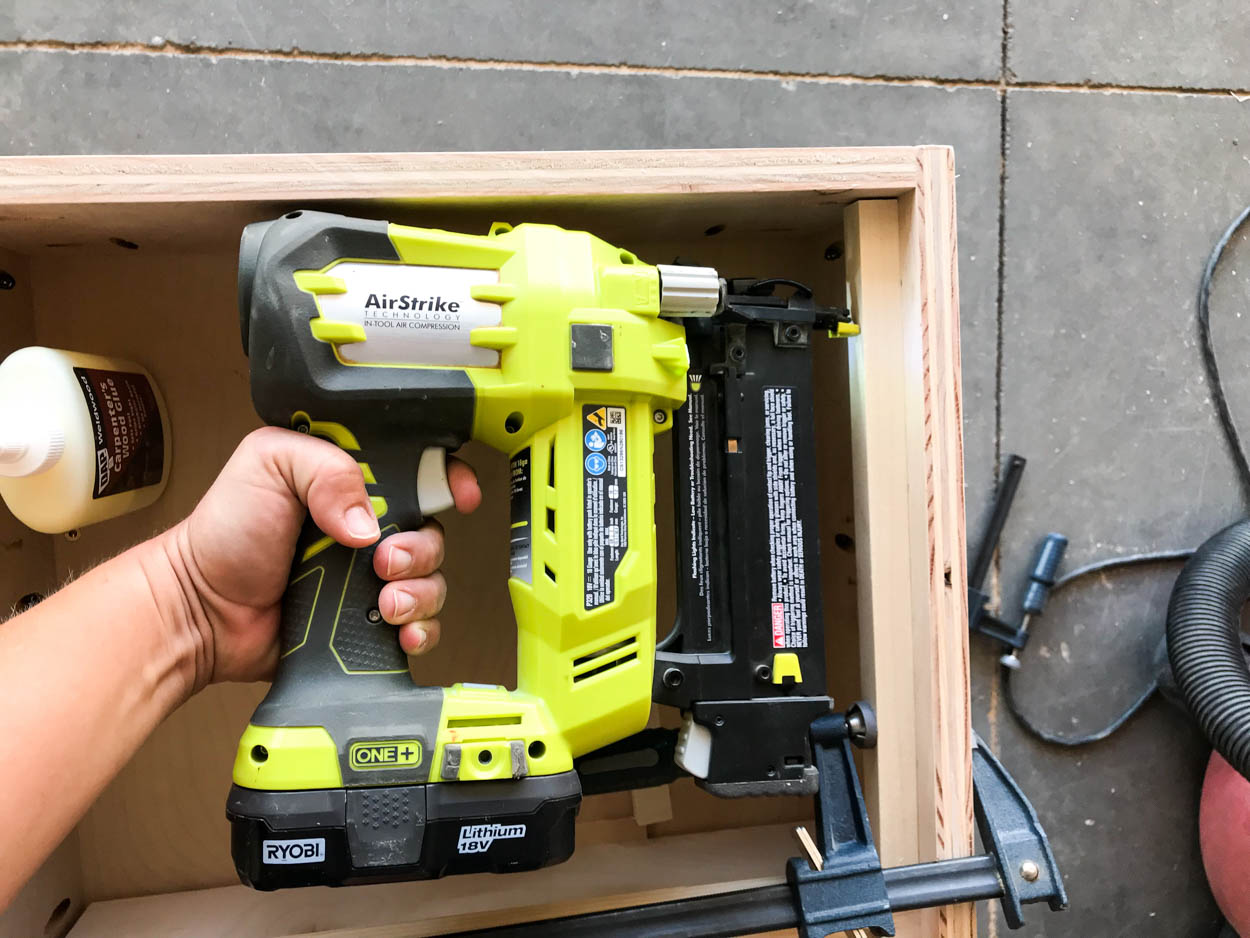
Measure and mark 7/8” down on the sides for the dowels and attach flush with the height of the 1×2 with wood glue and 1 1/4” brad nails. This will be the support for the pull out tray.
- Attach stop to tray
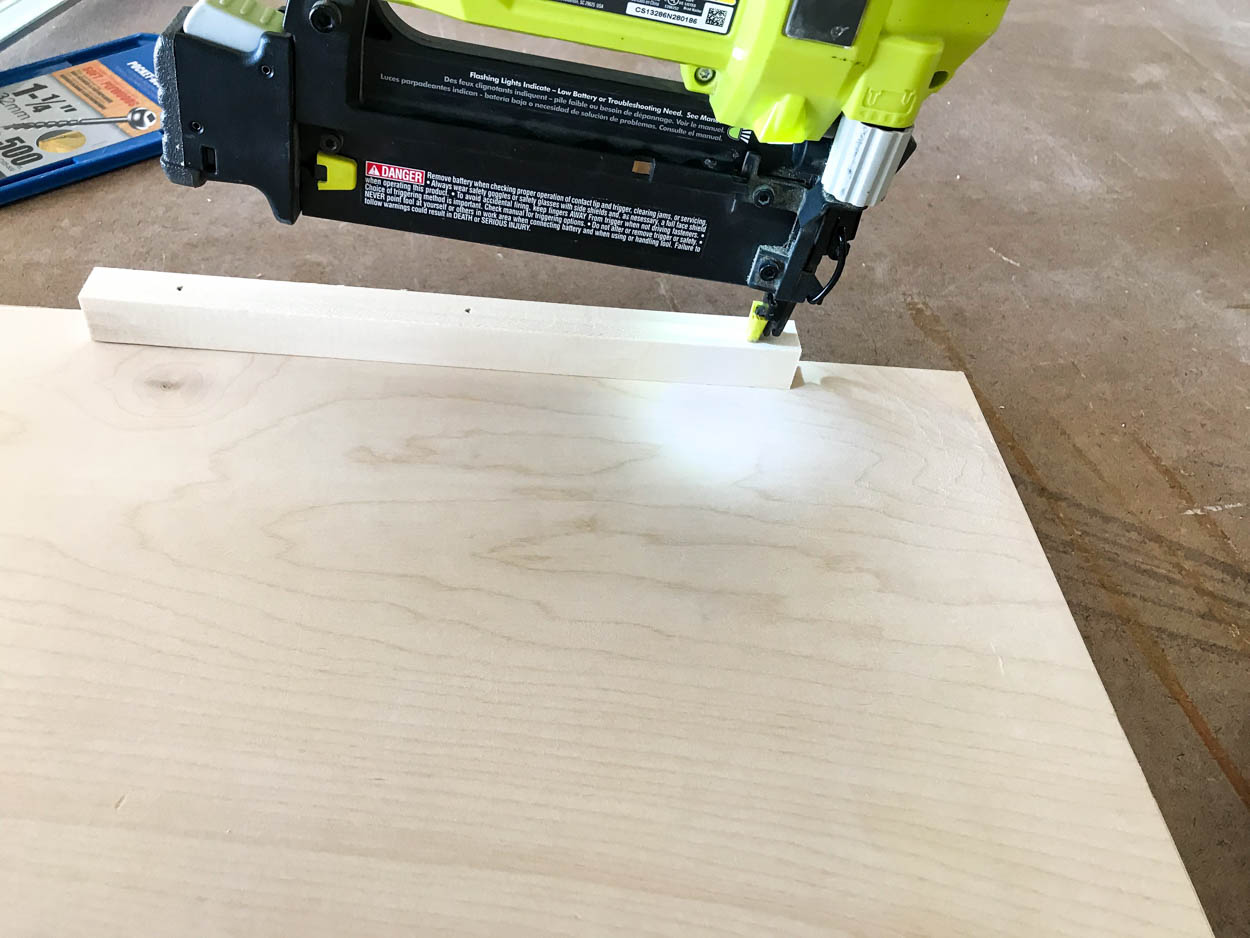
Attach the 3/4″ square dowel stop to the back of the tray, flush with the back edge. Use wood glue and 1 1/4″ brad nails to attach it.
- Build the drawer
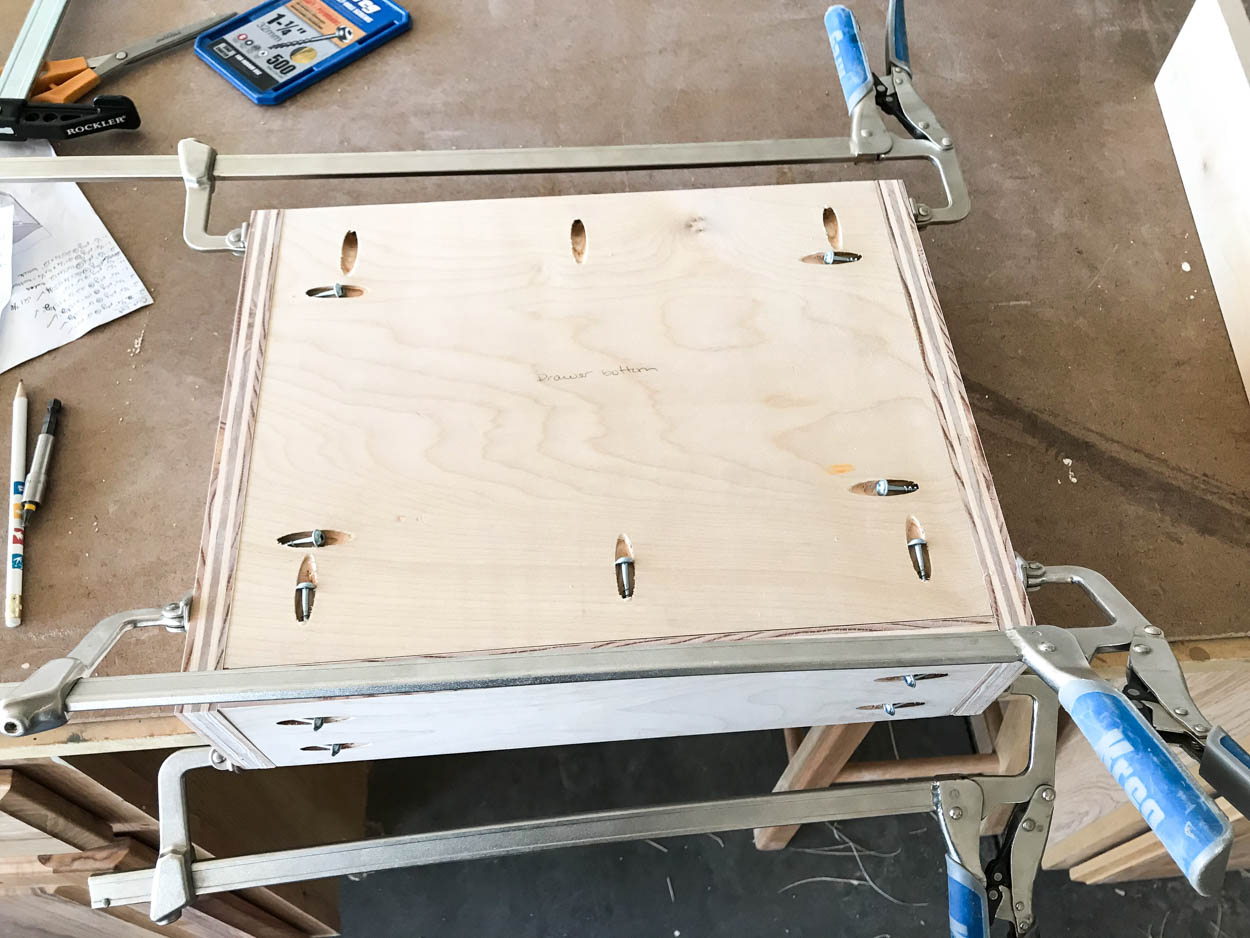
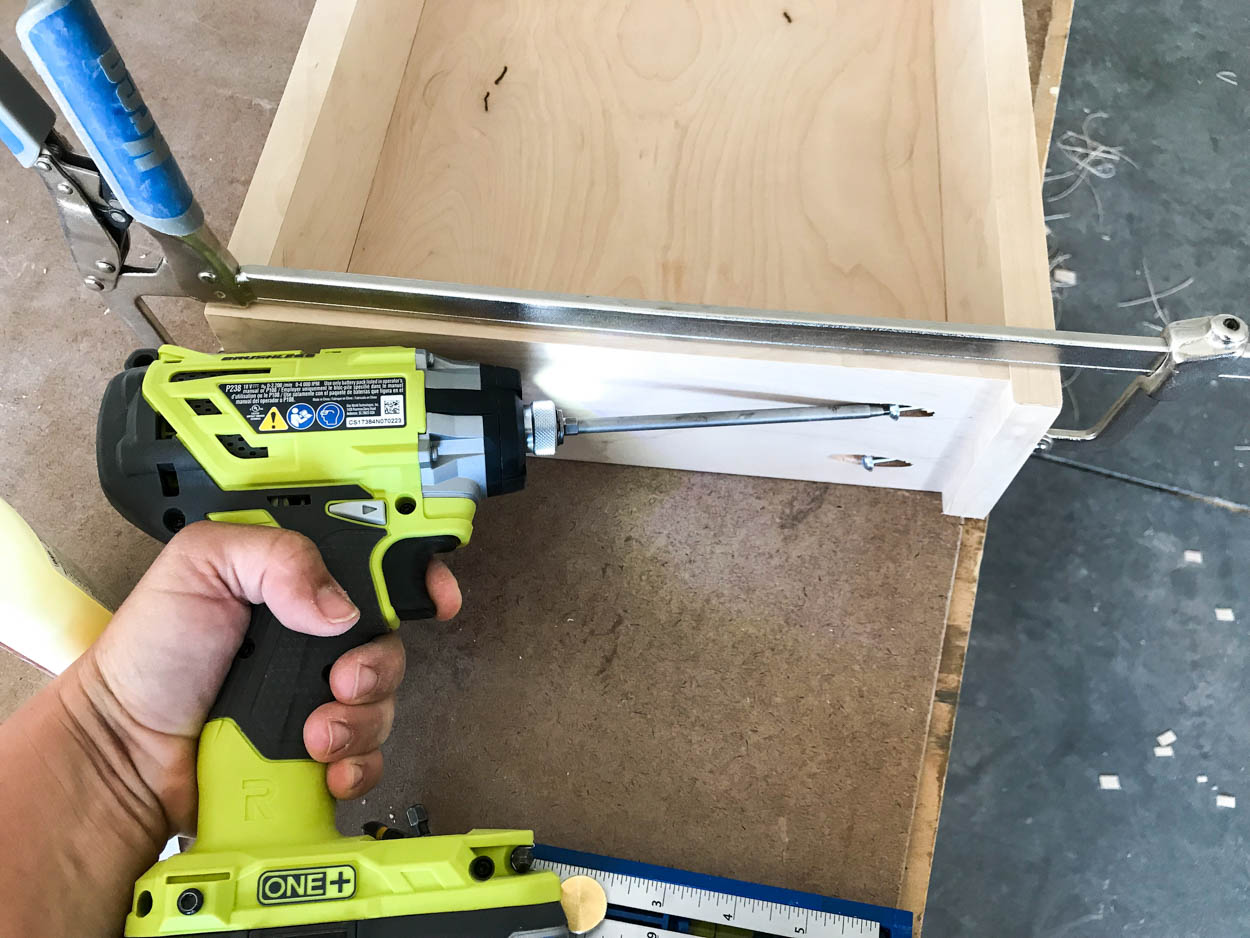
Drill 3/4” pocket holes into all four edges of the drawer bottom, the front ends of the drawer sides, and both ends of the drawer back. Glue and clamp the drawer pieces together and attach with 1 1/4” pocket screws.
- Attach drawer front
Center the drawer front so that there is 3/8” overhang on each side of the drawer. Glue and clamp in place, and attach with 1 1/4” pocket screws.
- Finish the nighstand
Paint or stain all of the nightstand pieces before final assembly.
- Attach the top to the nightstand
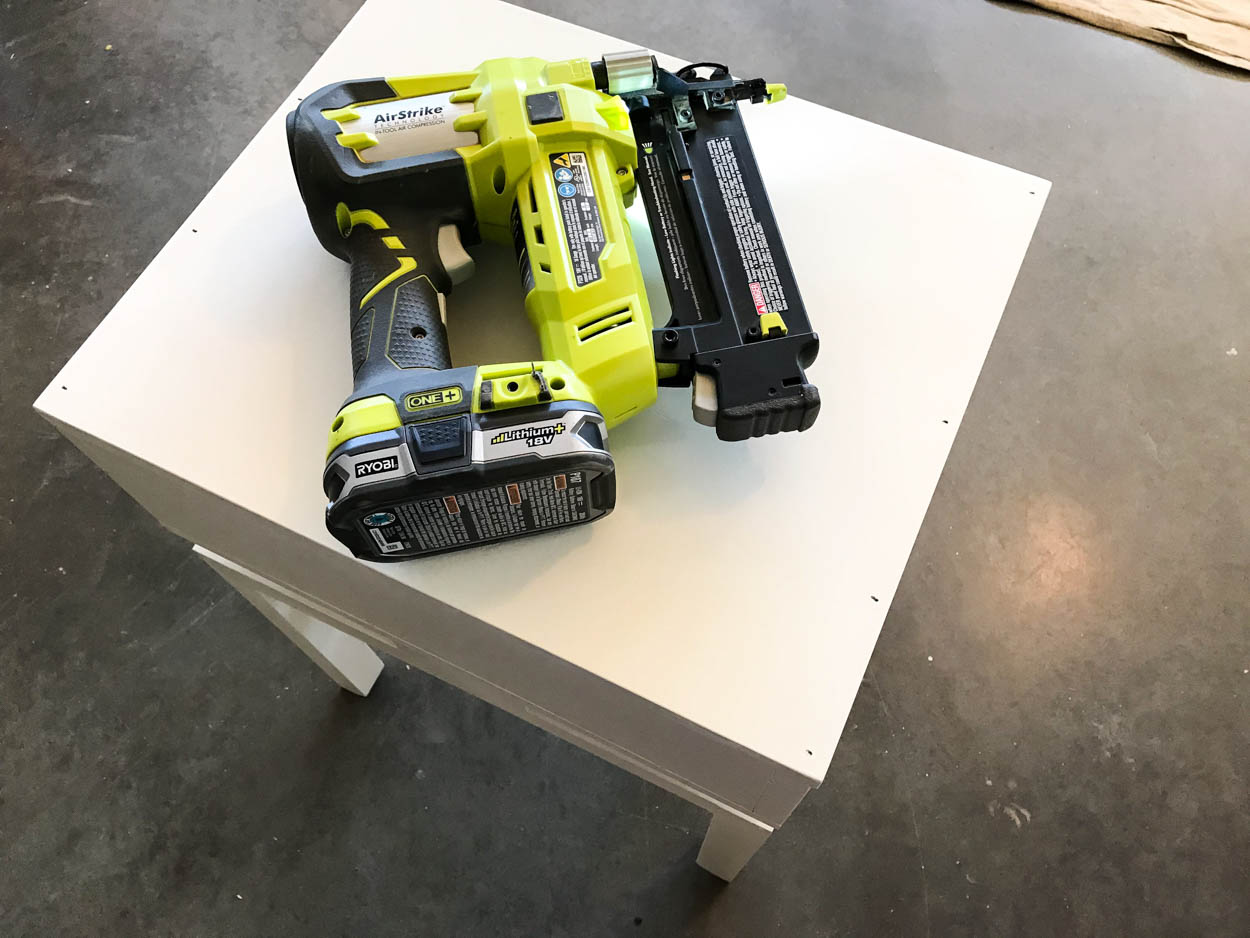
Set the pull out tray in place and then attach the top. Apply a bead of glue to the top edges of the sides and back, then line up the top and clamp. Attach with 1 1/4” brad nails.
- Fill nail holes
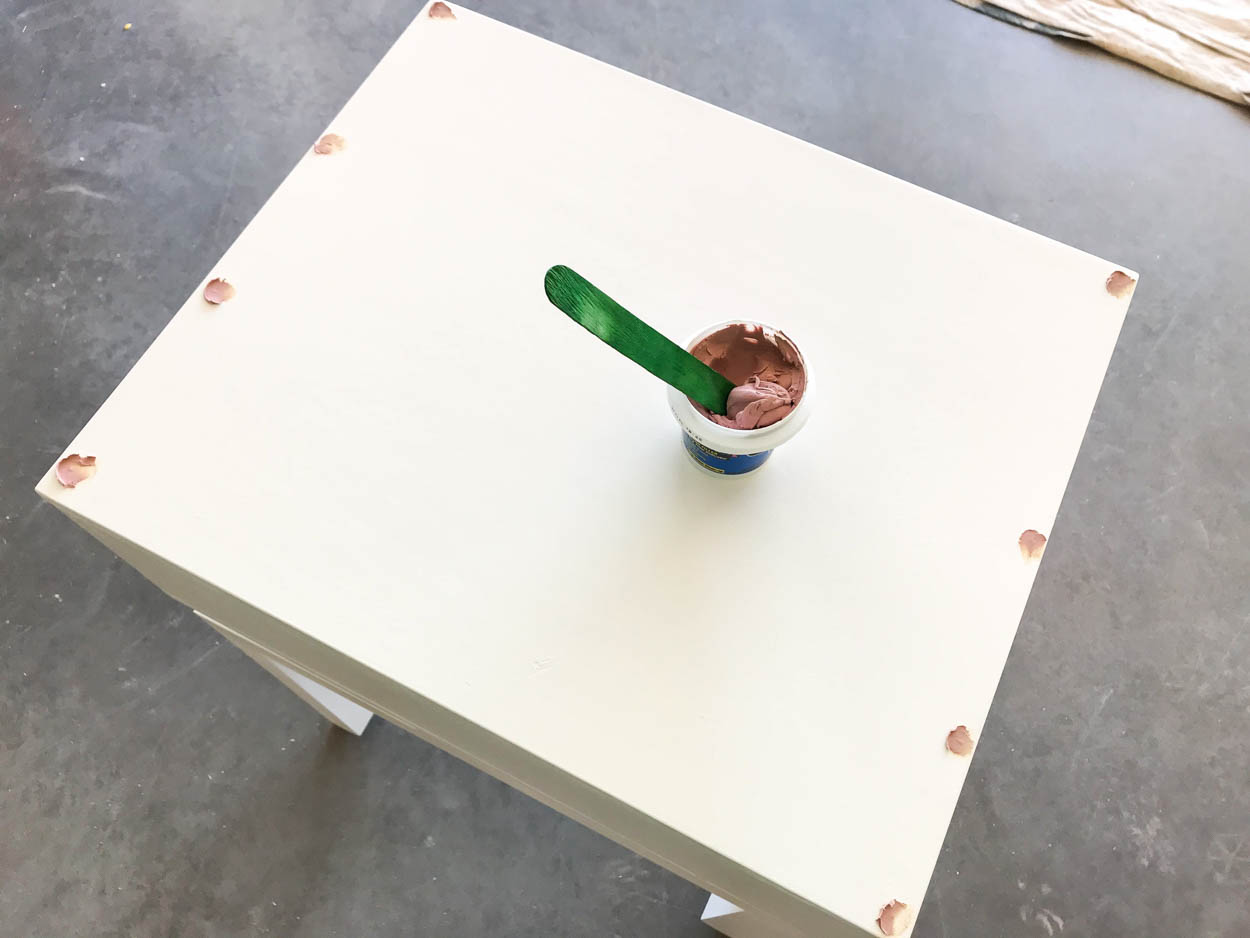
Fill the holes from the brad nails with wood filler and let dry. Sand smooth and touch up the spots with paint or stain. Install the drawer glides to to the drawer and slide into place.
DIY Nightstand with faux floating top
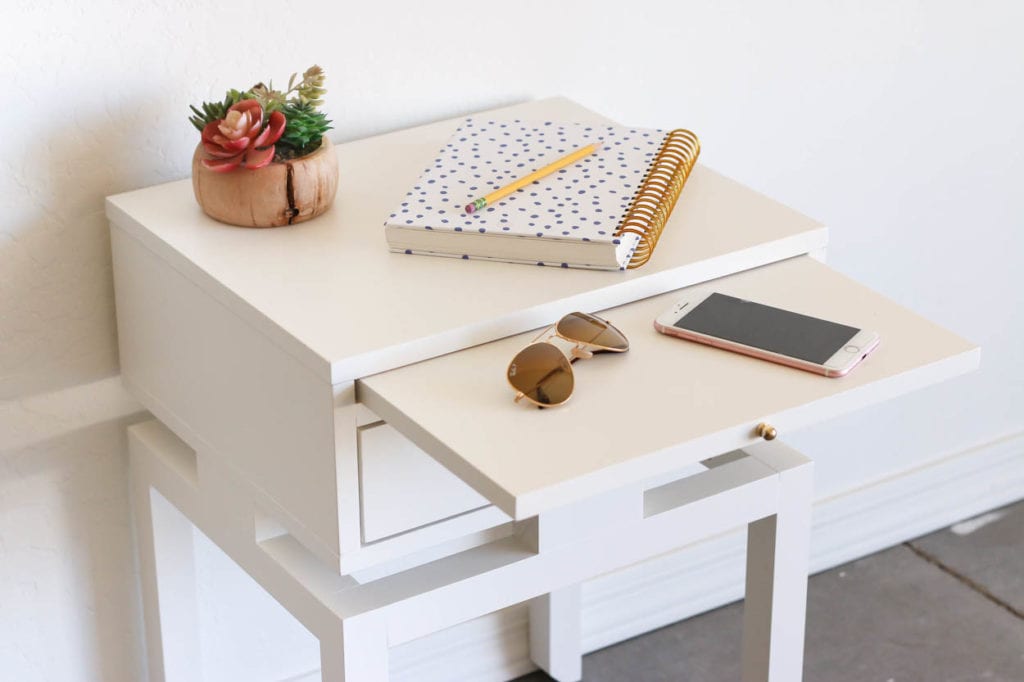

If you’d like to build this project, make sure to download the printable plans! I love hearing from you and also seeing your versions of my projects! If you’d like to drop me a line or share a photo of your project, just shoot me an email or tag me on social media!

Hello! I made this nightstand and it turned out beautifully. Thanks for the plans! One question – how did you install the knob for the pull out tray?
Hi Dacia,
I predrilled a small hole and then threaded the little knob onto the tray.