Learn how to build a modern coffee table with storage for under $100. The large drawer holds blankets, games, or whatever you like.
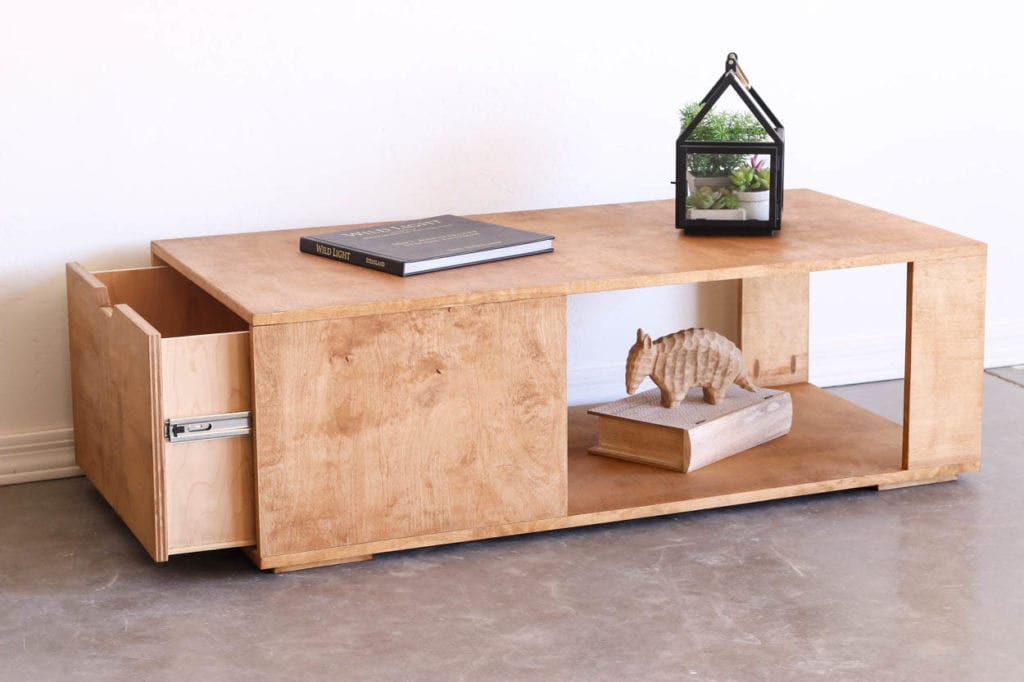
If you love hiding things in plain sight, this DIY modern coffee table with storage is perfect for you! The large storage drawer can hold blankets, games, or whatever you need!
At under $100 to build, this coffee table is a great project that won’t break the bank. It’s inspired by a coffee table from West Elm, which is no longer available on their website. It’s made entirely of plywood and is also a quick weekend build.

Be sure to download the printable plans for this project where you’ll find the full materials and cut list. While I did use a table saw for some of the plywood cuts, you can certainly build this with a circular saw and some sort of guide, such as the Kreg Rip-Cut or the Kreg Accu-Cut. You’ll also find that a trimming tool for veneer edge banding is extremely valuable for this project.
How to build a modern coffee table
- Cut the plywood
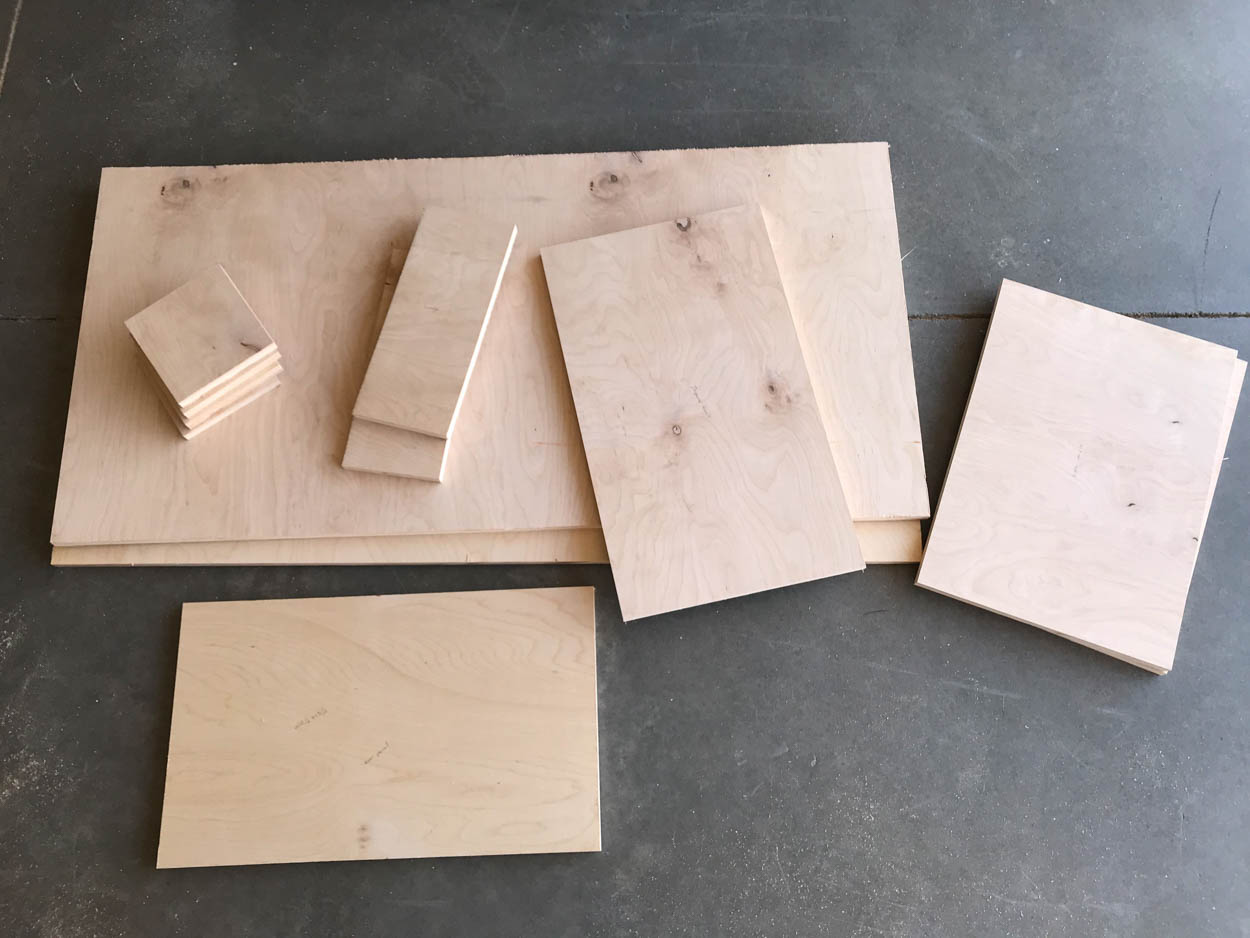
Cut all of your pieces to size, per the printable plans.
- Apply the edge banding
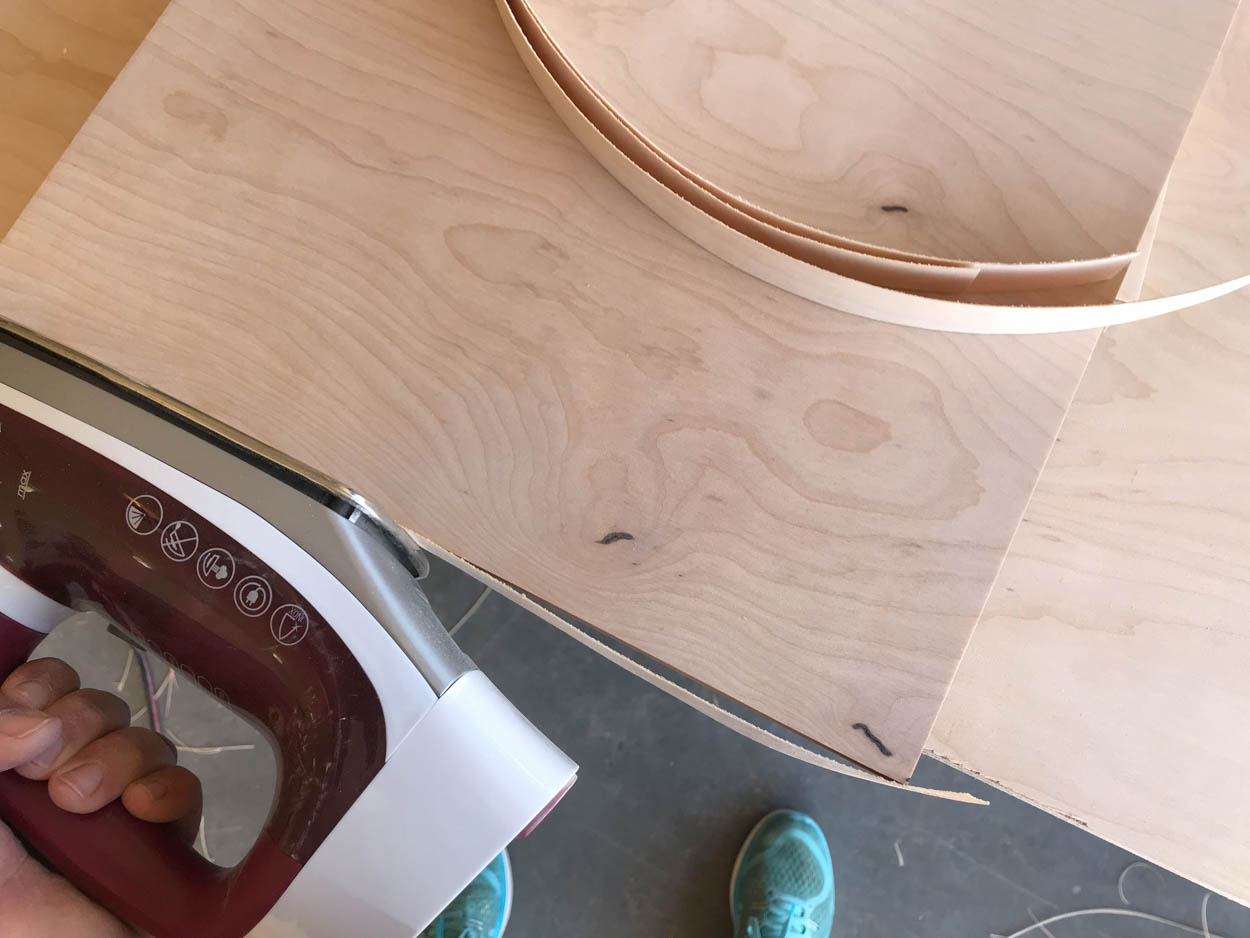
Heat up a clothes iron to the highest setting. Apply veneer banding to all four edges of the coffee table top, bottom, and feet. Also apply veneer banding to the front and back edges of the side panels, as well as the long edges of the legs. Trim the veneer banding with a trimming tool or razor knife. Sand all of the pieces smooth with an orbital sander and 220 grit sandpaper.
- Drill pocket holes
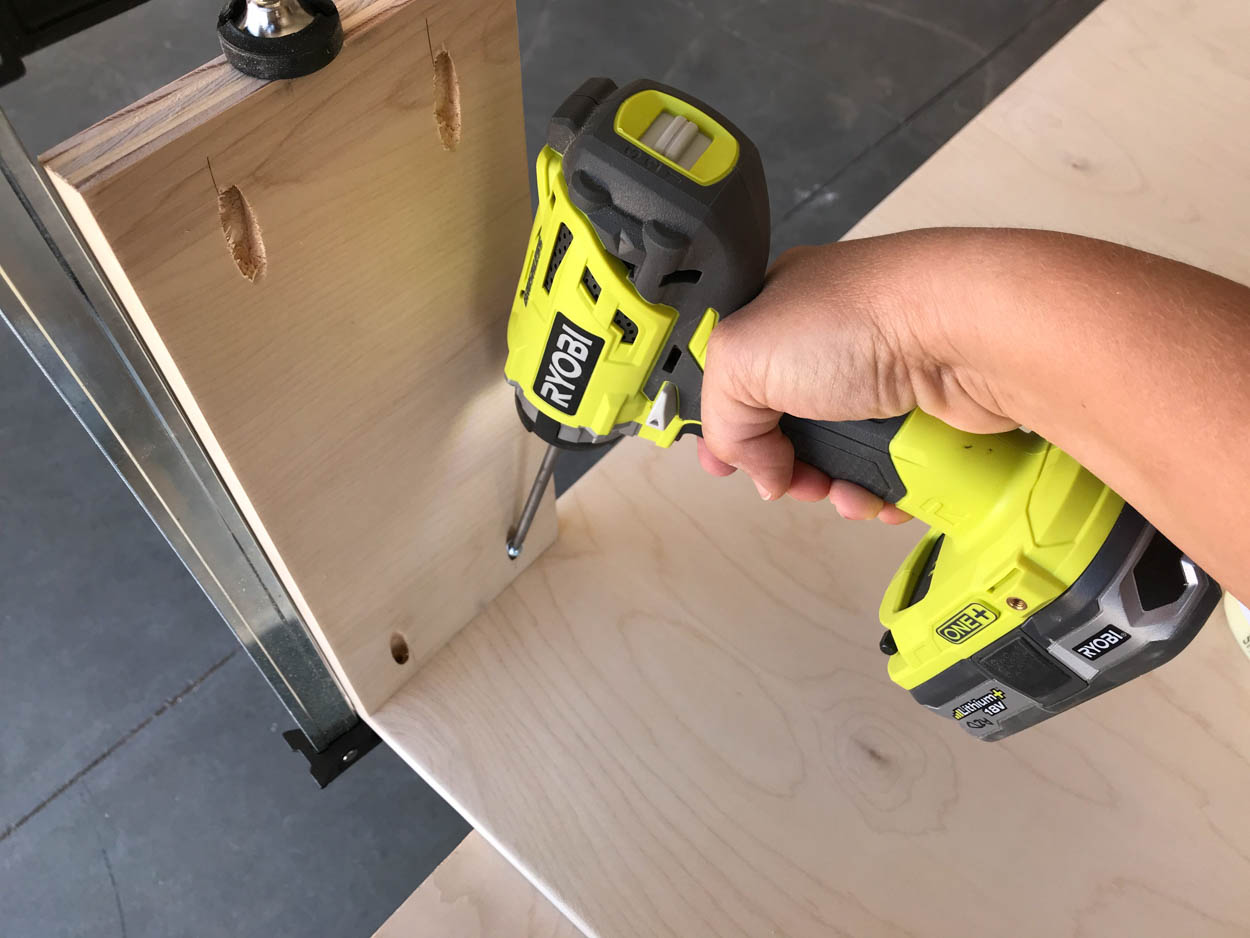
Drill 3/4″ pocket holes into the upper and lower edges of the legs and side panels.
- Attach legs
Using wood glue and 1 1/4” pocket screws, attach the legs and side panels to the coffee table bottom.
- Attach the coffee table top
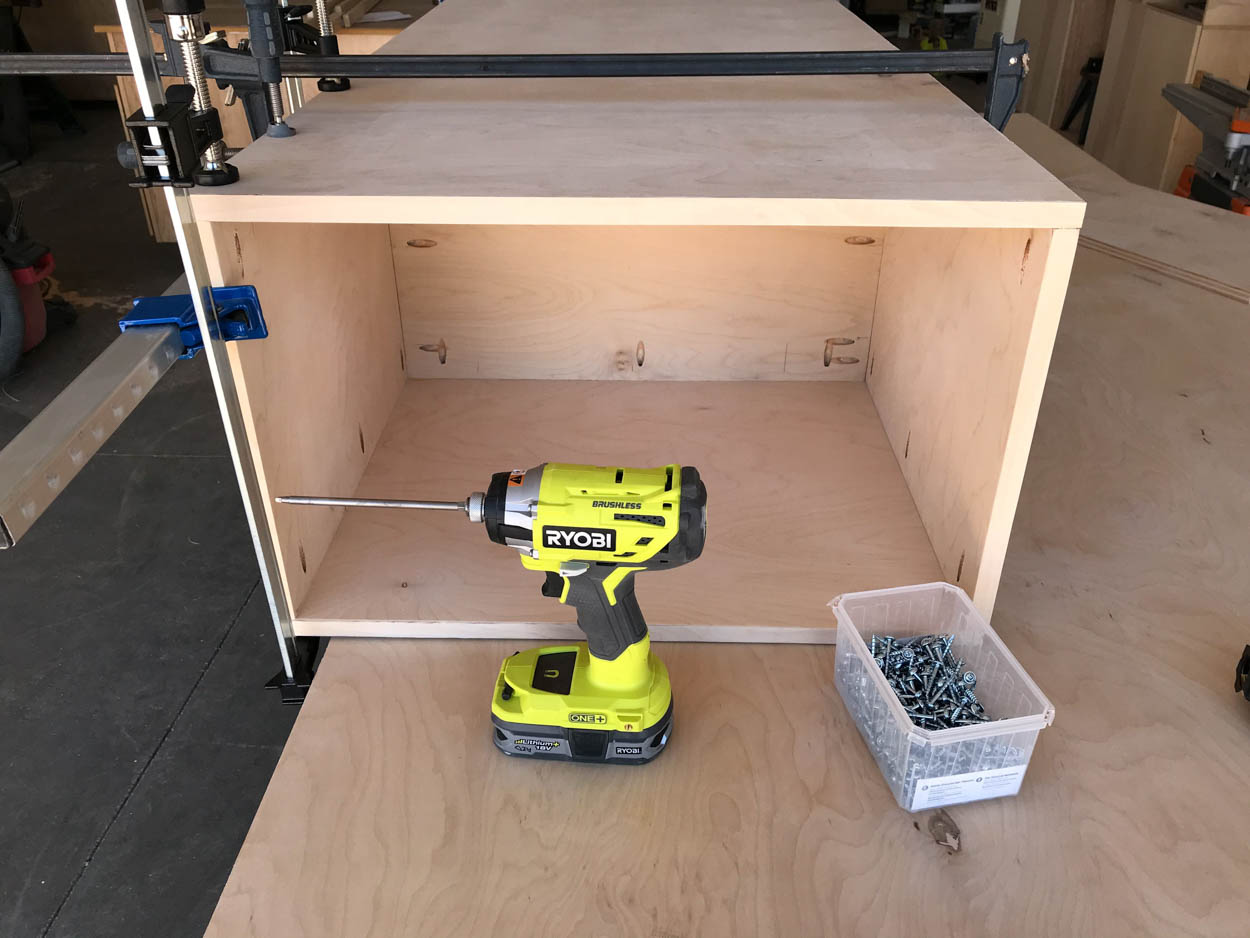
Using wood glue and 1 1/4” pocket screws attach the coffee table top to the legs and side panels, carefully clamping it into place and ensuring the panels and legs are square. Drill 3/4” pocket holes into all four edges of the rear panel. Install flush with the edges of the side panels and clamp into place. Secure in place with 1 1/4” pocket screws.
- Attach the feet
Measure and mark 1” in from the corners of the coffee table bottom. Apply wood glue to the feet and set in place so that they are 1” in from each corner edge. Nail in place with 1 1/4” brad nails.
- Build the drawer box
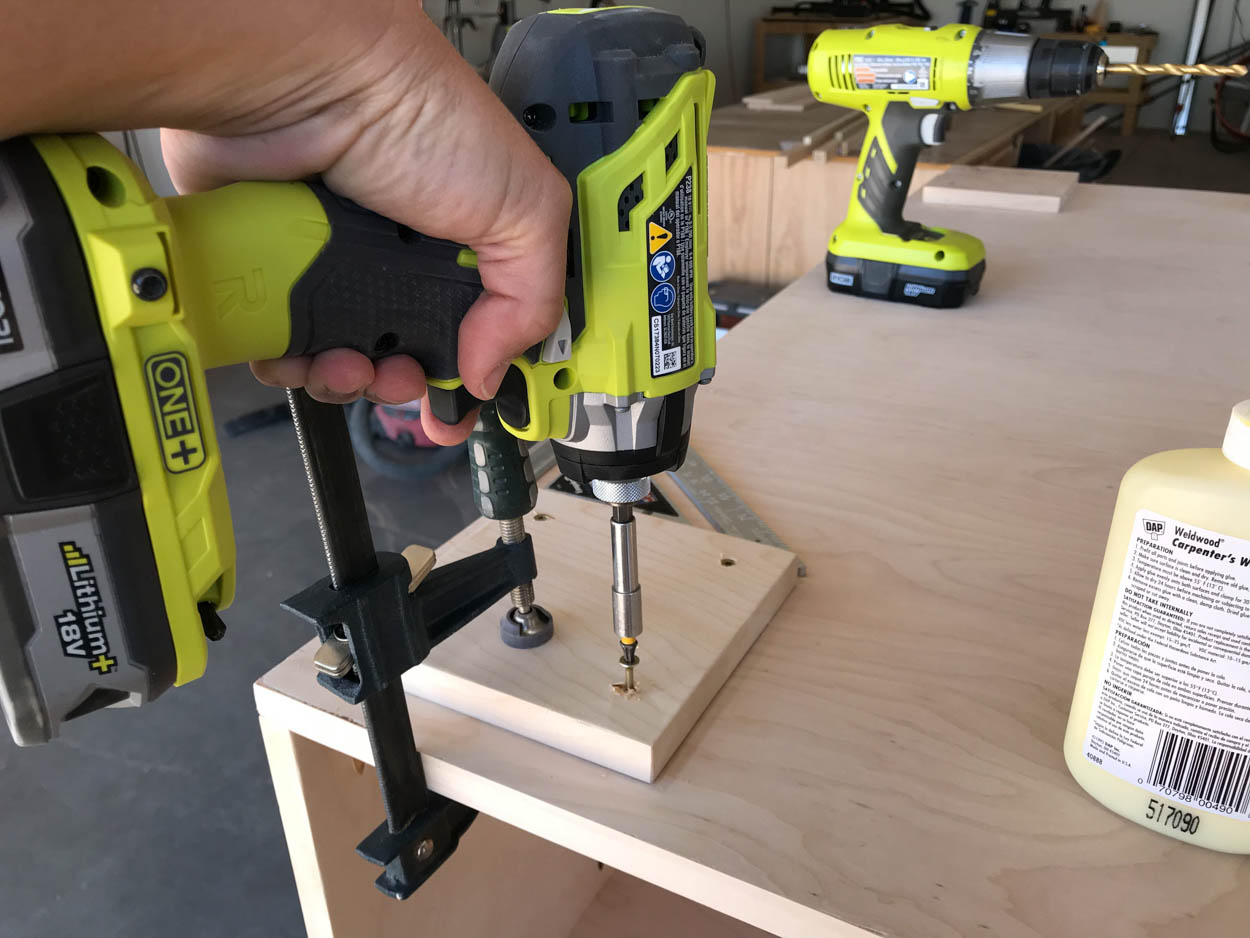
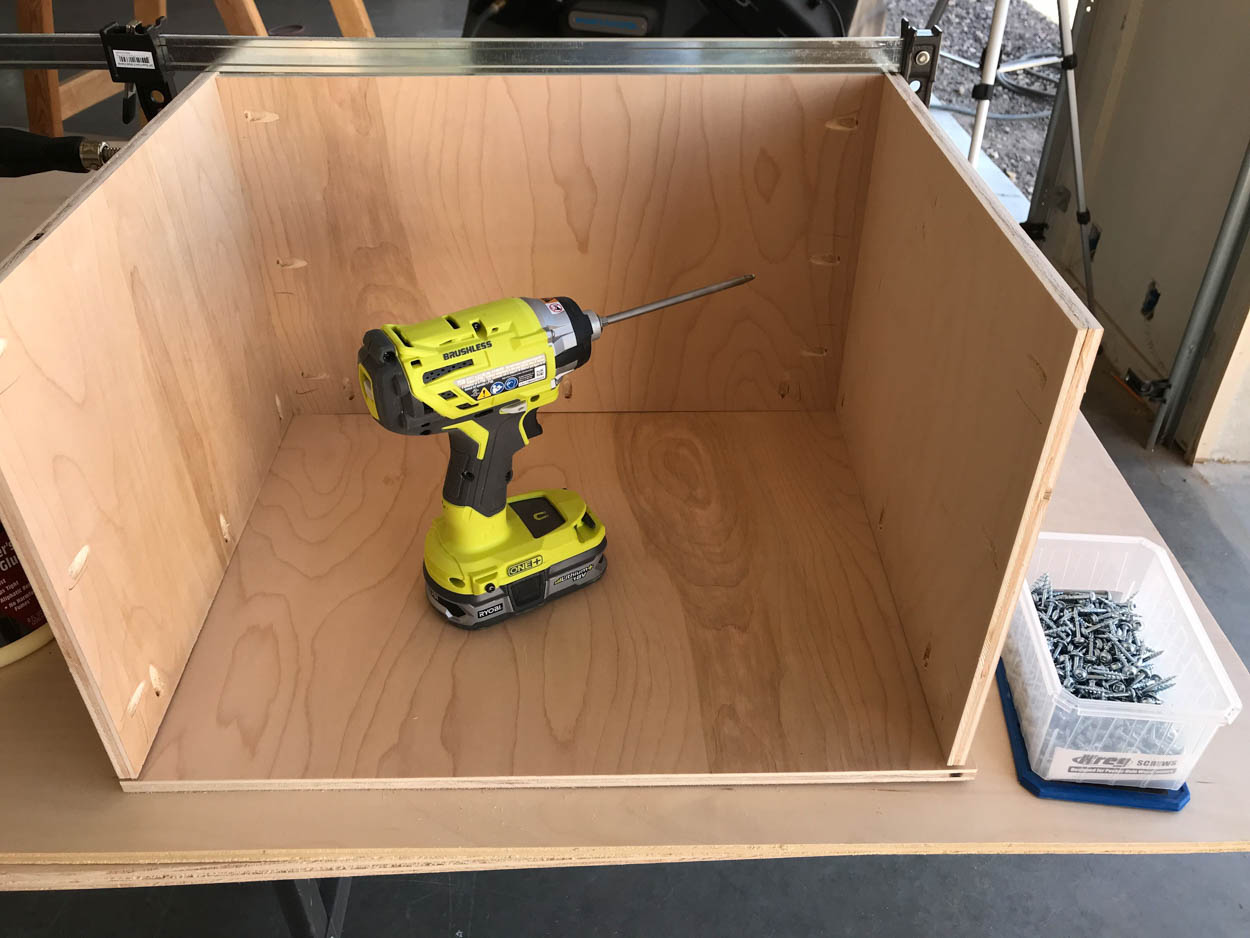
To build the drawer, drill 1/2” pocket holes into the bottom and front edges of the drawer sides as well as the bottom and side edges of the drawer back. Also drill 1/2” pocket holes into the front edge of the drawer bottom, to help in attaching the drawer front in the next step. Using wood glue and 1” pocket screws, attach the drawer sides to the drawer back. Apply a bead of glue to the edges of the drawer sides and back, then line up the drawer bottom. Clamp in place and attach with 1” pocket screws.
- Cut the notch for the drawer front
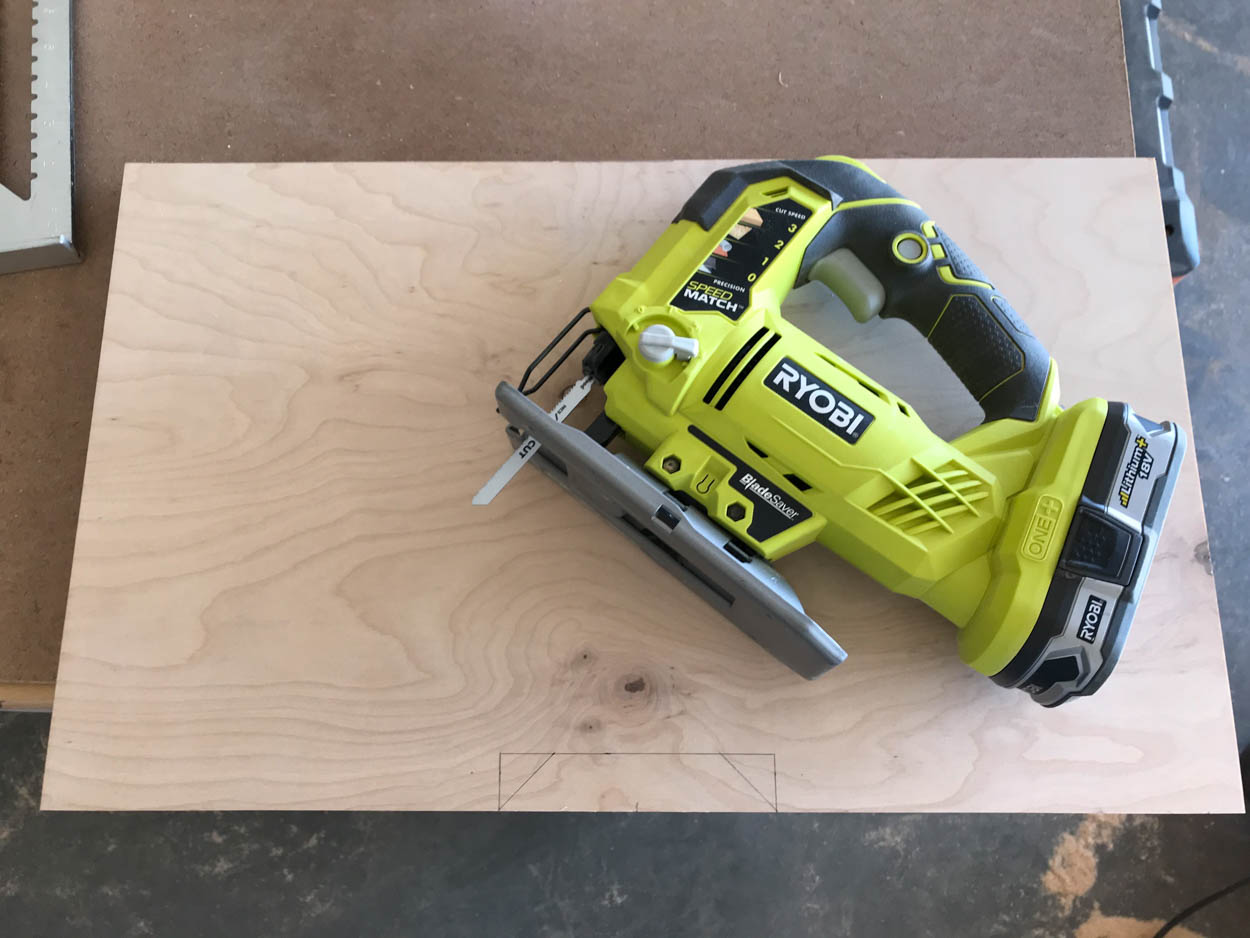
Measure and mark the notch for the drawer front, per the printable plans. Cut the notch out with a jigsaw.
- Attach drawer front
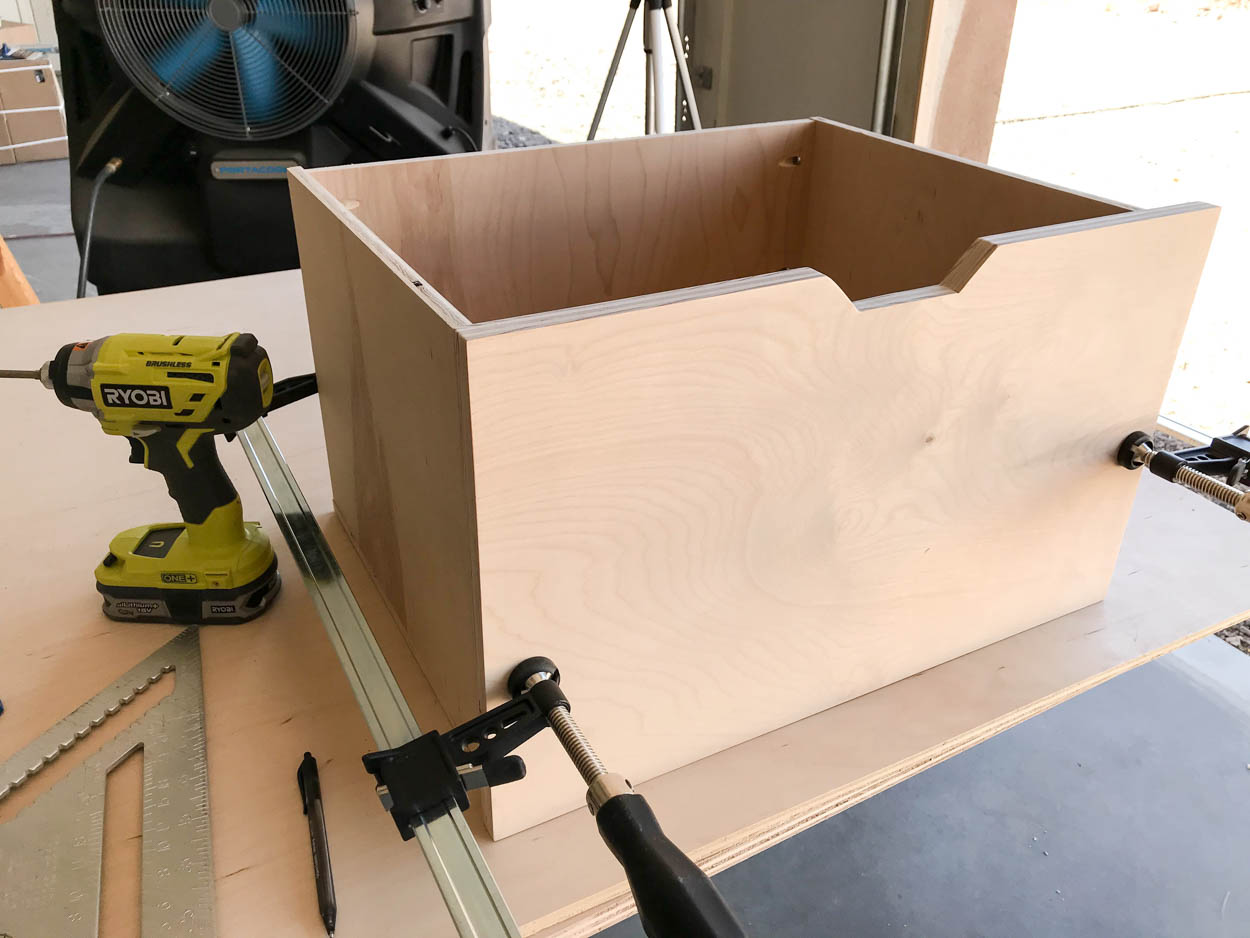
Using wood glue and 1” pocket screws, attach the drawer front to the rest of the drawer box.
- Attach drawer slides
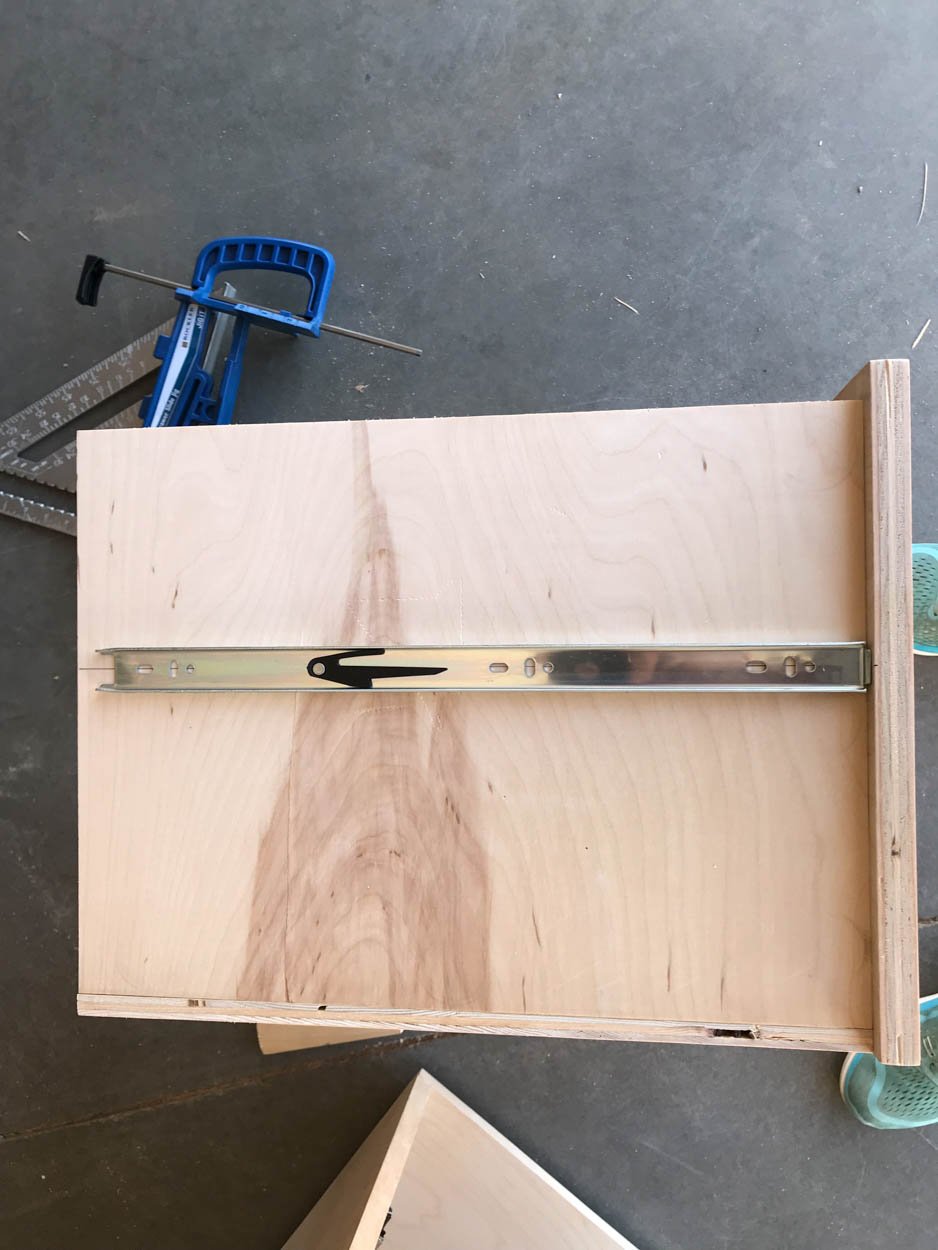
Attach drawer slides so that the drawer fits flush inside the coffee table with a 1/8” gap around all sides.
- Fill pocket holes
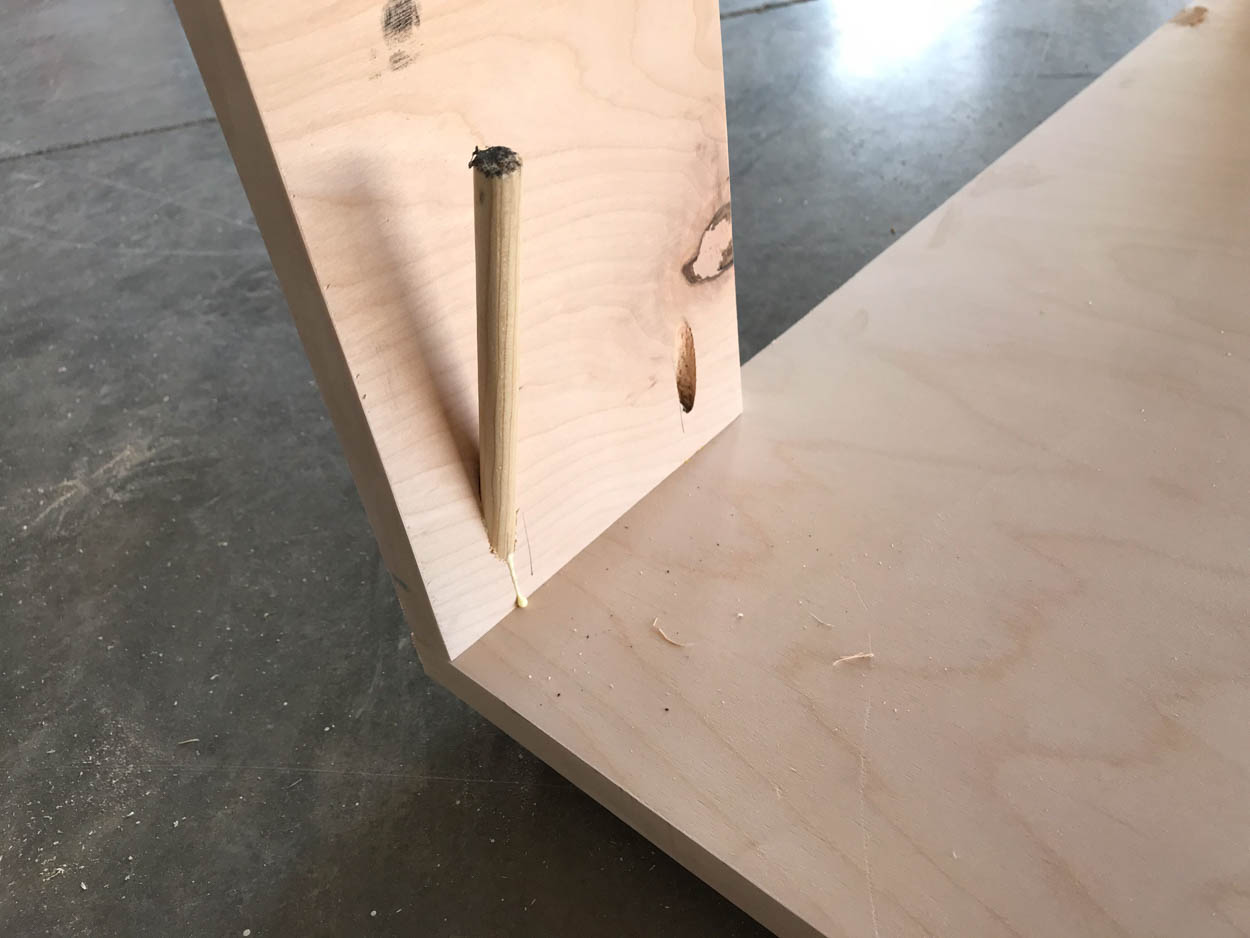
Use 3/8″ dowels or wood filler to fill the pocket holes in the legs of the coffee table. If using dowels, cut the dowels with a flush cut hand saw, then sand smooth.
- Finish coffee table
If needed, give the coffee table a final light sanding with 220 grit sandpaper. Finish as desired with paint or stain. If using stain, it is recommended to apply at least two layers clear coat. This can be polycrylic, polyurethane, or wipe on polyurethane.
DIY Modern Coffee Table with Storage Drawer
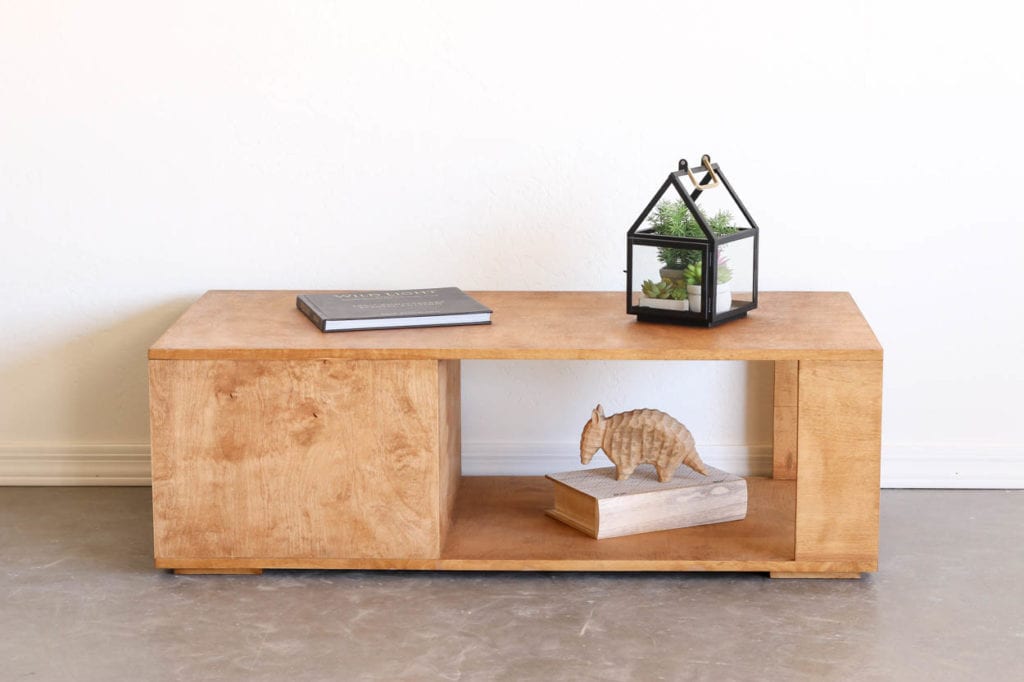
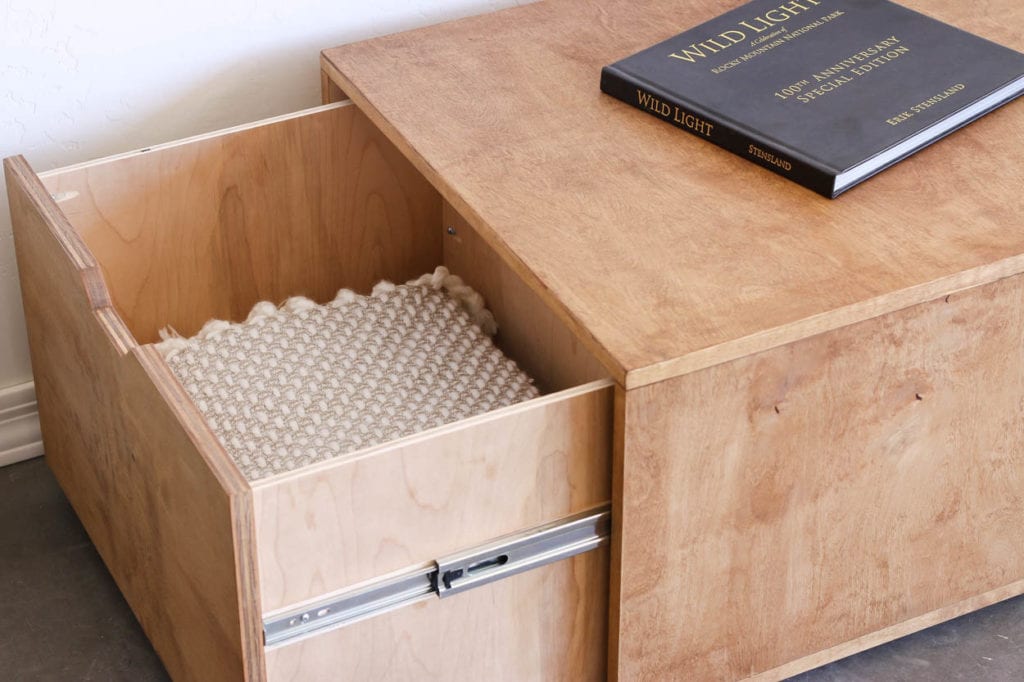
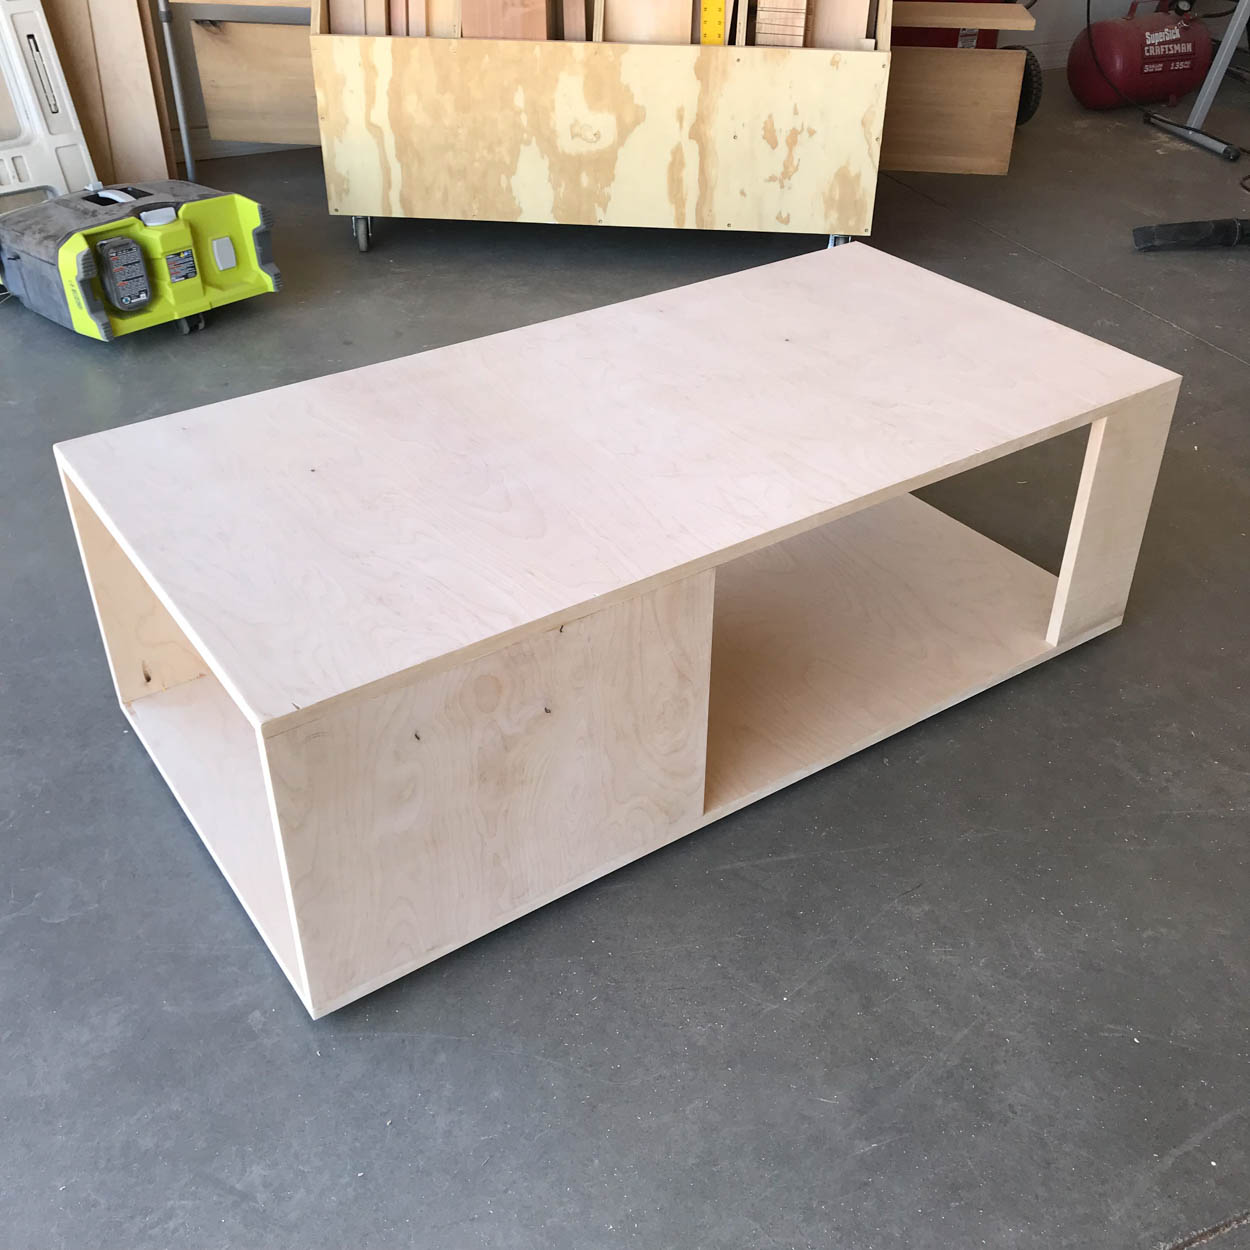
What I love about this table is how clean it looks, plus the ability to put books or decor on both the top and bottom of the table. The storage drawer offers a ton of space for whatever you’d like to tuck away and with the price tag coming in under $100 to build it, you can’t beat the price!
If you love the look of the raw edges on the plywood, you can even save a step (and a few dollars) and skip the veneer!
Don’t forget to download the printable plans to build this project! If you build this, I’d love to see it! Feel free to email me (katie@addicted2diy.com) or tag me on social media when you share yours!


This table looks great and I would love to make it but the link to the “printable plans” takes me to an amazon listing for a tool. I found a PDF from the Ryobi website for the same project but the PDF is so low resolution that one can’t read the measurements for the cuts.
If you fix the links or post a better PDF on Ryobi I will happily try to build this table and report back. Thanks!
Hi Darren,
My apologies for the delayed response. Thank you so much for letting me know that the link was wrong. I’ve updated the post and I’ve also included the link to the plans here: https://addicted2diy.com/wp-content/uploads/2018/10/Modern-Coffee-Table-for-Under-100.pdf
I agree with Darren. I wanted to start making this table this weekend. I looked a the plans and the measurements on the rendered are not legible. If you could repost a new PDF that would be awesome. I too will share my results.
Hi Brian,
I will update the plans to include a better quality PDF. Thank you for bringing this to my attention!