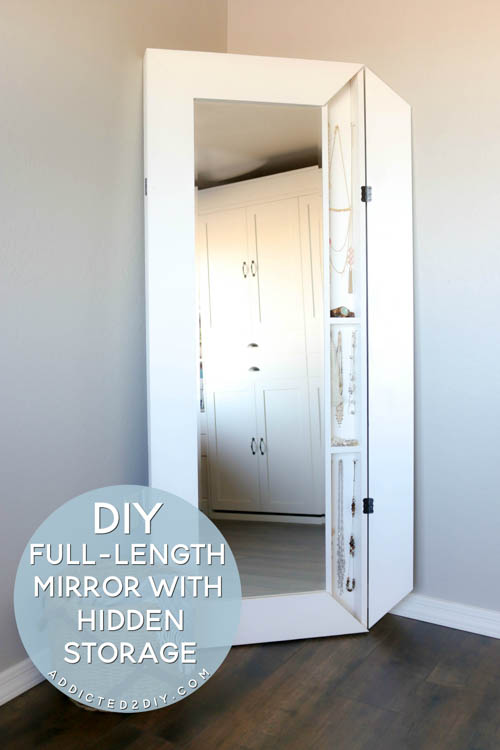
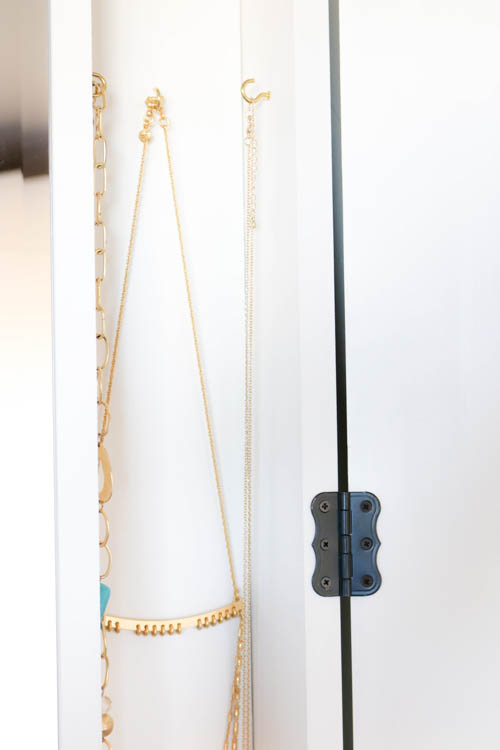
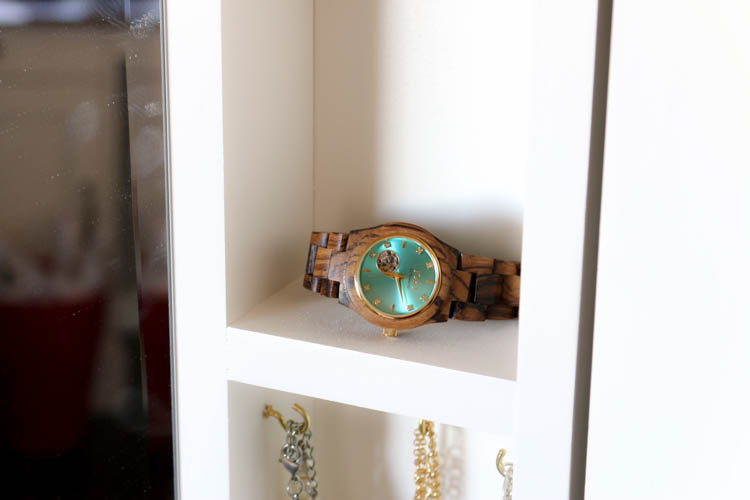
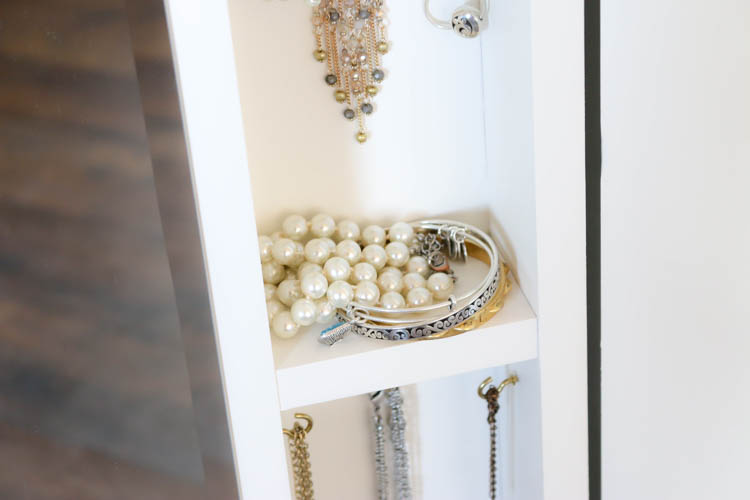
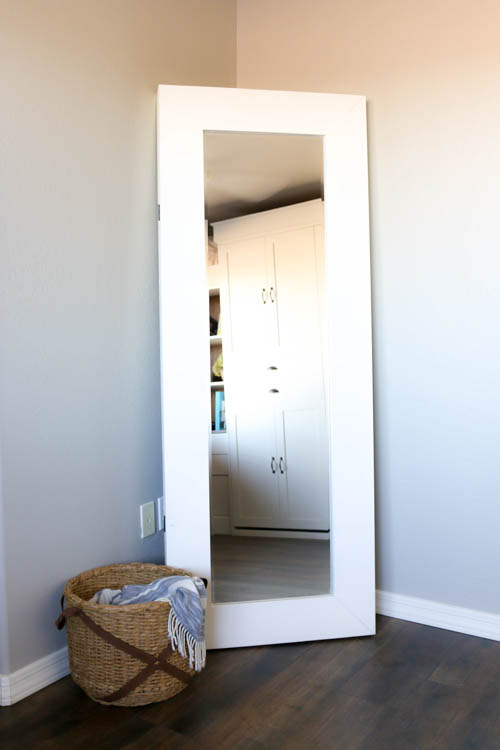
I know I’ve said this before, but I love projects that pull double-duty. This DIY full-length mirror is the perfect example of that! Not only do you get a full length mirror, but you also get hidden storage for things like jewelry.
I have always wanted a full length mirror, but I hated seeing the price tags on them. I knew I could easily build one for a fraction of the price, and have it fit perfectly with my home decor. Hopefully I’m not the only one, but prior to building this, I used to stand on a step stool in front of my bathroom mirror in an attempt to get a full-length view of what I was wearing. There were plenty of times I almost fell off of said step stool. Usually when I was trying to match a dress to heels.
When designing this DIY full length mirror, I knew I wanted it to have more than one purpose. Given that I was having issues with trying to keep my jewelry organized, I knew just what I wanted to do with the mirror. Give it hidden jewelry storage!
How To Build A Full Length Mirror
Before getting started, make sure you download the printable plans to get the materials list and cut list for this project.
STEP 1
Cut all of your pieces to size per the measurements in the printable plans. I used select pine for this project, but you can use whatever type of wood you like. Select pine is free of knots, which makes for a very nice surface for painting and you won’t have to worry about the tannins in the wood bleeding through wherever there are knots.
STEP 2
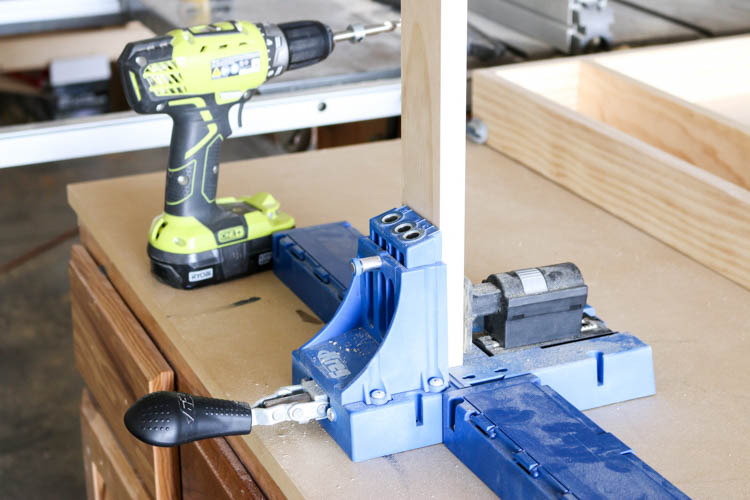
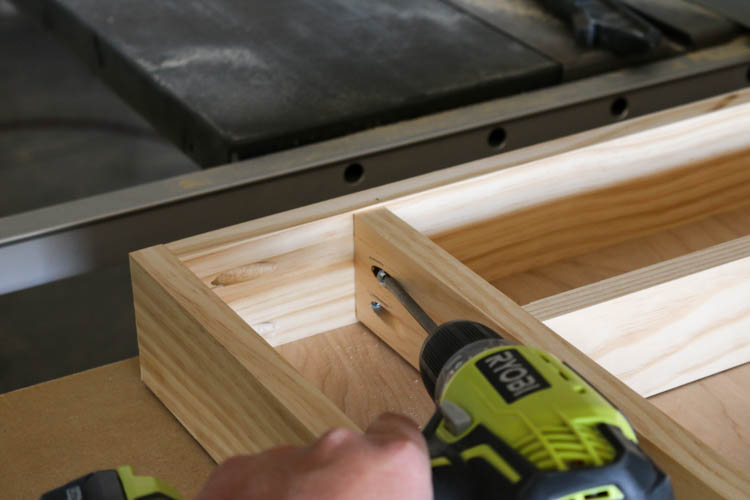
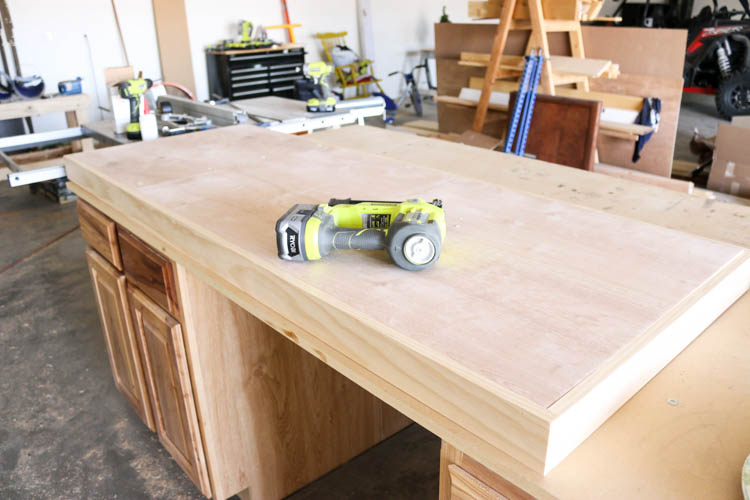
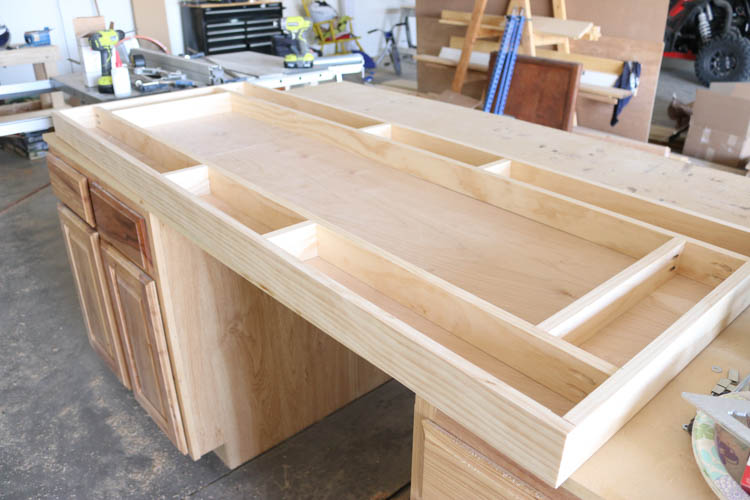
Once all of your pieces are cut and pocket holes are drilled, it’s time for assembly. I used 1 1/4” pocket screws and wood glue to attach all of my pieces. I started by assembling the outside frame of the mirror, then attached the 1/2” plywood back.
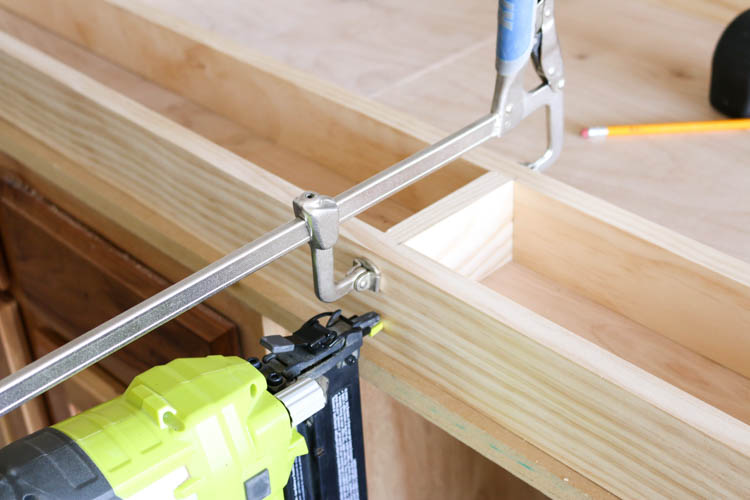
The plywood back sits flush inside the frame and is attached with 1 1/4” brad nails. The inner frame pieces then sit on top of the 1/2” plywood. There should be 4” of space between the inner and outer frame pieces.
STEP 3
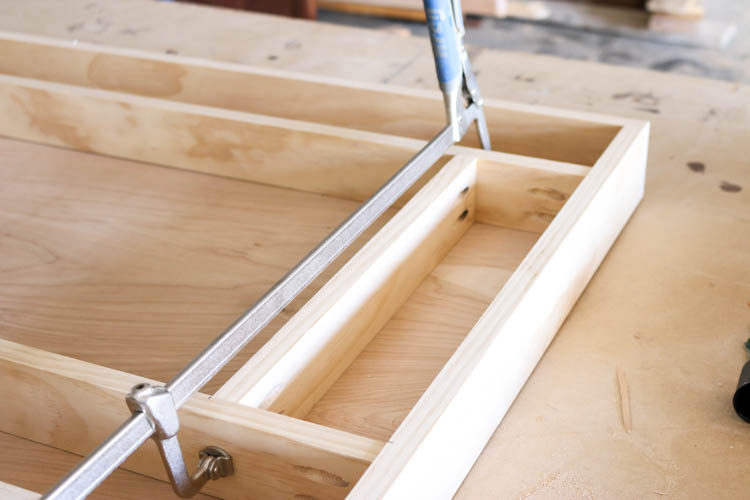
Once the vertical inner frame pieces are attached, clamp the upper and lower inner frame pieces in place. Again, there should be 4” of space between the inner and outer frame pieces. Attach the pieces with wood glue and 1 1/4” pocket screws.
STEP 4
Once the inner and outer frames are assembled, cut 4” pieces to for the shelves/dividers. Place as desired (I placed two on each side, spaced evenly), and nail into place with 1 1/4” brad nails.
STEP 5
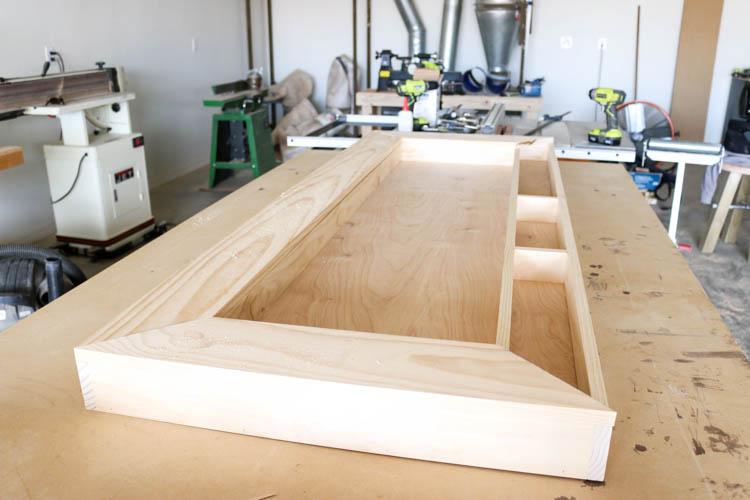
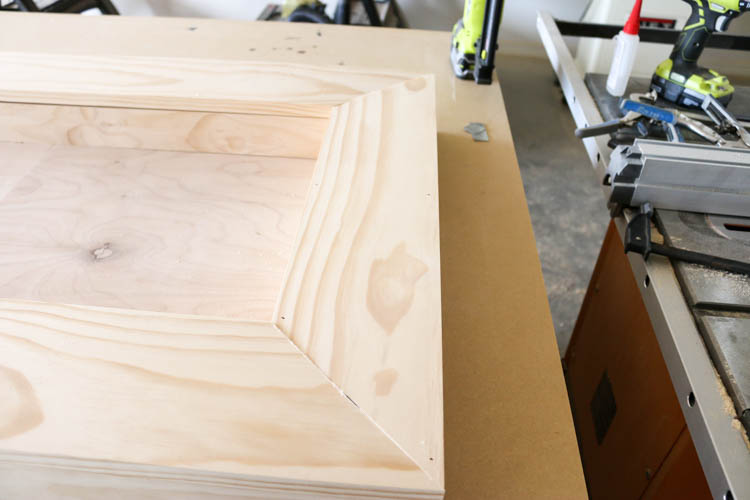
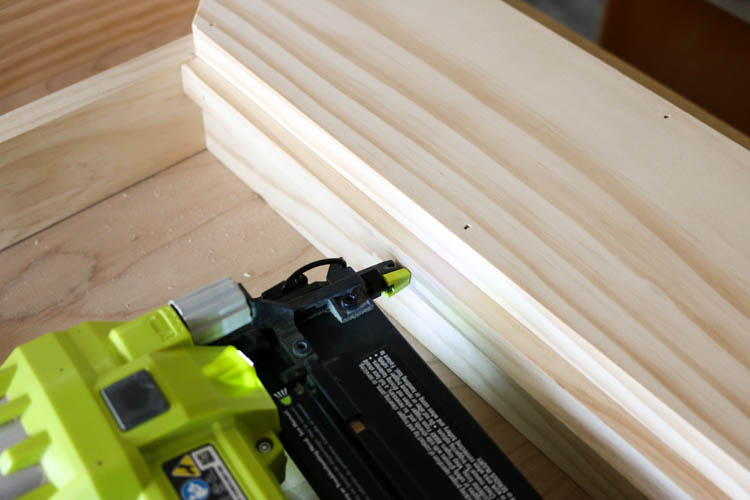
Once the main body of the full length mirror is assembled, it’s time to add the face pieces. The top and bottom pieces are nailed in place. Measure and cut to size the top and bottom pieces, cutting them on a 45 degree angle. Glue and nail them in place, flush with the top and bottom (and corners) of the mirror frame using 1 1/4” brad nails.
STEP 6
Once the top and bottom face pieces are added, the doors can be attached. Measure and cut to size the doors for the mirror. Install simple hinges such as utility hinges approximately 10” from the top and the bottom of the mirror. To get the mirror doors to sit flat against the frame, it is best to mark and chisel out the area where the hinges will be attached. I didn’t do this, due to mine being a little more decorative and I really wish I had. Attach the doors to the frame using the screws included with the hinges. Note that you will be removing the doors prior to finishing. They are attached in place to determine where the holes will be for the screws.
STEP 7
Once the doors are in place, nail the 1/2”x3/4” strips in place for the mirror to be attached. Use wood glue and 1” nails to attach these. They should be flush with the top of the mirror frame (not the doors).
STEP 8
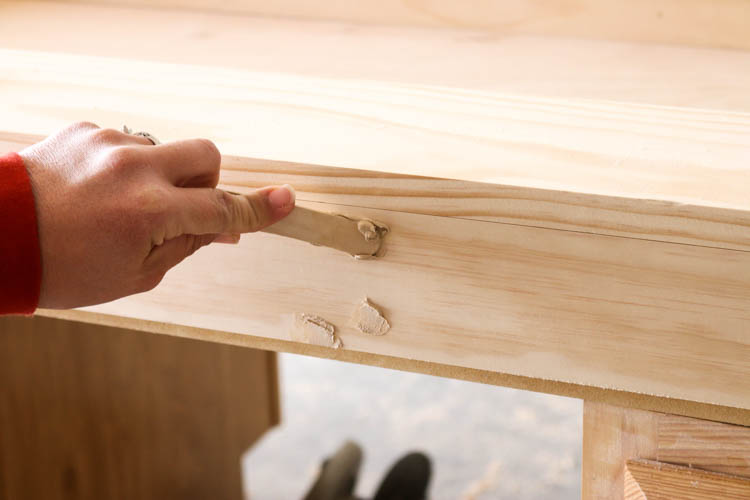
Once the mirror frame is fully assembled, fill all of the nail holes with wood filler. Sand with 220 grit sandpaper.
STEP 9
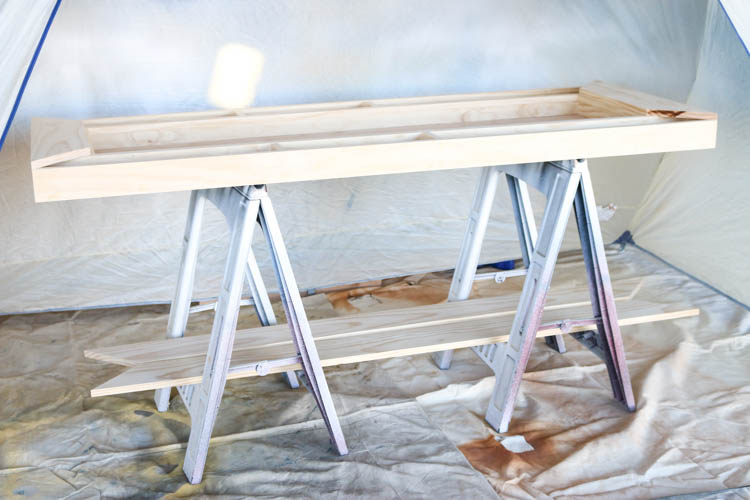
After sanding, finish as desired. I painted mine white in Swiss Coffee in a satin sheen. Once the project is finished, reattach the doors. Attach the mirror with adhesive, such as DynaGrip All-Purpose adhesive.
STEP 10
Attach small hooks where desired to hang necklaces.
I absolutely love the finished mirror. Now I have a place to store jewelry and I don’t have to worry about potentially falling and breaking anything while standing on a step stool to see my whole outfit in the mirror. Has a full length mirror been on your list? Why not build one, rather than buy it! You’ll save a ton of money and you’ll get exactly the look you want. Be sure to pin this for later inspiration. Also, don’t forget to download the printable plans for this project!

Beautiful Project! Where did you get the actual mirror itself?
I got it at Home Depot:)