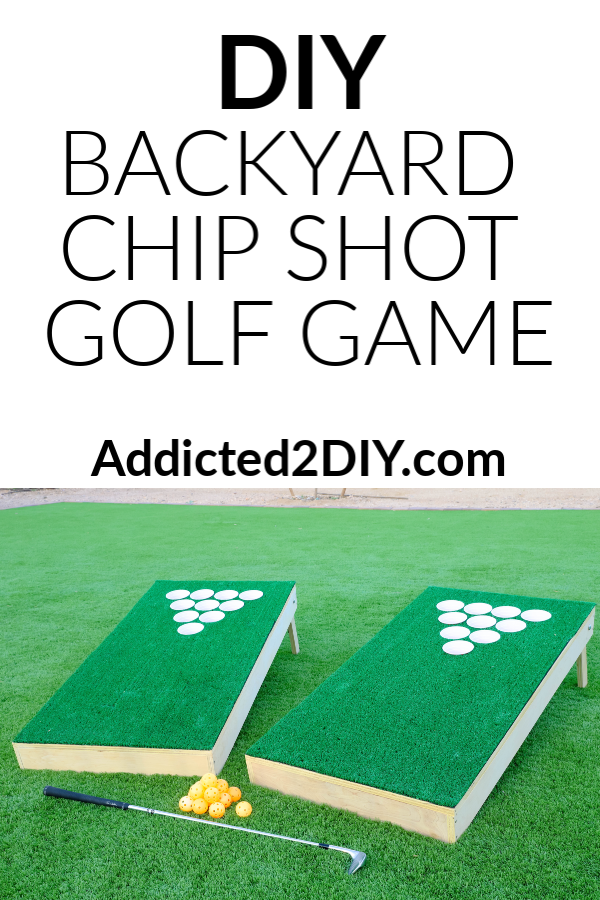
Learn how to make your own DIY chip shot golf game. It’s a fun backyard game that you can enjoy with the whole family. For the grown-ups, you can even turn it into a fun game of beer pong golf!
It’s time once again for the monthly DIY challenge! This month’s challenge was to create a DIY game. With summer just around the corner and kids being home from school, it’s the perfect time to come up with new games for everyone to enjoy together. Be sure to check out all of the other DIY games that everyone participating this month has created at the end of this post!
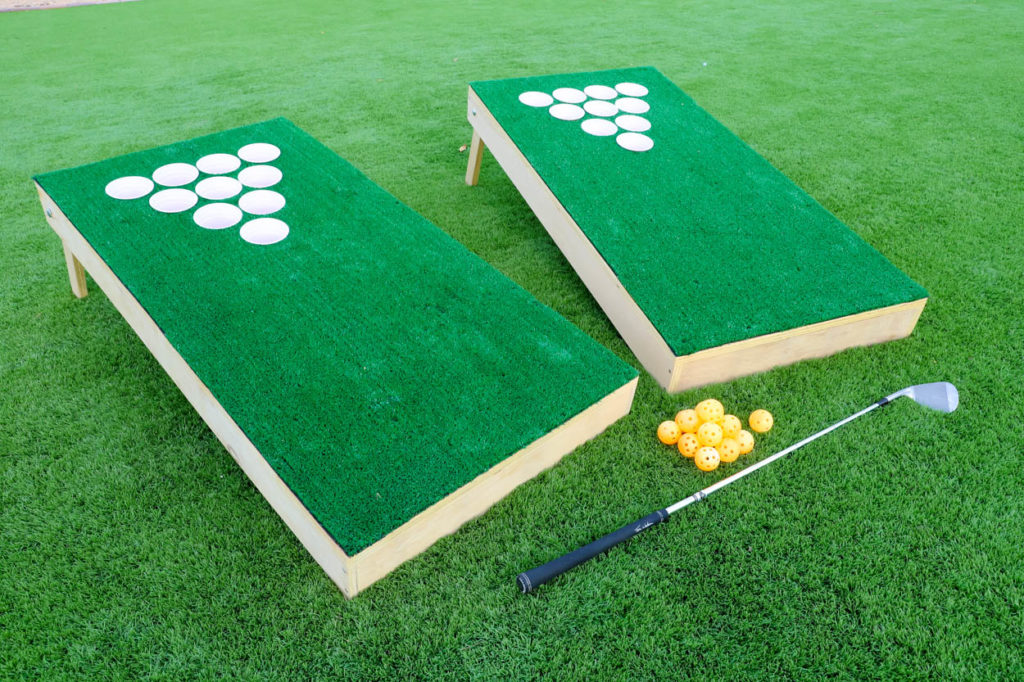
Today, I’m going to show you how to make a fun game that adults and kids alike will enjoy! This DIY backyard chip shot golf game is a combination of corn hole and golf and so much fun to play. I’ll be showing you how I built it in a step by step tutorial, as well as printable plans and a YouTube video, so follow along!
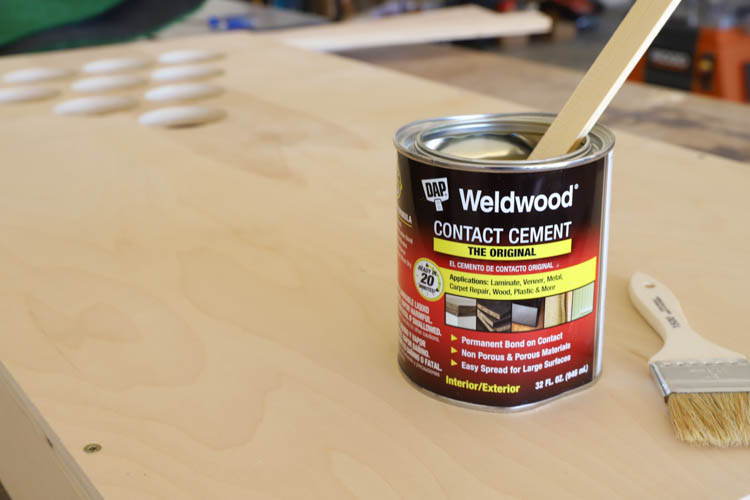
I’m partnering with DAP Products to bring you this tutorial today. I’m using DAP Weldwood Carpenter’s Glue and Contact Cement to help me assemble this project.
Watch The YouTube Video
I know reading step-by-step tutorials isn’t for everyone, so I’ve also created a YouTube tutorial where you can see how I made this chip shot golf game. Subscribe to my YouTube channel so that you’ll also be alerted when new videos are posted.
How To Build A DIY Chip Shot Golf Game
Below, I’m going to be going through the step-by-step tutorial for how to build this DIY chip shot golf game. Download the printable plans for the full materials and cut list, plus the rules for the game.
Step 1
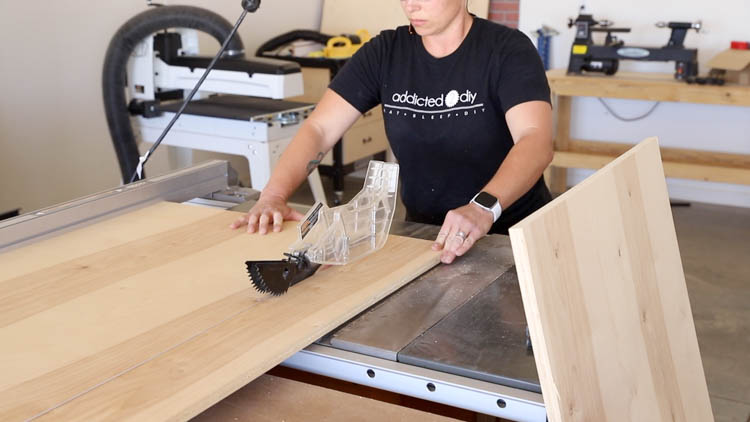
Cut all of your wood down to size. In my plans, I list 24″ x 48″ plywood and 1×4 boards in the materials. I happened to have a healthy amount of leftover plywood from other projects, so I just used that for the entire game board. If you have scrap leftover, definitely feel free to use that and cut it down to the dimensions in the plans.
Step 2
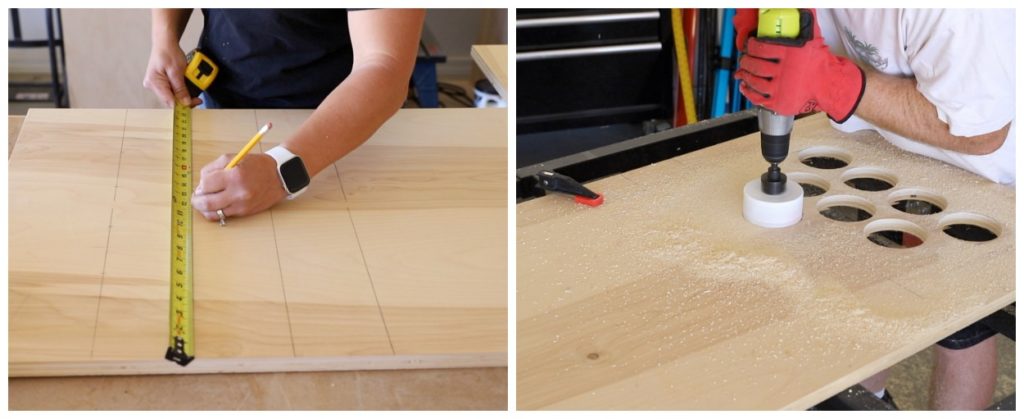
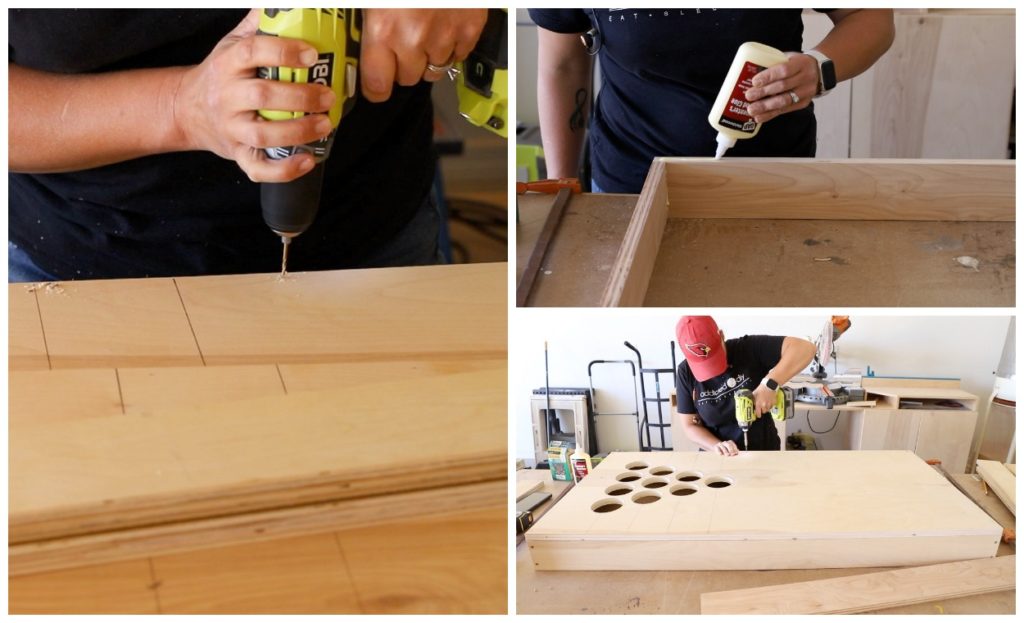
Measure and mark where the holes will be drilled in the top of the game board. The holes are spaced 4″ apart on center and 4″ down. All of the measurements are included in the printable plans. Once the holes are marked, drill them out using a 3 1/2″ hole saw. I would not recommend using a jigsaw for this step as the holes are too small and the cuts will not be as clean.
Step 3
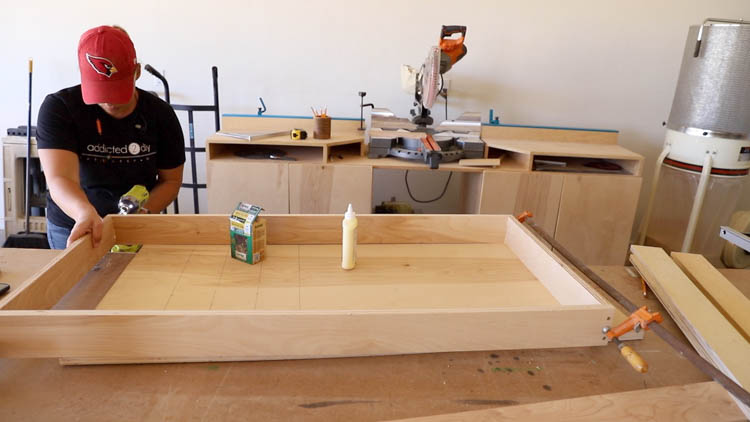
Build the frame for the game board. Drill pilot holes into the ends of each side board, then glue and attach them to the top and bottom boards with 1 1/4″ wood screws.
Step 4
Attach the top of the game board. Drill pilot holes around all four edges of the game board, add a bead of carpenter’s glue to the top of the frame, then fit the board onto the frame. Attach it with 1 1/4″ wood screws.
Step 5
Step 6
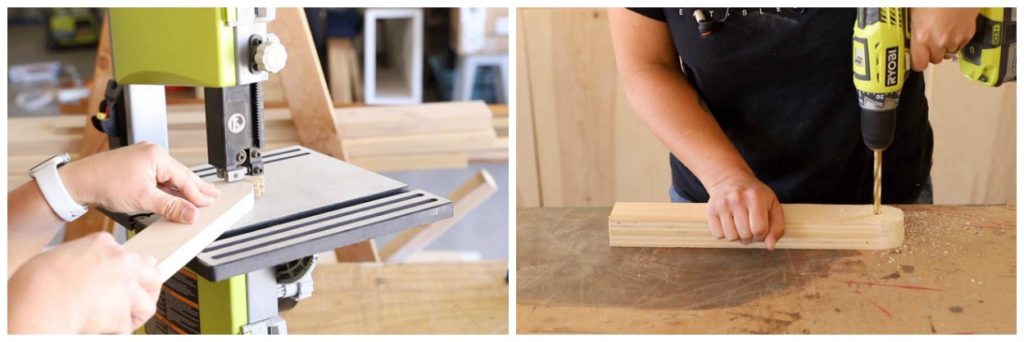
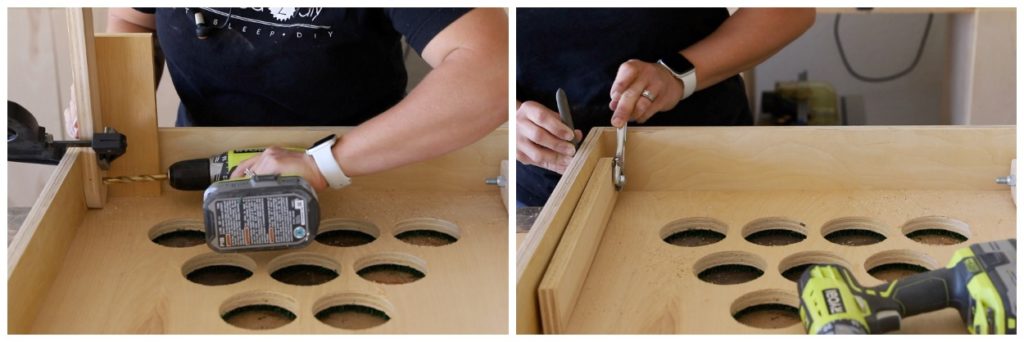
Use a scrap piece of wood as a spacer between the front of the frame and the leg. Finish drilling the hole for the carriage bolts through the side of the frame. Secure the carriage bolts with nylon lock nuts.
Step 7
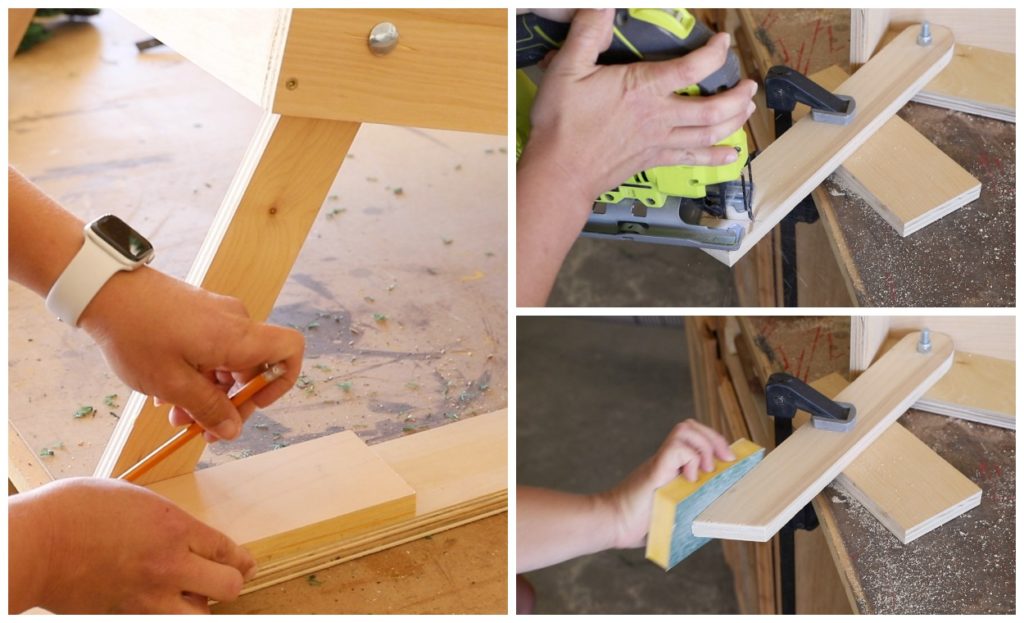
Set the game board upright and use two pieces of stacked wood to mark the angle for the legs to sit flat on the ground. Cut the legs at the mark with a jigsaw. Sand smooth with sand paper or sanding block.
Step 8
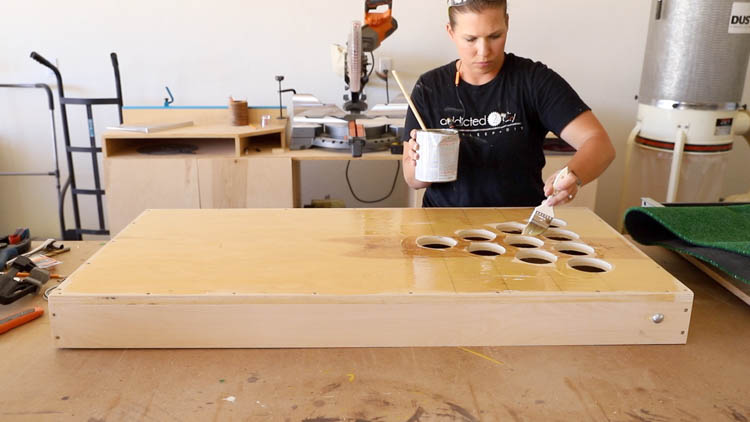
Add a generous coat of DAP contact cement to the top of the board. The contact cement will keep the astro turf from lifting and having any bumps. Apply the contact cement in a well ventilated area.
Step 9
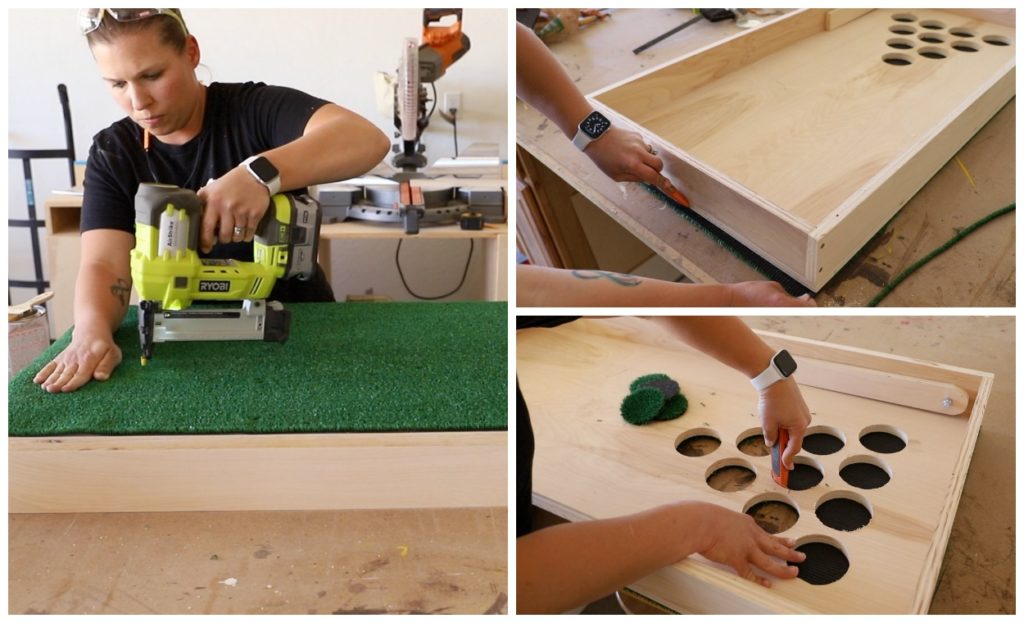
Using a sharp razor knife, cut the astro turf to size using the board as a template. Staple the grass down working from one end of the board and smoothing it as you go. Flip the board and cut away any excess turf. Cut out the turf in the drilled holes.
As an optional step, you can also make a hitting pad out of additional plywood and astro turf. This allows the game to be played anywhere, even when there isn’t grass.
How To Play Chip Shot Golf
Once your game boards are finished, add some plastic cups to the holes. You can find plastic golf balls online or at stores like Walmart and Target. There are a number of ways to play this backyard chip shot golf game. We have put together some rules that we think will make the game super fun to play. You can find those and the full tutorial in the printable plans.
Check Out The Other DIY Game Projects!
DISCLOSURE: I was provided compensation for this post. All opinions and ideas are 100% my own.

Katie,
I love your diy backyard chip shot golf game! This was such a fun challenge.
Pinning !!
gail
gail recently posted…DIY Molkky Game for Camping
Thank you so much, Gail!
Love this game Katie! Maybe I can just build this for my boys instead of putting in a putting green in the backyard! Lol! Thanks for hosting this challenge for us!
Cara recently posted…DIY Ring Toss Game
Thank you, Cara! The bonus is that this one is portable!
What a fun idea – I’m sure my son would love it! Thanks for sharing!
Rachel recently posted…Simple DIY Tutorial for Framing a Chalkboard
Thanks, Rachel!
This seriously looks like so much fun!
Stacy Risenmay recently posted…DIY Outdoor Scoreboard
Thank you so much, Stacy!!!
Love this game! Gotta make me one for when family visits. And thanks so much for hosting this fun challenge, Katie!!
Thank you so much.You Just Made The process very easy and the video helped me a lot.
What a great idea. It looks simple to do, thank you for the step by step guide.
I was wondering if there is a way to waterproof so it can be left outside no matter the rain or shine.
Monika recently posted…Sleeping Bag Temperature Rating
Hi Monika,
I’m not really sure how you could waterproof it other than several thick coats of paint.
Thank you so much! I am going to make one for my backyard!
Bill recently posted…How To Make a Foxhole Radio
Awesome! I hope you enjoy it!
That’s really cool! Maybe i found my weekend’s project because of you!
Thank you!