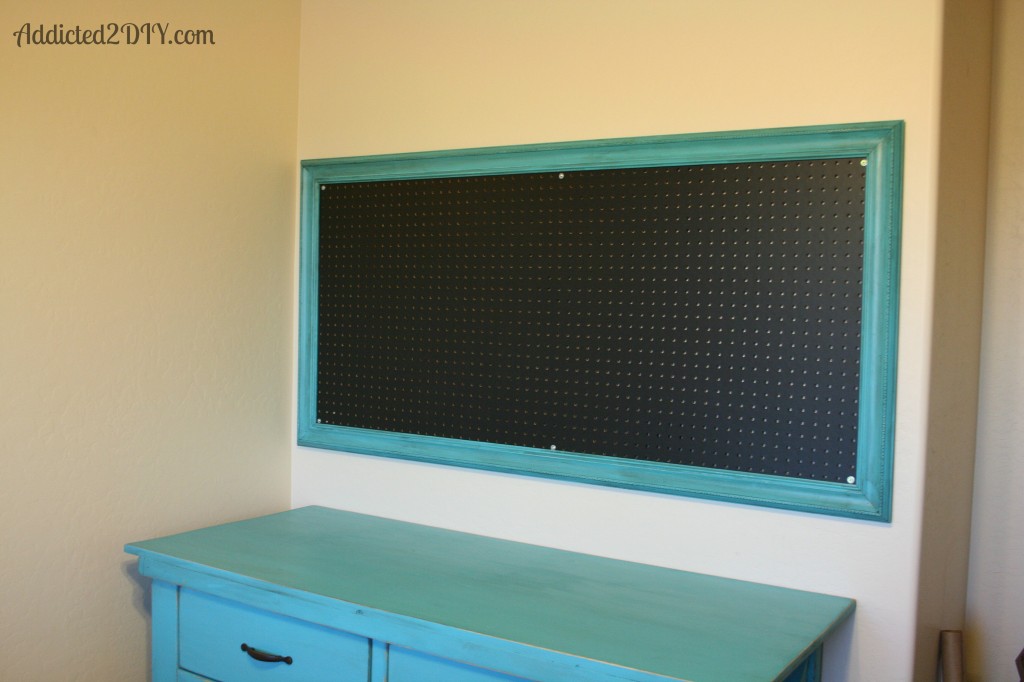
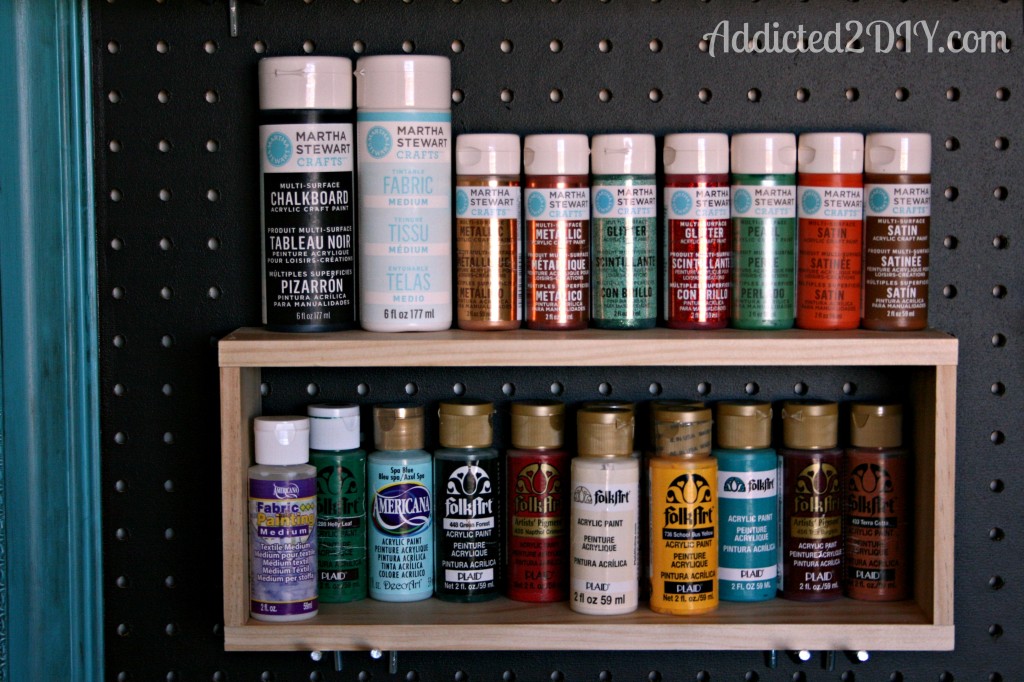
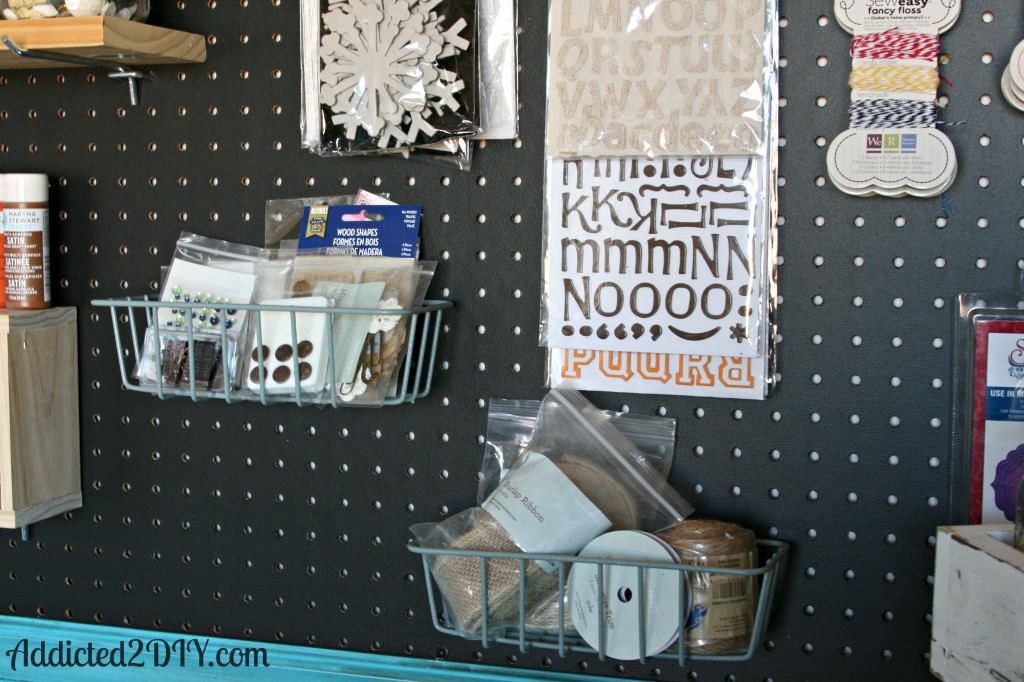
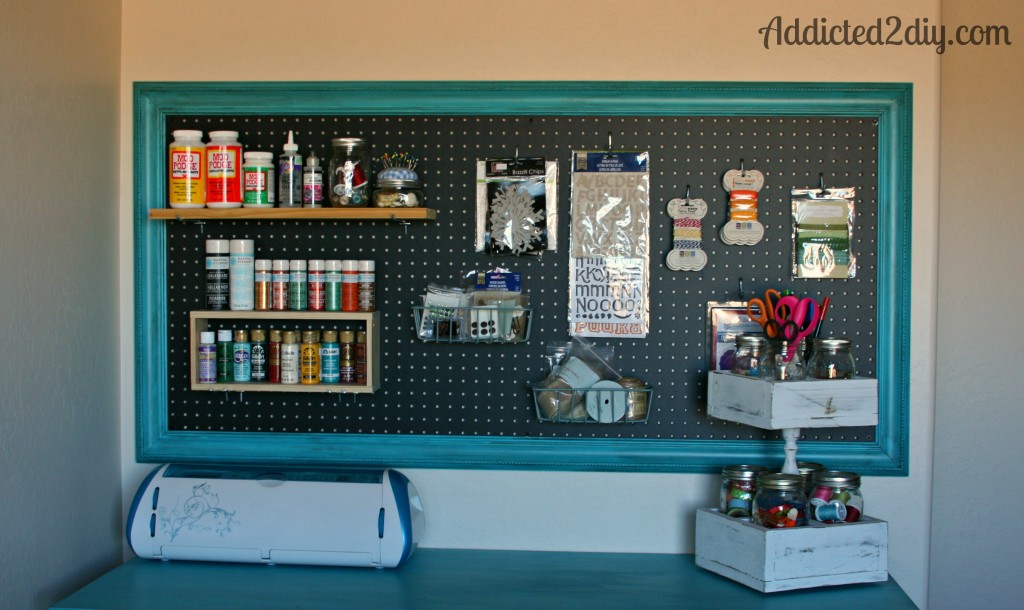
I’m so excited to show you my new pegboard for my craft room. I’ve wanted one for quite some time, and thanks to some wonderful Home Depot gift cards from Christmas, I finally decided that now was the perfect time to do it. I suffer from the problem of “out of sight, out of mind” when it comes to my crafting/scrapbooking supplies, so having things out in front of me on a pegboard is a HUGE help! In all, I spent about $60 on this project. That was partly due to the fact that I had to buy a full 8’x4′ sheet of pegboard at $18.00. The good news is that I have a bunch left over that I can now use to make pegboards in my boys’ rooms as well. They’re pretty excited about that and can’t wait for me to get started on theirs.
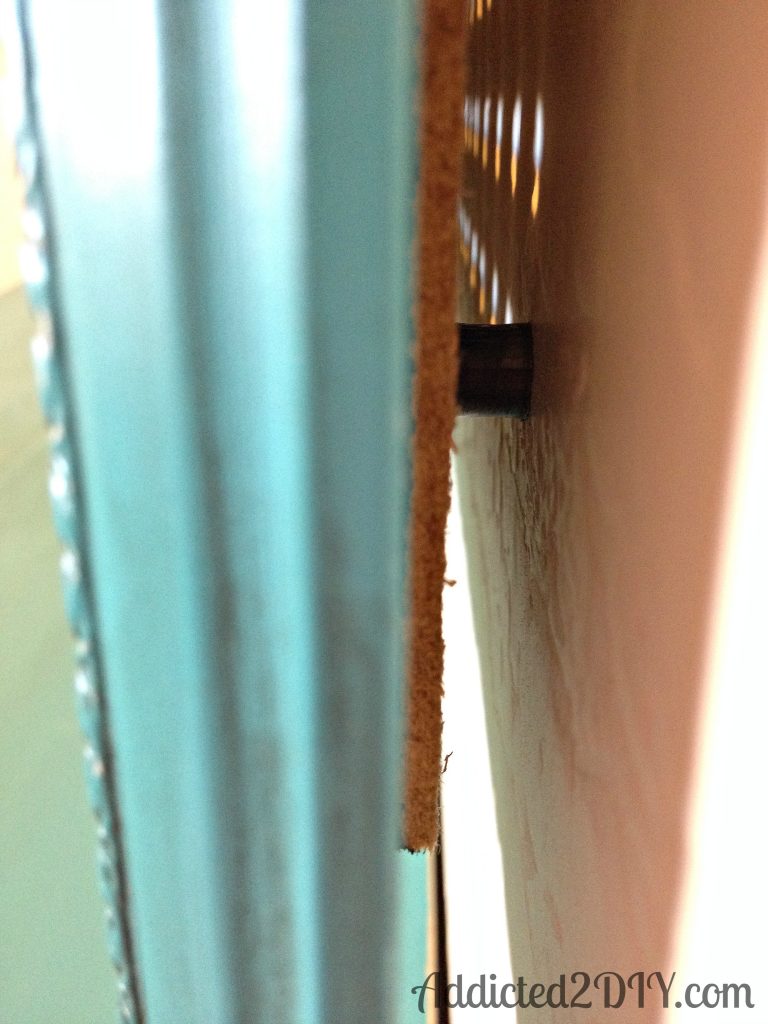
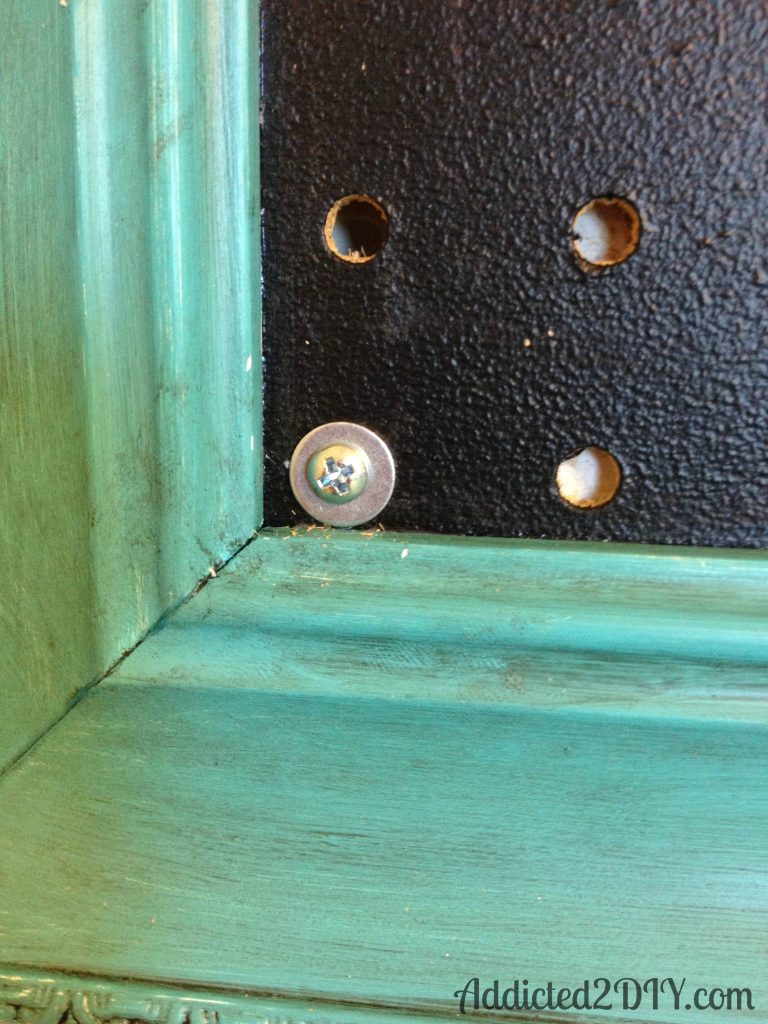
Here’s how I built it:
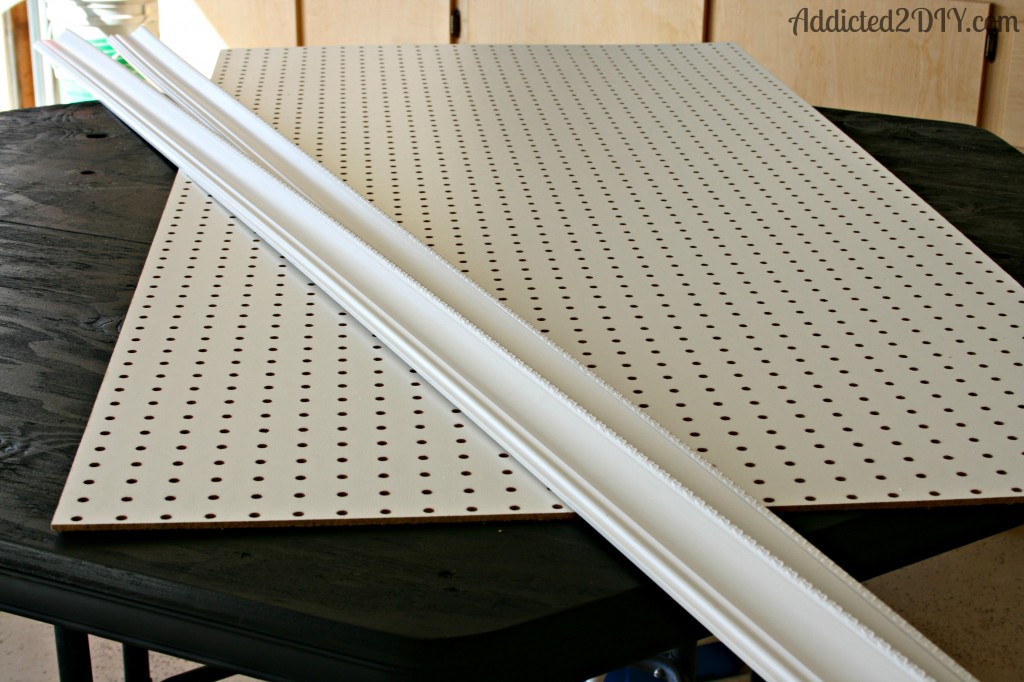
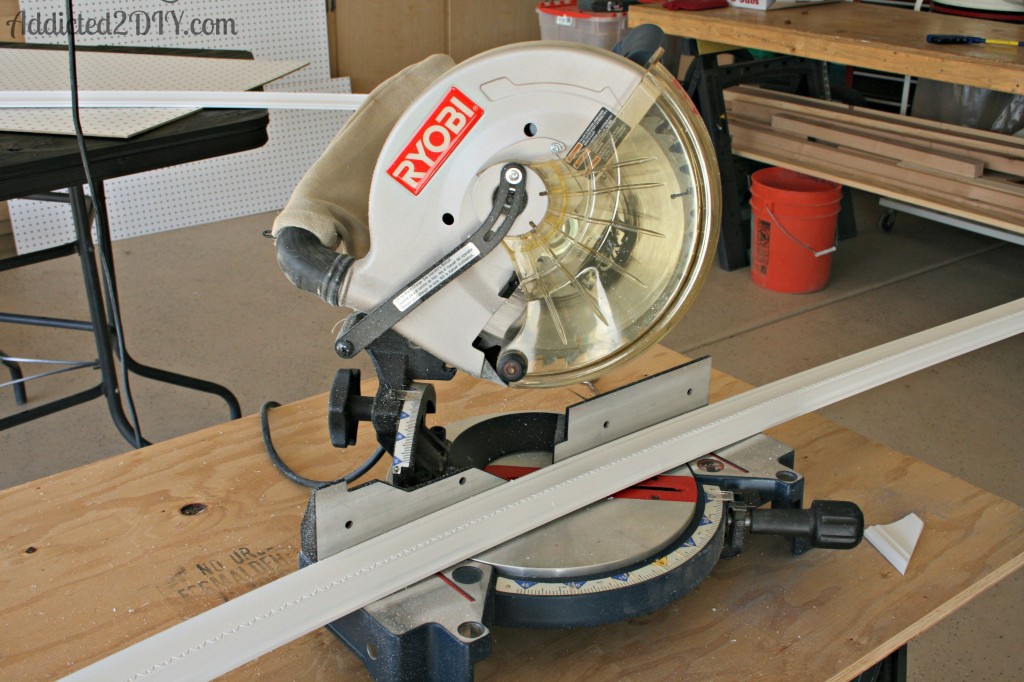
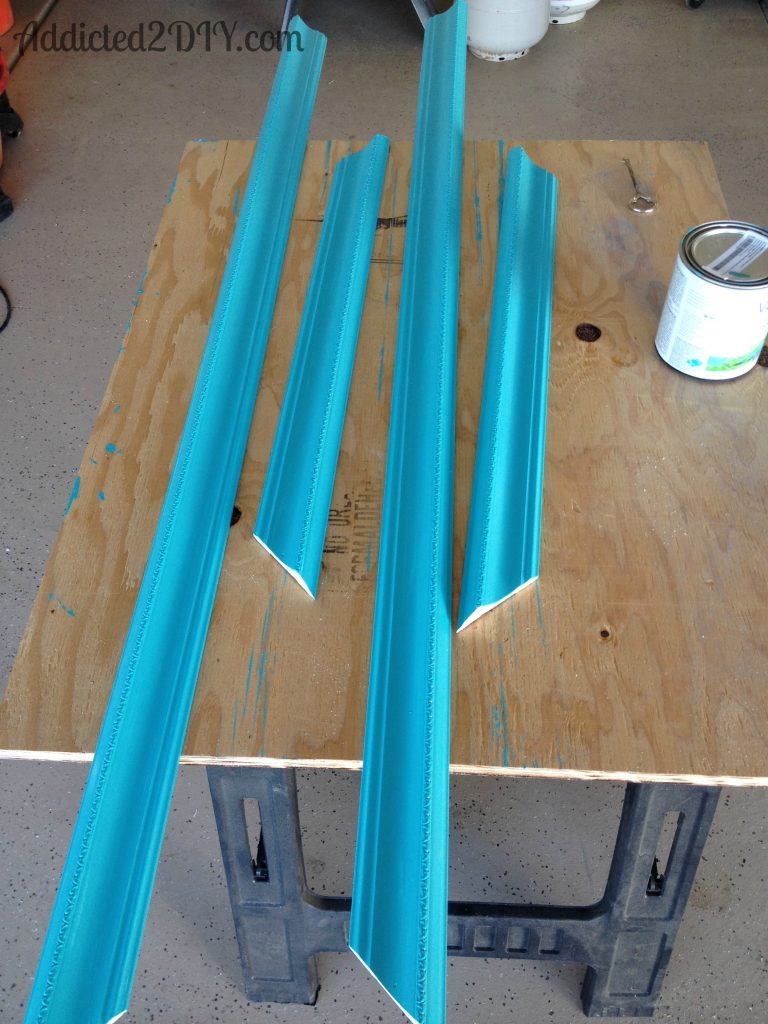
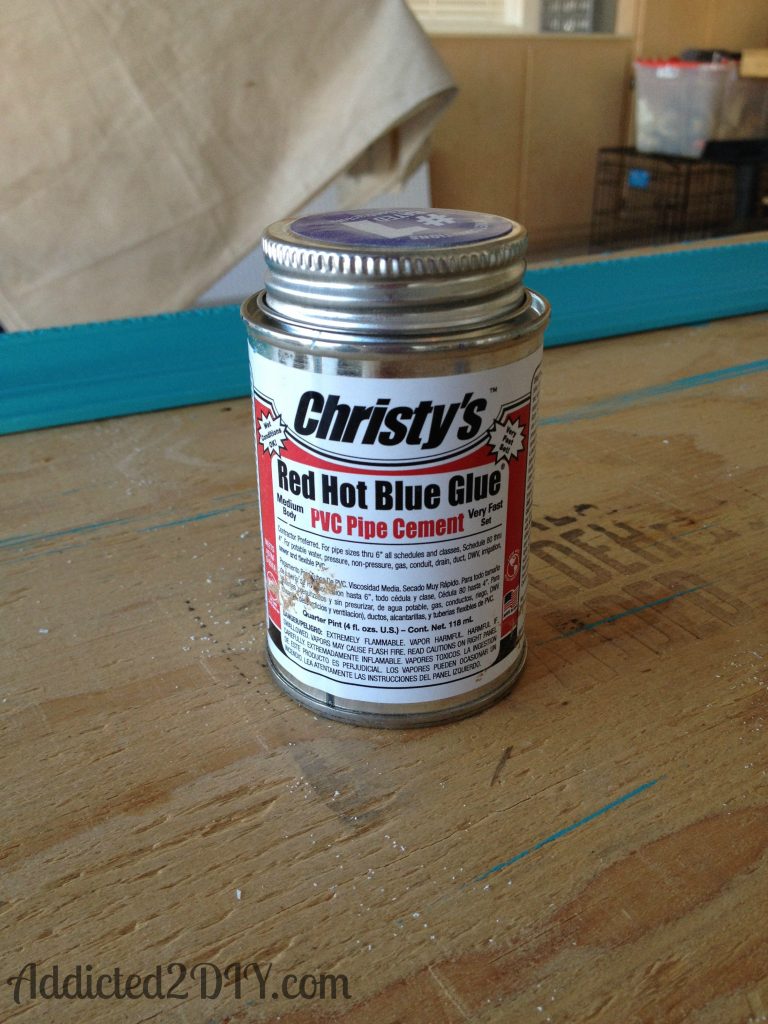
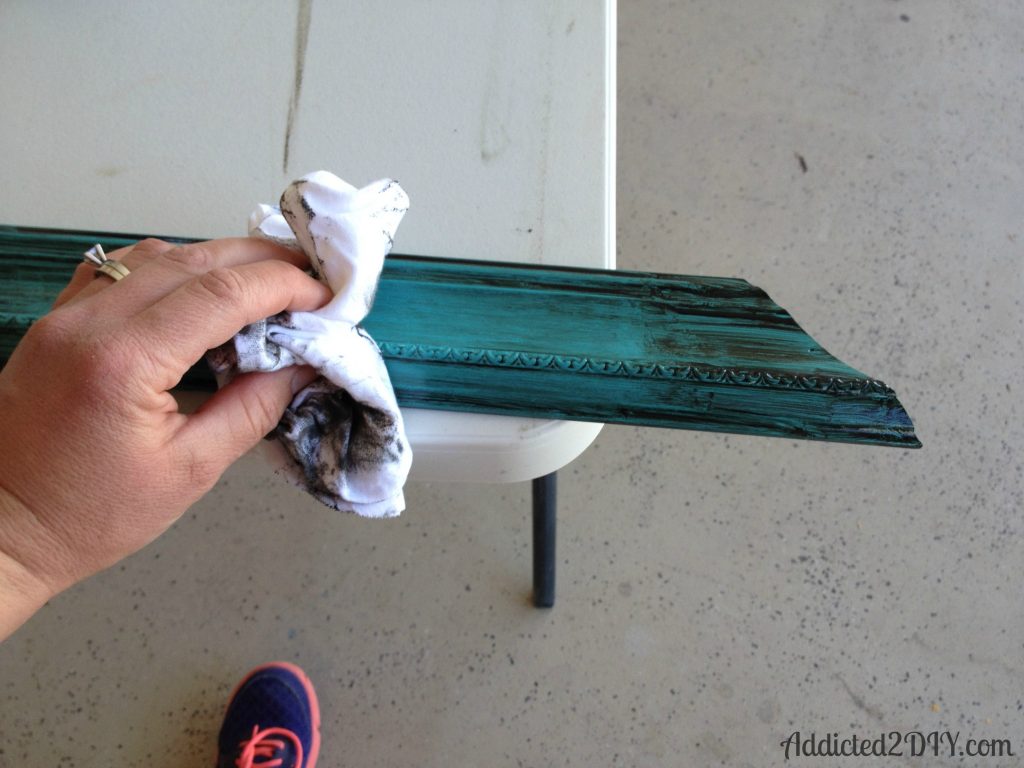
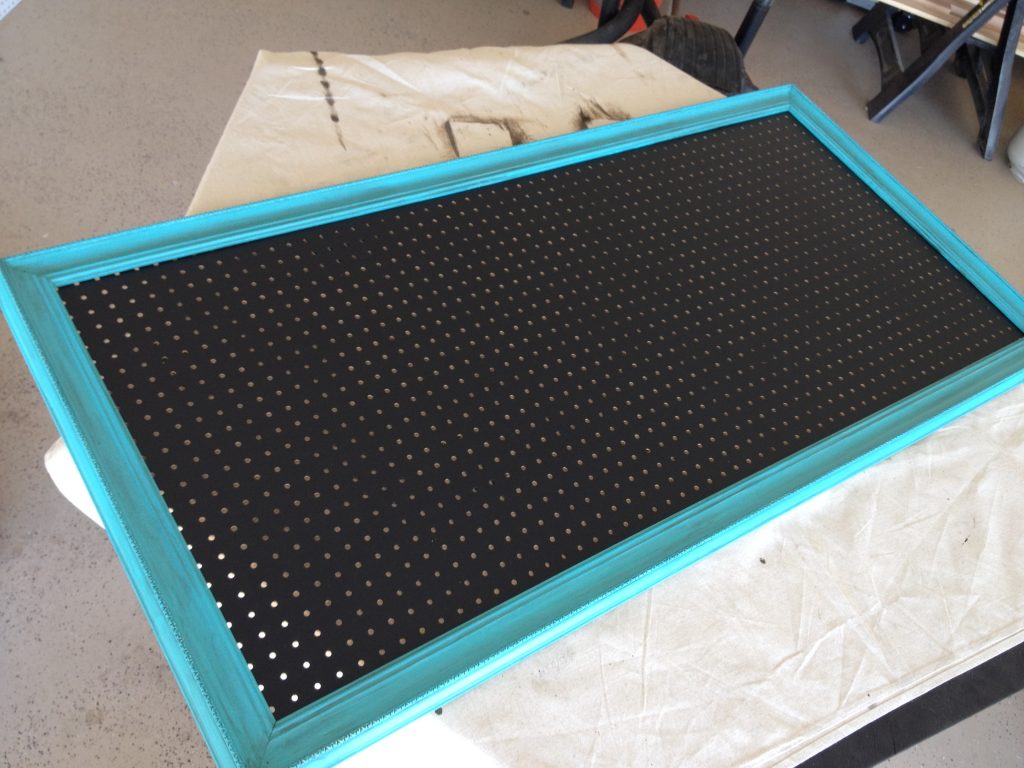
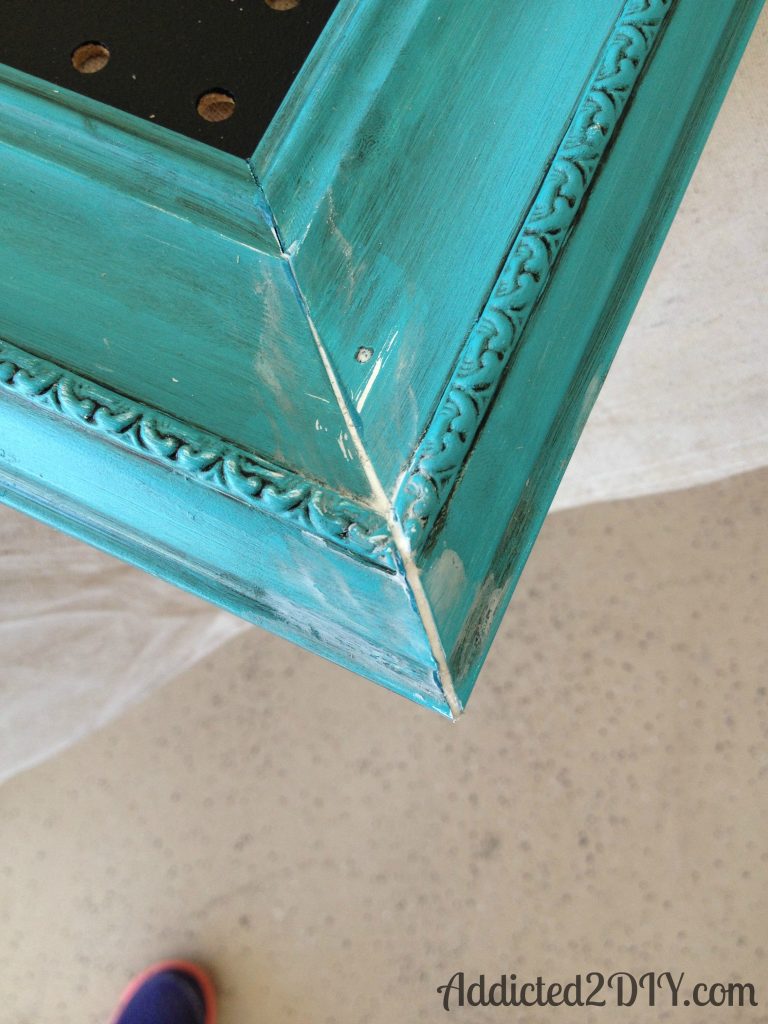
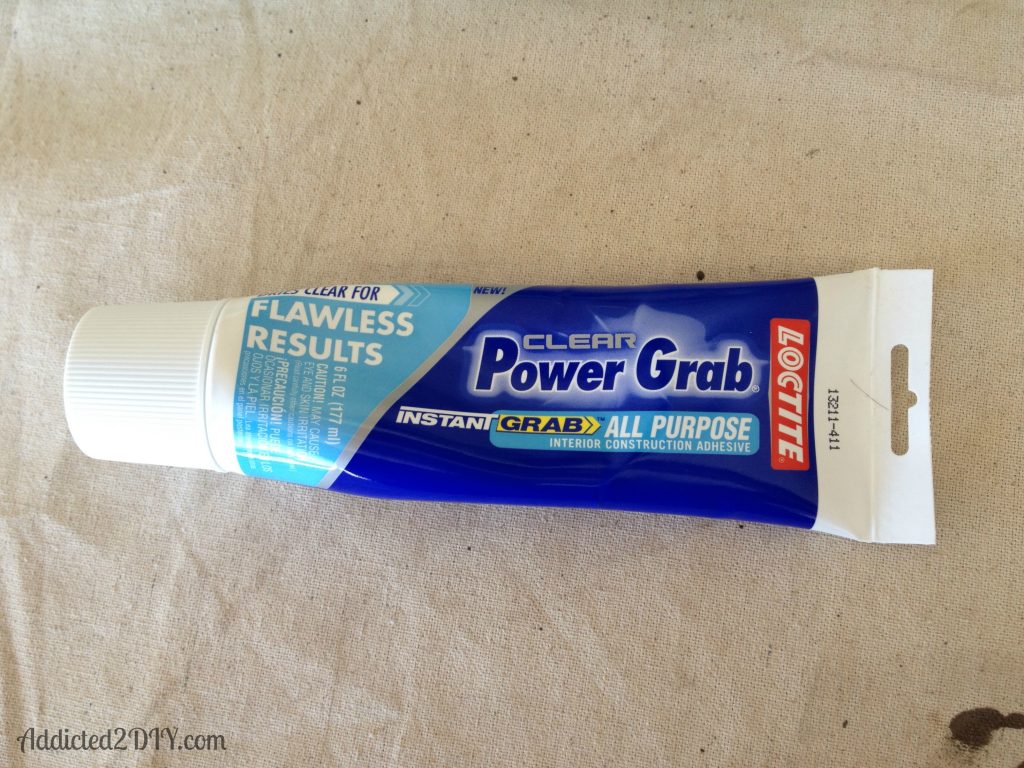
A few hours later, my mom came over to help me hang it (my husband was at work).
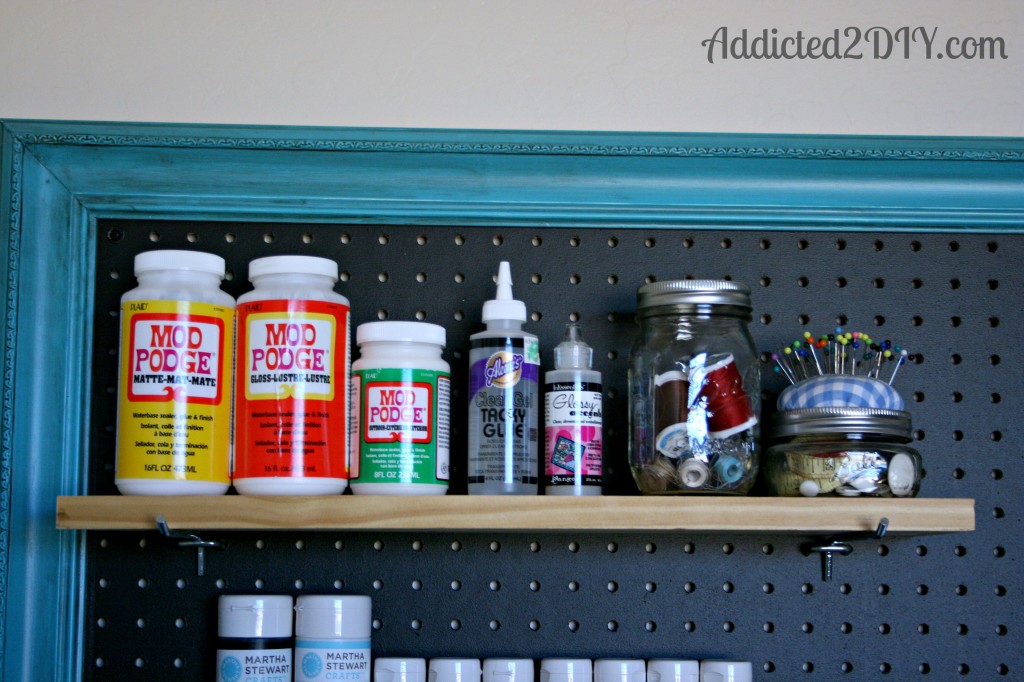
, some glue, and some sewing supplies.
~Katie
You can find me at these link parties:
Get Your DIY On, Thrifty Decor Chick, Mod Mix Monday, Thrifty Thursday Link Party @ Living Well Spending Less, Coastal Charm – Nifty Thrifty Thursdays, Creative K Kids – Bloggers Brags, The Shady Porch – Party on the Porch, Just A Girl and Her Blog – Hit Me With Your Best Shot, I Heart Organizing

This looks great! I bought a couple shelves at IKEA this weeknd because I have the same out of sight, out of mind problem in my craft area. I’m loving your pegboard idea even better!
At one point I was considering the IKEA shelves too, but then fell in love with the pegboard craft room ideas. I do have quite a bit of IKEA furniture in my craft room though, and once I get it to a point I’m happy with, I’ll share all of it:)
I am going to do this in my craft armoire, since I really don’t have a craft room! Love it! I plan on making pegboards for my boys nerf guns soon. Excited to see what you are going to do for your boys. I have been looking for baskets like the ones you found at Lowe’s, now I know where I can get some 🙂
Ooh, I love the Nerf gun idea! I seriously find hose darts in every crevice of my house. Hanging the guns in a pegboard would be so fun!
This looks great! I hope I can set up a peg board like this when I figure out where I can have a craft space 🙂 Pinning.
Thanks! I hope you get a craft space soon so you can make your own!
So pretty Katie! I’ve wanted a peg board in my office forever, but never knew how I wanted to frame it.
Thanks! I had a hard time deciding how I wanted to frame it as well, which is partly why it took so long for me to build it. I’ve got different frames in mind for the pegboards I’ll be making for my boys. I can’t wait to get started on those:)
This is awesome! I just pinned for my future craft room…once we get a house 🙂 Great idea!
Thanks, Angela!
Love this!!! What a great idea, and the pegboard looks so much fancier than when I think of garage pegboards!!
Thanks, Katie!
Thanks for the sweet comment! I kept losing my paints, so I knew having them in front of me would help a ton!
I love it! I’ll bet you feel so much more organized after that! I so need something like this in my craft room!
Thanks! I definitely do:)
I LOVE this Katie- am working on the craft room and am wanting some pegboard. Pinning your great tutorial – thanks for it!!
Thanks, Krista! I’d love to see how yours turns out!
I bought a framed pegboard at a thrift store. I came with hangers nailed to the two upper corners. Couldn’t I just put it up on the wall with picture hanging hooks? I just want to hang things such as acrylic quilting rulers on the pegboard; nothing as heavy as paint cans!
You could do that. You just have to make sure that there is enough space between the pegboard and the wall in order for the hooks to fit through the holes. If you don’t plan on putting much weight on it, then I think the picture hanging hooks should be fine. Just make sure that you have the screws either anchored into the drywall or into studs.
I love your peg board!! This is such a great way to organize your crafts. Thanks for sharing over on Do Tell Tuesday! You are my pick to be featured this week! Have a good one!!!
Tori recently posted…Personalized Toy Storage Bins
Thanks so much!!!
LOVE this!!! I have a huge pegboard sitting in my garage just waiting to be made over, and this gave me tons of inspiration! Pinned! Thanks so much for linking up at Get Your DIY On’s organization month! Have a great week!
~Abby =)
Abby @ Just a Girl and Her Blog recently posted…Home Goods Gift Card & Lallitara Tote GIVEAWAY!!!
Thanks! I love your link parties. I can’t wait for the next one!
This is Awesome and I love the color! Thank you for linking up to the Hit Me With Your Best Shot Link Party…I’m featuring you this morning on OneKriegerChick!
Happy Weekend!
~Ariean http://onekriegerchick.com/
Ariean @OneKriegerChick recently posted…12 Inspiring Interior Ideas {Knockout Features}
Thank you for the feature!!!
I LOVE this pegboard! Love the functionality of it and the color is gorgeous! Thanks for linking up to “Hit Me With Your Best Shot!” I hope we will see you again tonight!
Katie @ Made to be a Momma recently posted…White Chocolate Dipped Pretzels
Thank you! I’ll definitely be linking up again this week!
Wow. Now I want to make one too.
Max Arthur recently posted…Sports Pick Report
Thanks for the detailed tutorial, so many blogs just show the end result. Absolutely love the back & turquoise combination!
Kim recently posted…Our School Room Was Invaded by Frogs!
Thank you and thanks for stopping by! I do try to show as much of the process as possible so people don’t have to guess what happened in between. Have a great weekend:)
This is so creative! I have a craft room that has a closet in it, (Because it’s really made to become a bedroom one day, and I’m thinking of doing this inside the closet! Thanks for the idea!
Jessica recently posted…Lobster Bisque Recipe-Make Your Mouth Watta
Thank you and thinks for stopping by! Putting it in the closet would be an awesome idea!
Love this peg board! Adding the wood shelf is so clever!! Stopping by from the SITS girls! Have a great weekend ~Sonya
Sonya ~At Home with The Barkers recently posted…How to make your own Valentine Candy Jar
Thanks so much for stopping by! I already think I need to add another shelf for my growing paint supply;) I’m stopping by your blog next!
I loved how you framed your pegboard organizer. I have one in my craft room, too (unframed) and it is definitely my most used space!! Visiting from the SITS Sharefest!
Heather recently posted…Love Your Kleenex® Style & Battle the Preschool Achoos!
Thanks! I definitely love having things out where I can see them. I love pegboards!
Love the pegboard! Thank you for sharing such wonderful DIY details. Will be making one for my crafting space!
Carla http://www.artbysunfire.com
Thanks, Carla!