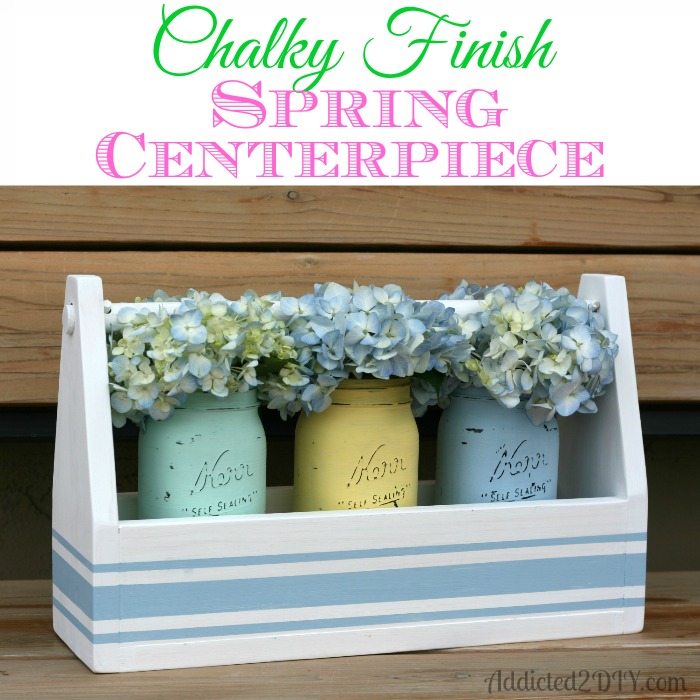
I used Americana Decor Chalky Finish paint for this entire project. Have you tried their chalky finish paint before? I love it! They have tons of fun colors that can be used as is or mixed together to create your own custom color. For a while, you could only order it online at Home Depot, but I was giddy with excitement when they finally started carrying it in Michael’s this past week!
Here are the supplies I used for this project:
1 – 1×6 @ 6′ long
1 – 1×4 @ 6′ long
1 1/4″ brad nails
wood glue
220 grit sandpaper
7/8″ wooden dowel
1/4″ wooden dowel
Americana Decor Chalky Finish Paint in serene, refreshing, everlasting, and delicate
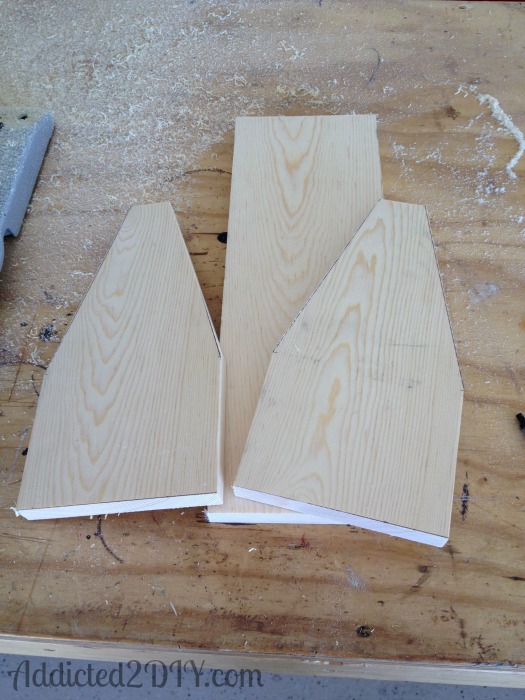
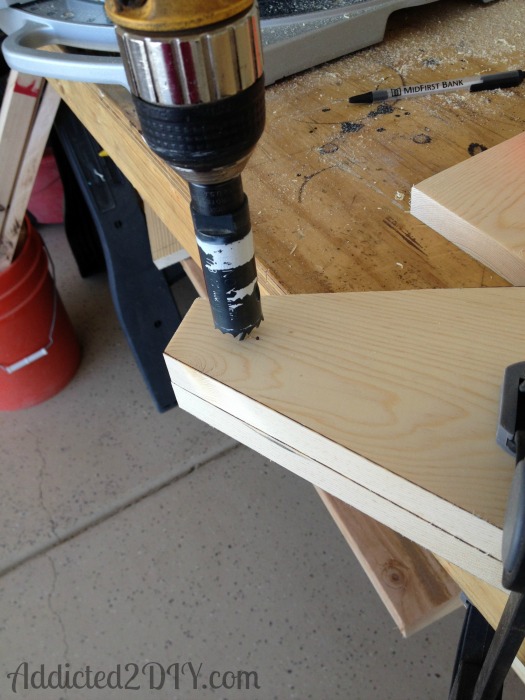
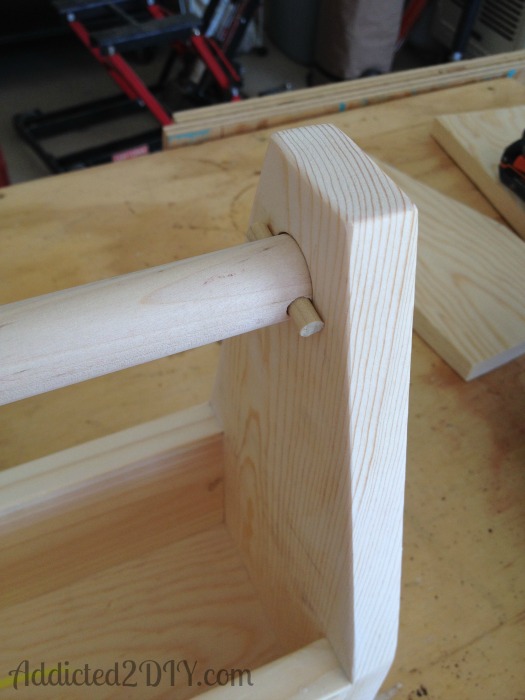
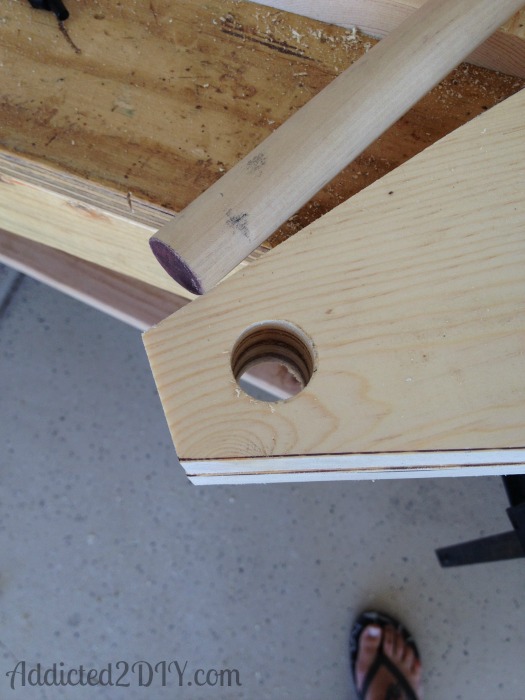
I drilled the holes at the same time so that I could ensure they would meet up perfectly when the dowel was inserted. I used a 7/8″ hole saw to drill the holes. Please disregard my foot in the picture. My feet love to photobomb my step by step pictures. And yes, I’ll admit that flip flops are not exactly safe workshop attire.
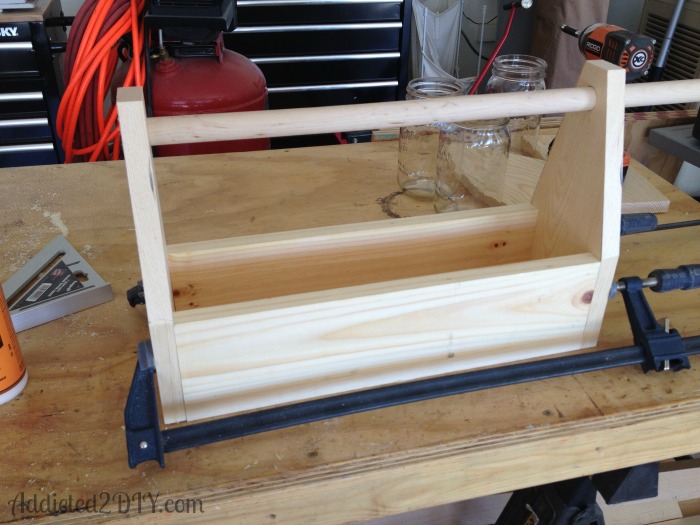
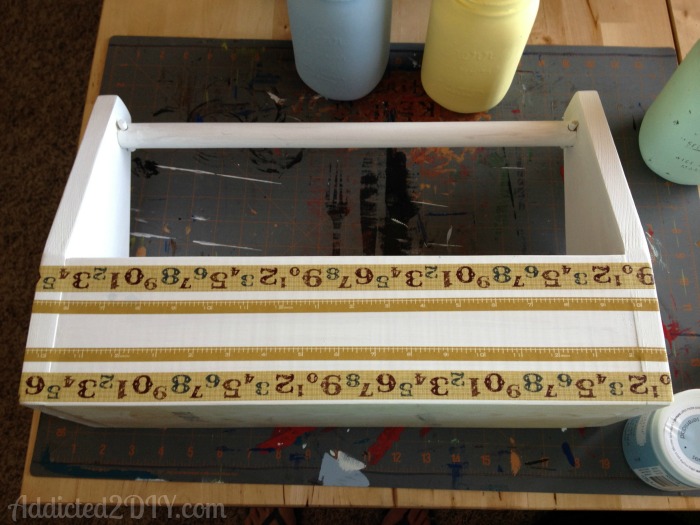
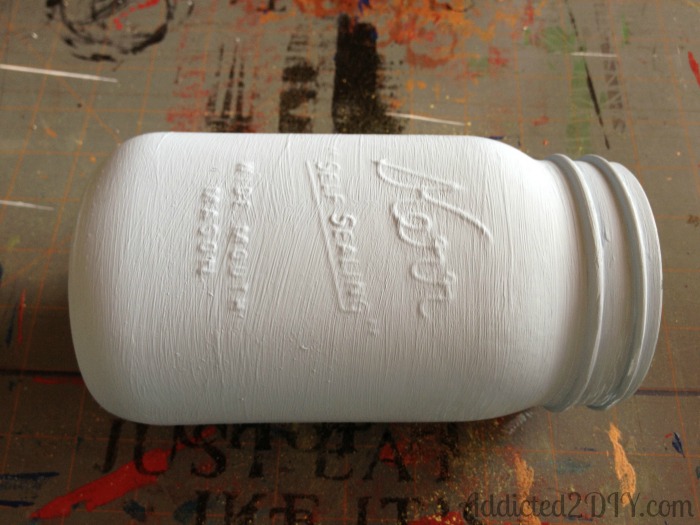
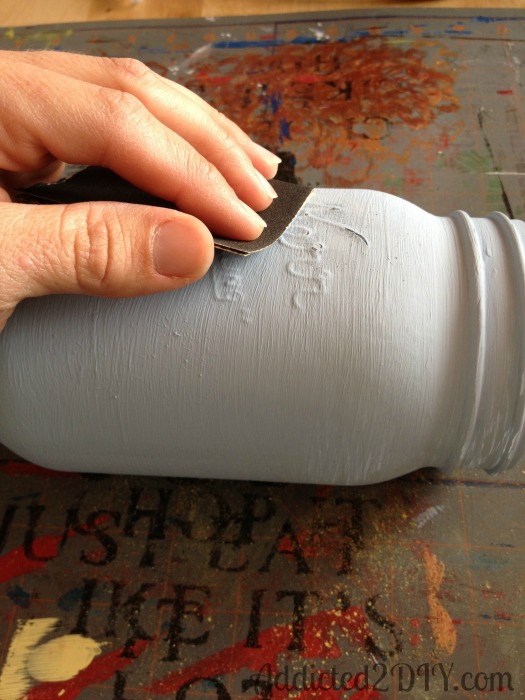
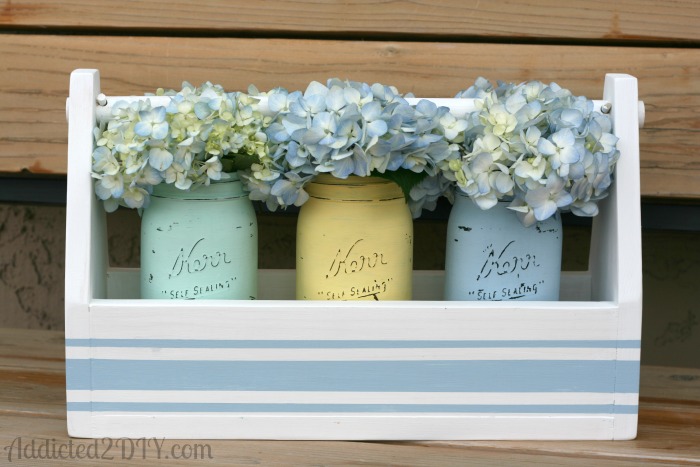
I love fresh flowers in the spring time and I’m definitely going to be keeping this filled with them throughout the season. It will probably find its way onto the table for Easter too.
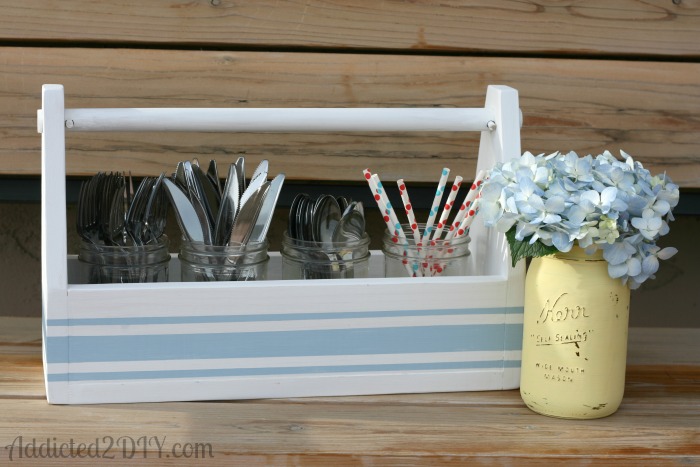
Thanks for stopping by and I’d love to hear if you plan to give this toolbox centerpiece a try!

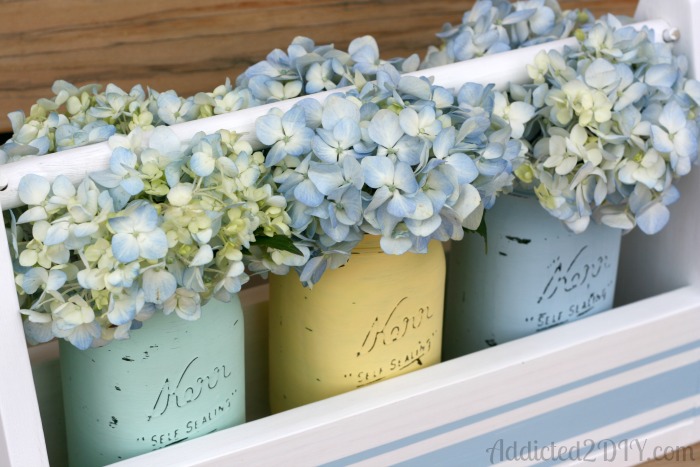
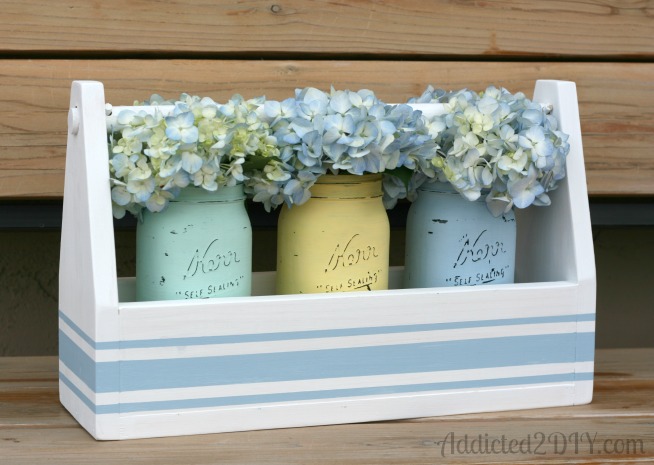
Those jars are awesome! I’ve been wanting some in those exact colors…feel free to UPS them to me if you get tired of them. I also like the toolbox as a silverware caddy! It would be great with some red, white, & blue ribbon for a 4th of July cookout.
Melissa @ aprudentlife recently posted…Party Drink Tub – Clearance Makeover
Lol! I should just hop on a plane and bring them with a whole bunch of wine!
My feet, usually in flip-flops, photobomb my projects as well – ha ha! Love this project, it looks awesome!
Cher @ Designs by Studio C recently posted…Build a Ronen Sideboard
Lol! I’m glad I’m not the only one!
Gorgeous! Amazing job on the caddy – that is so awesome that you know how to use all of those tools. I love the versatility of this as well – centerpiece and silverware caddy – so perfect. – Bre @ Average But Inspired
Bre @ Average But Inspired recently posted…Hatching Chick Kids Craft
Thanks so much, Bre!
This is so cute Katie!! Seriously I love the stripes and the jars too, I should try that paint it looks awesome! It is perfect for spring!
Mindi recently posted…DIY Upholstered Bench
Thank you Mindi! You will love this paint! Michaels has it now and you can use a coupon!
That’s so pretty! I need to update my centerpiece for spring / Easter and this gave me some great ideas. Love it!
Amanda Michelle recently posted…Garage Organization
Thanks Amanda!
Hi Katie – I have a caddy like this already built and have been looking for just the right design on it and I love yours! I’ll be sure to link back to your project. I need something to carry around some books for my business and it’s totally getting similar pink stripes on it. Love it, THANK YOU! I’ve been staring at it for too long and you have inspired me! Hugs, Holly
Holly @ Coconutheadsurvivalguide recently posted…10 Tips for a Successful Yard Sale
Thanks Holly! The pink stripes would be adorable! I can’t wait to see it!
This is so adorable! I LOVE the painted mason jars!
Angela (Life in Velvet) recently posted…$60 Amazon Gift Card Giveaway
Thanks Angela! I’ve been wanting to paint some mason jars for a while now and I’m so glad I finally did.
I managed to spray paint my feet blue last summer, along with the Adirondack chairs I was painting. Hubby had a lot of fun with that one.
Home Depot is setting up Americana displays in the stores now. They just set one up on the paint counter at the one near me last week.
Lol! I’m sure that was fun;)
Hi Katie, Thank you so much for linking your painted centerpiece up at the Link It or Lump It Link party last week. I just love it. I have picked it as a feature this week! Come check it out and grab a brag button. – Melissa
http://www.twoityourself.com/2014/04/link-it-or-lump-it-link-party-34-plus.html#more
MElissa @ Two It Yourself recently posted…Link It or Lump It Link Party #34 (Plus Features)
Thank you so much, Melissa! So exciting!
My gosh Katie I can’t even believe you made this! I absolutely love it, I LOVE everything about this. I wish you lived close to me to help me with something like this. Your pretty creative and VERY talented.
Courtney @ Crafts by Courtney recently posted…DIY Easter Family Portrait Inspiration
Aww, thanks so much Courtney! I need to go buy some more fresh flowers for it now. It’s currently just sitting flowerless on my dining table:-/
Excellent tutorial Katie! These turned out so nice and I found this post just in time to try it out for this spring!
Thanks =)
Emmy recently posted…Candle Review: Absinthe & Black Fig, Northern Lights Candles
Thank you, Emmy!