Learn how to build a faux fireplace with a faux brick backing, complete with German Schmear using this step by step tutorial.
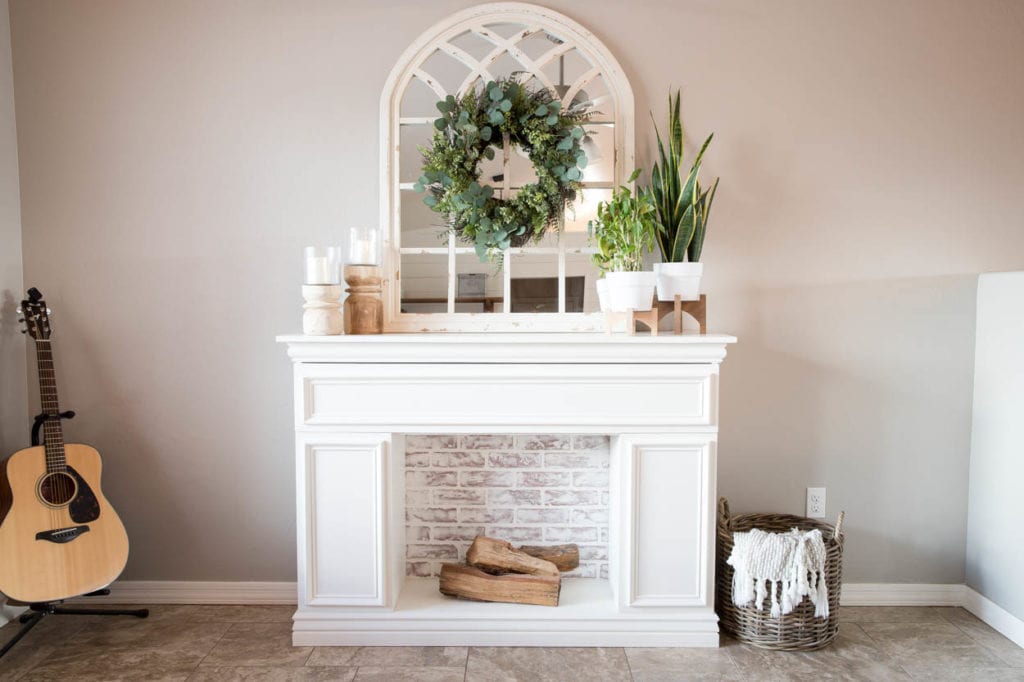
Not all of us are fortunate to have a gorgeous fireplace in our homes, but I’ve got a solution for that today! I’m partnering with DAP Products to show you how to build this faux fireplace that not only makes a grand statement, but it also has tons of storage!
I’ll be honest. I built this project 2 years ago with different intentions for it. I had wanted it to hold my youngest’s keyboard and it would just easily hide it away when not in use. Unfortunately, I built it just slightly too narrow and I just couldn’t even figure out exactly how I wanted the whole thing to work. So it never got finished. Finally, the lightbulb went off and I figured out a way to finish it that would still be useful!
It’s also time for the monthly DIY Challenge and this month’s challenge was mixed media. I tackled that by combining the faux brick with the wooden carcass of the fireplace and even added a German schmear to it to give it a little more dimension. Be sure to keep reading after the tutorial where you’ll see the other project submissions from my fellow bloggers participating this month!
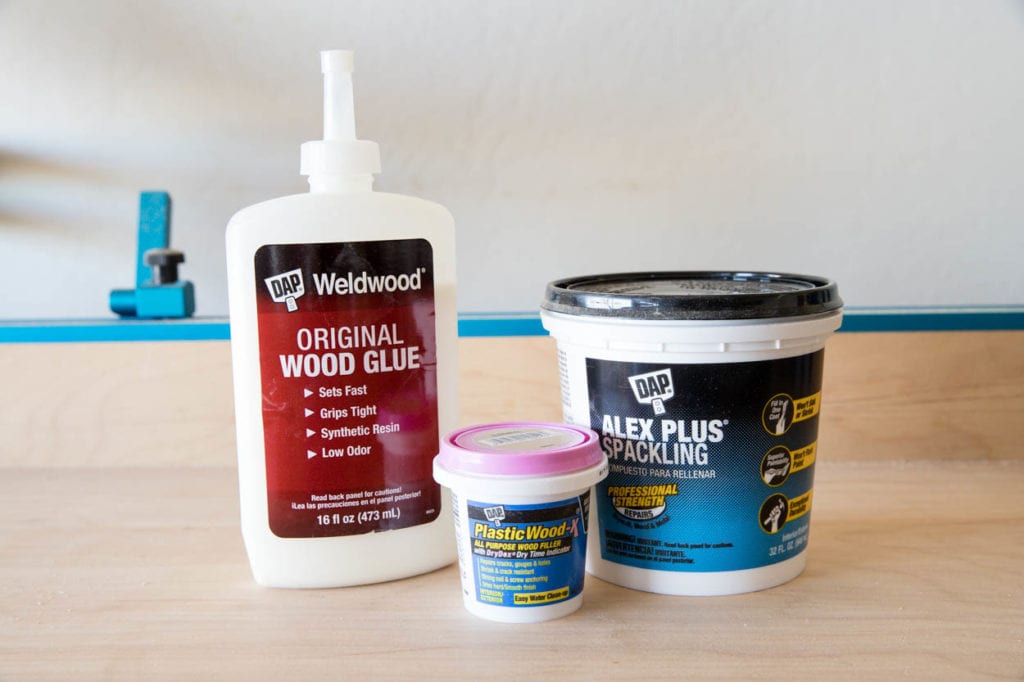
For this project, I’ll be using some my absolute favorite DAP products. The Plastic Wood-X wood filler, DAP Weldwood Carpenter’s Wood glue, and DAP Alex Plus Spackling. You can find all of these products at your local home improvement store or online.
How To Build A Faux Fireplace
Time needed: 2 days.
How to build a faux fireplace
- Assemble the carcass
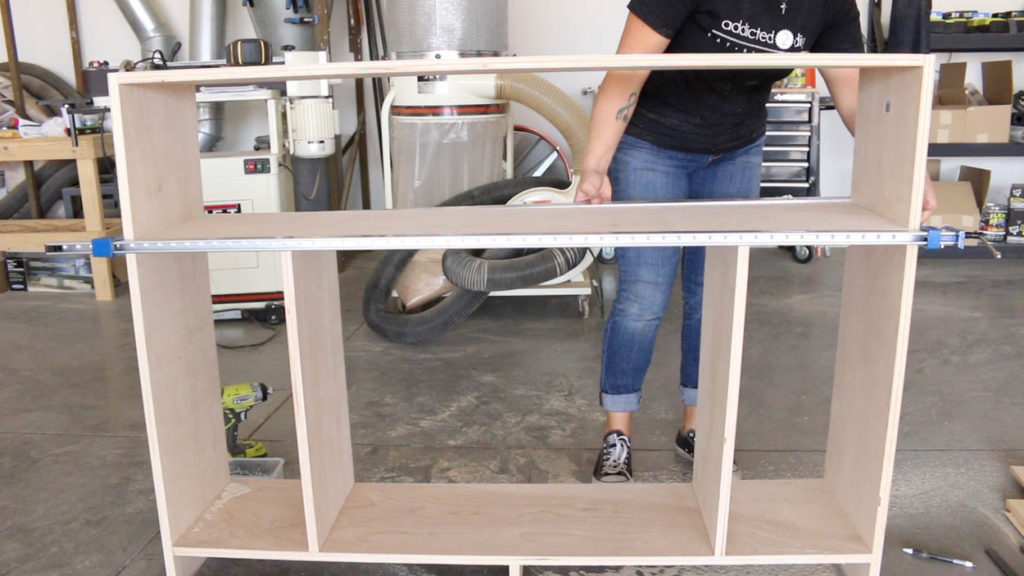
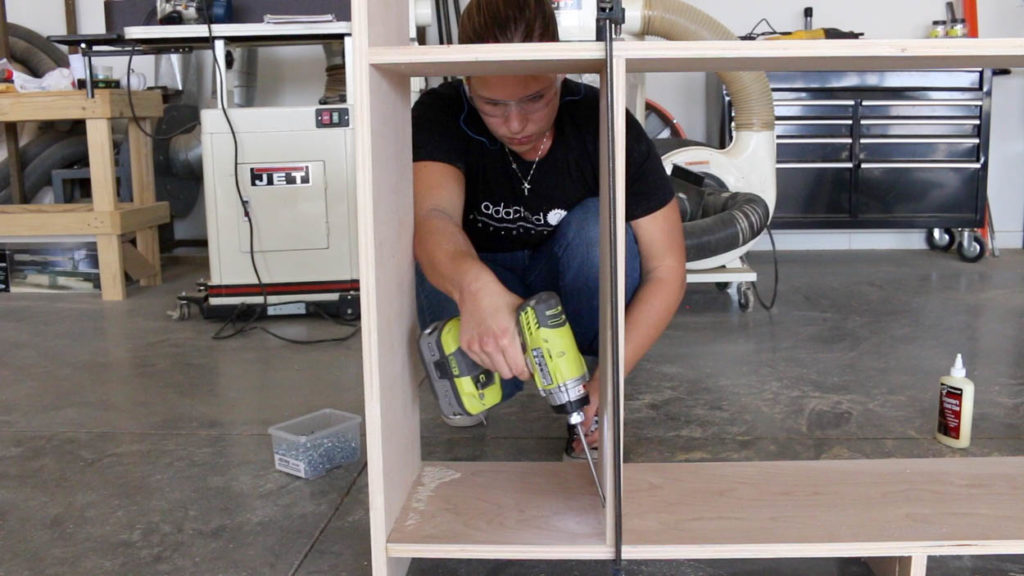
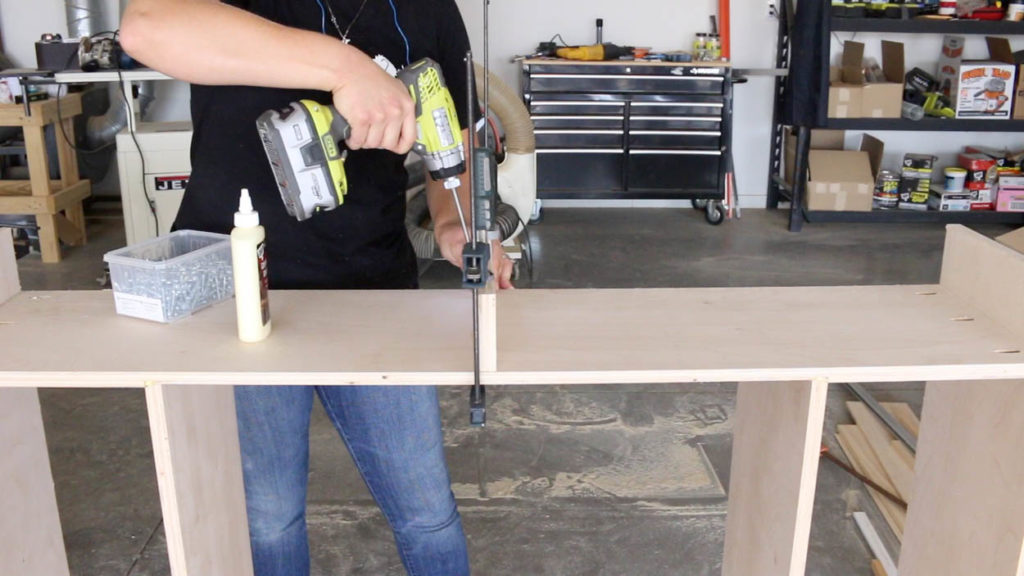
Drill 3/4″ pocket holes into the top, middle and bottom pieces of the main carcass, as well as the vertical pieces that make up the cabinet walls. Glue and clamp into place.
- Attach the pieces together
Attach all of the pieces together with 1 1/4″ pocket screws.
- Attach center foot support
Drill 3/4″ pocket holes into the plywood center foot support and attach with wood glue and 1 1/4″ pocket screws.
- Attach upper moulding
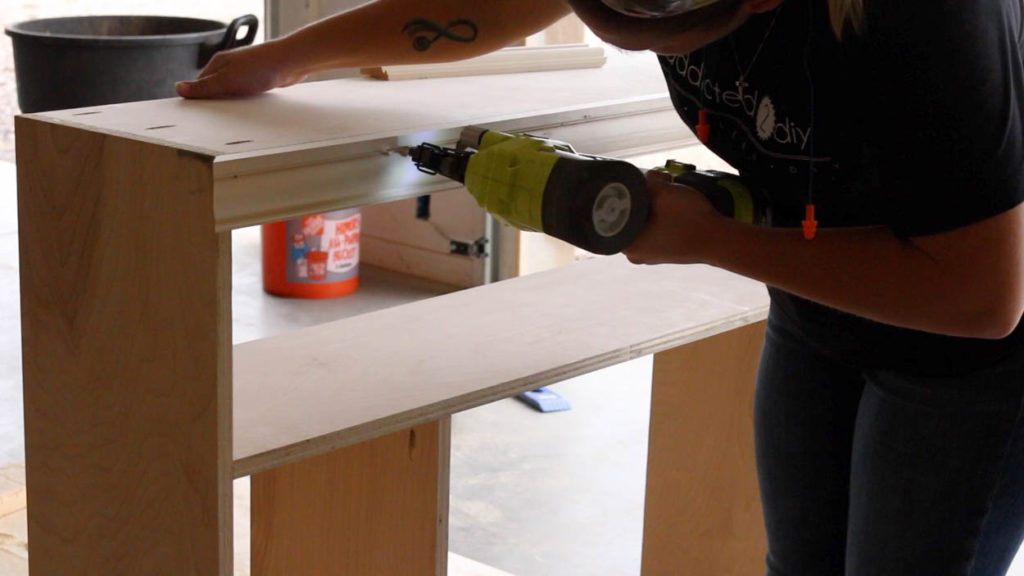
Measure and cut to size the moulding for the upper area of the fireplace. Glue and nail into place with 1 1/4″ brad nails.
- Attach lower spacer board
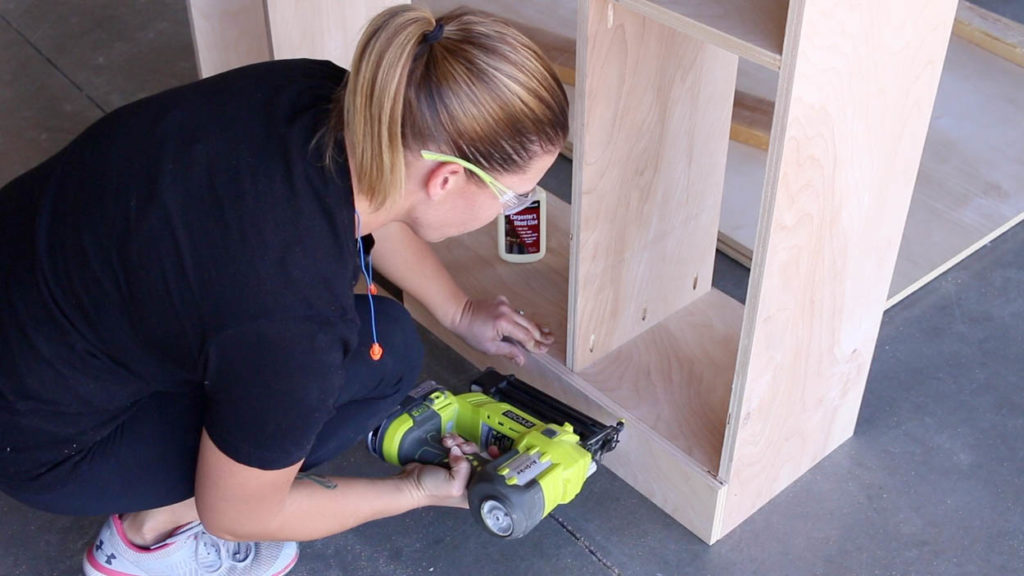
Cut a 3/4″ piece of plywood (or patch together) to the same width as the base moulding (4 1/4″). Attach to the bottom of the fireplace with wood glue and 1 1/4″ brad nails.
- Attach base moulding
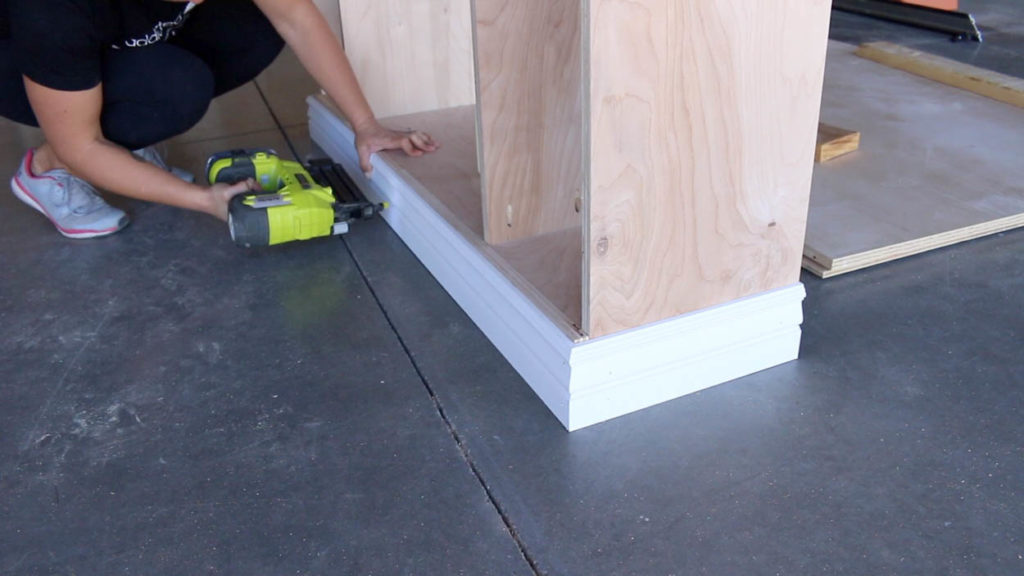
Measure and cut the base moulding to fit around the bottom of the fireplace with 45 degree miters at the corners. Attach with wood glue and 1 1/4″ brad nails.
- Apply veneer edge banding
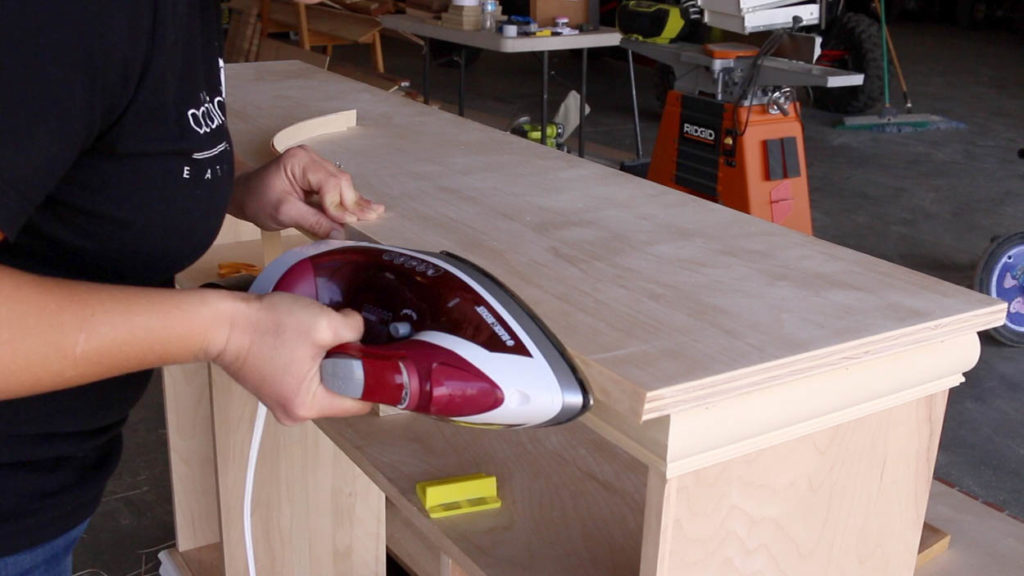
Apply veneer edge banding to the fireplace top, drawer front, doors, as well as all exposed edges of the plywood on the fireplace carcass. Trim with a banding trimmer or razor knife, then sand smooth.
- Attach the fireplace top
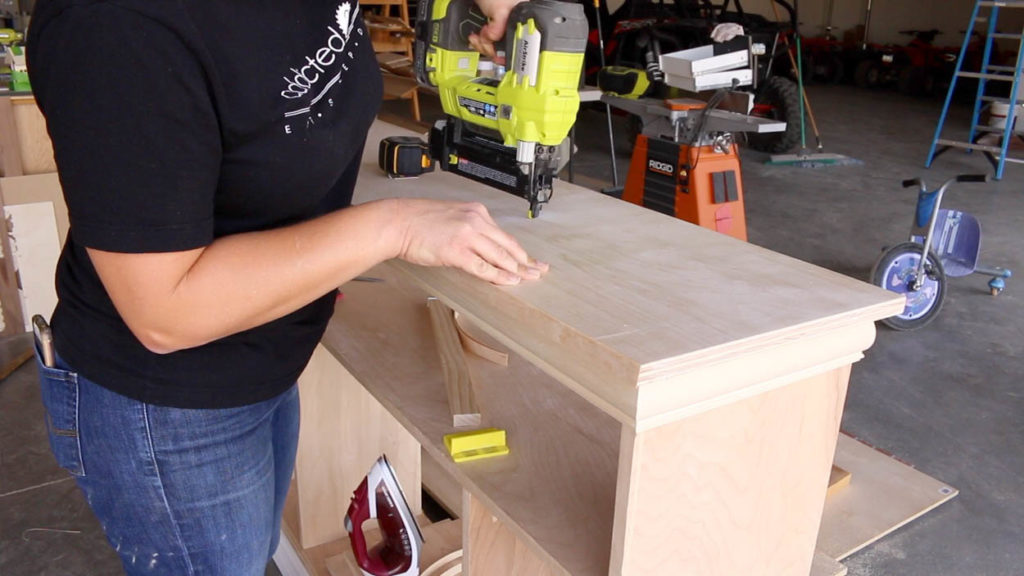
Glue and attach the fireplace top with equal clearance over each side and the front (flush in the back). Use 1 1/4″ brad nails to attach the top.
- Attach trim to doors and drawer front
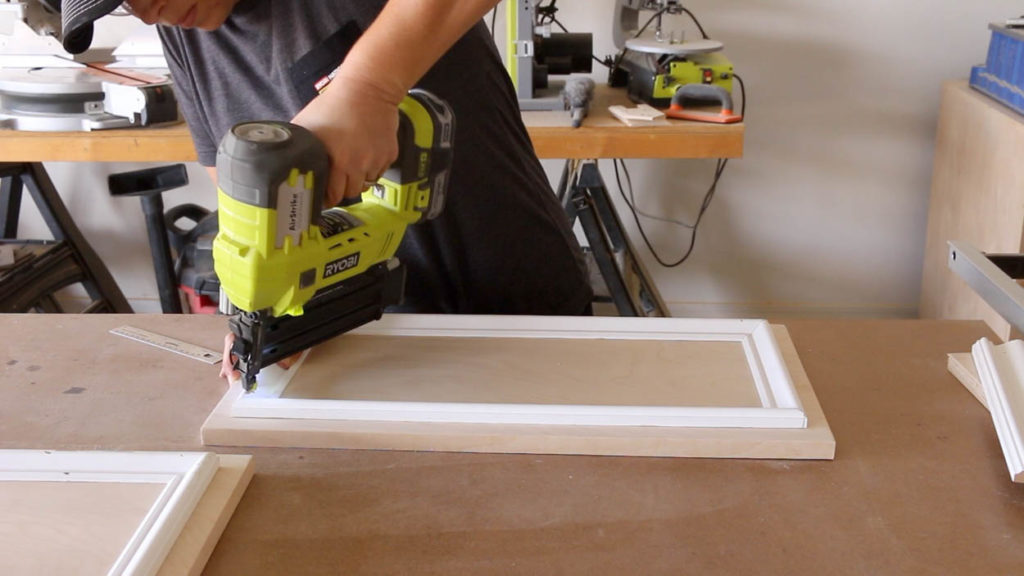
Attach the case moulding to the cabinet doors and drawer front. Use a ruler to ensure that the moulding is inset 1″ on all sides. Attach with 1 1/4″ brad nails.
- Fill nail holes
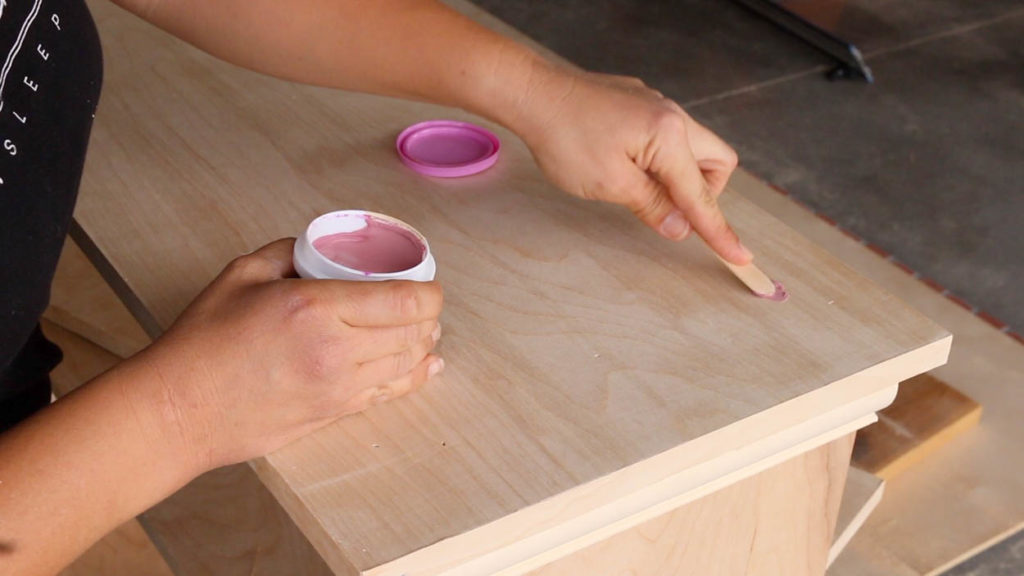
Fill all nail holes with Plastic Wood-X wood filler. Let dry, then sand with 220 grit sandpaper.
- Paint the fireplace
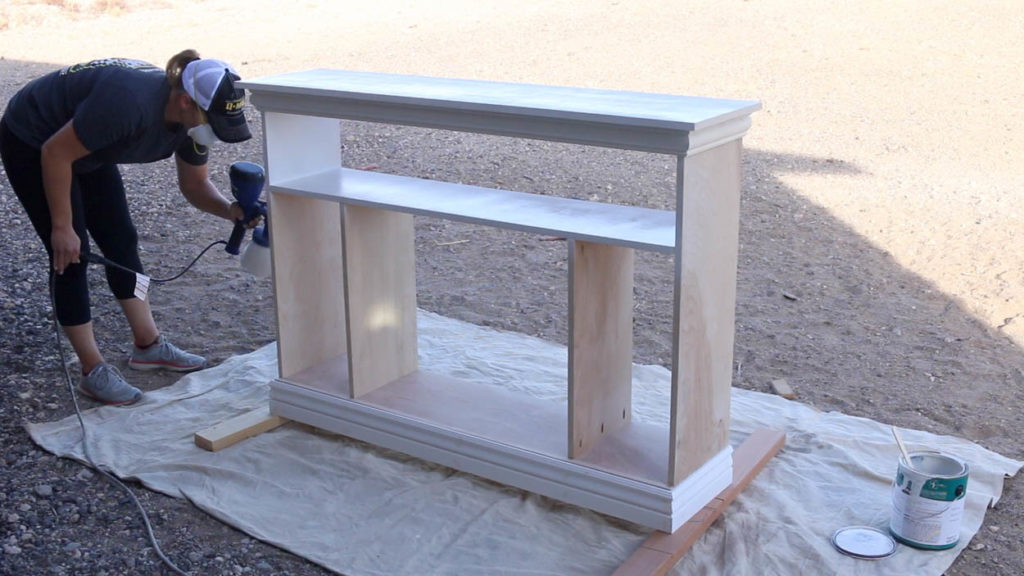
Paint the fireplace, doors and drawer front in the color of your choice. This can be done with a paint sprayer or a brush and roller. If using a paint sprayer, follow this tutorial to get the best results.
- Add German Schmear
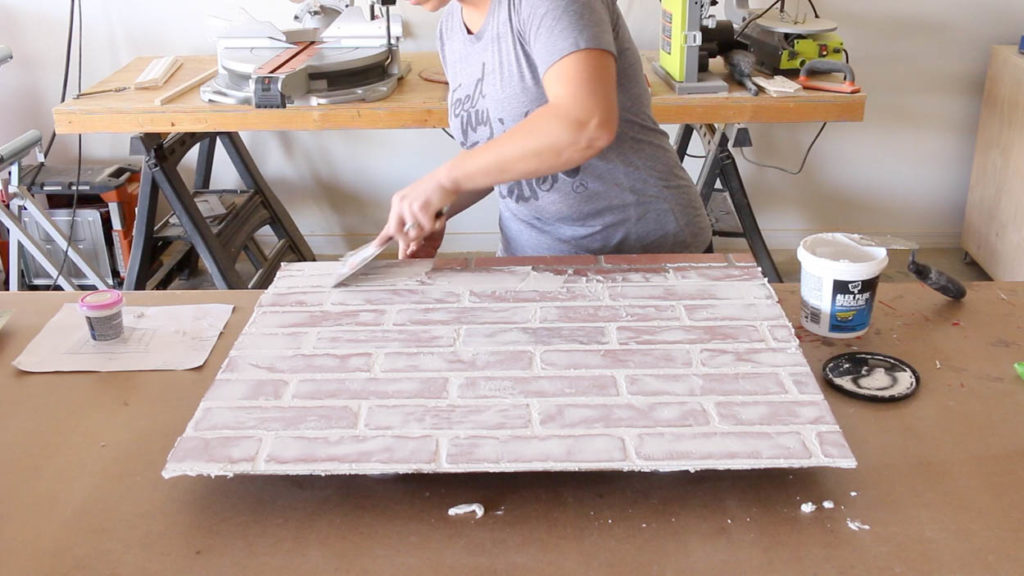
Cut the faux brick backing to size and add the German Schmear using Alex Plus Spackling. This can be done as light or as heavy as you like. Use a putty knife to wipe on and then scrape off the spackle until you get the desired look. Let dry.
- Attaching faux brick backing
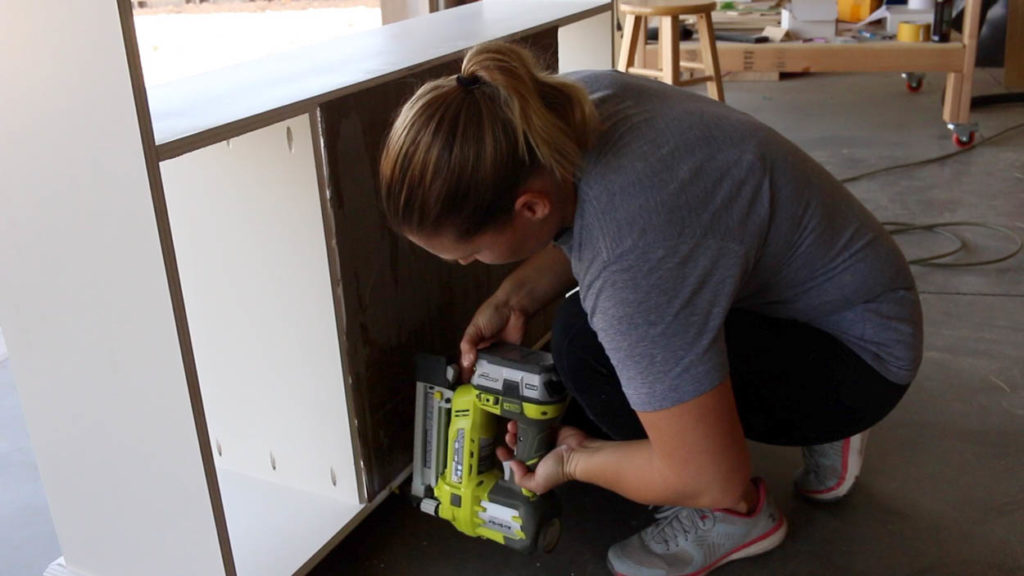
Attach the faux brick backing to the fireplace with 3/4″ brad nails or 3/4″ narrow crown staples.
- Build the drawer
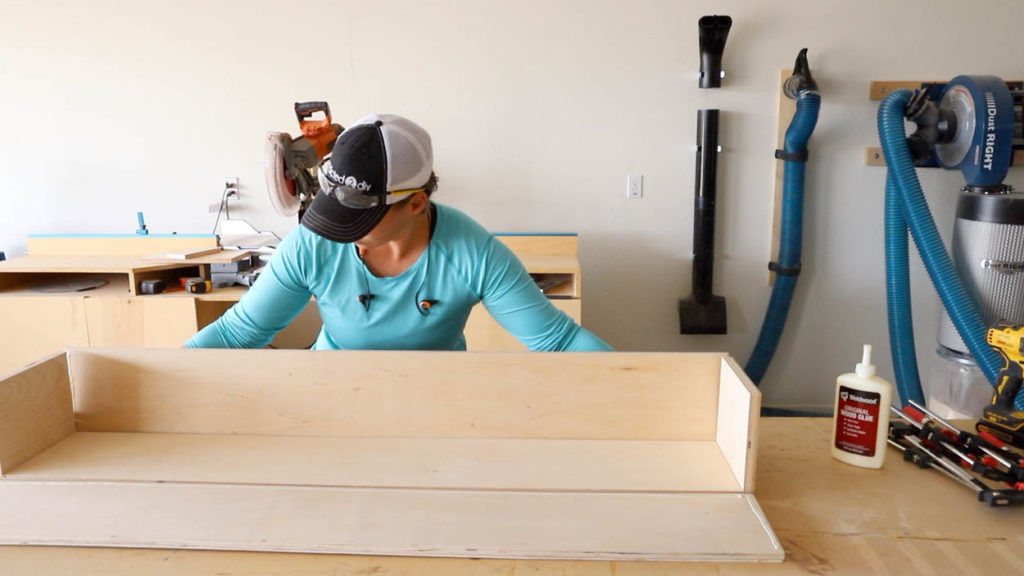
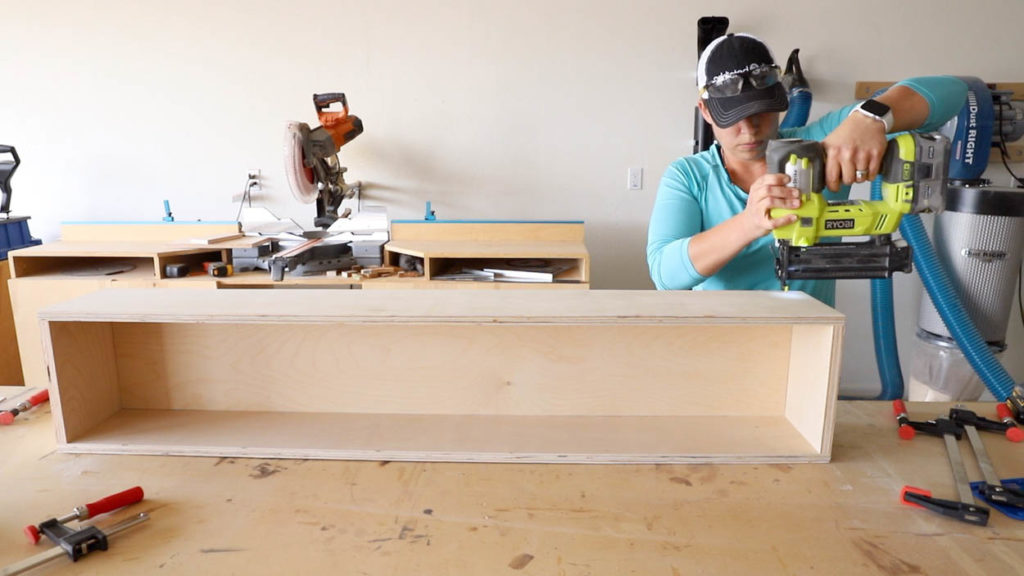
Cut and glue the pieces of the drawer together using DAP Weldwood Carpenter’s Glue. Clamp all pieces together.
- Attach drawer pieces together
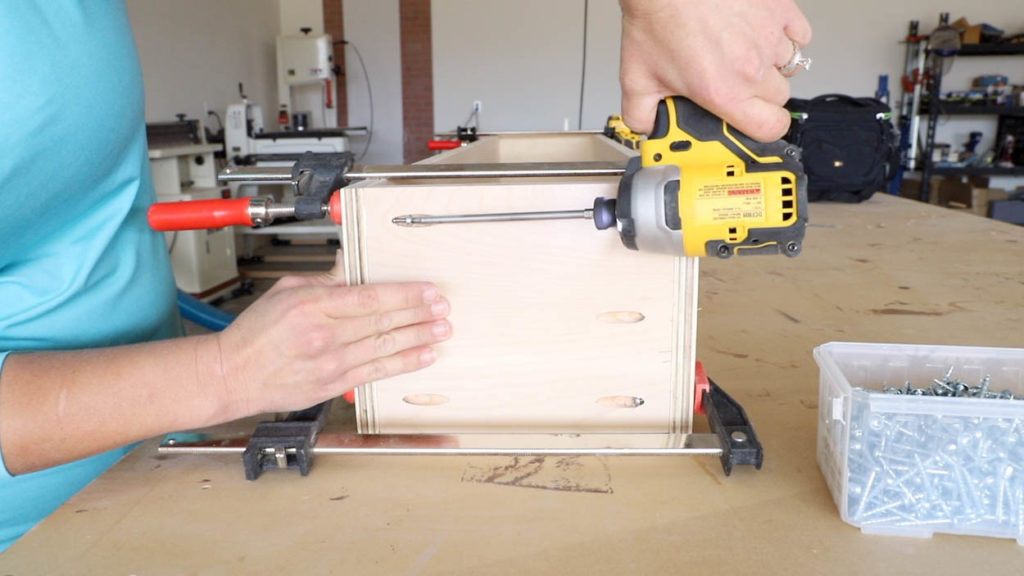
Attach the drawer pieces together with 1 1/4″ pocket screws.
- Nail drawer bottom in place
Using 1 1/4″ brad nails, nail the drawer bottom in place.
- Install door hinges
Using euro style hinges, install the cabinet doors with a 1/8″ gap above the base moulding. (no image of this step)
- Install drawer slides
Measure and find the center point of the drawer opening on each side of the fireplace. Install the side mount drawer slides centered on that point. Center the drawer slides on the drawer box as well, then attach with included screws.
- Install the drawer front
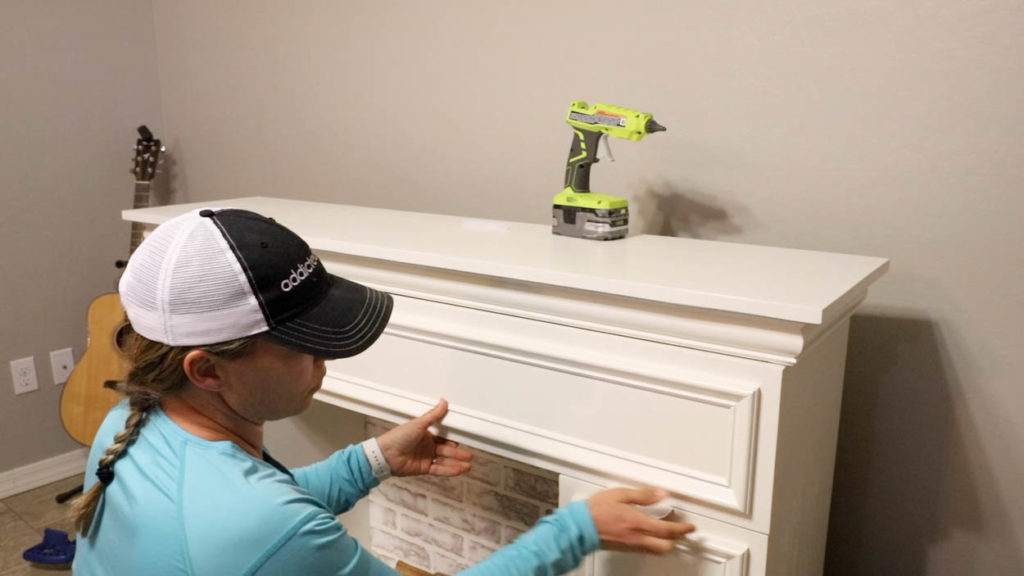
Using a hot glue gun, add a glob of glue on the ends and middle of the drawer front, then quickly set in place against the drawer box. Use playing cards to set the gap above the doors (approx 1/8″).
- Attach drawer front with screws
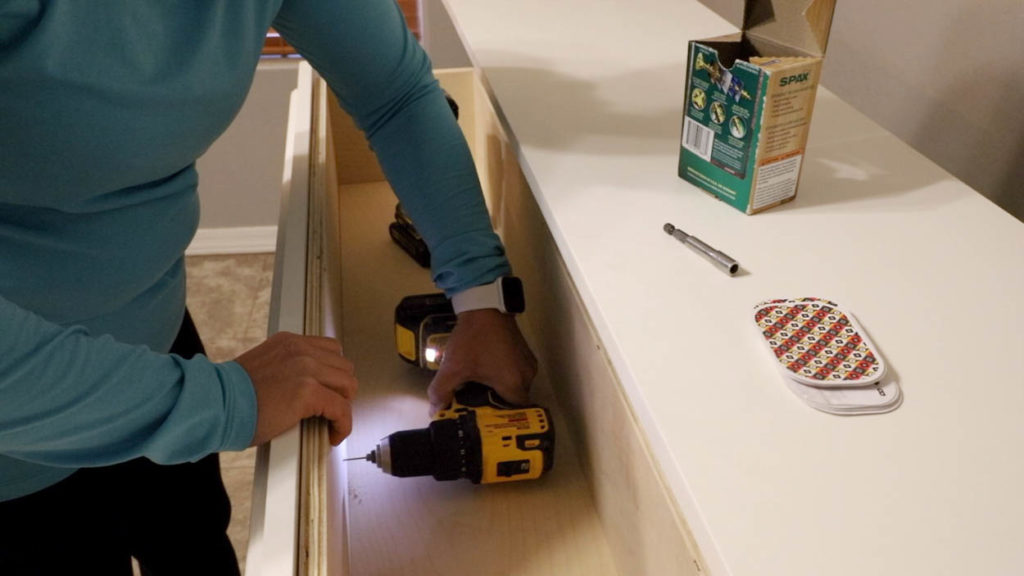
Carefully open the drawer and drill 1/16″ pilot holes into the drawer from the inside. Be careful to not drill all of the way through the drawer front. Attach the drawer with 1 1/4″ wood screws at each end and in the middle (2 screws in each spot).
Faux Fireplace With Storage and Faux Brick Backing
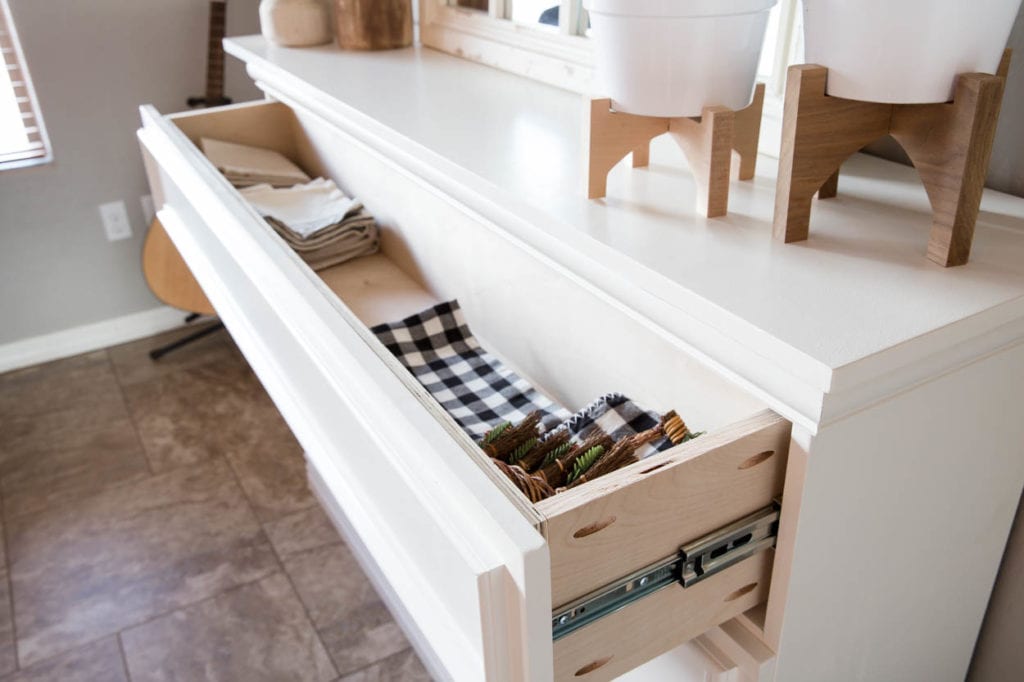
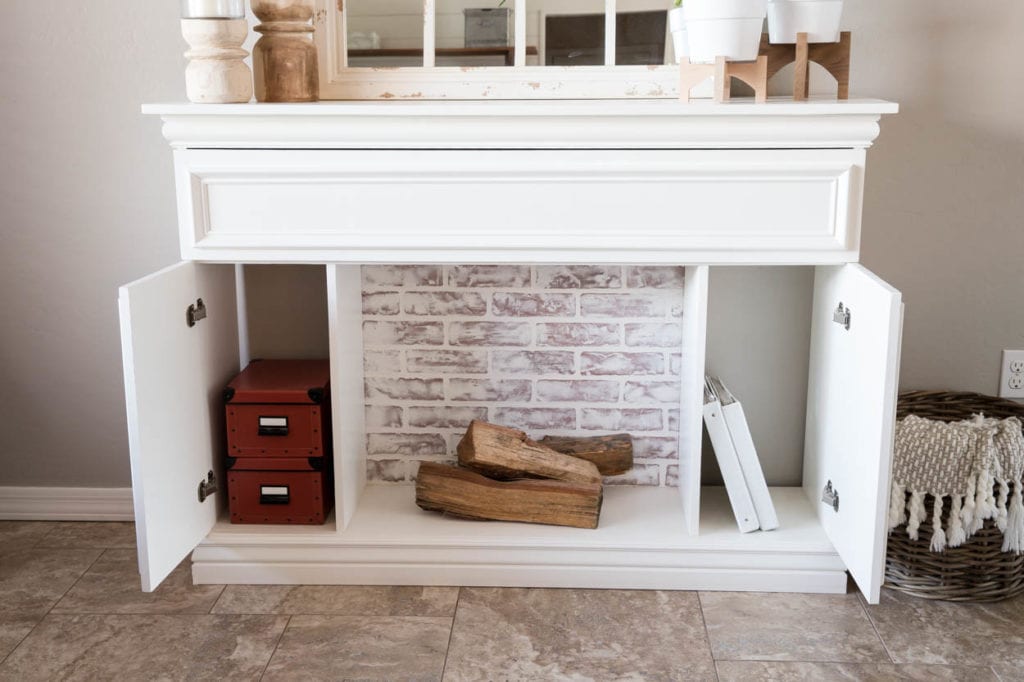
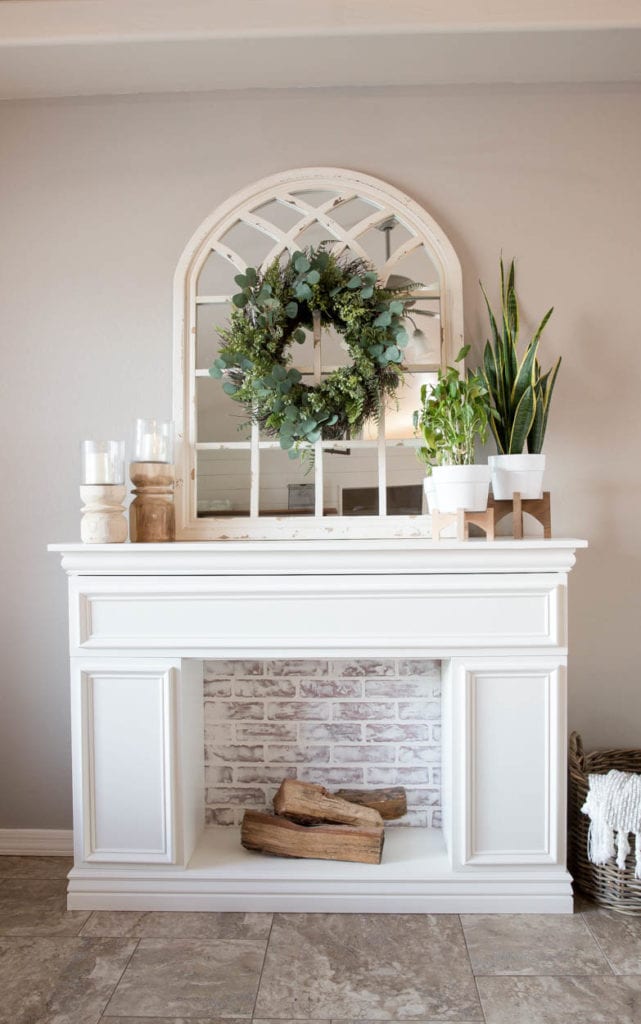
There’s so many things to love about this faux fireplace! For starters, the storage! The drawer is a great place to store table linens, movies, or whatever you need. The cabinets can store books, picture boxes, etc.
And how can you not love the overall look and statement it makes!? I get so many compliments on it and I LOVE decorating it for Christmas. In fact, that’s literally the reason behind building it. I wanted something pretty to display next to my Christmas tree. The beauty of DIY is that if you can imagine it, you can build it! Special thanks to DAP Products for partnering with me on this project. I love using their products to complete my DIY projects and sharing them all with you.
Don’t forget to download the printable plans to build your own!
Mixed Media Challenge
Make sure you check out all of the talented bloggers who participated in this month’s mixed media DIY Challenge!
Anika’s DIY Life
The Inspired Workshop
My Love 2 Create
My Repurposed Life
Ugly Duckling House
DISCLOSURE: I was provided product and/or compensation for this project. All opinions and ideas are 100% my own.



I LOVE this fireplace, Katie! The storage is genius, and the look is beautiful! I am building one!
Cara recently posted…DIY Firewood Holder
Katie,
Brilliant! A faux fireplace is good, but one with storage? So much better. Everyone needs a mantel, right?
pinning!
gail
Oh my gosh that looks amazing! We’re in the middle of designing our own to spruce up our living room. That storage space is such a game changer. We’re going with something a bit darker, it goes better with the rest of the room, and we were thinking of adding some shelves above it, but those cabinets and drawer totally eliminate the need for shelves. Thanks for inspiration!
You’re so welcome!