*This post is sponsored by The Home Depot.
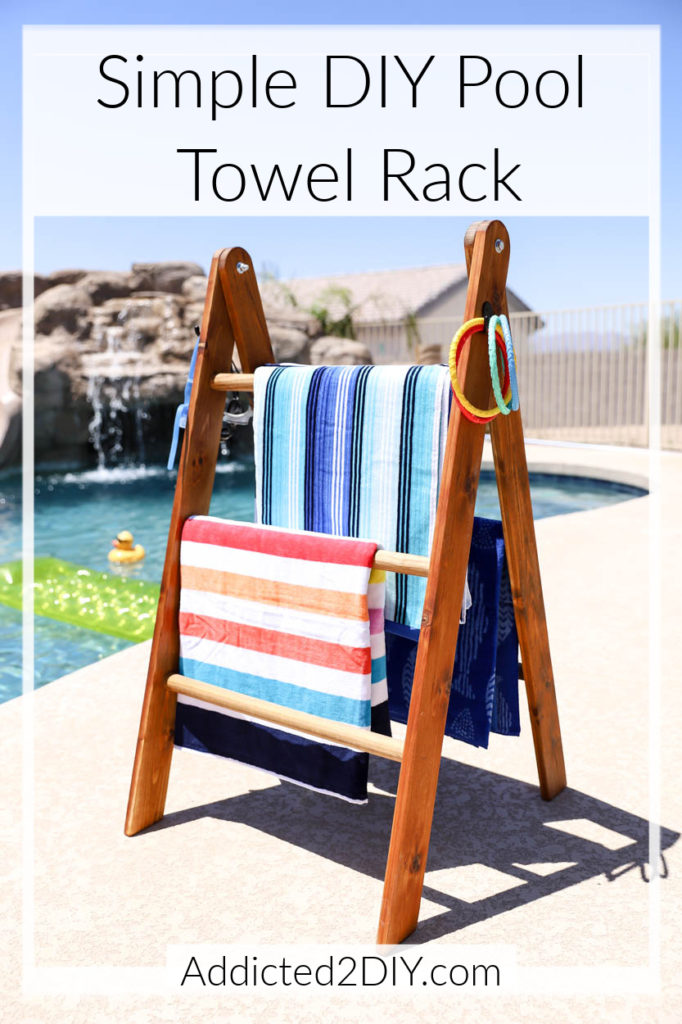
Learn how to build this DIY pool towel rack with just a few simple tools. It’s a great beginner DIY project that will not only look great, but will be a useful poolside accessory this summer.
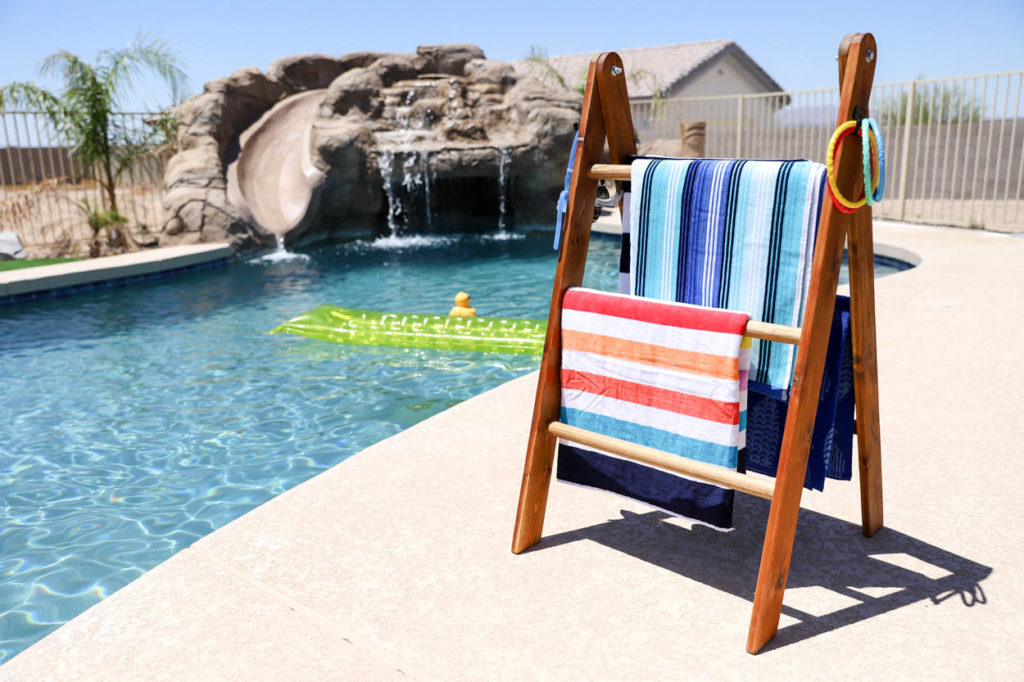
School is out for summer, which means the kids will be swimming multiple times a day, every day, until school is back in session. With that comes the dreaded pile of pool towels that get tossed all over the place. This summer I wanted to try to keep things a bit more organized. I’ve partnered with The Home Depot today to show you how to build this DIY pool towel rack. I’m also going to be sharing a little about some of the tools that I have used. This post contains affiliate links to the products I’ve used. Should you purchase a product from one of these links, I will receive a small commission at no added cost to you.
This project is also part of the monthly DIY challenge I host, and there’s so many incredible projects this month that you’re going to want to check out! I’ve linked to all of the talented bloggers’ sites at the end of this post!
How To Build A Towel Rack
This DIY pool towel rack is a great beginner build that does not require any complex tools in order to build it. I built the towel rack using cedar boards for the rails and pine dowels for the rungs. Initially, the rungs were to be conduit pipe, but that plan didn’t work out as well so I swapped out the pipe for wood.
Materials Needed For This Project
For this project, you’ll need:
- 2 cedar boards @ 8′ long
- 1 3/8″ wood dowel @ 12′ long
- 2 – 3/8″ x 2 1/2″ bolts
- 2 – 3/8″ nylon lock nuts
- 4 – 3/8″ washers
- 120 & 220 grit sandpaper
- finish of choice
Step 1
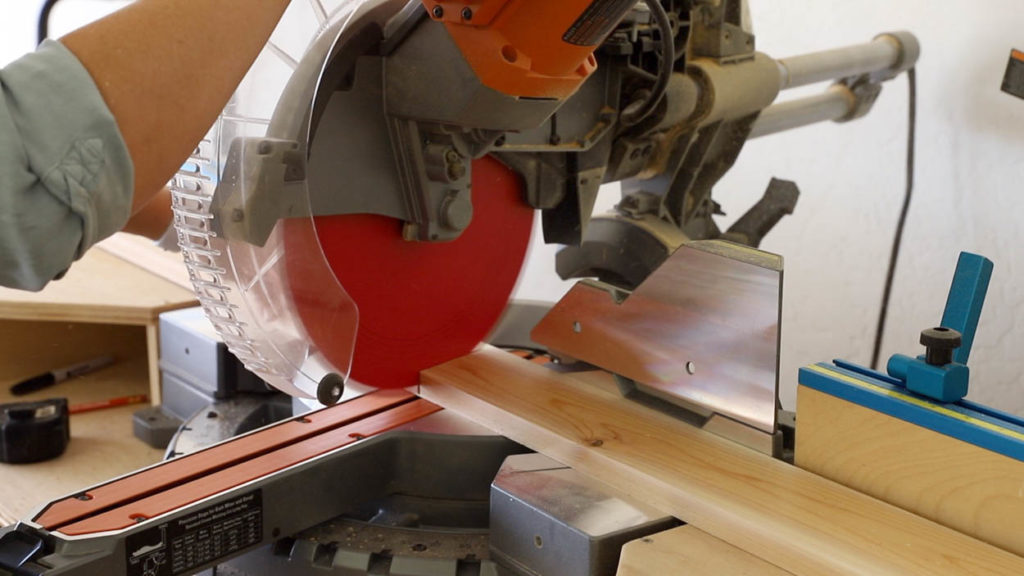
When you purchase cedar boards at The Home Depot, the boards are planed on one side and rough on the other. Sand the rough side smooth with 120 grit sandpaper. I cut the rails down to size at 47″ long with a 15 degree angle on the bottom.
Step 2
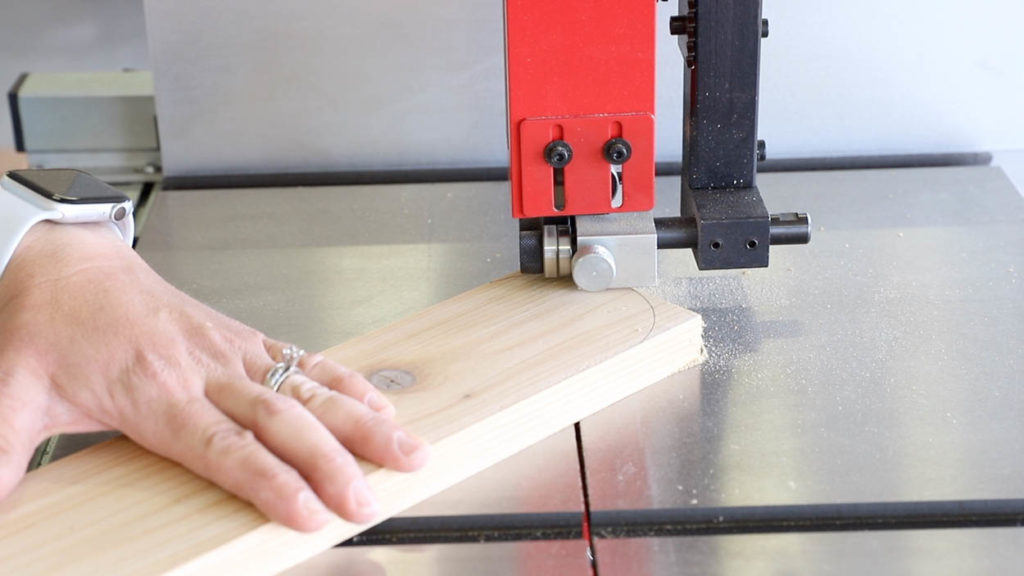
This step is optional. I chose to round off the tops of the rails on my bandsaw. This can also easily be done using a jigsaw. Mine happened to be in the house from another project and I was just too lazy to walk back to get it. You can also just leave them as is and not round them off at all!
Step 3
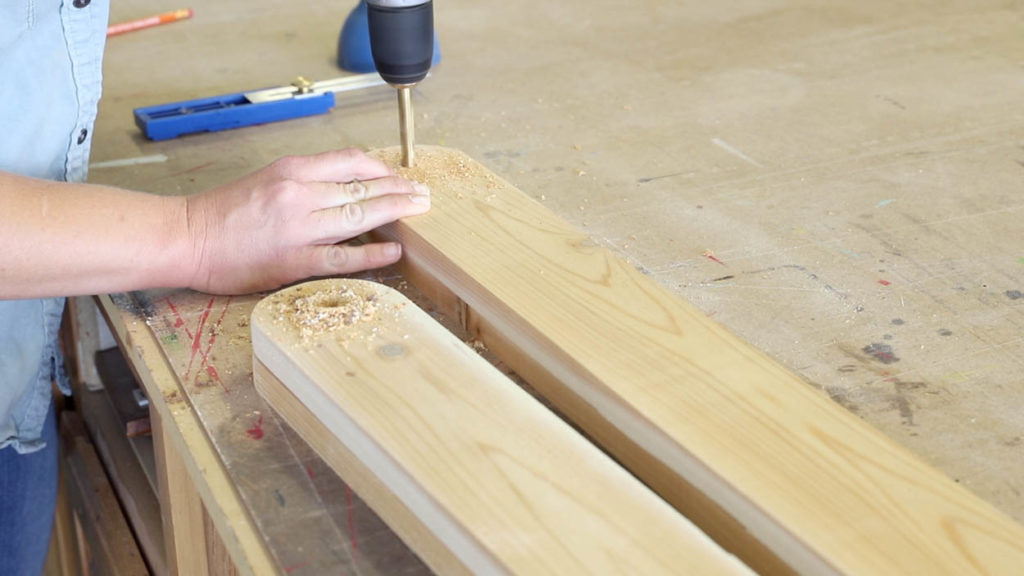
I measured and marked the center point of the boards to drill holes for the bolts to fit through. I used a 3/8″ drill bit for the holes.
How To Cut Metal Pipe
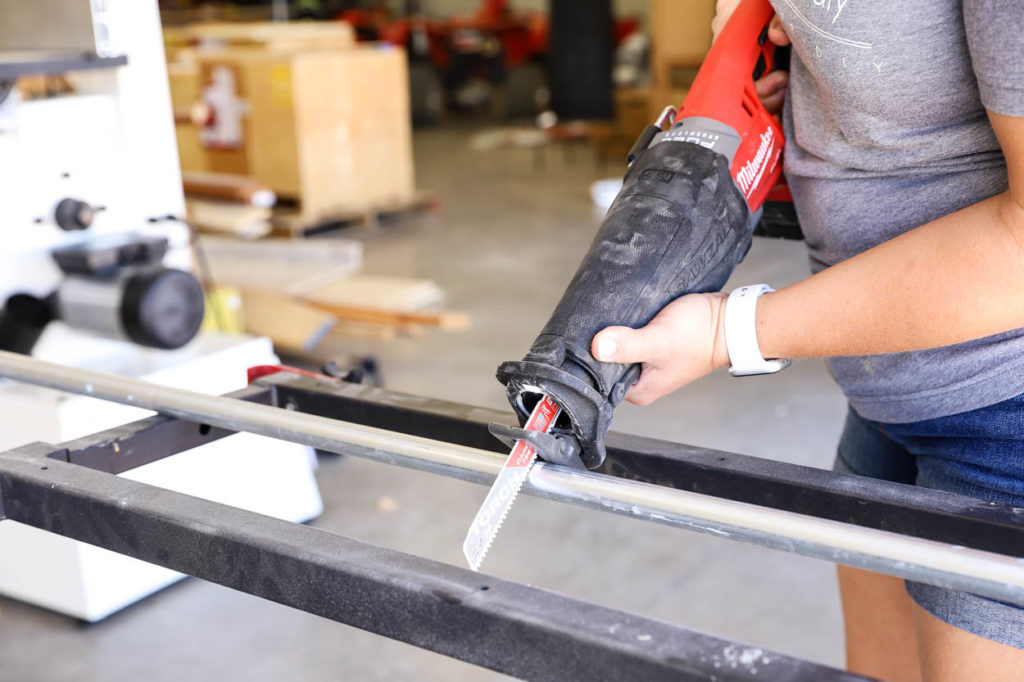
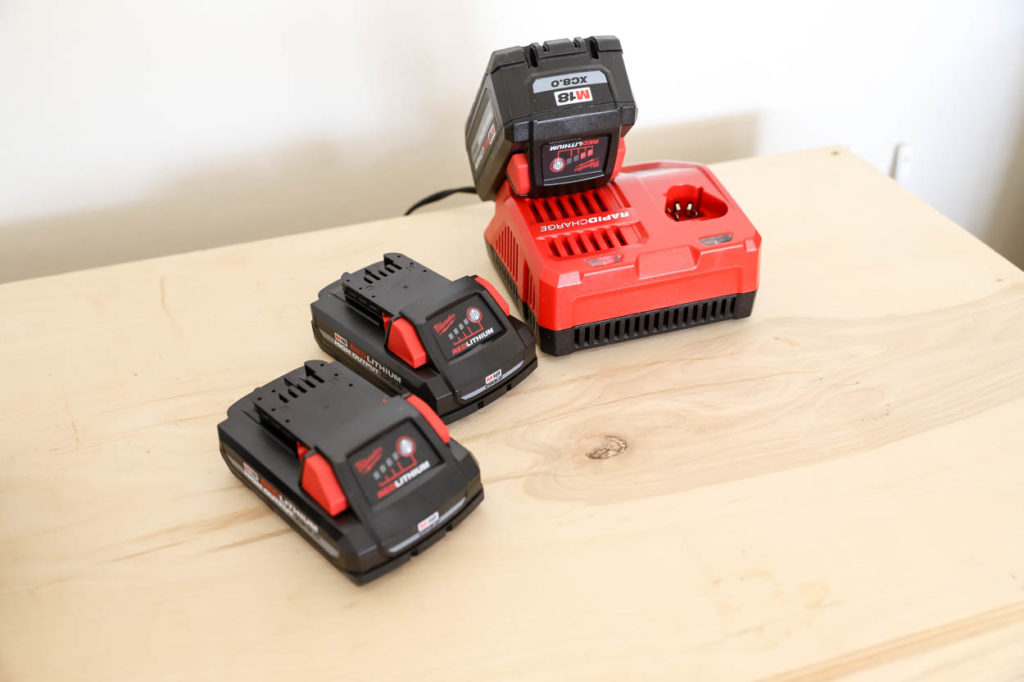
As I mentioned before, my original plan was to use metal conduit for the rungs. I grabbed my Milwaukee M18 Fuel 18-Volt Brushless Cordless Sawzall and fitted it with the Torch carbide teeth metal reciprocating saw blade. I loved how simple it was to get set up to cut. No cords to try to find outlets for. I added the battery from my M18 XC8.0ah starter kit and got to work. The torch blade cut through the conduit like a hot knife through butter. The high output battery made my Sawzall perform like it was running off a 15amp cord. All of the Milwaukee M18 batteries work with the 175+ tools in the M18 line, which makes swapping out batteries and tools extremely easy. I was able to charge my M18 3ah batteries on the same charger and swap them out, if needed. They also offer an amazing amount of power, but in a more compact size.
My plan was to use epoxy as “glue” for the conduit to fit inside the holes I drilled in the rails. Unfortunately, my 7/8″ forstner bit was too small and my 1″ forstner bit was too large. I still attempted to attach the rails using 5 minute epoxy, but it just wasn’t working out, so I scrapped the idea and bought wood dowels.
Step 4
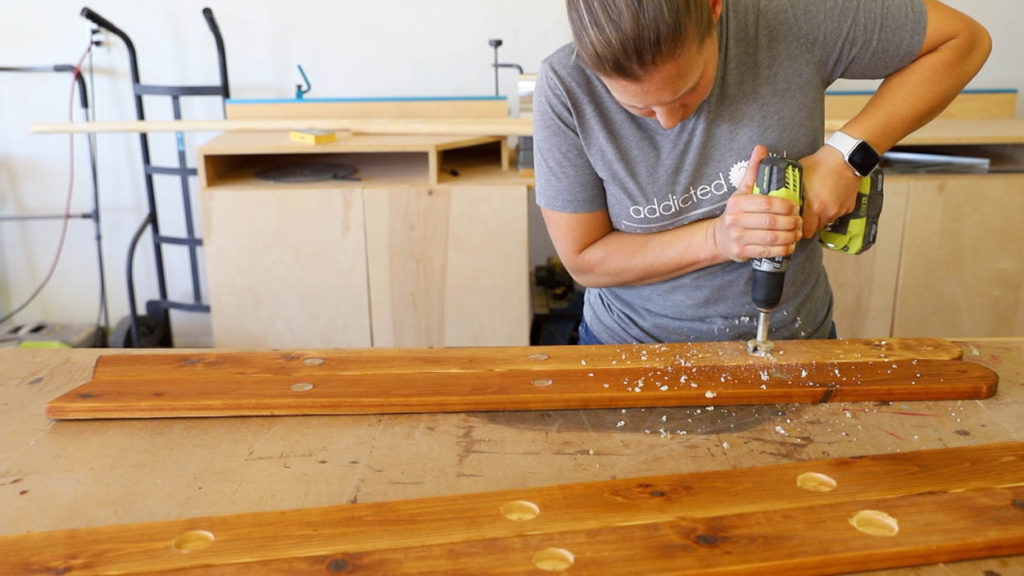
For the wood dowels to fit, I used a 1 3/8″ forstner bit to drill out the holes that I had previously drilled. These holes are about 1/4″ deep. I had already pre-stained the rails for the rack as well using an outdoor weatherproofing stain and let it dry overnight.
Step 5
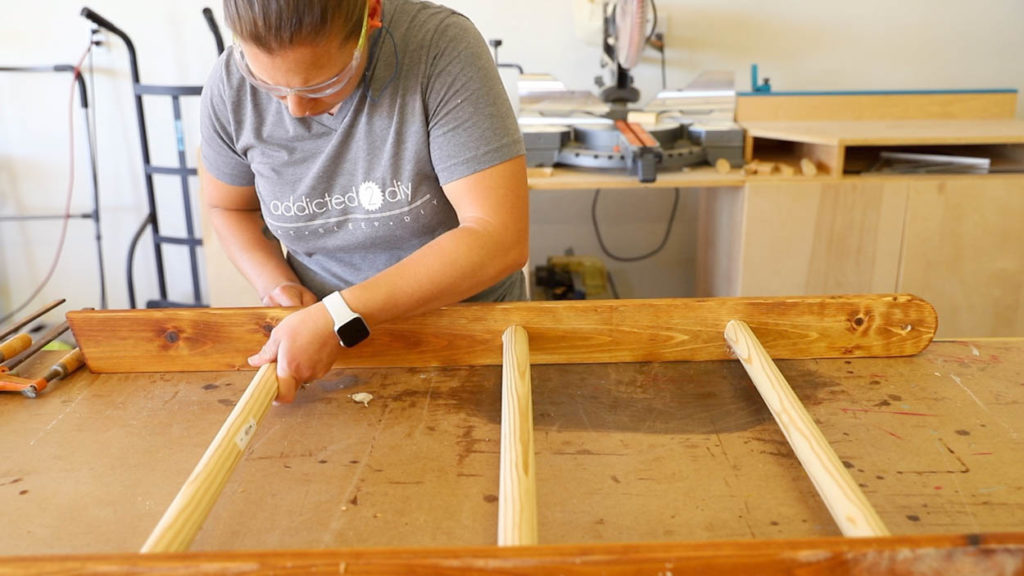
I cut the rungs for the towel rack down to size. For one side of the rack, I cut the rungs at 24″ long. For the other side, I cut the rungs at 22 1/2″ long. This allows one side of the rack to fit between the rails on the other side.
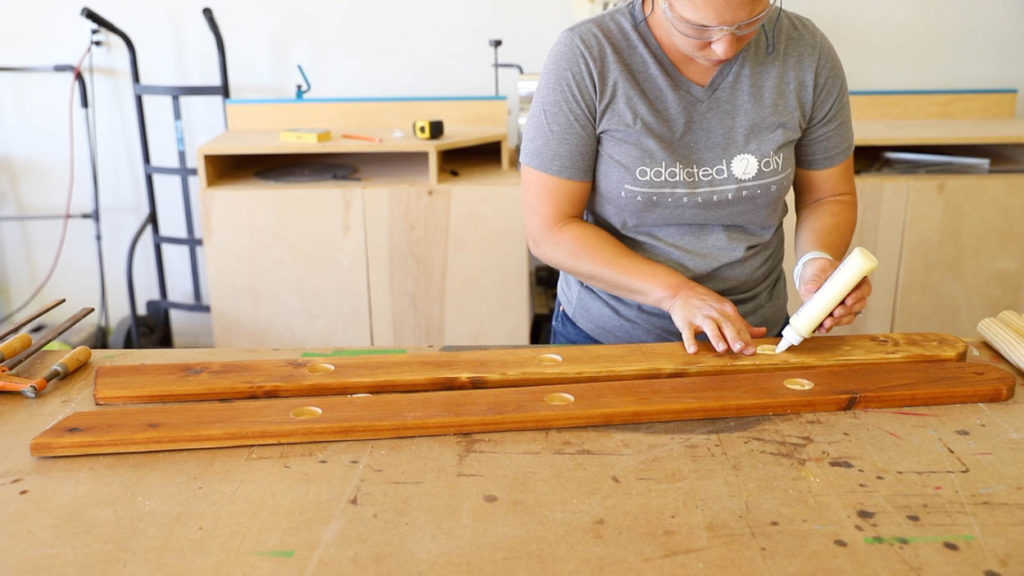
With the holes drilled out, I added wood glue to each of them, then inserted the dowels. I cleaned up any glue seepage, then clamped them together to dry.
Step 6
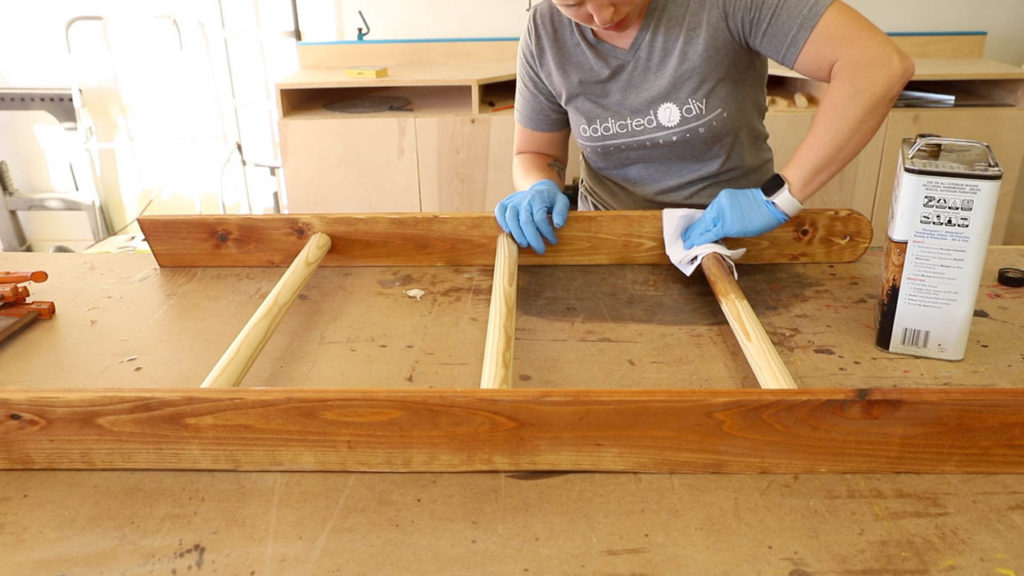
When the glue was dry, I applied weatherproofing stain to the rungs and let them dry overnight.
Step 7
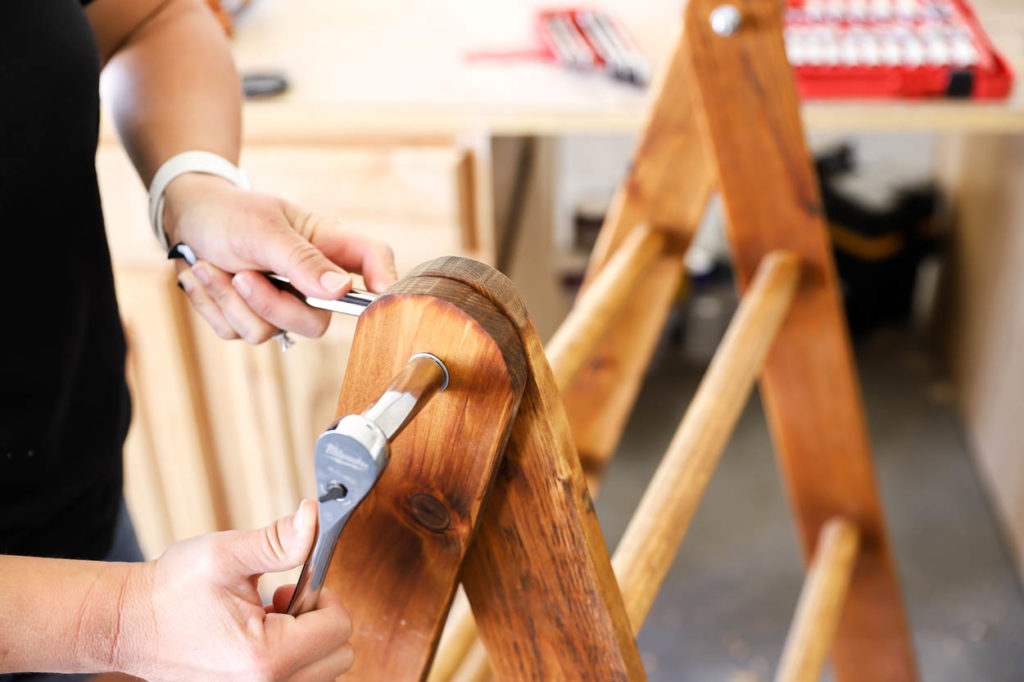
Once the rungs were dry, I attached the rails together using the 2 1/2″ bolts. I added a washer to each side and secured the bolts with nylon lock nuts. I used my new Milwaukee ratcheting wrench set and mechanic’s socket/ratchet set. I can’t even explain how much I love these two tool sets. I’ve been wanting my own socket and wrench set out in the shop for quite a while. I always end up borrowing my husband’s tools and it annoys both of us that I have to do that. Unfortunately, my husband want’s to lay claim to these and pass his old sets on to me. There’s been quite a bit of back and forth about these two sets since they arrived, which leads me to believe I need to put some sort of booby trap on my toolbox drawer to keep him out;)
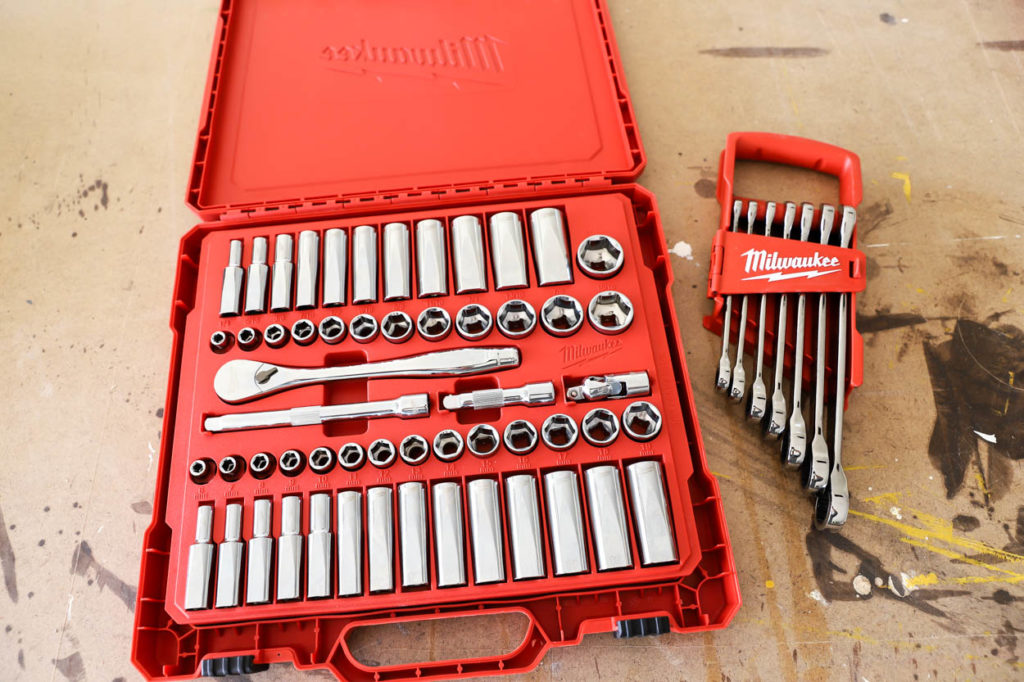
The ratchet set comes with both SAE and metric sockets and the case keeps them neatly organized. Another great function of the sockets is that they have flat sides so they won’t go rolling away and get lost when I’m quickly switching out sockets. The ratcheting wrenches work amazingly well. If you want to tighten or loosen a bolt, you just flip the wrench to either side. The open end of the wrench also boasts MAX BITE notches to give you more torque when tightening nuts and bolts. The handy carrying case makes it easy to take with you over to whatever you’re working on.
Step 8
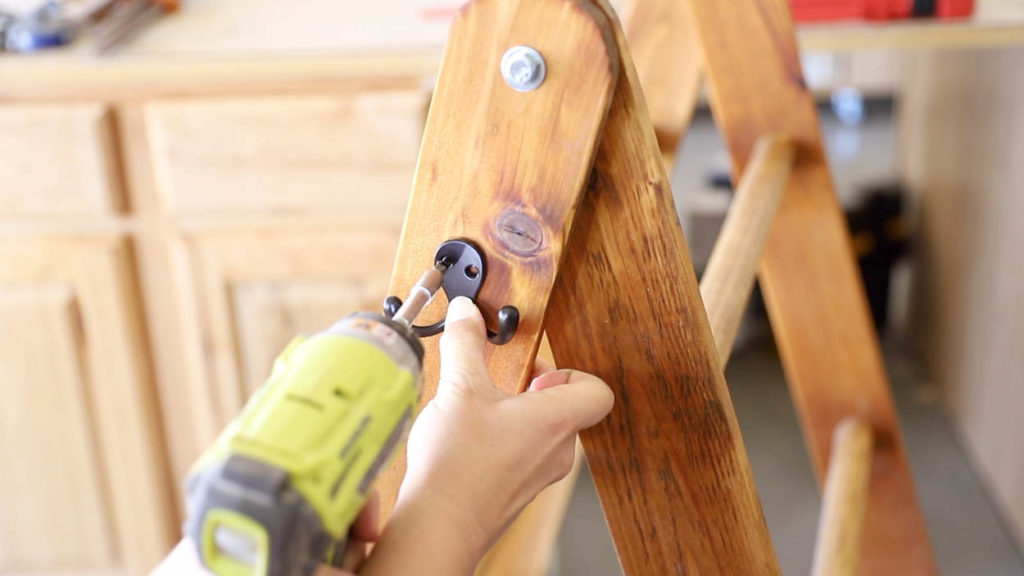
The final addition to this DIY pool towel rack is hooks on each side. My kids are always tossing their goggles all over the place, so the hooks are a perfect way to keep them neatly hung up and even store other toys like dive rings.
DIY Pool Towel Rack
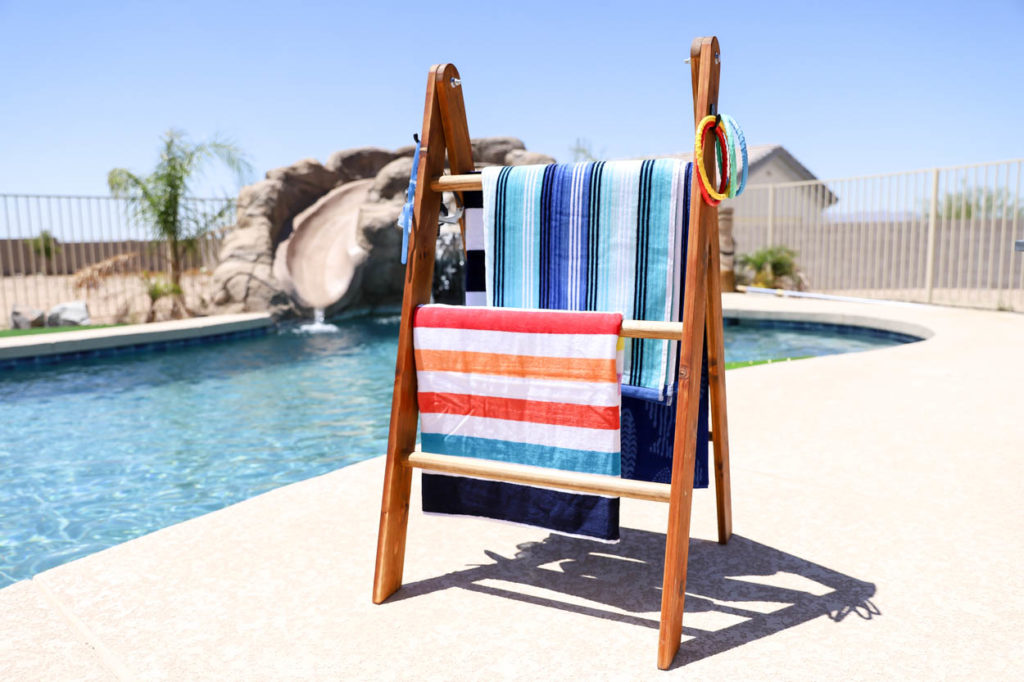
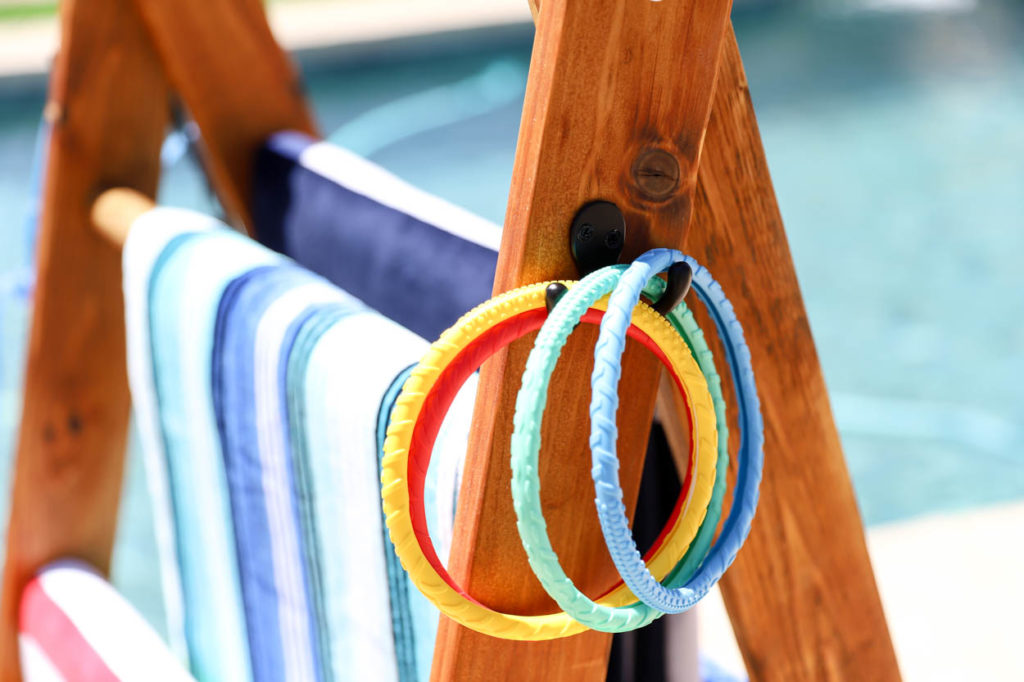
Even though this project didn’t go according to my original plan, I love how it turned out! Hanging some colorful beach towels on it not only makes it a functional piece for organization, but it really spruces up our pool area! Here’s hoping it helps my kids keep things a little more organized this summer. A mom can hope, right? What are some ways that you keep your pool area organized?
Make sure that you check out all of the other amazing DIY outdoor projects, built by the talented bloggers participating in this month’s challenge!
RemodelaCasa
Jaime Costiglio
The Created Home
Anikas DIY Life
The Inspired Workshop
The Awesome Orange
DIY Huntress
My Love 2 Create
My Repurposed Life
Ugly Duckling House
House Becoming Home
Joyful Derivatives
DISCLOSURE: I acknowledge that The Home Depot is partnering with me to participate in the promotional program described above (the “Program”). As part of the Program, I am receiving compensation in the form of products and services, for the purpose of promoting The Home Depot. All expressed opinions and experiences are my own words. My post complies with the Word Of Mouth Marketing Association (WOMMA) Ethics Code and applicable Federal Trade Commission guidelines.

Katie,
I wish I had a pool! 🙂 I love your diy pool towel rack. Great tips, pinned!
gail
Thank you, Gail! We’ll see if the kids use it like they should this summer;)
I’m with Gail, I wish I had a pool. – I love the towel rack with the wooden dowels and hey, those ratcheting sets are the bomb! ❤️
Yes, they definitely are! I have a feeling it will be a constant battle with my husband over ownership of them! LOL!
I love this idea–so smart! And it looks great too! 🙂
Angie recently posted…DIY Chippendale Planter
This is incredible! Love the finished product. Very clean-looking and simple! And your pool is just stunning. Great job!!!
Thank you, Madison!
This is a great, simple project with huge functionality! If I had a pool, I’d be making one right now. 😉
Thank you, Rachel!
you’re welcome!
I love this and plan on making this on the weekend. What stain color is that and what brand?
Hi Melanie,
It’s Thompson’s Water Seal Timber Oil and the color is Teak.
Pretty neat, but is the bottom dowel useless for towels? It looks like they would drag on the ground. Would you suggest making it taller instead, so that all 3 dowels can be used?
Hi James,
You can definitely make it taller if you like!
Thank you! This looks like it might work well as a rack for blankets as well. Somehow I’ve accumulated several serape blankets I don’t want to part with.
Kelly recently posted…Hello world!