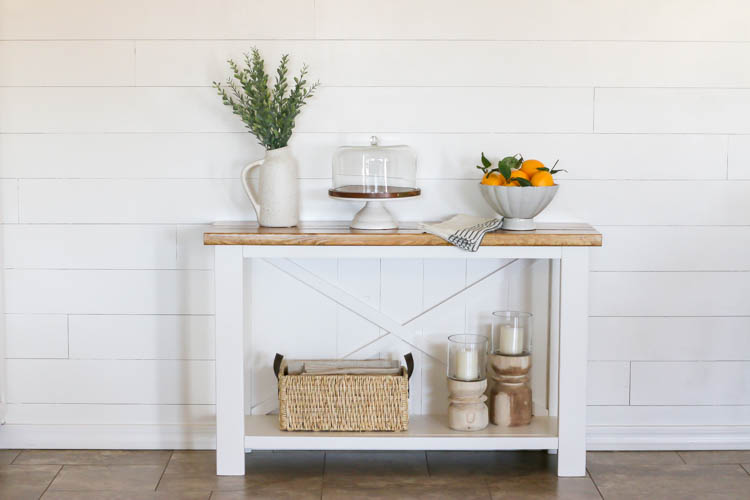
This farmhouse style console table is a beautiful addition to any dining room, kitchen, or hallway. You can learn how to build your own farmhouse console table by downloading the printable plans and tutorial for this project.
Do you love a good knockoff? For me, I love to gain inspiration from my favorite stores, but oftentimes, it’s just way too expensive to buy a piece of furniture from the store. In fact, that’s how I got started in building furniture for my home. I couldn’t afford to spend hundreds of dollars on a single table that, in reality, was just decor for my hallway. On top of that, I loved the idea that I could resize the item to meet my needs and make sure the color was exactly what I was wanting. I’m partnering up with 7 other incredibly talented bloggers today to share our knockoff projects that you can build for under $100! I’ve linked to all of their projects at the end of this post, so I do hope you’ll stop by and pay each of them a visit!
For my project, I chose to recreate a farmhouse console table from Pier 1 that I’ve had my eye on for a while. I loved the rustic simplicity of it and I knew I could easily build it for under $100. In fact, I only spent about $40 to buy the lumber for this project! The only thing I didn’t buy was the plywood for the shelf on the bottom, since I had several scraps that I could use. You can find the printable plans for this project below, plus I’ve also put together a step-by-step tutorial AND a YouTube video.
Watch The YouTube Video
Download The Printable Plans
Click the link above to download the printable plans for this project! The plans include the materials list and the cut list for this project.
Step 1:
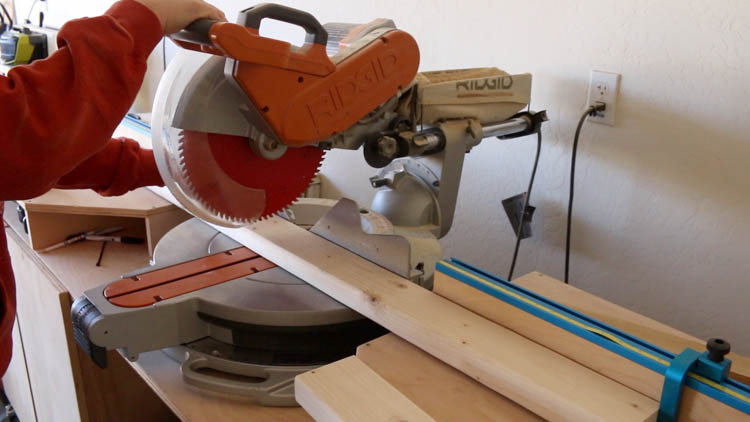
Start by cutting all of your lumber down to size. The only thing you’ll save for later is the 1×2 pieces that make up the X on the back of the table, and the plywood for the bottom shelf.
Step 2:
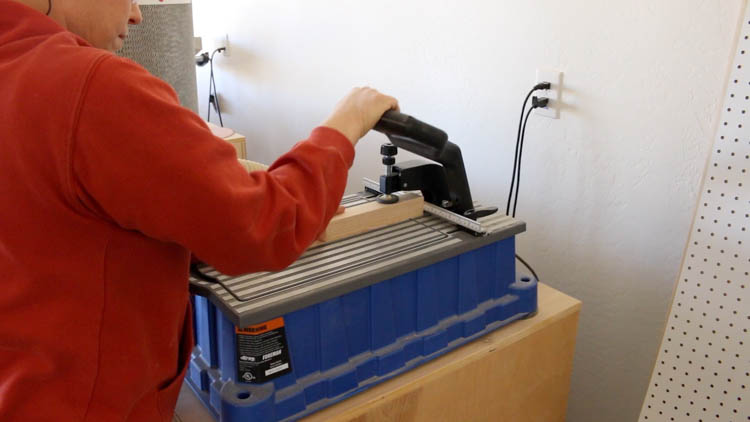
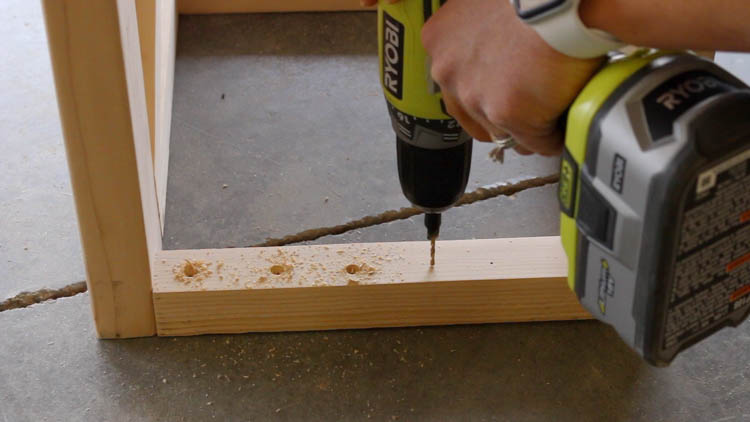
Use a Kreg Jig to drill all of your pocket holes. I love using my Kreg Foreman, but if you’re just getting started, you can use a Kreg K4, or even a Kreg K3 and you’ll get the same result.
Step 3:
Drill 1 1/2” pocket holes into each end of the 2×2 stretchers. Attach the top stretchers flush with the tops of the 2×4 legs using wood glue and 2 1/2” pocket screws. Measure and mark 3 1/2” from the bottoms of the 2×4 legs and attach the bottom stretchers at that mark with wood glue and 2 1/2” pocket screws. The stretchers should be flush with the outside edges of the legs.
Step 4:
Drill 1 1/2” pocket holes into the 2×2 apron pieces. Attach in the same manner as the stretchers on the ends of the console table, using wood glue and 2 1/2” pocket screws.
Step 5:
Drill 3/4” pocket holes into the rear 1×2 apron pieces. Attach to the back side of the frame with wood glue and 1 1/4” pocket screws. The rear apron pieces will be flush with the inside face of the back legs.
Step 6:
I don’t have a photo for this step, but you can see what I mean when you download the plans. I built this in the wrong order and at this point should have measured and marked the 1×2 pieces that make up the X. It is a lot easier to do when you don’t have the boards attached that make up the back of the console.
Step 7:
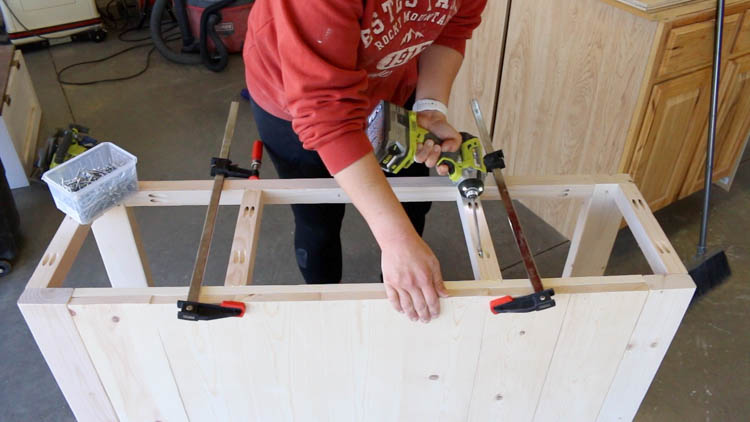
Apply wood glue to the 1×2 apron pieces, then fit the 1×6 boards into place. The final board may need a little persuasion with a mallet to fit into place. Attach to the 1x2s using 1 1/4” brad nails.
Step 8:
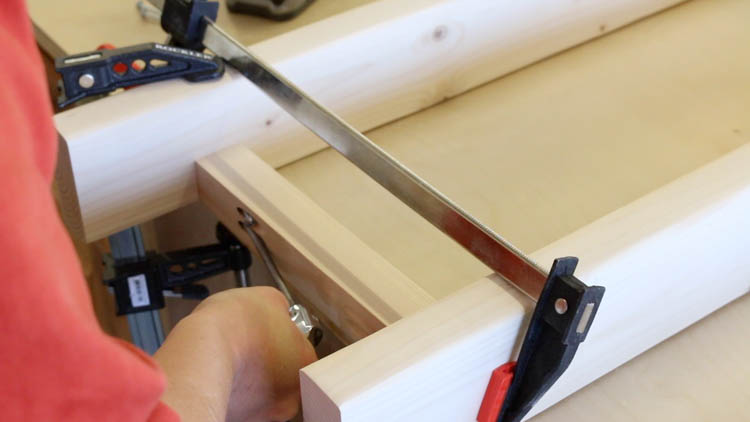
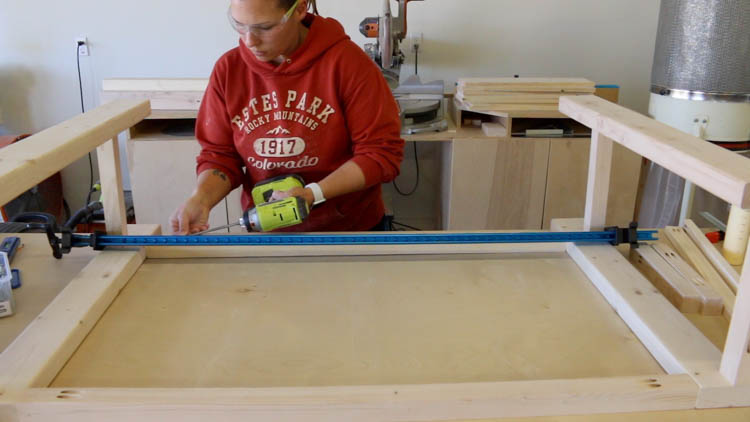
Drill 1 1/2” pocket holes into the 2 remaining 2×2 stretchers. Measure and mark their attachment locations per the printable plans. Attach using wood glue and 2 1/2” pocket screws.
Step 9:
Measure and cut the plywood shelf to size. Drill 3/4” pocket holes into each edge of the plywood. Attach the shelf flush with the top edge of the lower aprons and stretchers with wood glue and 1 1/4” pocket screws.
Step 10:
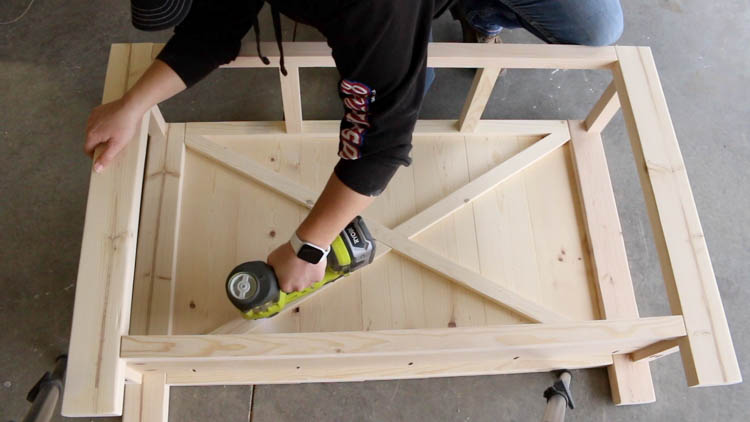
Glue and attach the X pieces to the 1×6 boards using 1 1/4” brad nails. The nail holes can be filled in using wood filler or left as is for a more rustic look.
Step 11:
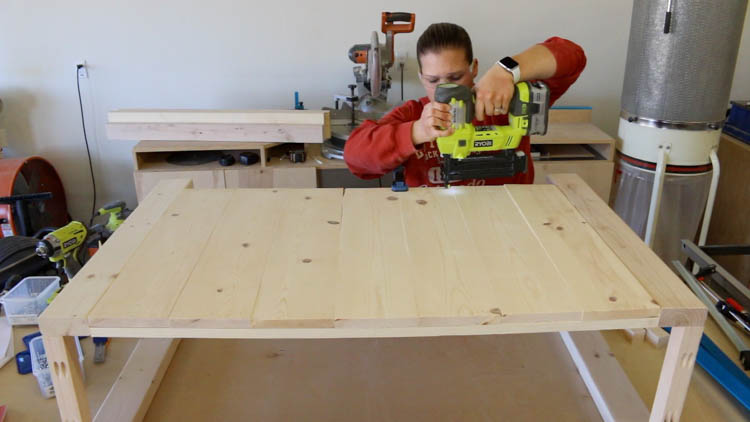
While the console base is standing upright, place the boards on top that will make up the table top. Make pencil marks on the underside of the 2×2 stretchers where you would like to drill pilot holes for the boards to be attached. Use a countersink drill bit to drill two pilot holes per table top board into the 2x2s.
Step 12:

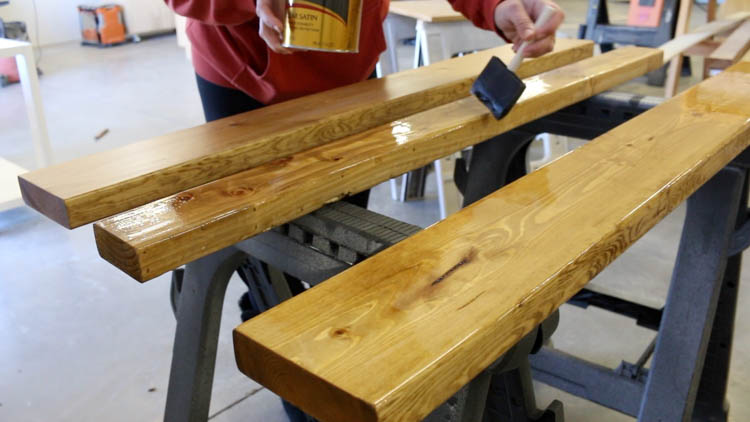
Finish your project as desired. I sanded everything down with 220 grit sandpaper and then painted the base with Behr paint+primer in Swiss Coffee. I Finished the top boards using golden oak stain and three coats of satin polyurethane.
Step 13:
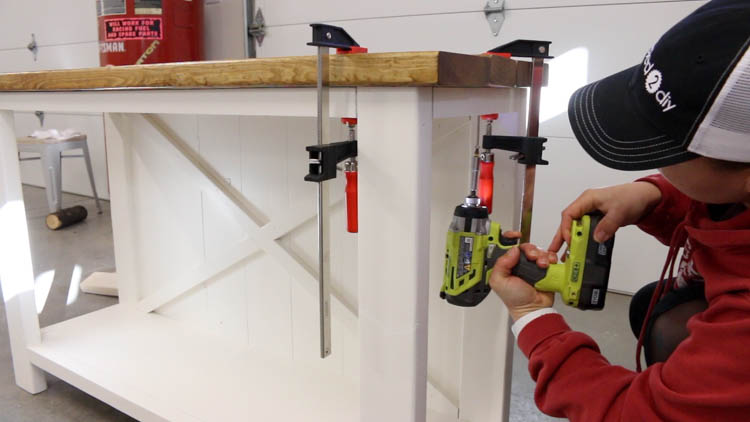
Clamp the boards down to the base and attach using 2 1/2″ wood screws in all of the pilot holes you drilled.
Enjoy Your Project!
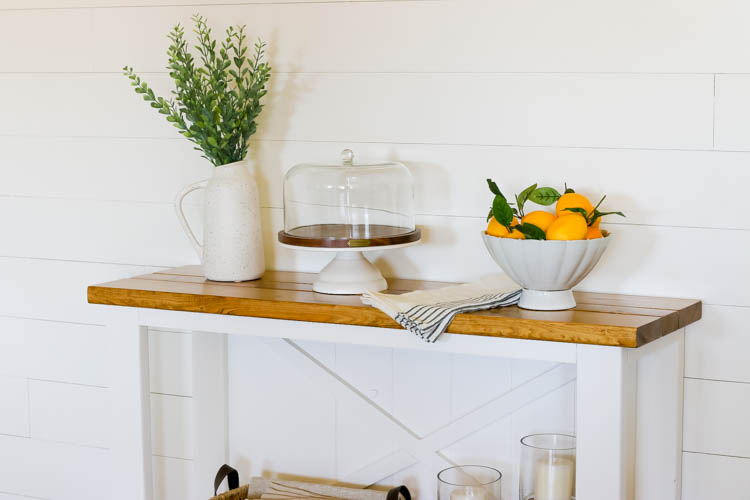
I’m so happy with how this table turned out. I staged it in my dining room and it looks so pretty against my faux shiplap wall. Now I just need to build a smaller dining table so that everything will fit! Don’t forget that you can download the printable plans for this project and build your own. If you decide to, I’d love to see it! Feel free to email photos to me at katie@addicted2diy.com for a chance to be featured on social media!
Make sure that you also visit the other bloggers who are participating in this monthly DIY challenge and see what they’ve created! Make sure you stay tuned for next month as well when we’ll be building organization projects!





I love it! I am a sucker for anything with an X detail. You did a beautiful job!
Stacy Risenmay recently posted…DIY Bench {Knock off Challenge}
Thank you Stacy! I’m the same way! I actually have to stop myself from building too many projects with them! LOL!
Love it Katie! So much better to spend $40 than a few hundred! Beautiful!
Thank you so much, Cara! It was such a fun challenge!
Awesome built, Katie! Love the dual tone you gave it.
Thanks so much, Cristina!
I loooovvvvee this table!!! I have a question, do you have an issue with the knots or wood bleeding through the paint when just using Behr paint+primer , instead of using Zinsser Bulls Eye 1-2-3 and Paint. I’m about to build a bed and want to paint it white, but I’ve read a couple of blogs where they recommend to prime it with Zinsser before painting to prevent the knots from bleeding through the paint.
So far, I have not, but you can definitely prime the wood first. I have also heard of using shellac over the knots to seal them in prior to painting to prevent the bleed through.
You did an amazing job. This will be my first ever furniture project
Cristy Colombo recently posted…How to use Chalk Couture Inks