Hey guys! Have you started decorating for fall yet? I just got started last week and I’m hoping Mother Nature somehow takes the hint and brings us some cooler weather soon. If you saw my DIY Rustic Industrial Wheelbarrow project, you might have seen these pretty faux galvanized pumpkins in the photos. I had never tried a faux galvanized technique until I took a painting class at Haven Conference and learned so many great painting techniques, including a faux galvanized finish. It was so fun trying different techniques, but the faux galvanized look was my favorite. To get the look for these pumpkins, I modified the technique I learned and came up with a method I felt worked great on these. To help you out, I included some affiliate links to products I used for this project. Should you purchase anything from these links, I will receive a small commission at no extra cost to you.
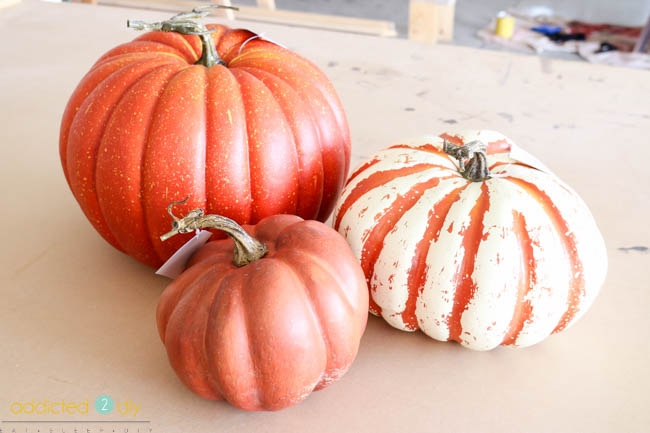
I bought three various sized pumpkins from Hobby Lobby. They were 40% off, so not a bad deal at all. They actually had some galvanized metal pumpkins for sale, but one of them was the same cost as all three of these pumpkins. That in itself is reason enough to try this!
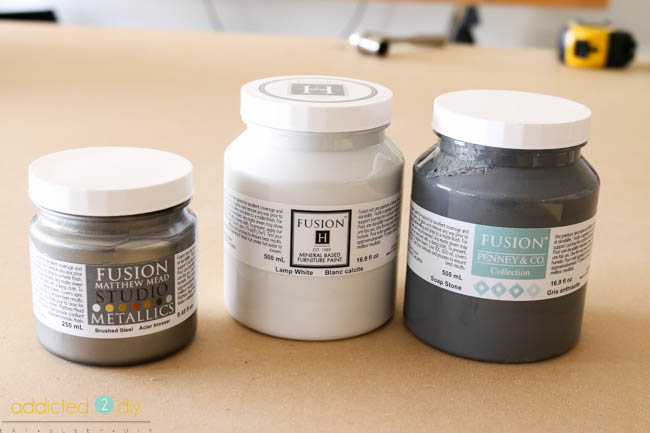
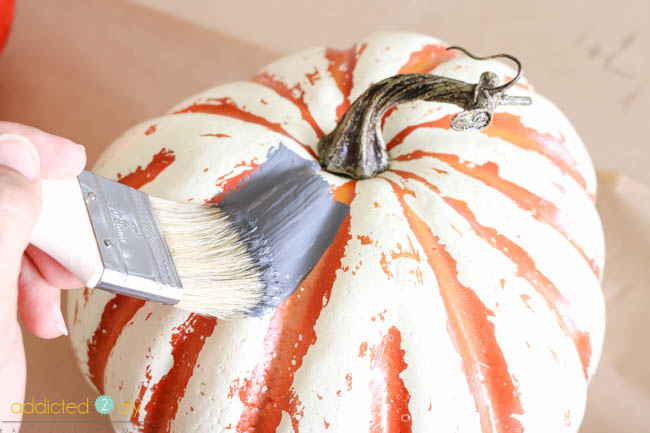
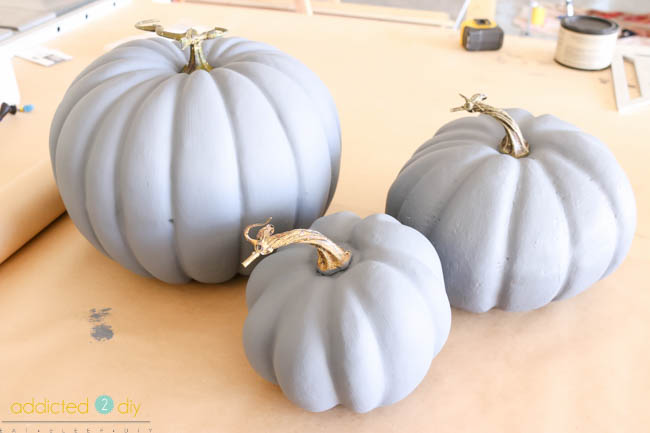
I started by painting the pumpkins with the darker grey (soapstone) paint. If you don’t have the Fusion paint, you can use any acrylic or chalk paint.
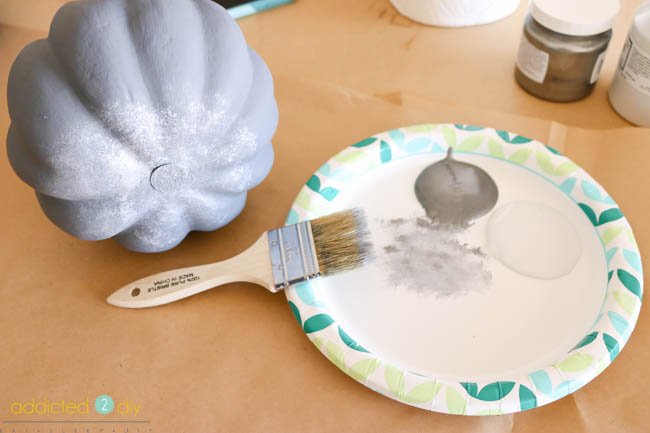
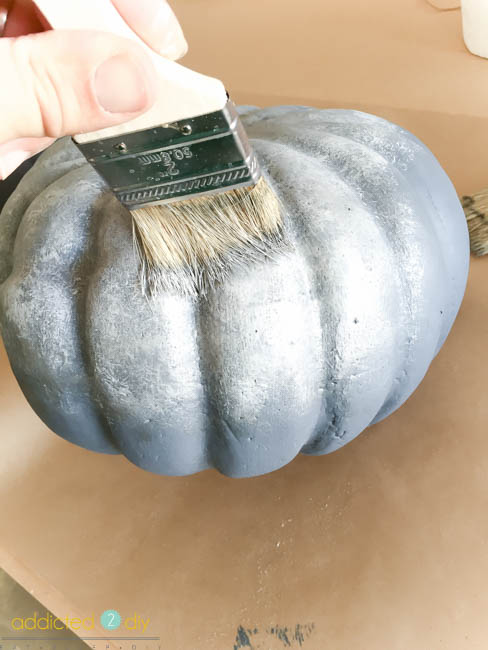
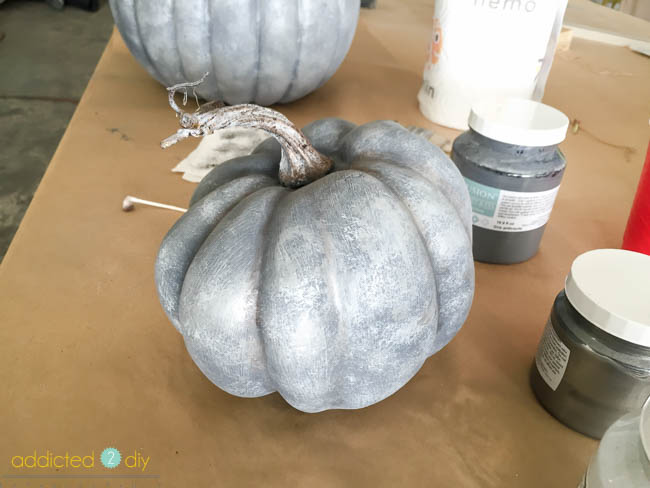
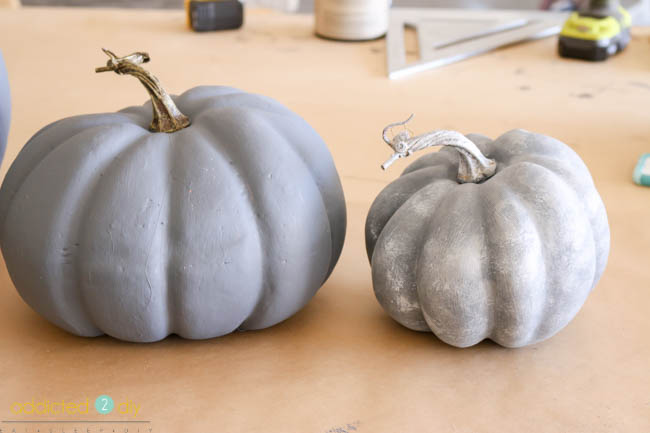
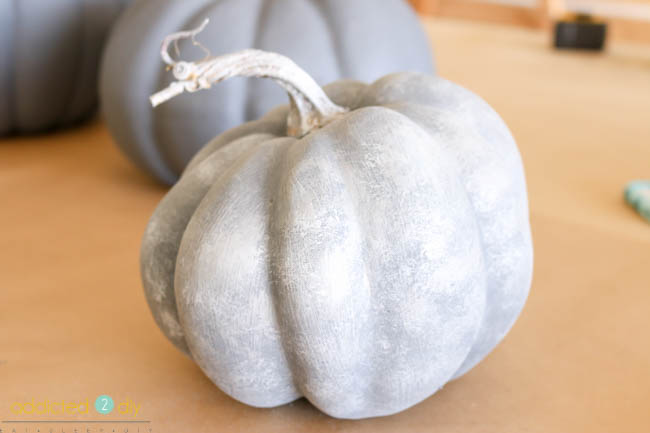
You can see the difference between the two pumpkins. The metallic paint gives it just a little bit of sheen and the white paint gives it the oxidized look of galvanized metal.
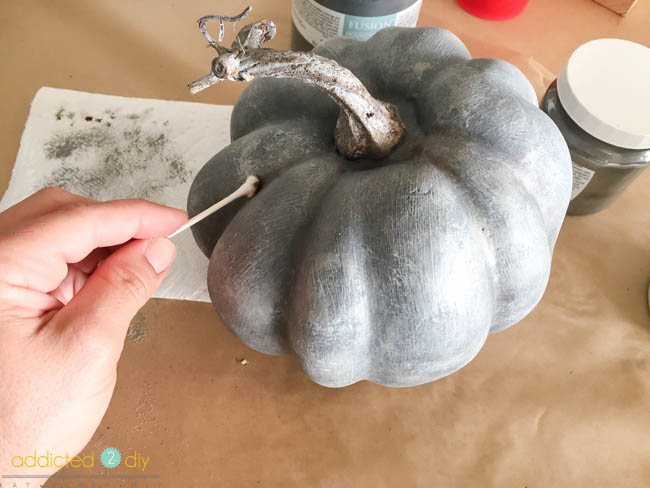
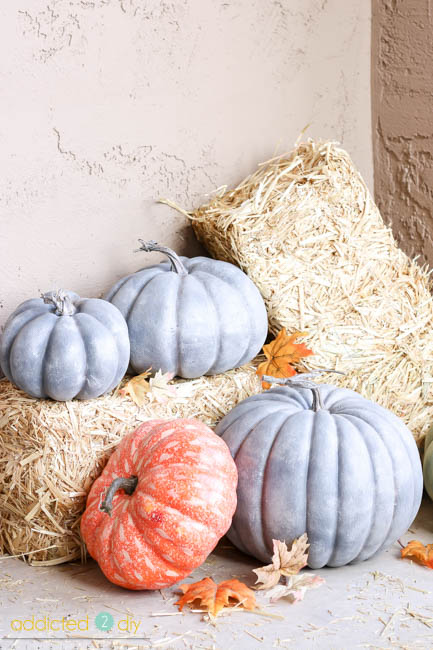
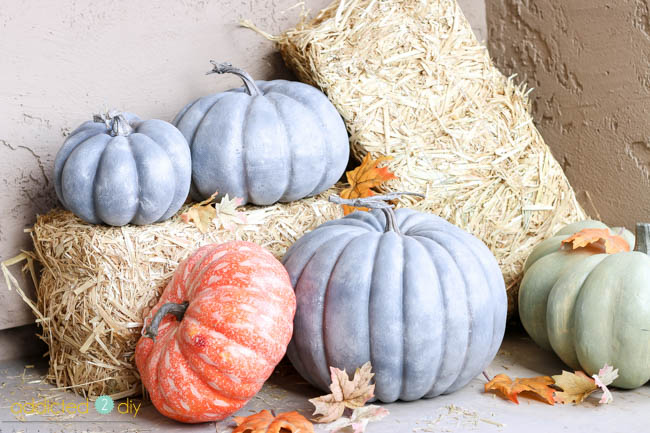
I seriously can’t get over how great the pumpkins look with my fall decor. They add that little something extra to break up the traditional fall colors. They were so simple to make and I can’t wait to try this faux galvanized technique on other projects! I’m definitely thinking I’ll be making some galvanized Christmas decor this year, too! What do you think you’d try this technique on?

Love your idea to do a galvanized finish on pumpkins! They look fantastic.
Amy | Canary Street recently posted…Easy Decoupaged Pumpkins
Thank you, Amy! It was so fun to make them and I can’t wait to try this on other projects.