*This post contains affiliate links*
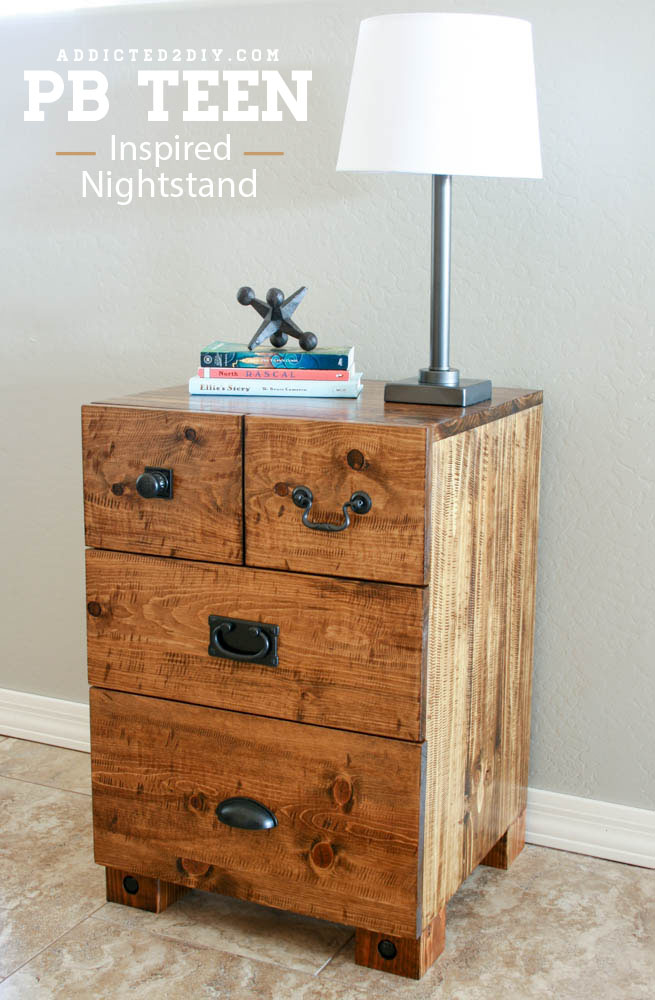
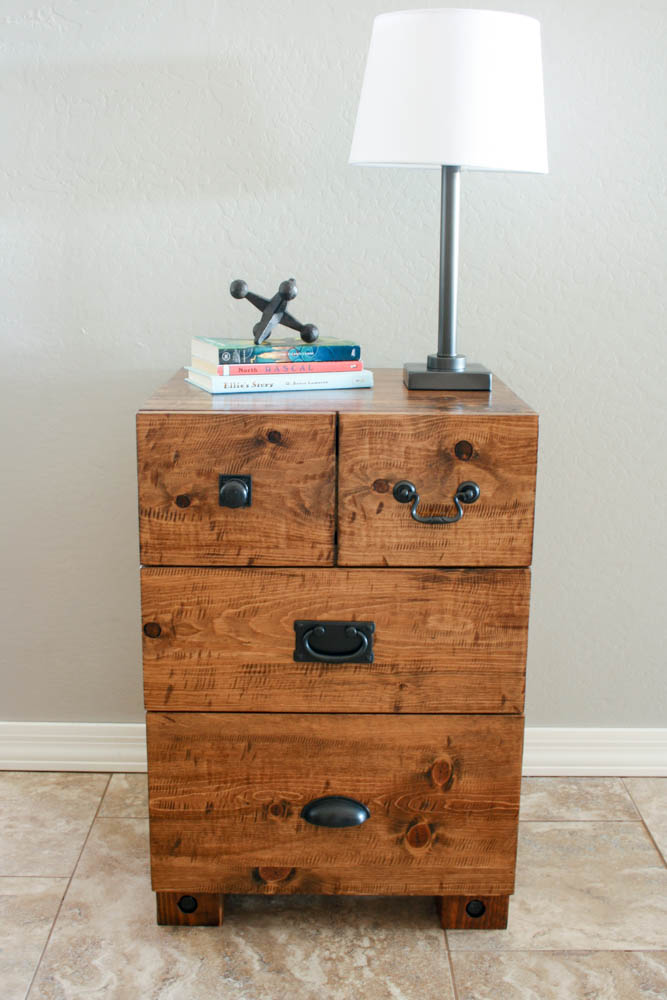
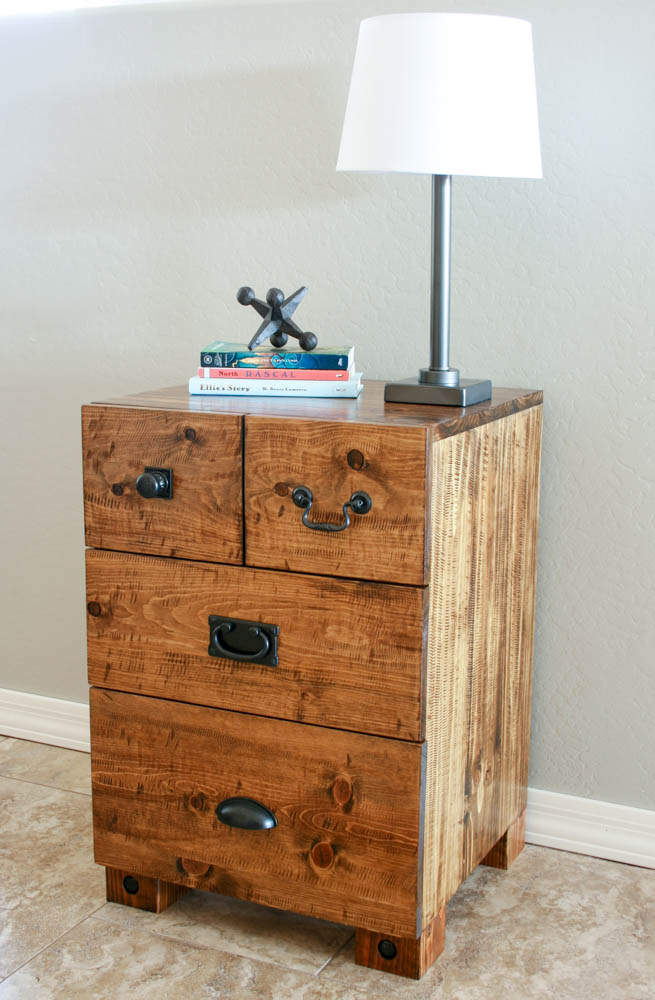
Hey everyone! I am so excited to share this latest project with you. It’s a knockoff version of the PB Teen Emerson Bedside Table. I built it for my oldest son and I couldn’t be happier with how it turned out! The original version is $399, but this version cost me only around $60 to build. Part of that was because I already had some of the wood on hand, but most of it I bought at Home Depot. I’ve also included the free printable plans to help you build your own! I’ll also be sharing the technique for getting those gorgeous “saw marks” that everyone wanted to know about. Let’s get started.
I cut the wood for the top and sides of the nightstand on my miter saw. Since this wood is being joined together to make one solid piece, you want to make sure it’s nice and straight.
One of the most important things to remember when building a project is to cut everything to size. The wood I bought was not exactly the size I was planning and expecting it would be, probably because it sat in the garage for a couple of weeks. My 1×8 boards should have been 7 1/4″, but were actually 7 1/16″. That may not seem like a big difference, but it made a huge impact on how I installed the drawer fronts. My 1×10 board was also supposed to be 9 1/4″, but it was closer to 9″. What this meant is when all of my drawer faces were placed on the nightstand, I was about a 1/2″ or more short from being flush with the bottom of the nightstand. I remedied this by ripping down my 1×10 drawer face to 8 1/8″, then drilled 3/4″ pocket holes and attached a 1×2 to the bottom of that. I didn’t take pictures of this step, but it made up the difference. Woodworking is all about being flexible!
I pre-drilled all of my pocket holes for all of the pieces. You’ll notice the arrows. That’s my trick for knowing where to drill my holes. It saves me from drilling into the wrong place. Not that I’ve ever done that or anything.
I attached the sides together using wood glue and 1 1/4″ pocket screws, then clamped and attached the top. I seriously love my Kreg right angle clamps. They make a world of difference when building projects like this.
Once the top and sides were together, I cut and attached the 3/4″ plywood base using 1 1/4″ pocket screws.
Next, I attached the 1×2 trim pieces, again using 1 1/4″ pocket screws and glue.
The three drawers are all different depths, so I cut the corresponding wood and built the boxes.
I used 1/4″ plywood for the bottoms of the drawers and attached it using wood glue and 5/8″ brad nails.


and slid the drawers into place. The drawer fronts will be face mount, so the drawers should be about flush with the sides.
Next, I attached the drawer faces. The top drawer has the appearance of two drawers, but it’s really just one. I glued and clamped the faces in place, then nailed them with 1 1/4″ brad nails. I nailed one nail in the front of each piece and then unclamped and finished nailing them from the insides of the drawers.
I cut my 4×4 legs and attached them using 2″ construction screws. I drove the screws in closer to the corners of the legs, because later I would be drilling a big hole right into the middle of them.
These big lag bolts are one of the decorative elements of the nightstand. I used a 1″ paddle bit to drill about 1/2″ deep into the center of the wood legs. I then used a 27/64th drill bit to allow the lag bolts to be screwed in.
I screwed them in just to test the depth. They should sit just inside the 1″ hole you drilled.
I sanded the entire nightstand and then it was ready to distress. This technique is something that popped into my head last year when I was building a big floating shelf for a friend of mine. She loved the saw marks in the Pottery Barn version and I wracked my brain for days until I had my “aha” moment. I figured out that using my grinder would be a great way to duplicate the look. It’s not perfect, but it’s as close enough as I can get to the look of saw marks without going out and buying a saw mill. I’ve got the space for it, but I can’t exactly build anything with cactus.
I lightly ran the grinder along the grain over all of the wood. This technique is something you really want to practice on scrap wood before you take a grinder to the project you’ve spent hours building. It takes some finesse, but it’s really so easy. You just want to have a light touch. I had a few “oops” moments and made a few nicks in the wood, but it’s supposed to be distressed anyway.
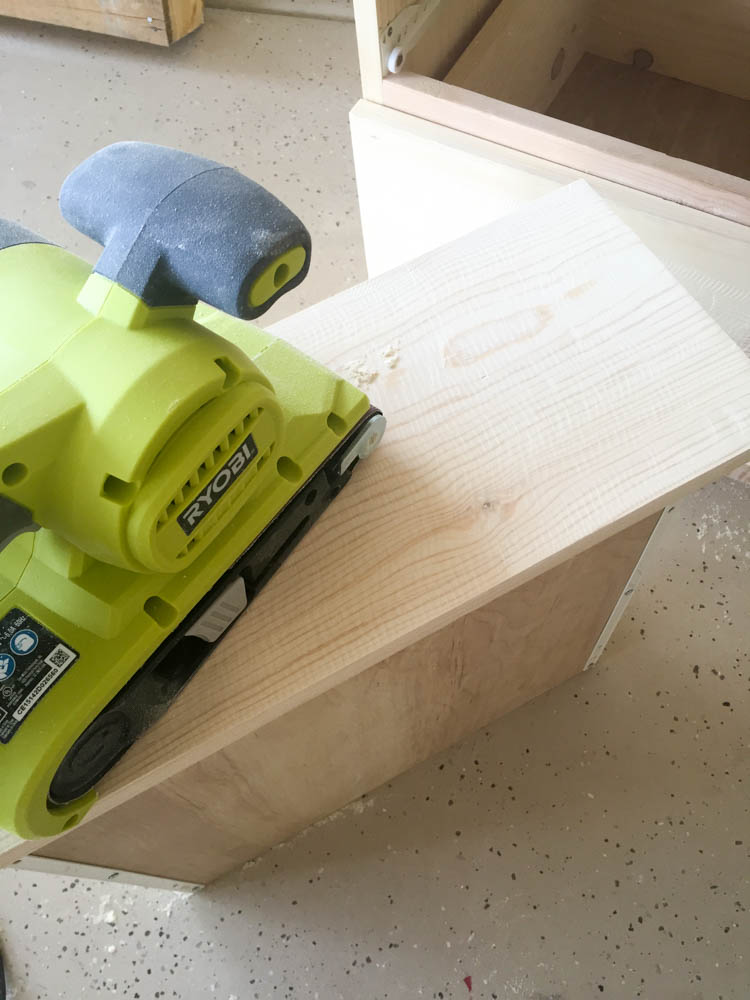
Once I added all of the “saw marks,” I took my belt sander with 80 grit sandpaper and sanded everything down. This took out some of the marks, but that was my goal. I wanted it to look as close as possible to random saw marks.
I finished everything off with 120 and then 220 grit sandpaper.
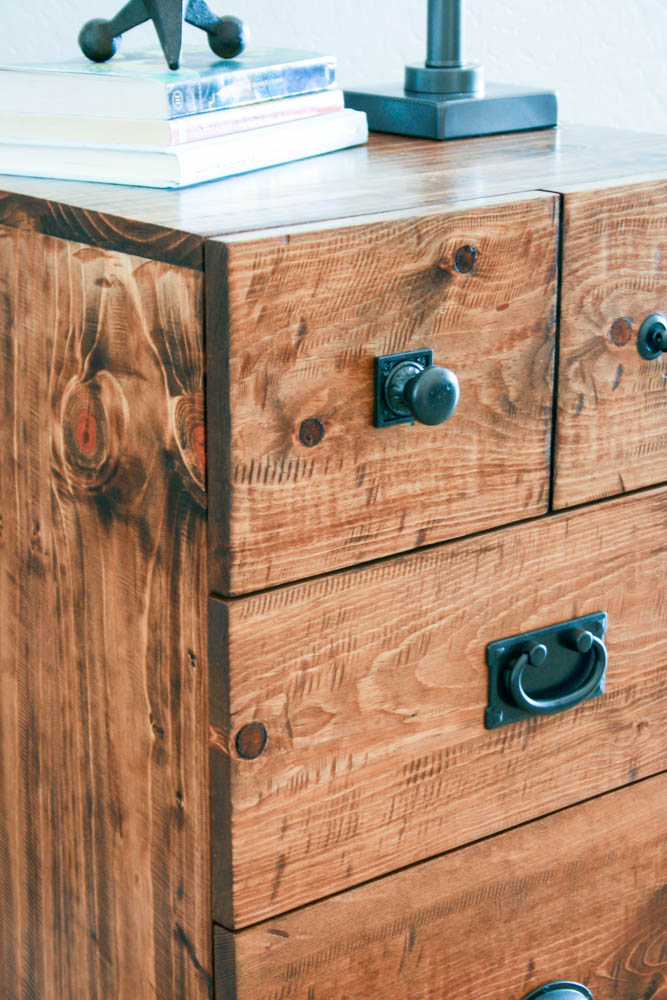
The “saw marks” really come to life once you add stain. It gets into all of those grooves and looks amazing. I used Minwax Provincial colored stain followed by polyurethane to finish off this nightstand.
I ordered all of the knobs and pulls from Build.com. I couldn’t find everything in the color I wanted, so I used some Rustoleum metallic spray paint and made them all uniform.
The original nightstand has numbers on the drawers, but my son said he wasn’t really into that idea. He wanted them to stay plain. I disagreed, but went along with his choice. It’s his nightstand, so I can’t be too pushy about it. I actually really love the look without the numbers, so I don’t miss them at all!
Distressing is probably one of the hardest things to do. There’s a fine line between looking natural and looking purposeful. Most times you can just sand it out, so you’ve got a little wiggle room. It is so worth it, though, if you’re going for a rustic look.
The best news is that my son loves his nightstand! I’m going to be building him the entire matching set, too, so stay tuned for that! Don’t forget to download your free building plans so you can recreate this project. Be sure to tag me on social media and use the hashtag #addicted2diy for a chance to be featured! Seriously, it’s probably the best compliment ever when I see my readers have build one of my projects. Happy building!





That is so cute!!!!!!!!! Well, it’s beyond cute. It’s a beautiful piece of work .Sure hope that son of yours appreciates it!
Thank you! Yes, I’ve gotten lots of hugs and thank yous from him:)
This is impressive and I love the different handles. Excellent craftsmanship – you should be extremely proud.
Thank you Carole! I can’t wait to build the rest of the set!
It looks great just like the real thing.